THE BEEZLEE BLOG
Sharpening Station
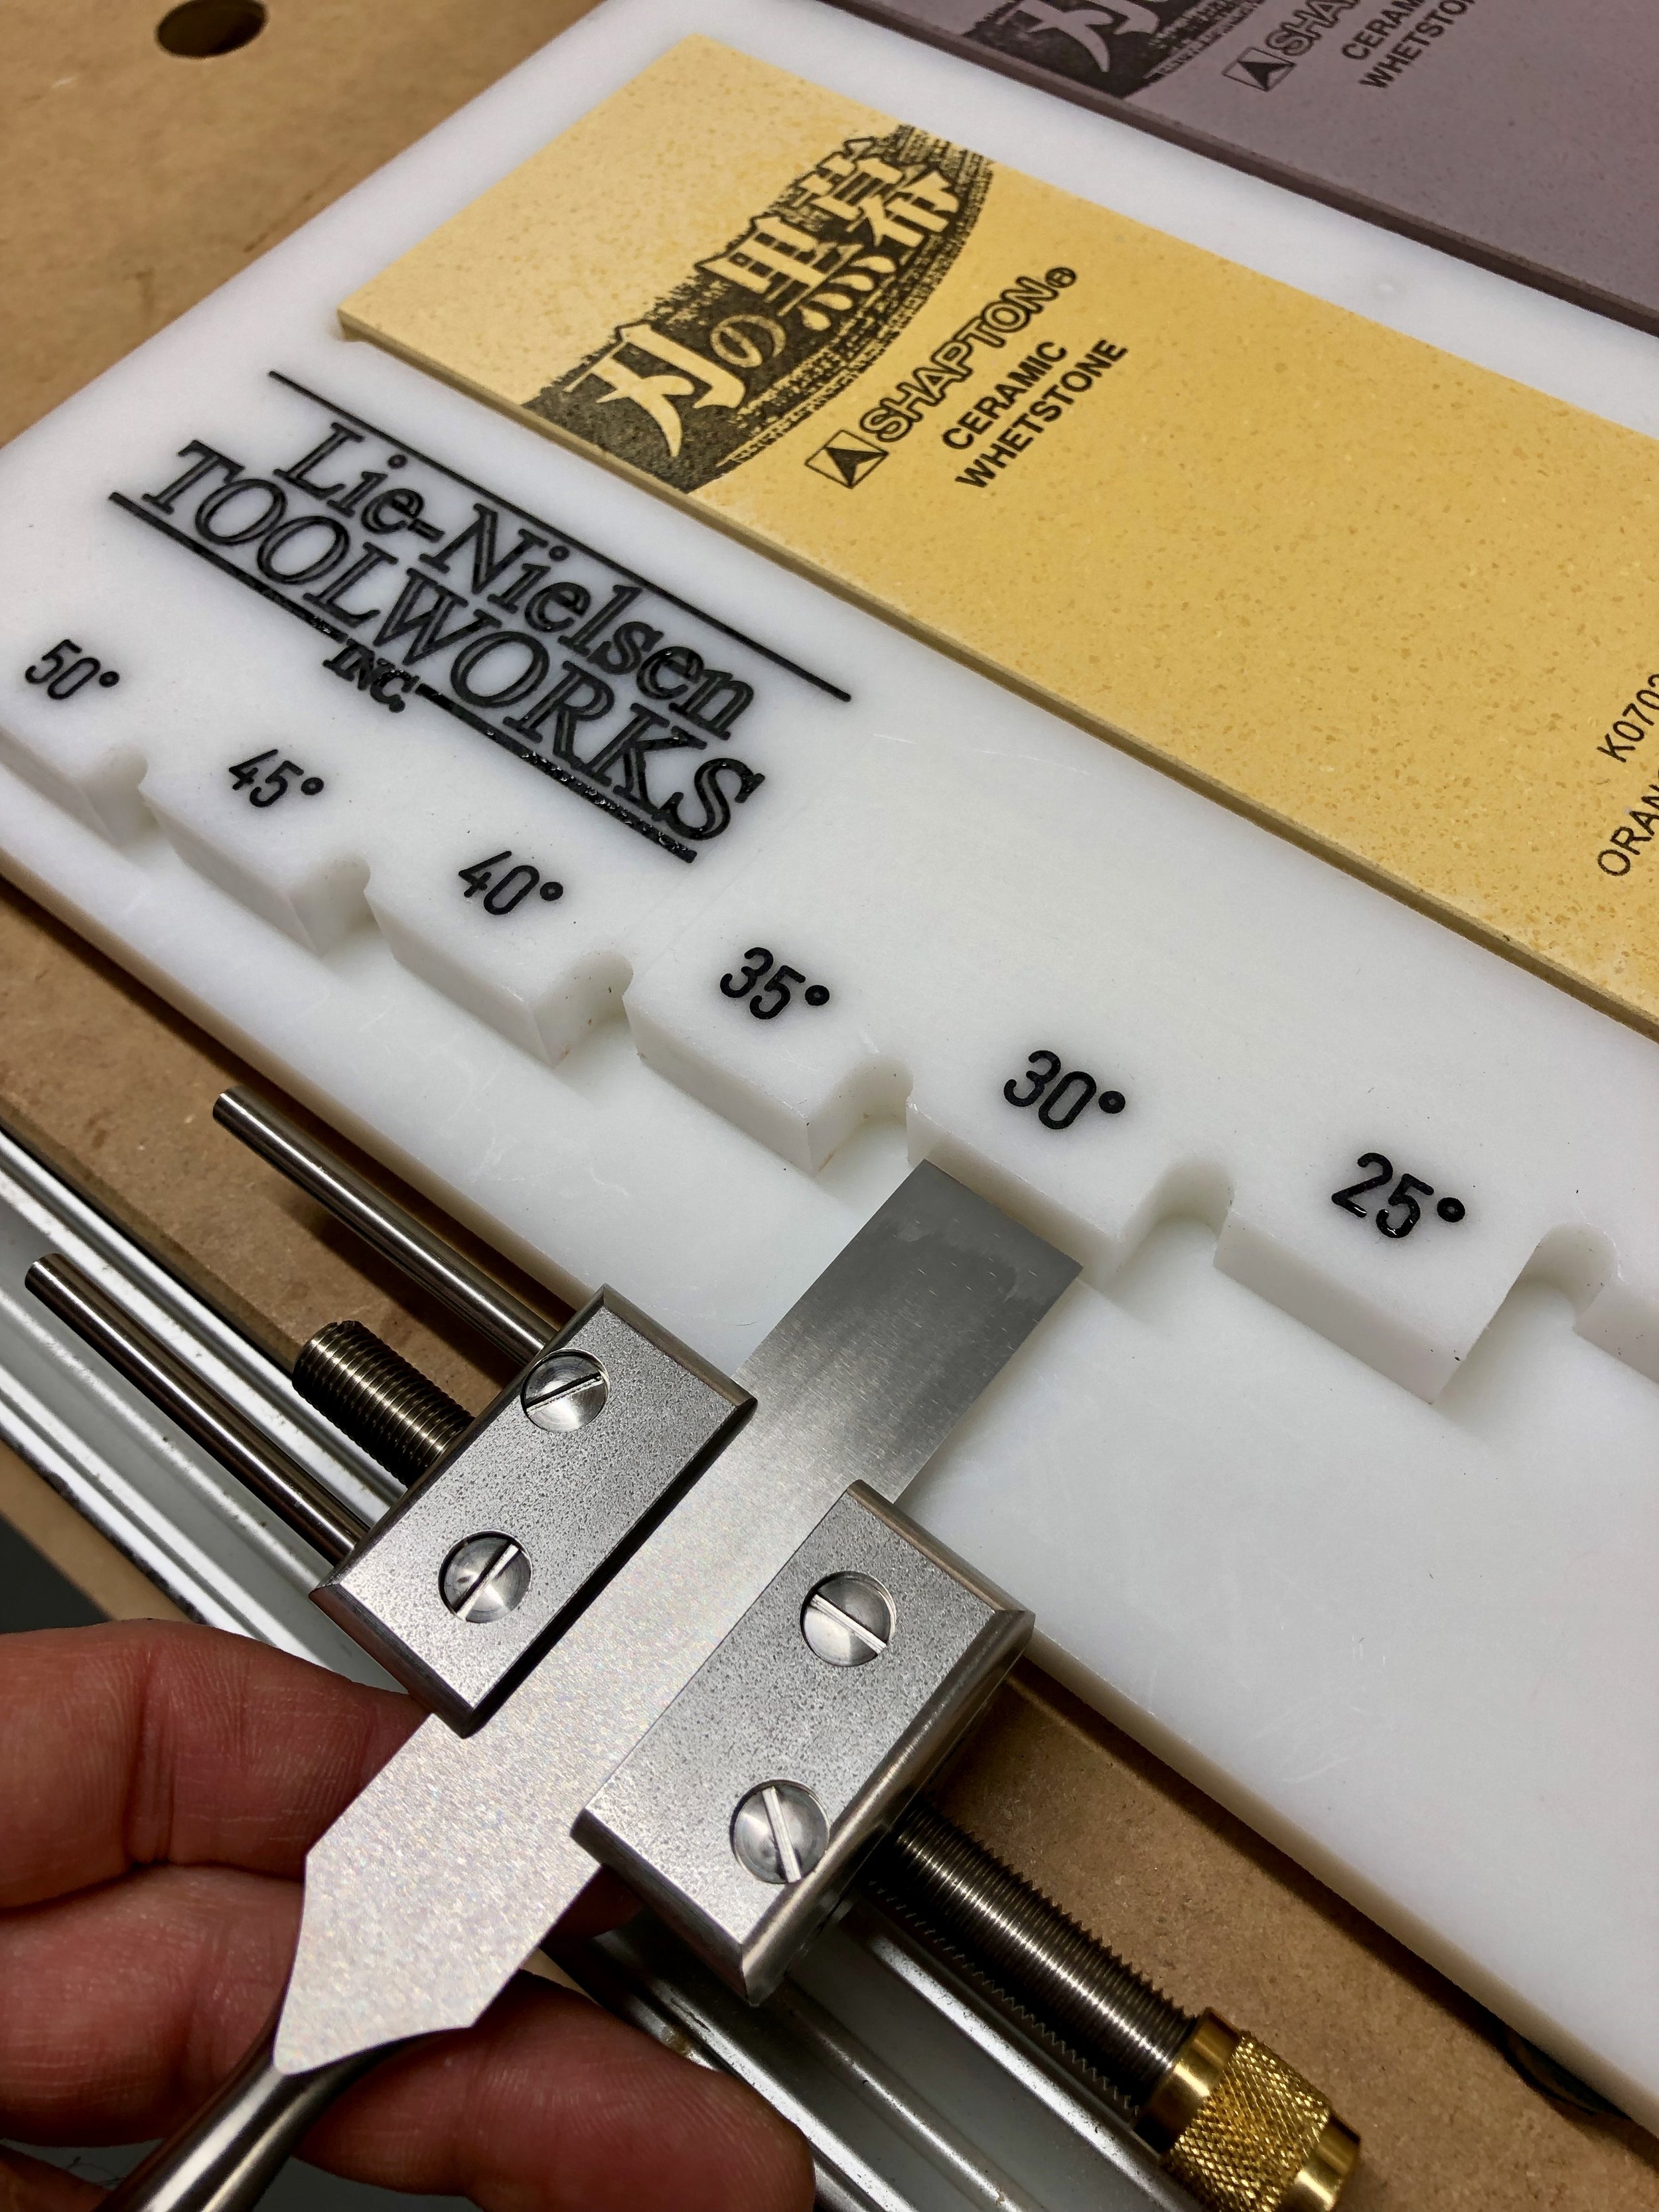
As everyone knows, a chisels or block plane is only as good as the sharpness of the blade. Ever since I started getting into Lie-Neilsen chisels and planes I’ve been wanting to make an Angle Setting Jig for the honing guide.
Here are the docs provided by Lie-Neilsen:
The honing guide came with the measurements for the chisels or blades in order to achieve the desired angle. I know most people just use a scrap piece of plywood with some smaller blocks. However, I thought “surely someone must make one.” To my surprise, no one does. So I drew up some plans in Adobe Illustrator and used my Shaper Origin to make one.
I started by making a prototype out of plywood just to see if it was going to work. The top is cut from 1/2” thick material so the stones will stick up slightly. Ultimately, I didn’t want it out of plywood because it was going to get wet. However, it was fine for proving the concept and dimensions were going to work.
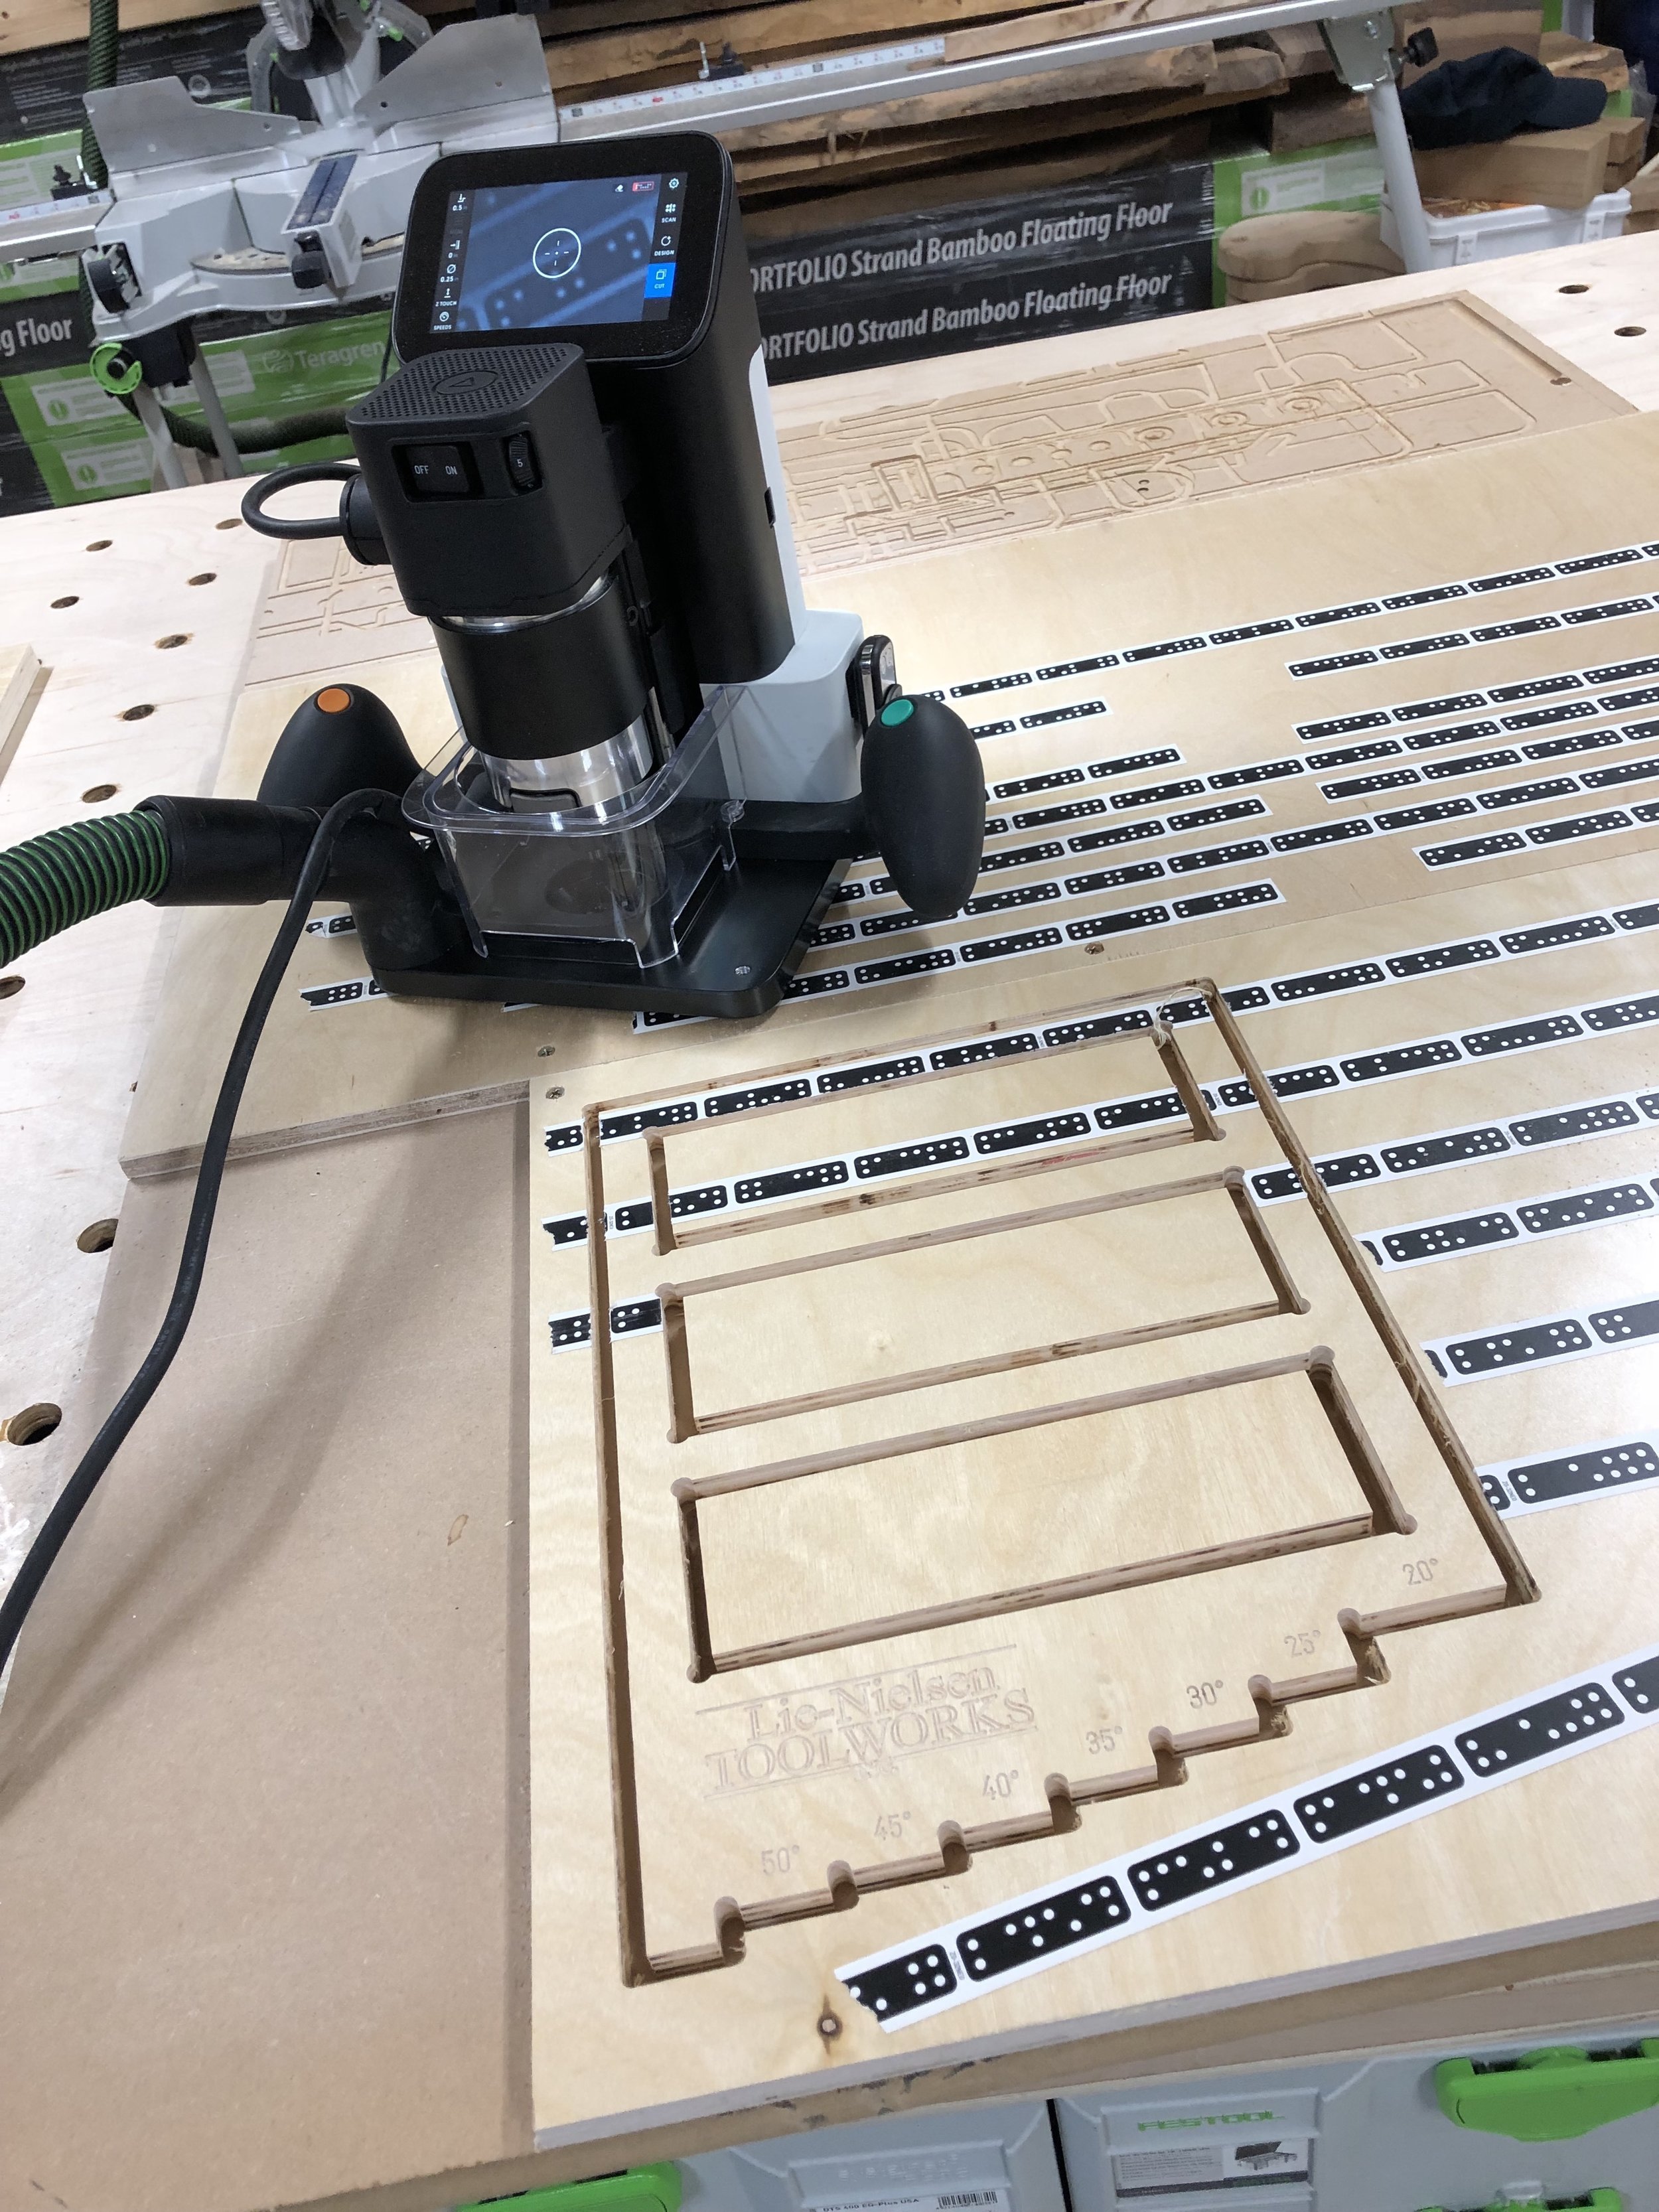
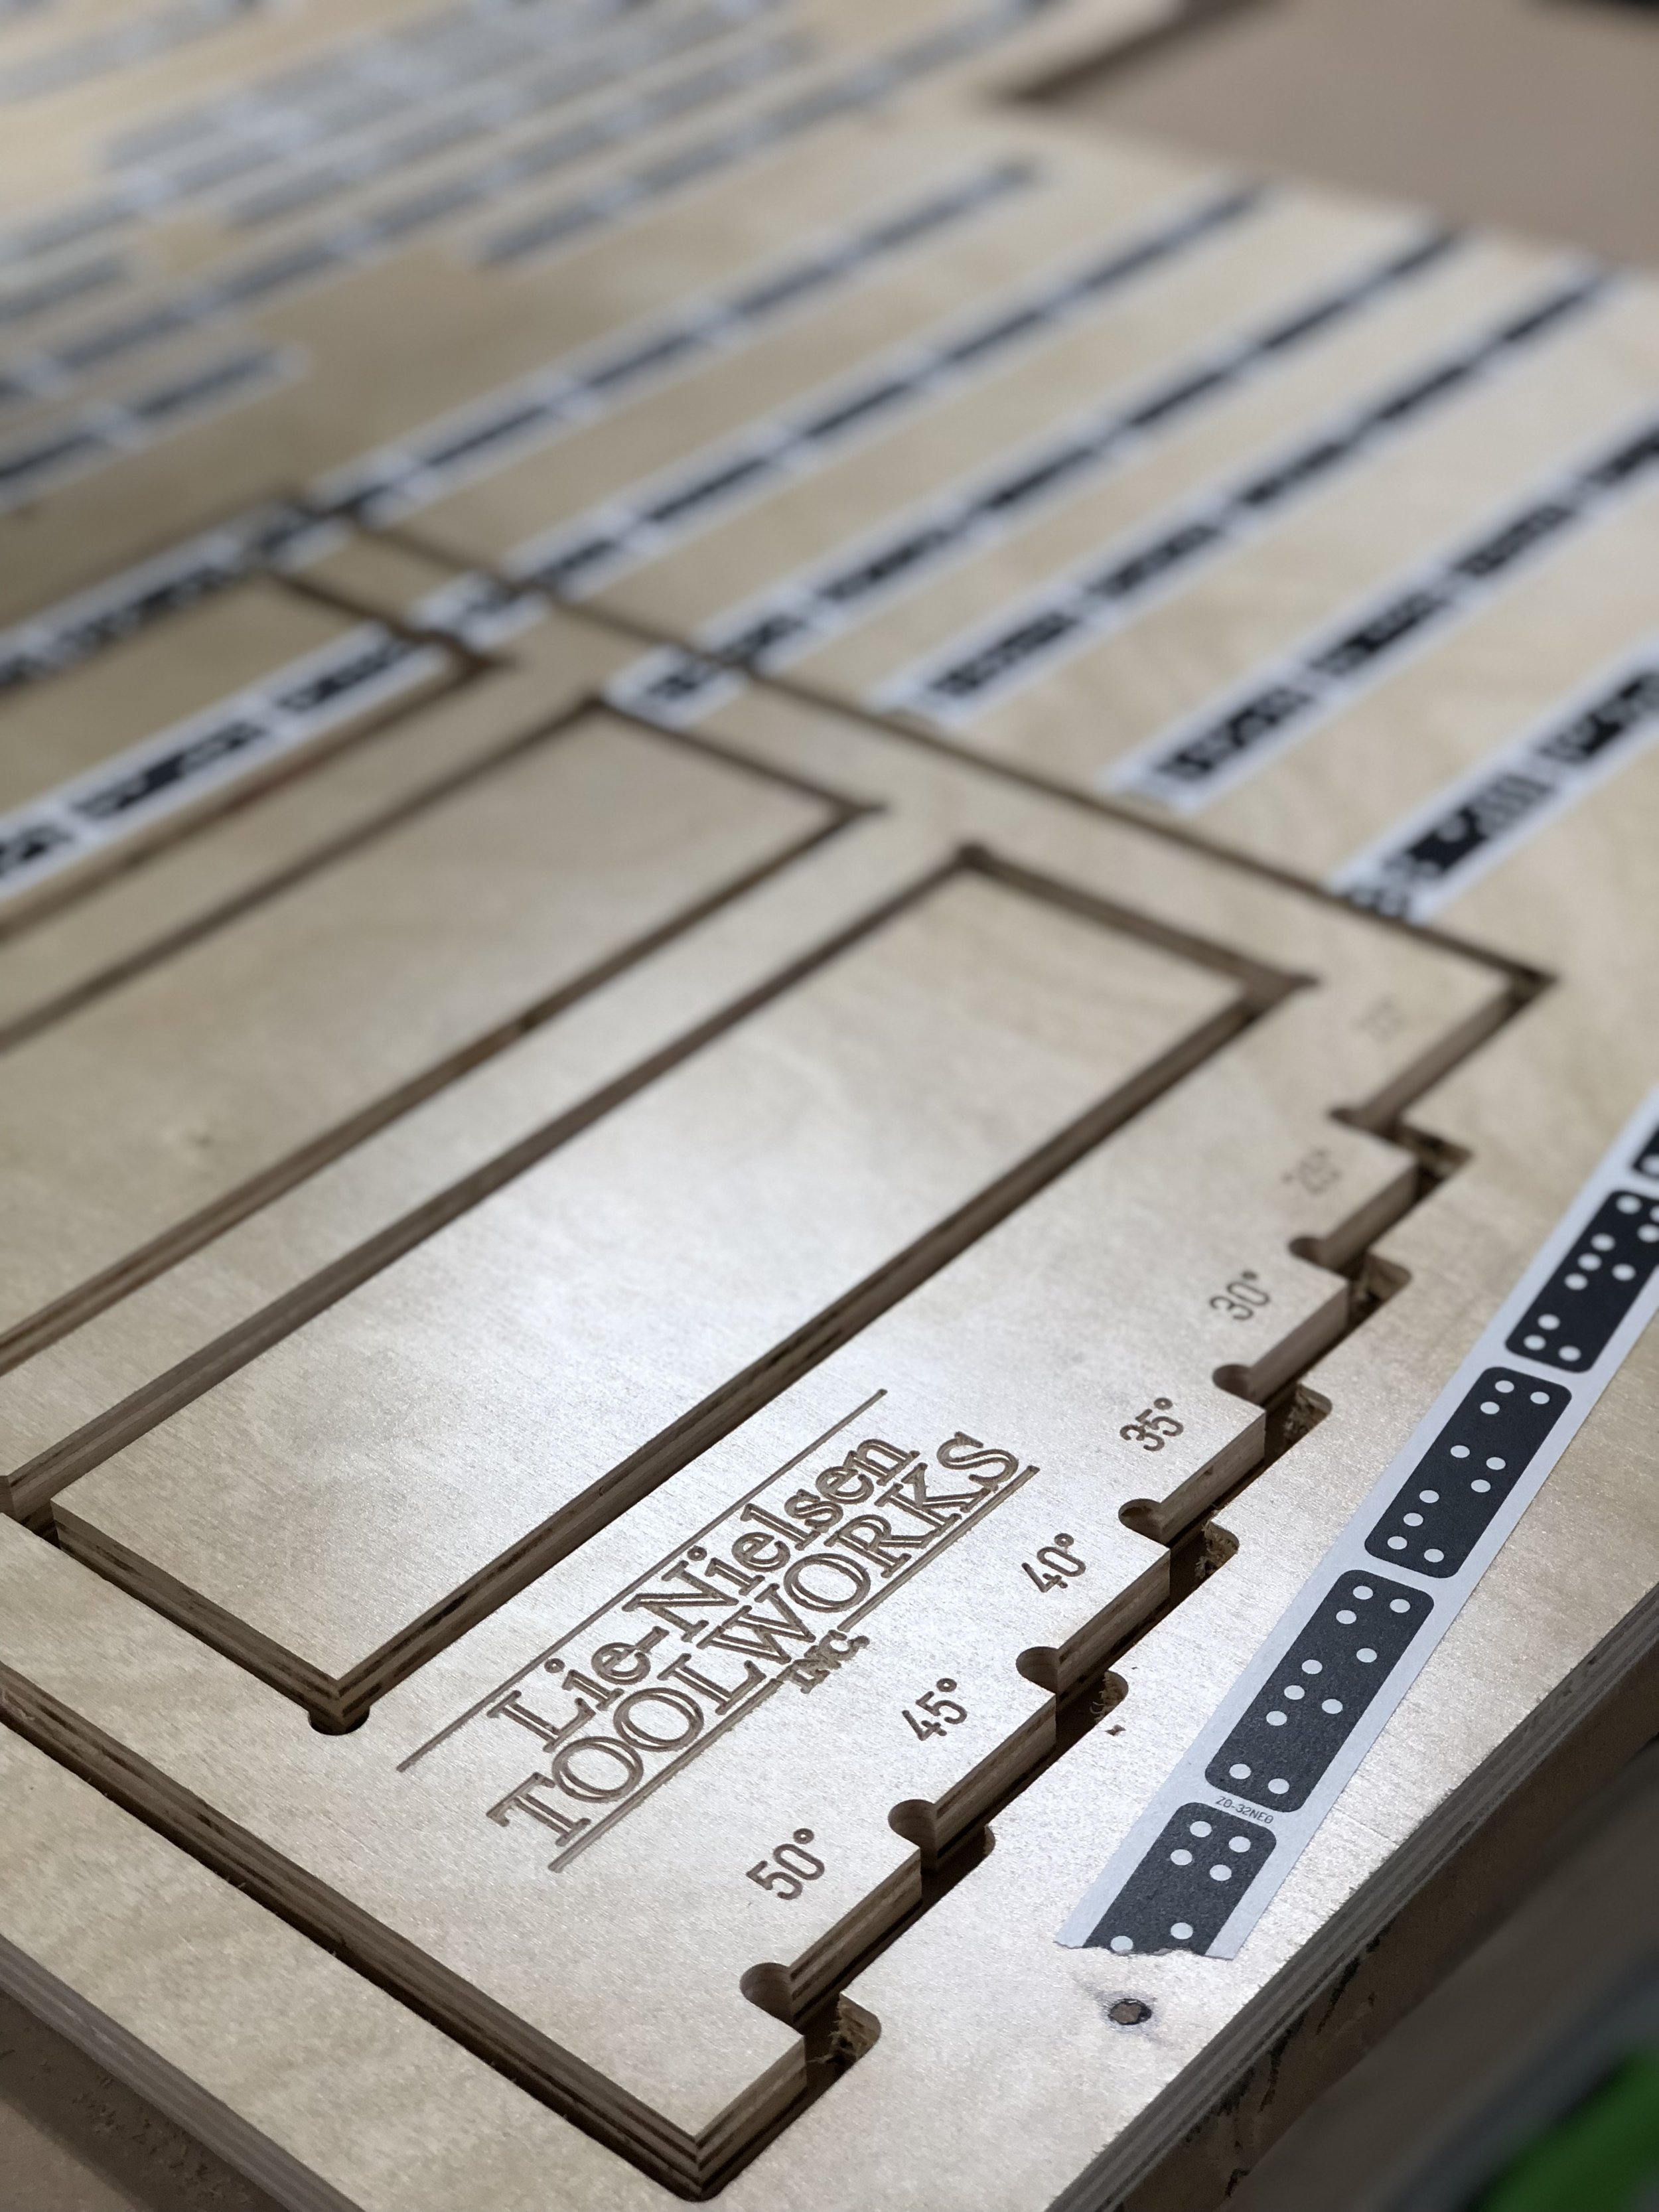
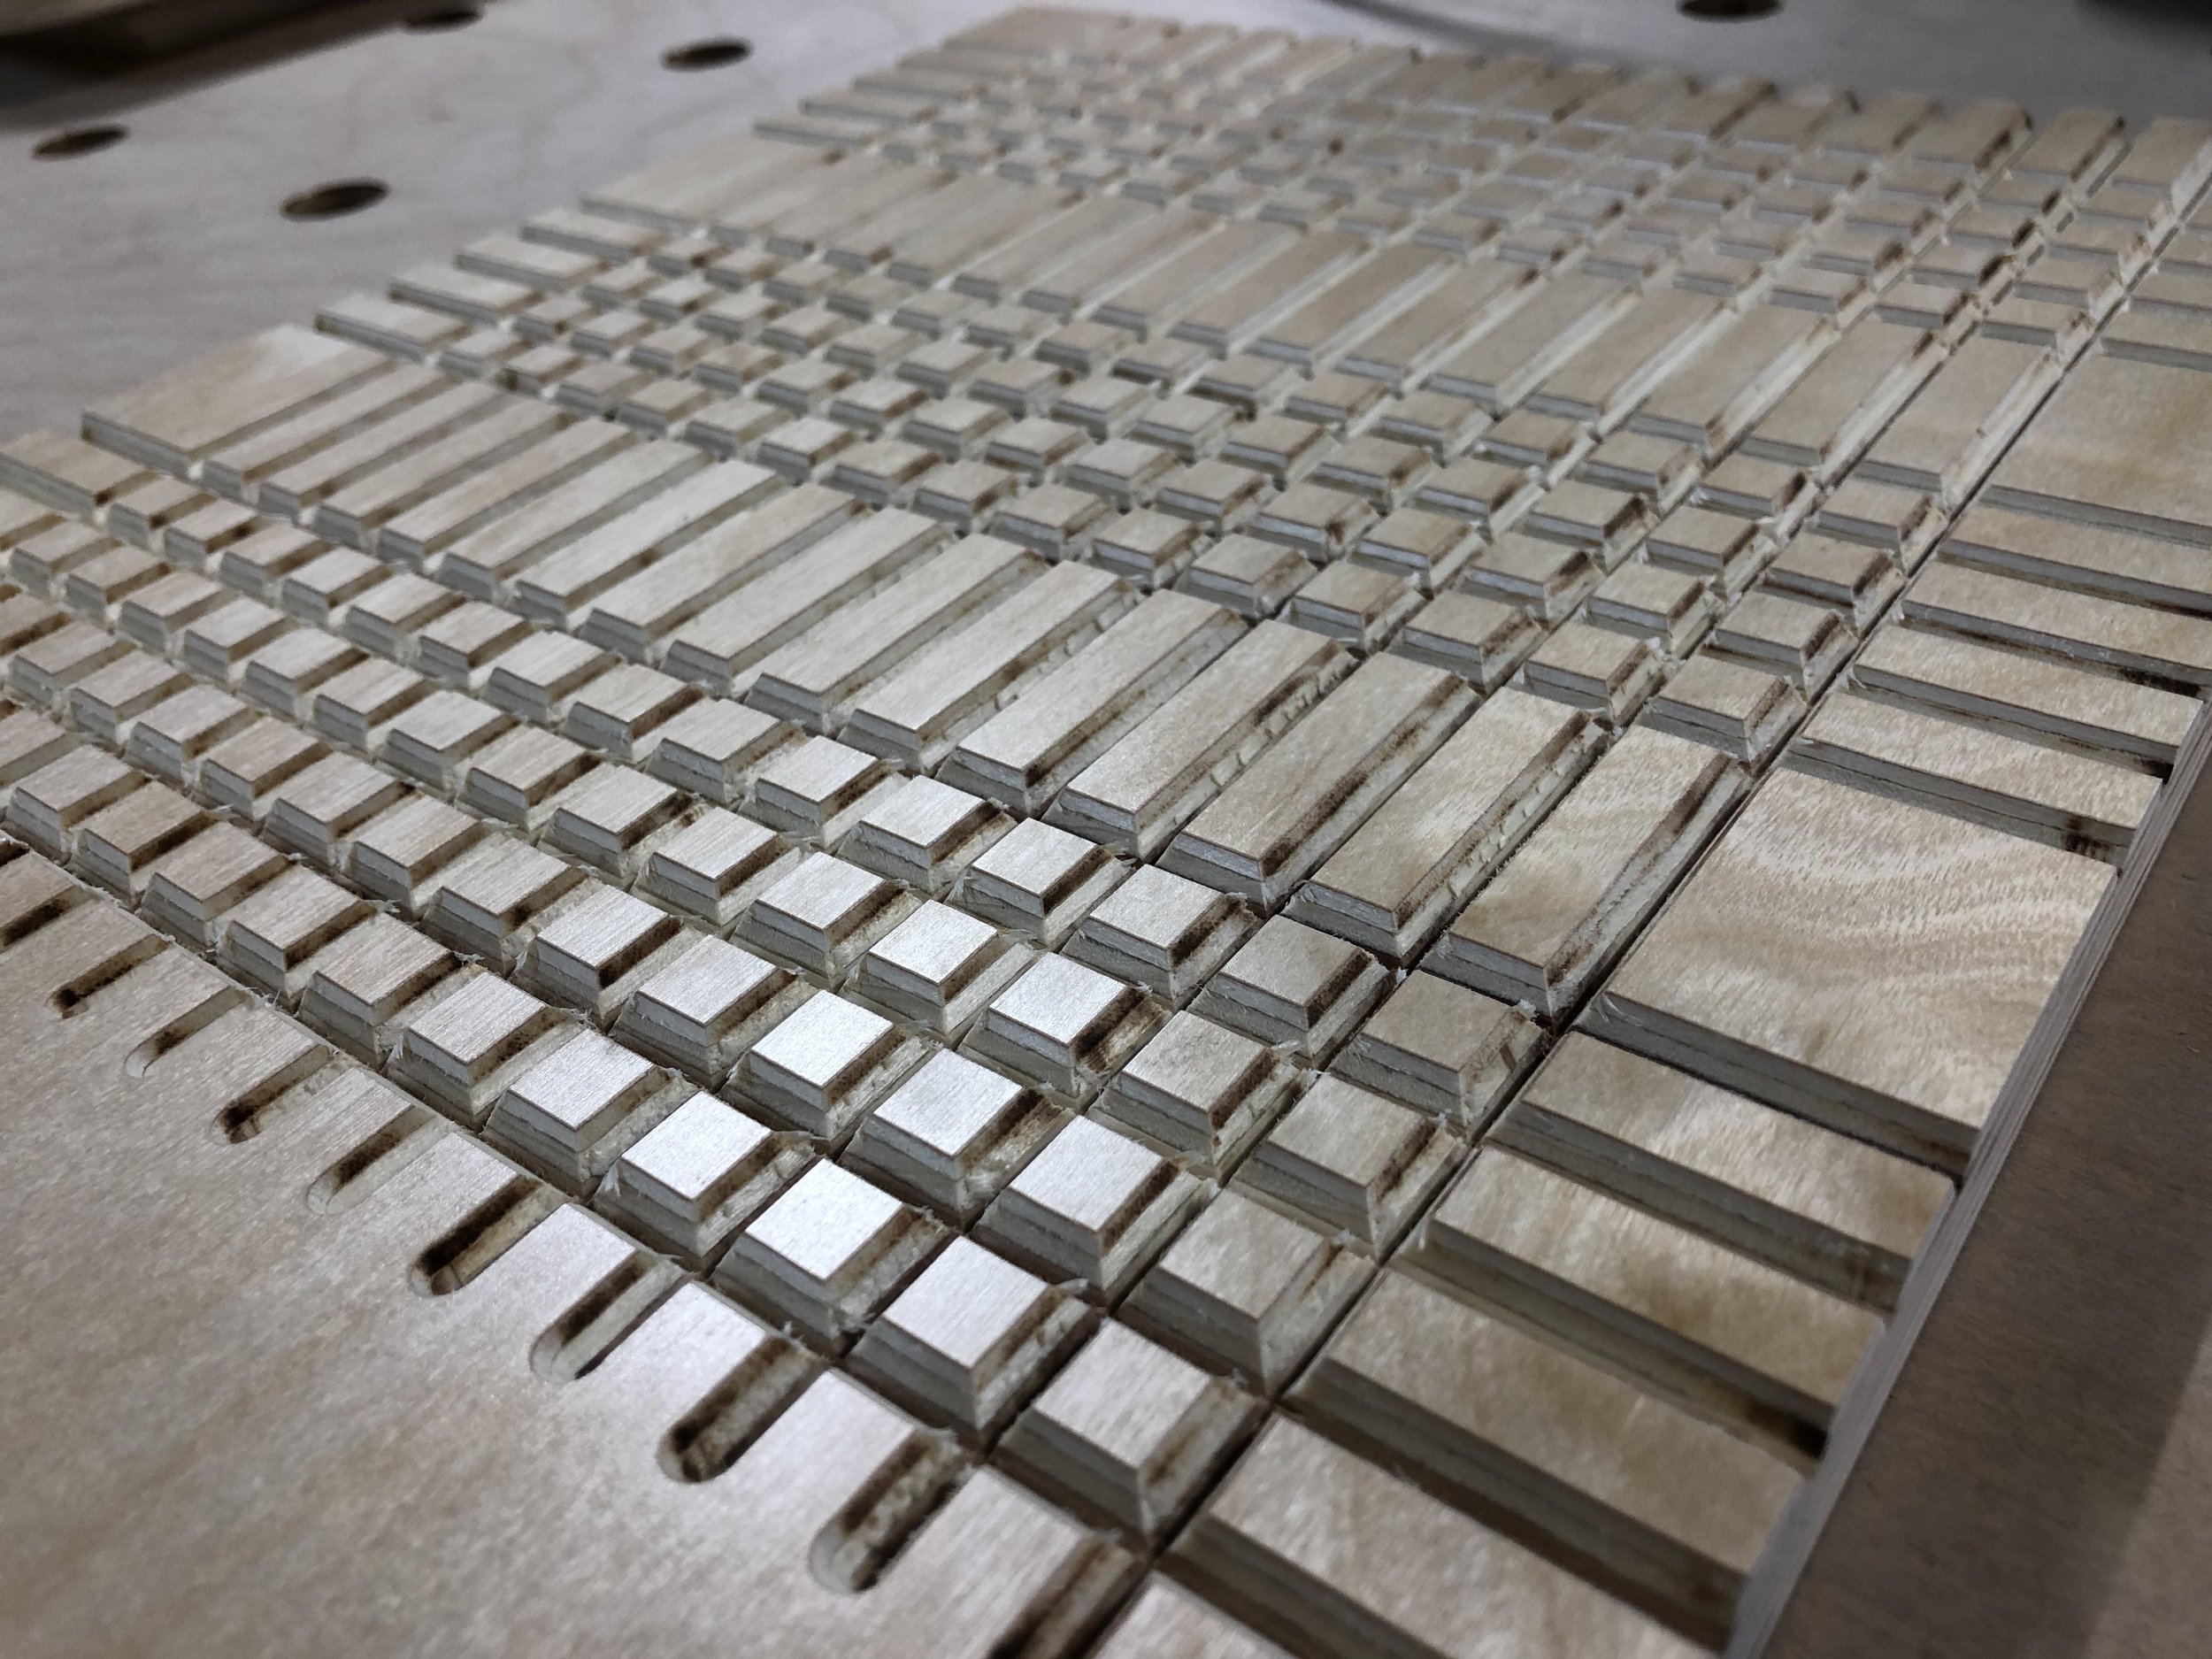
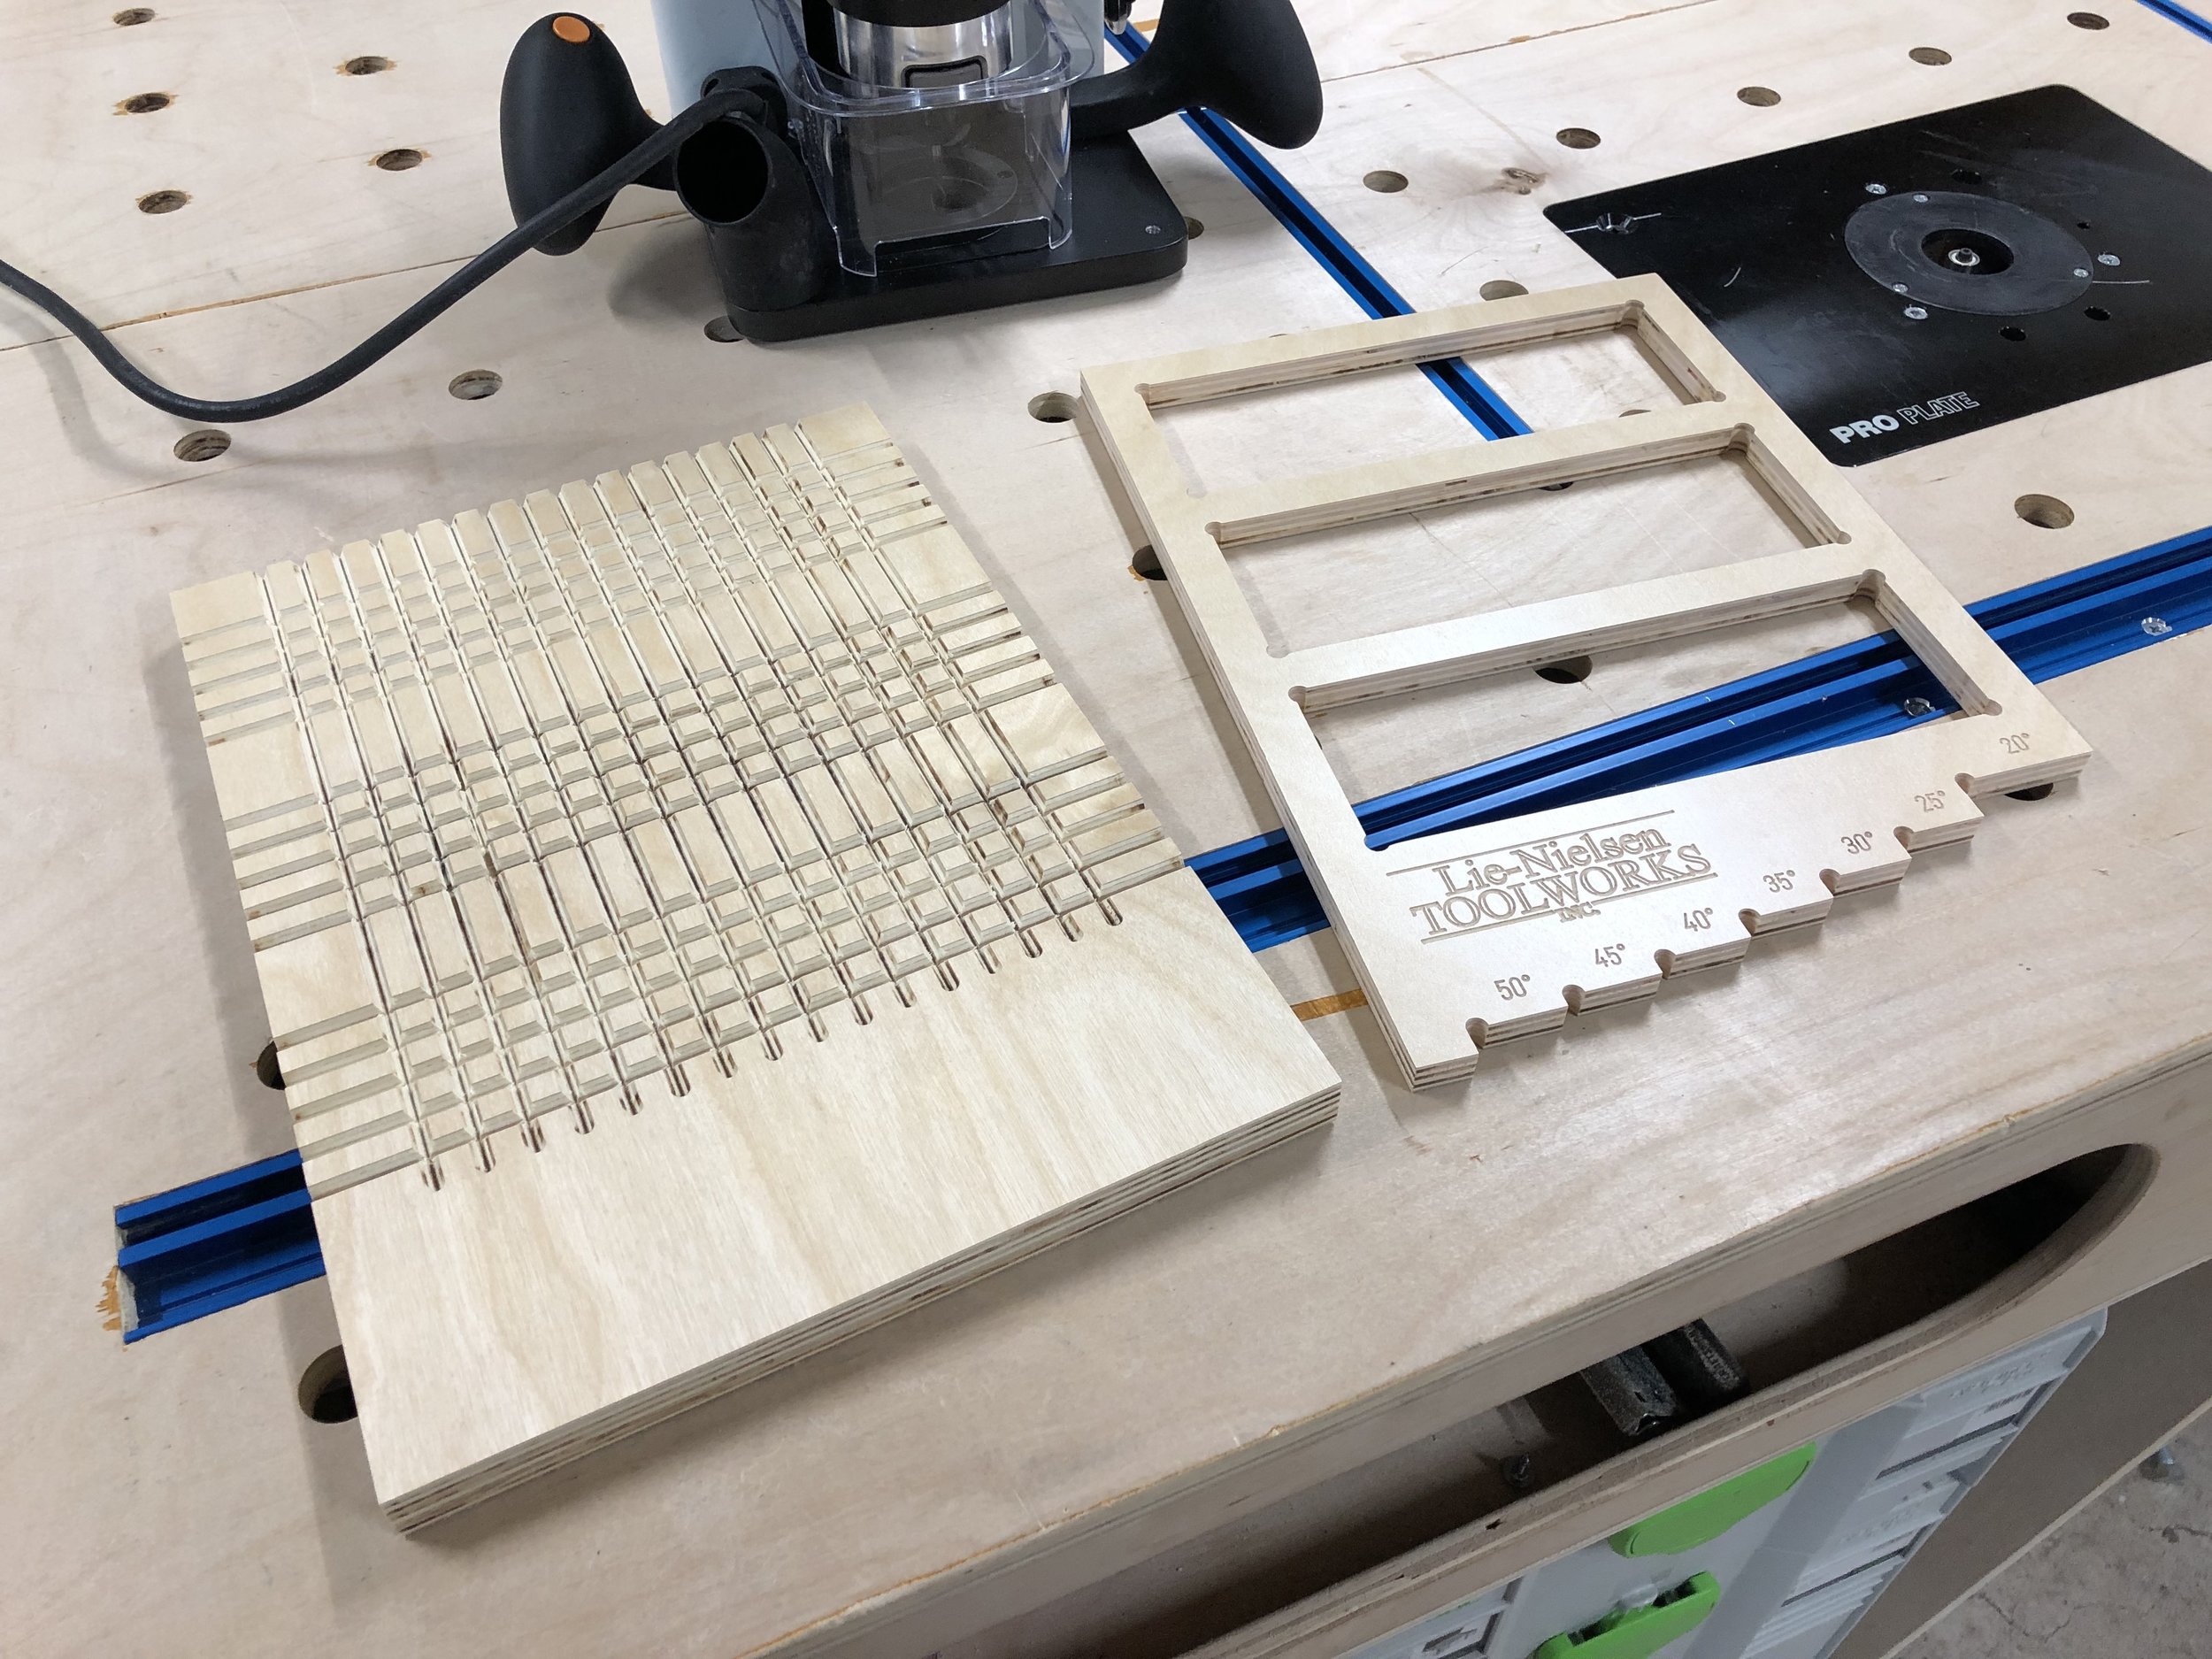
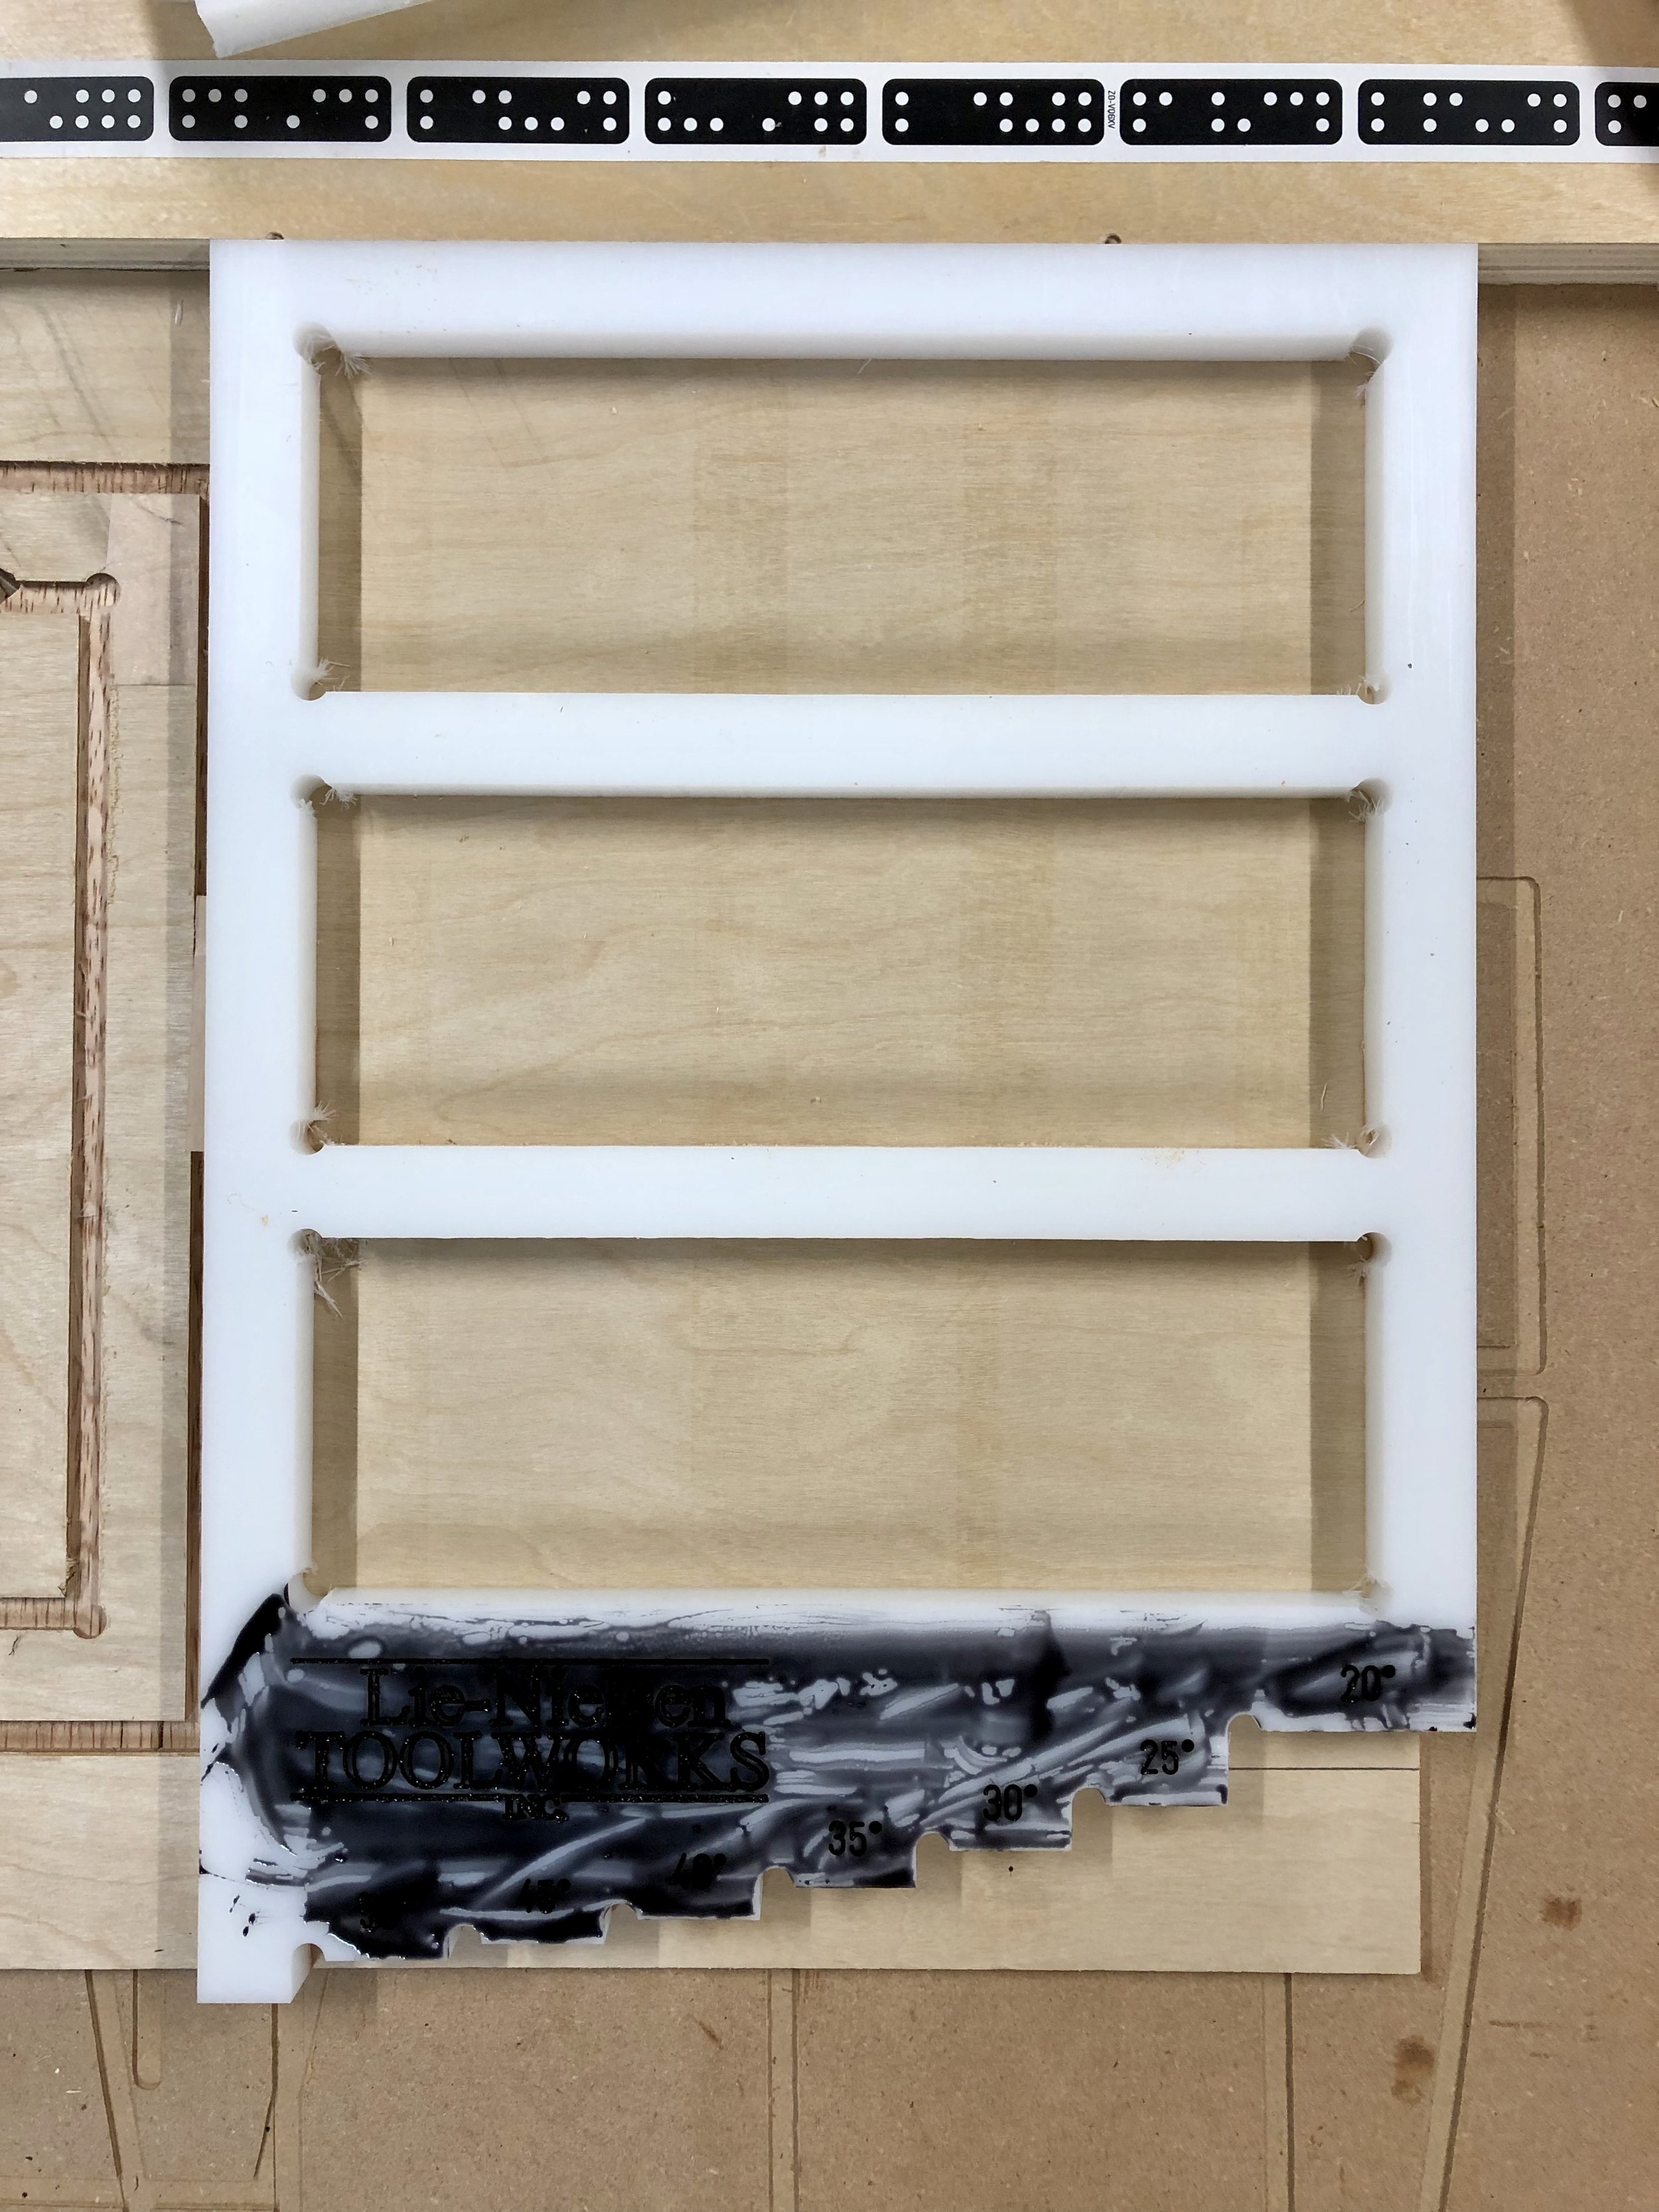
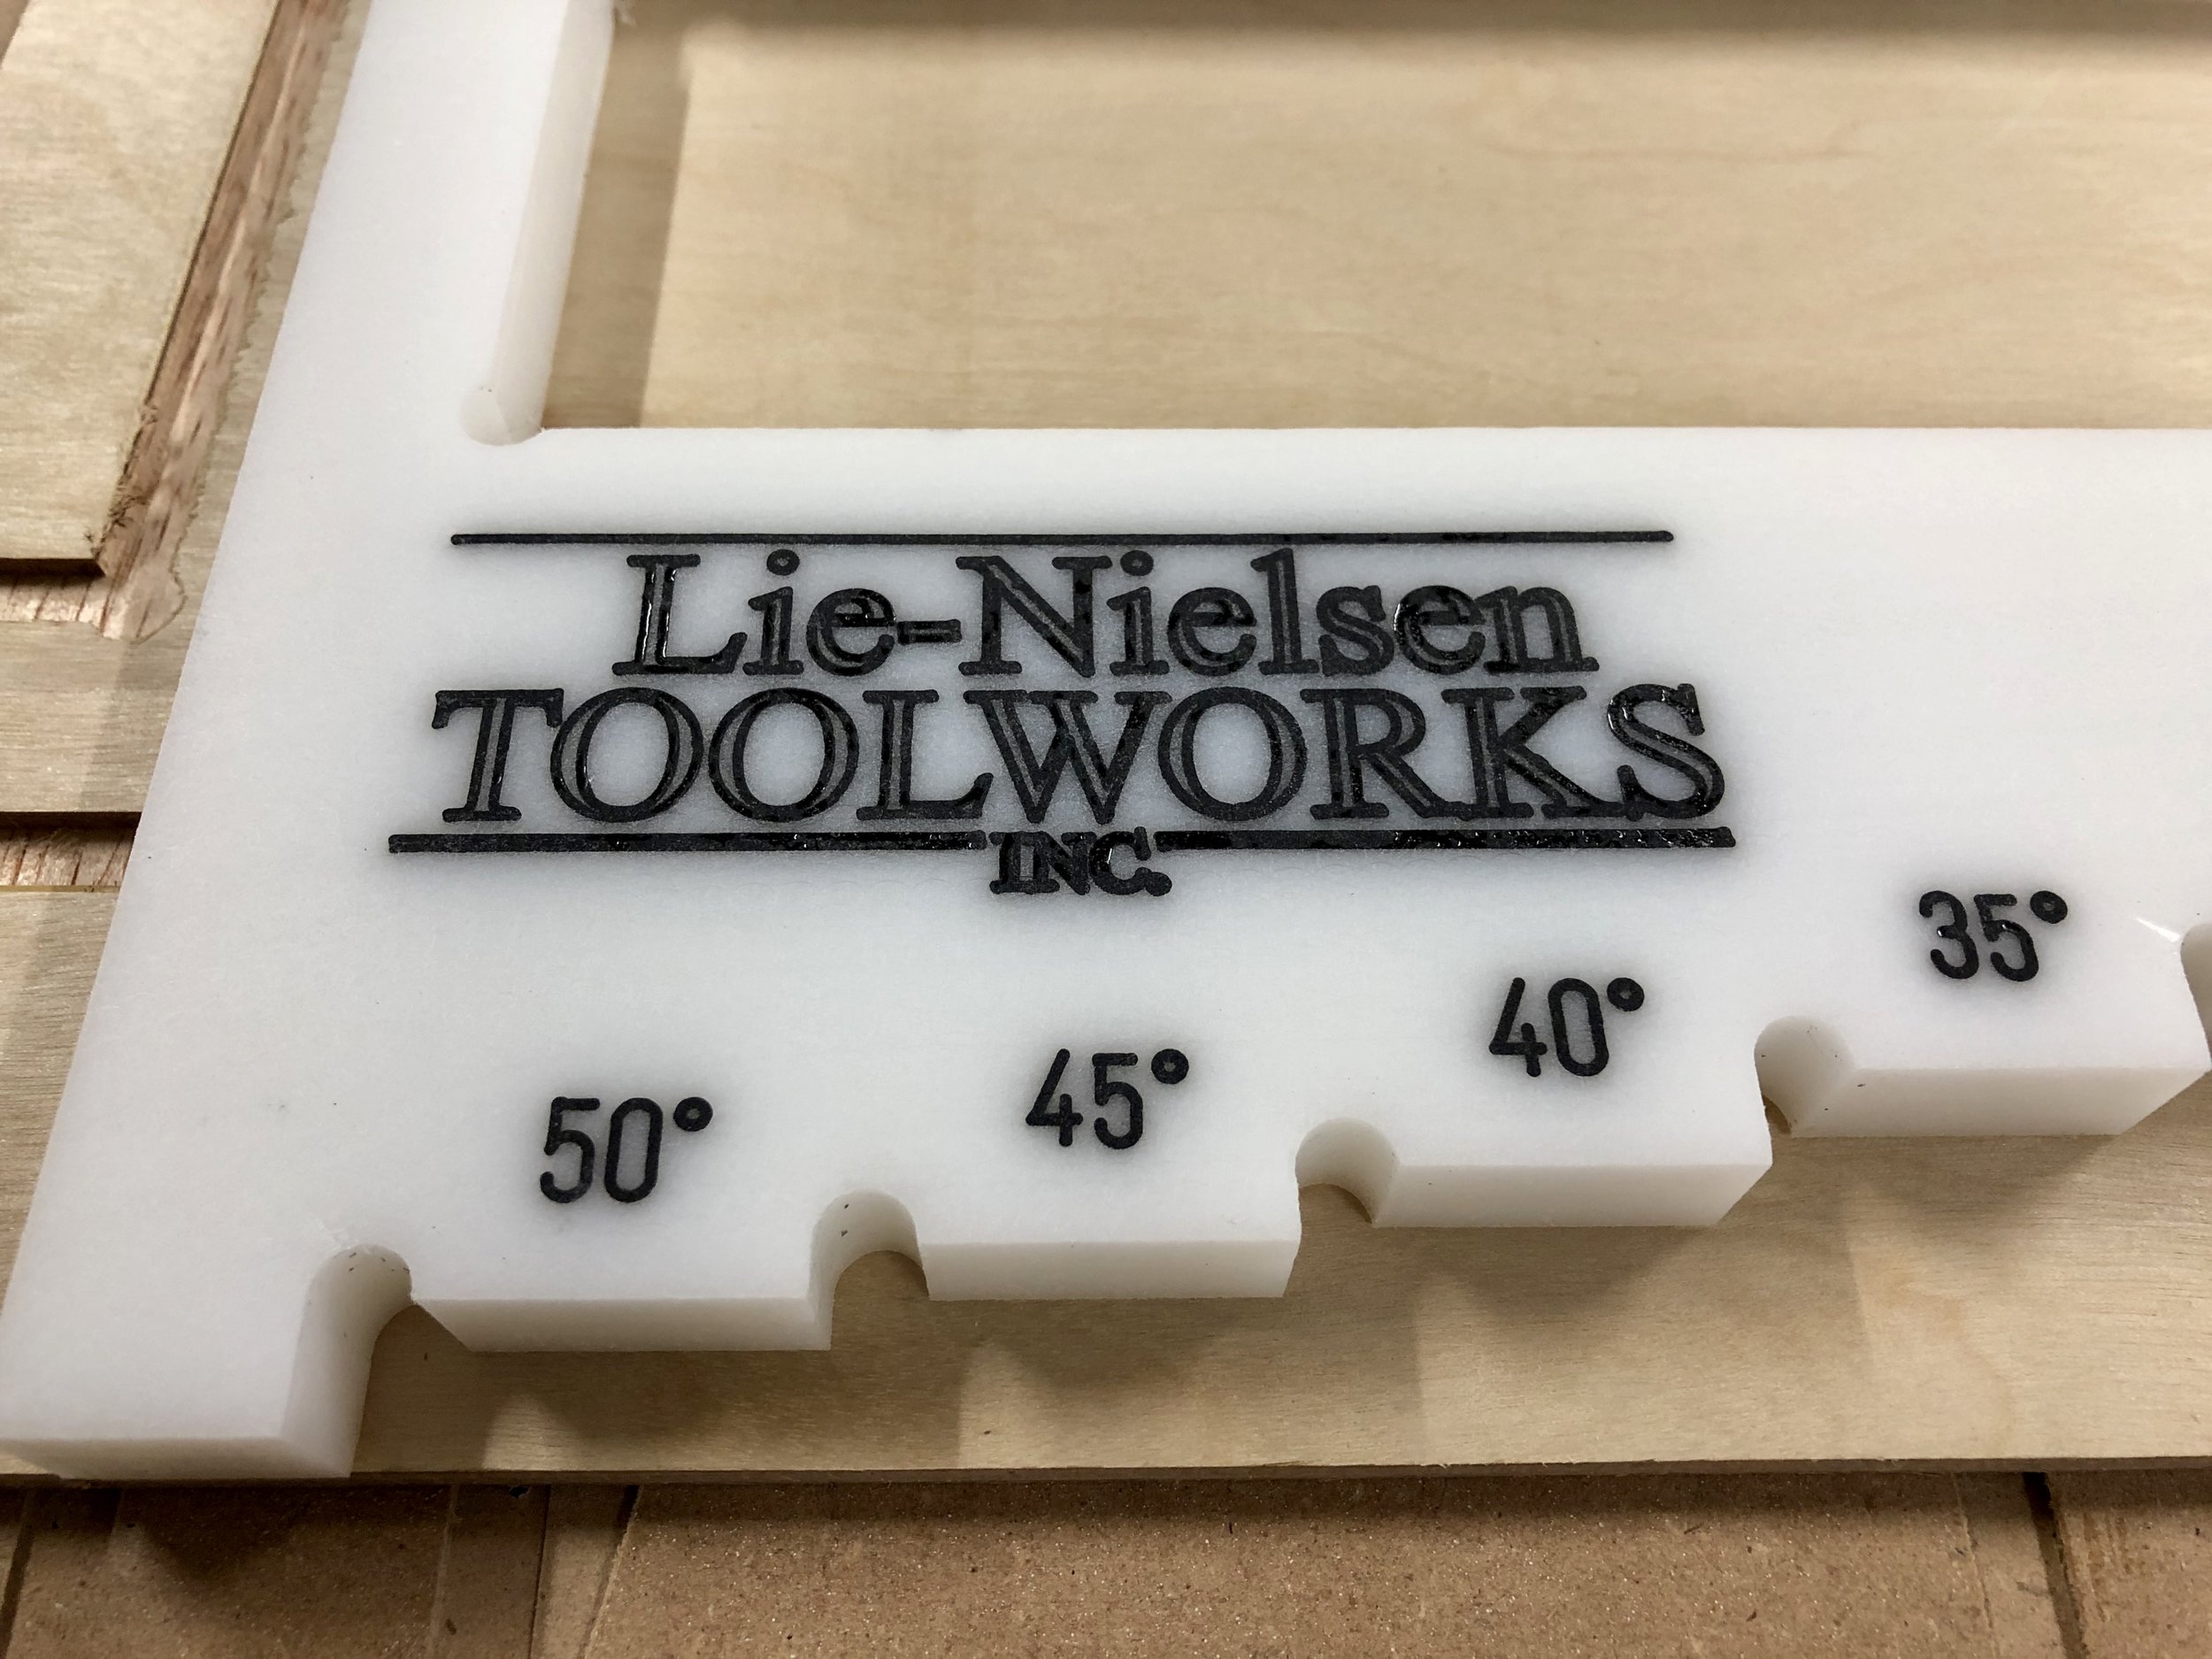
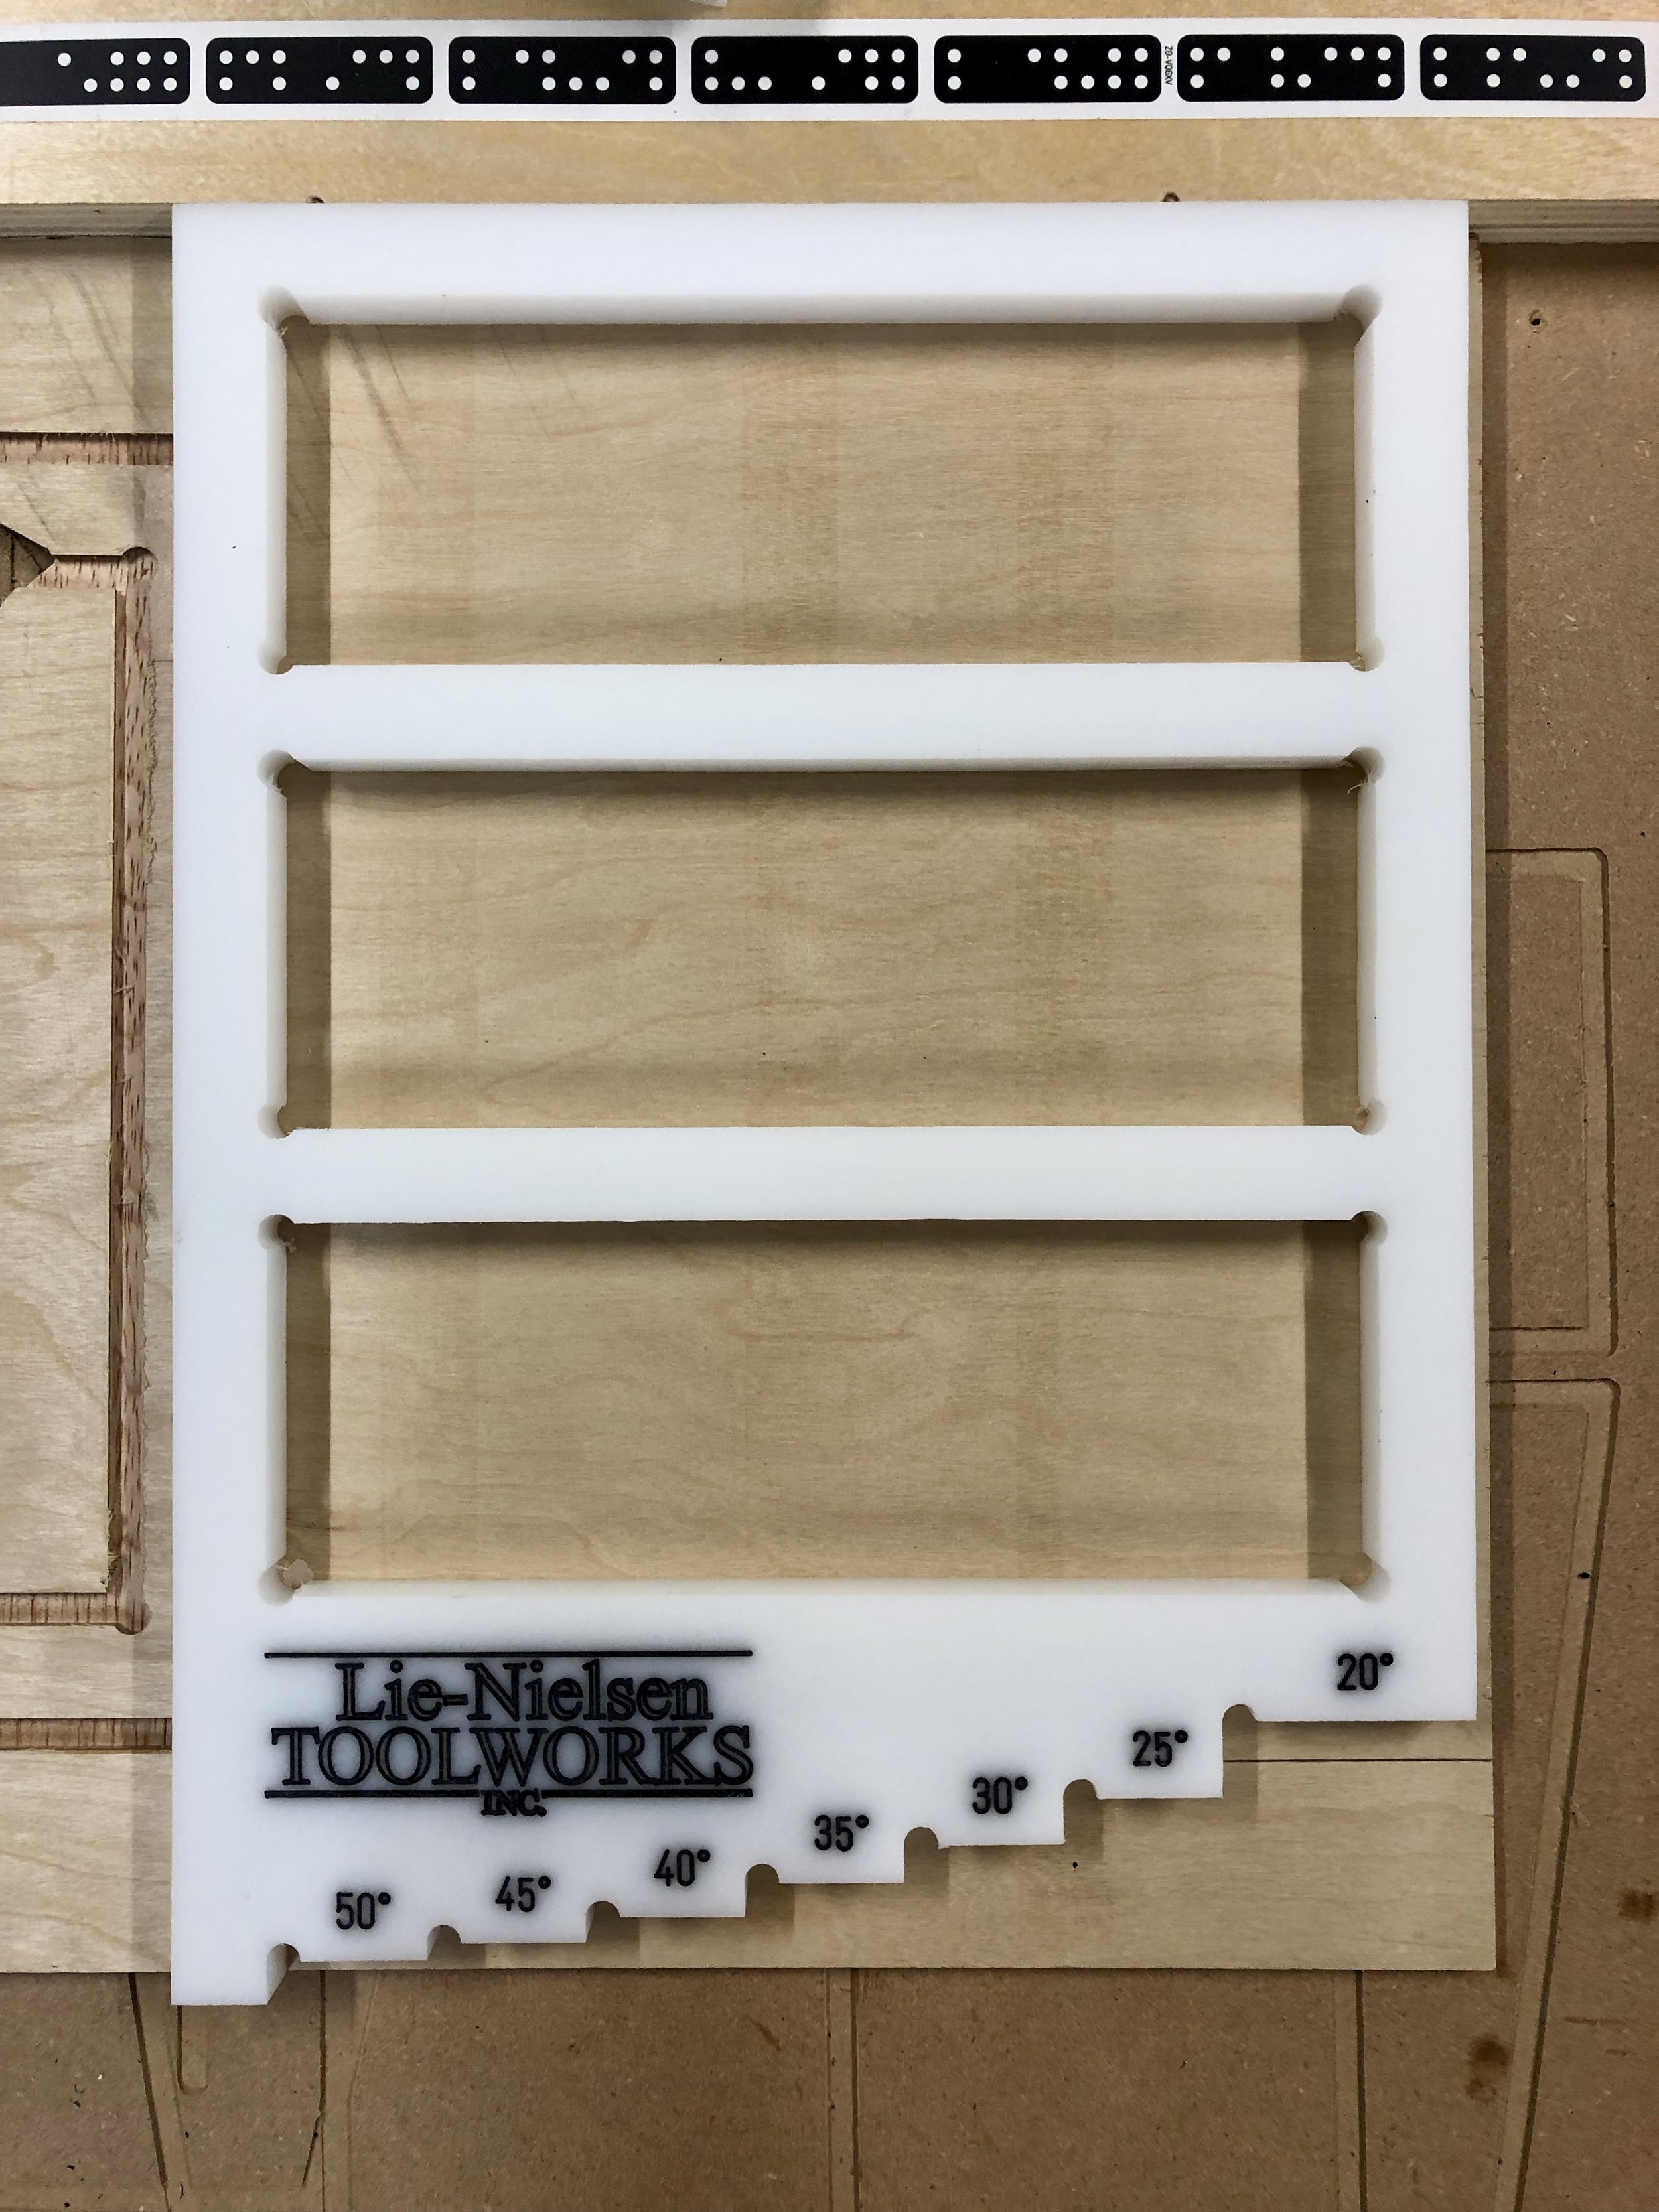
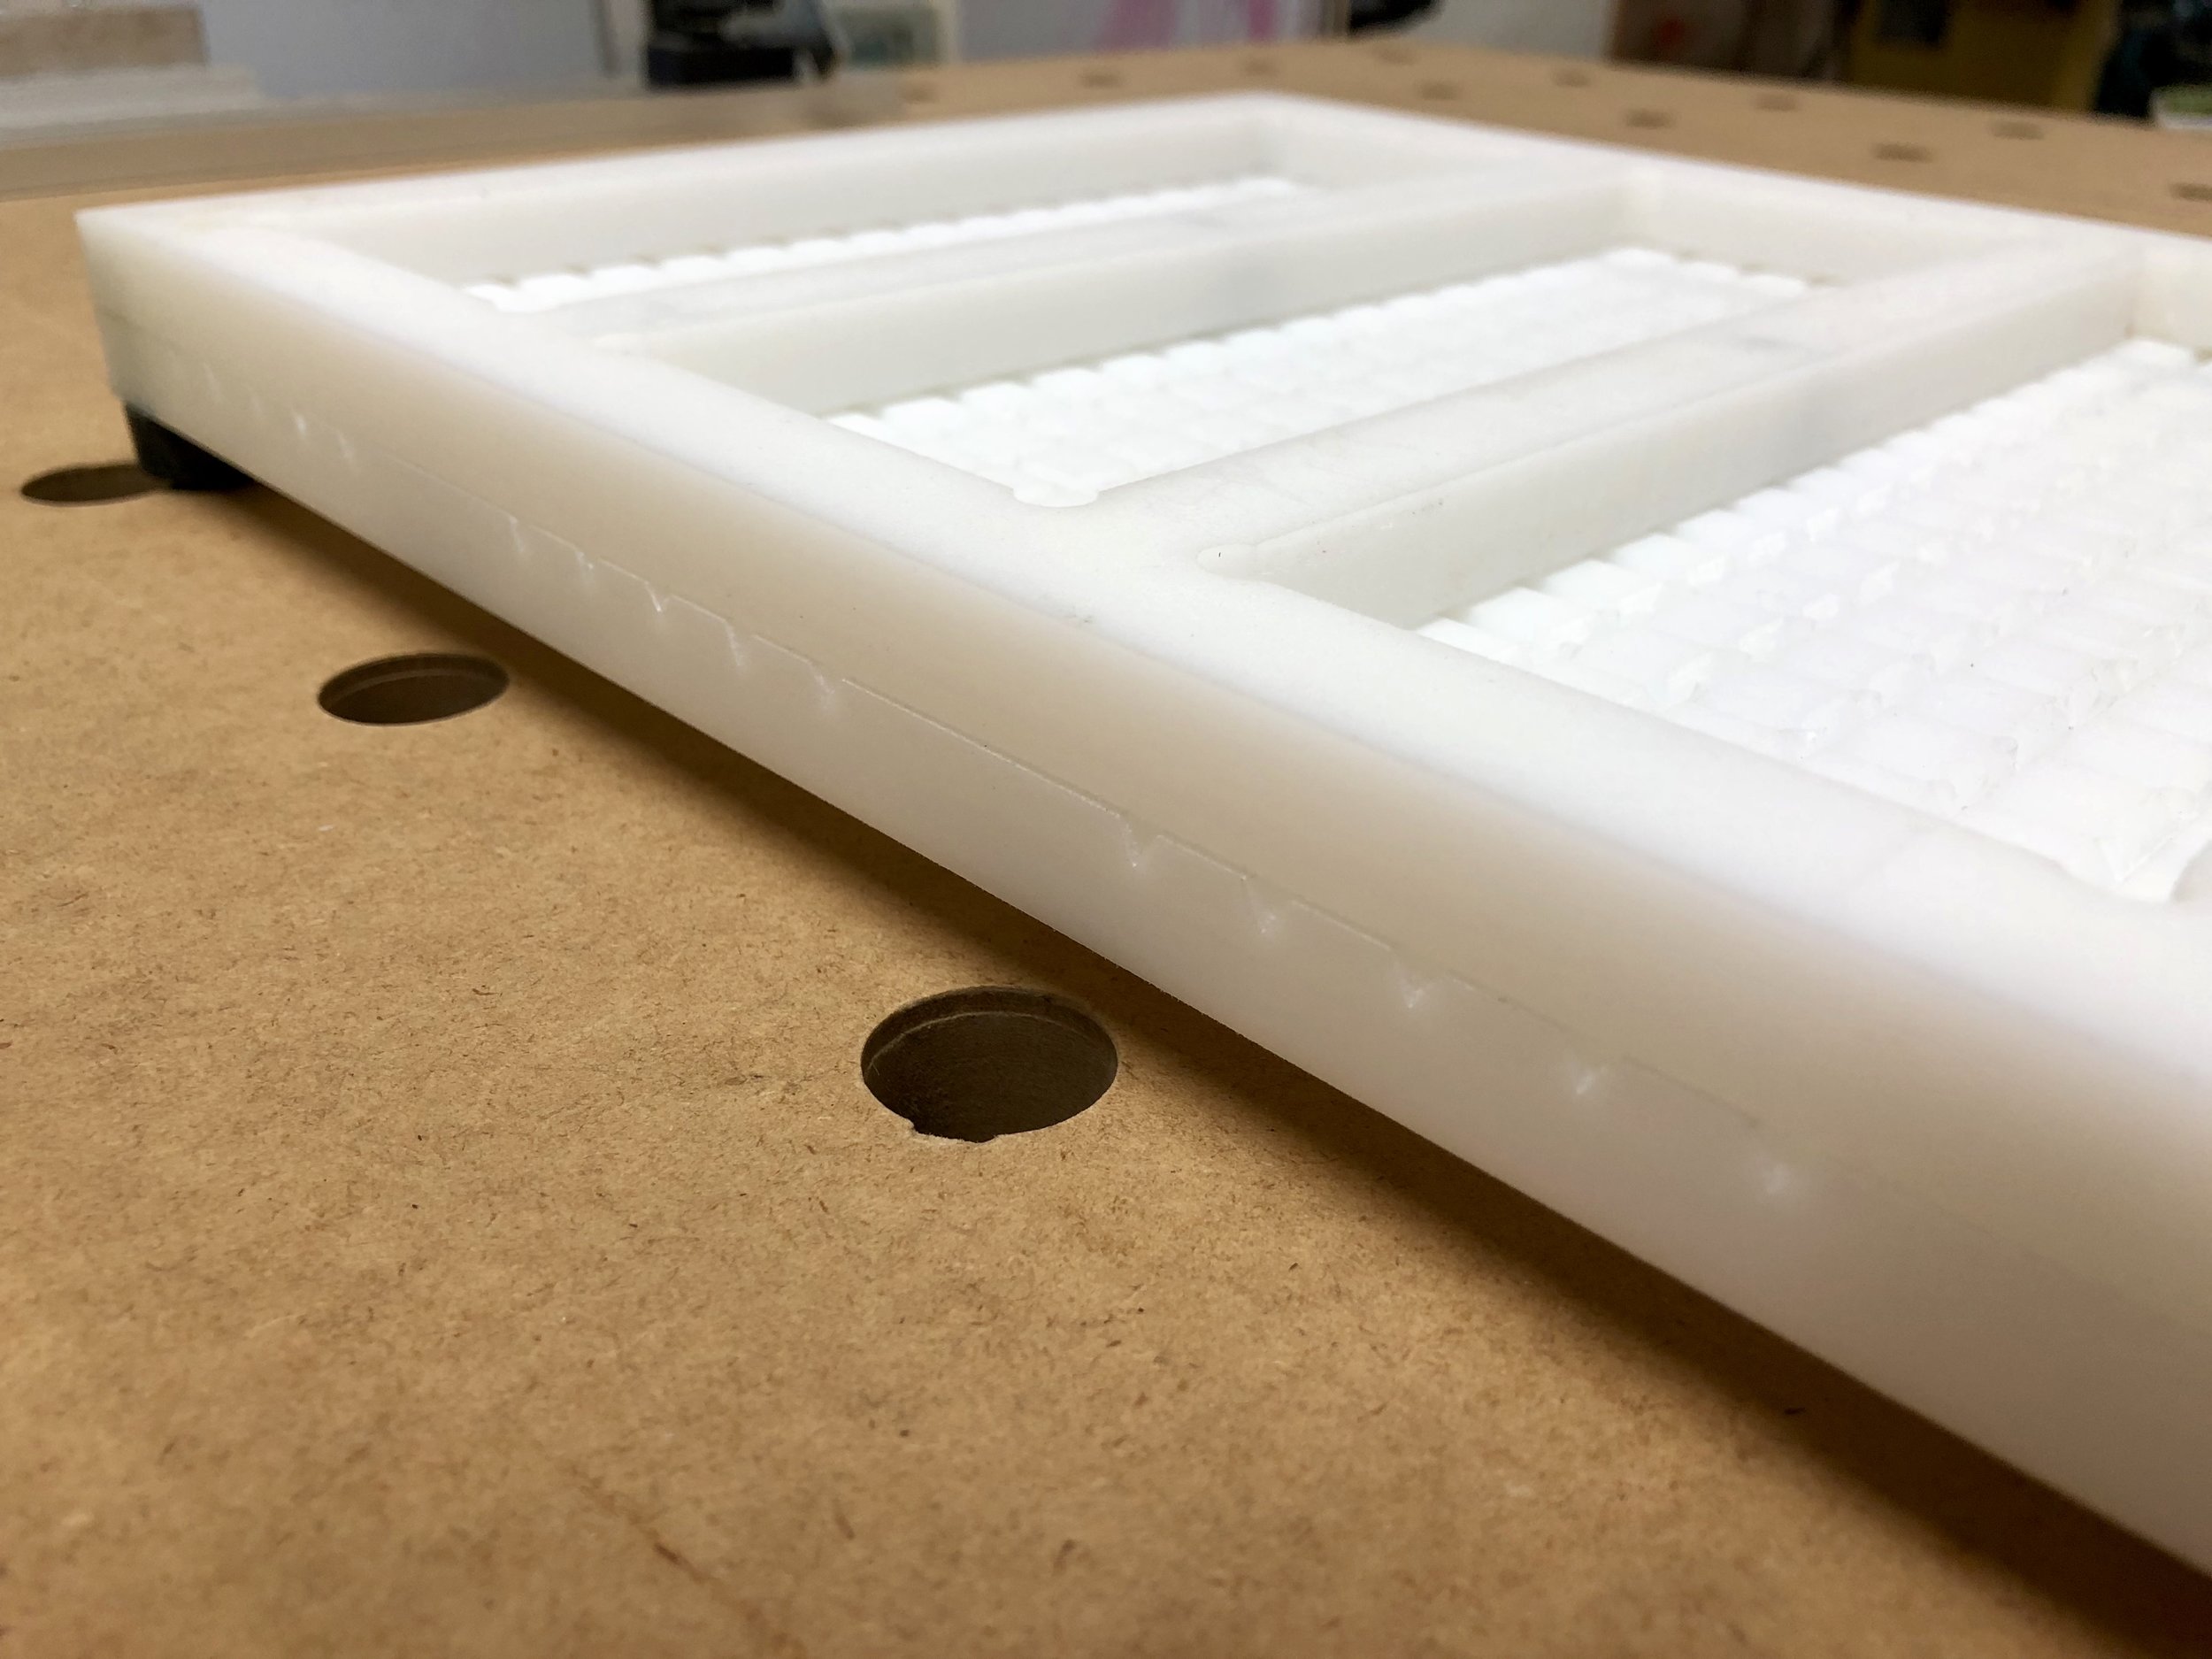
I made cutouts for the three Shapton sharpening stones I have (1000, 5000 and 8000 grits) and angle settings for 5 degree increments from 20 to 50 degrees across the bottom. The grooves on the back piece allow for drainage and weeping holes on the sides for excess water.
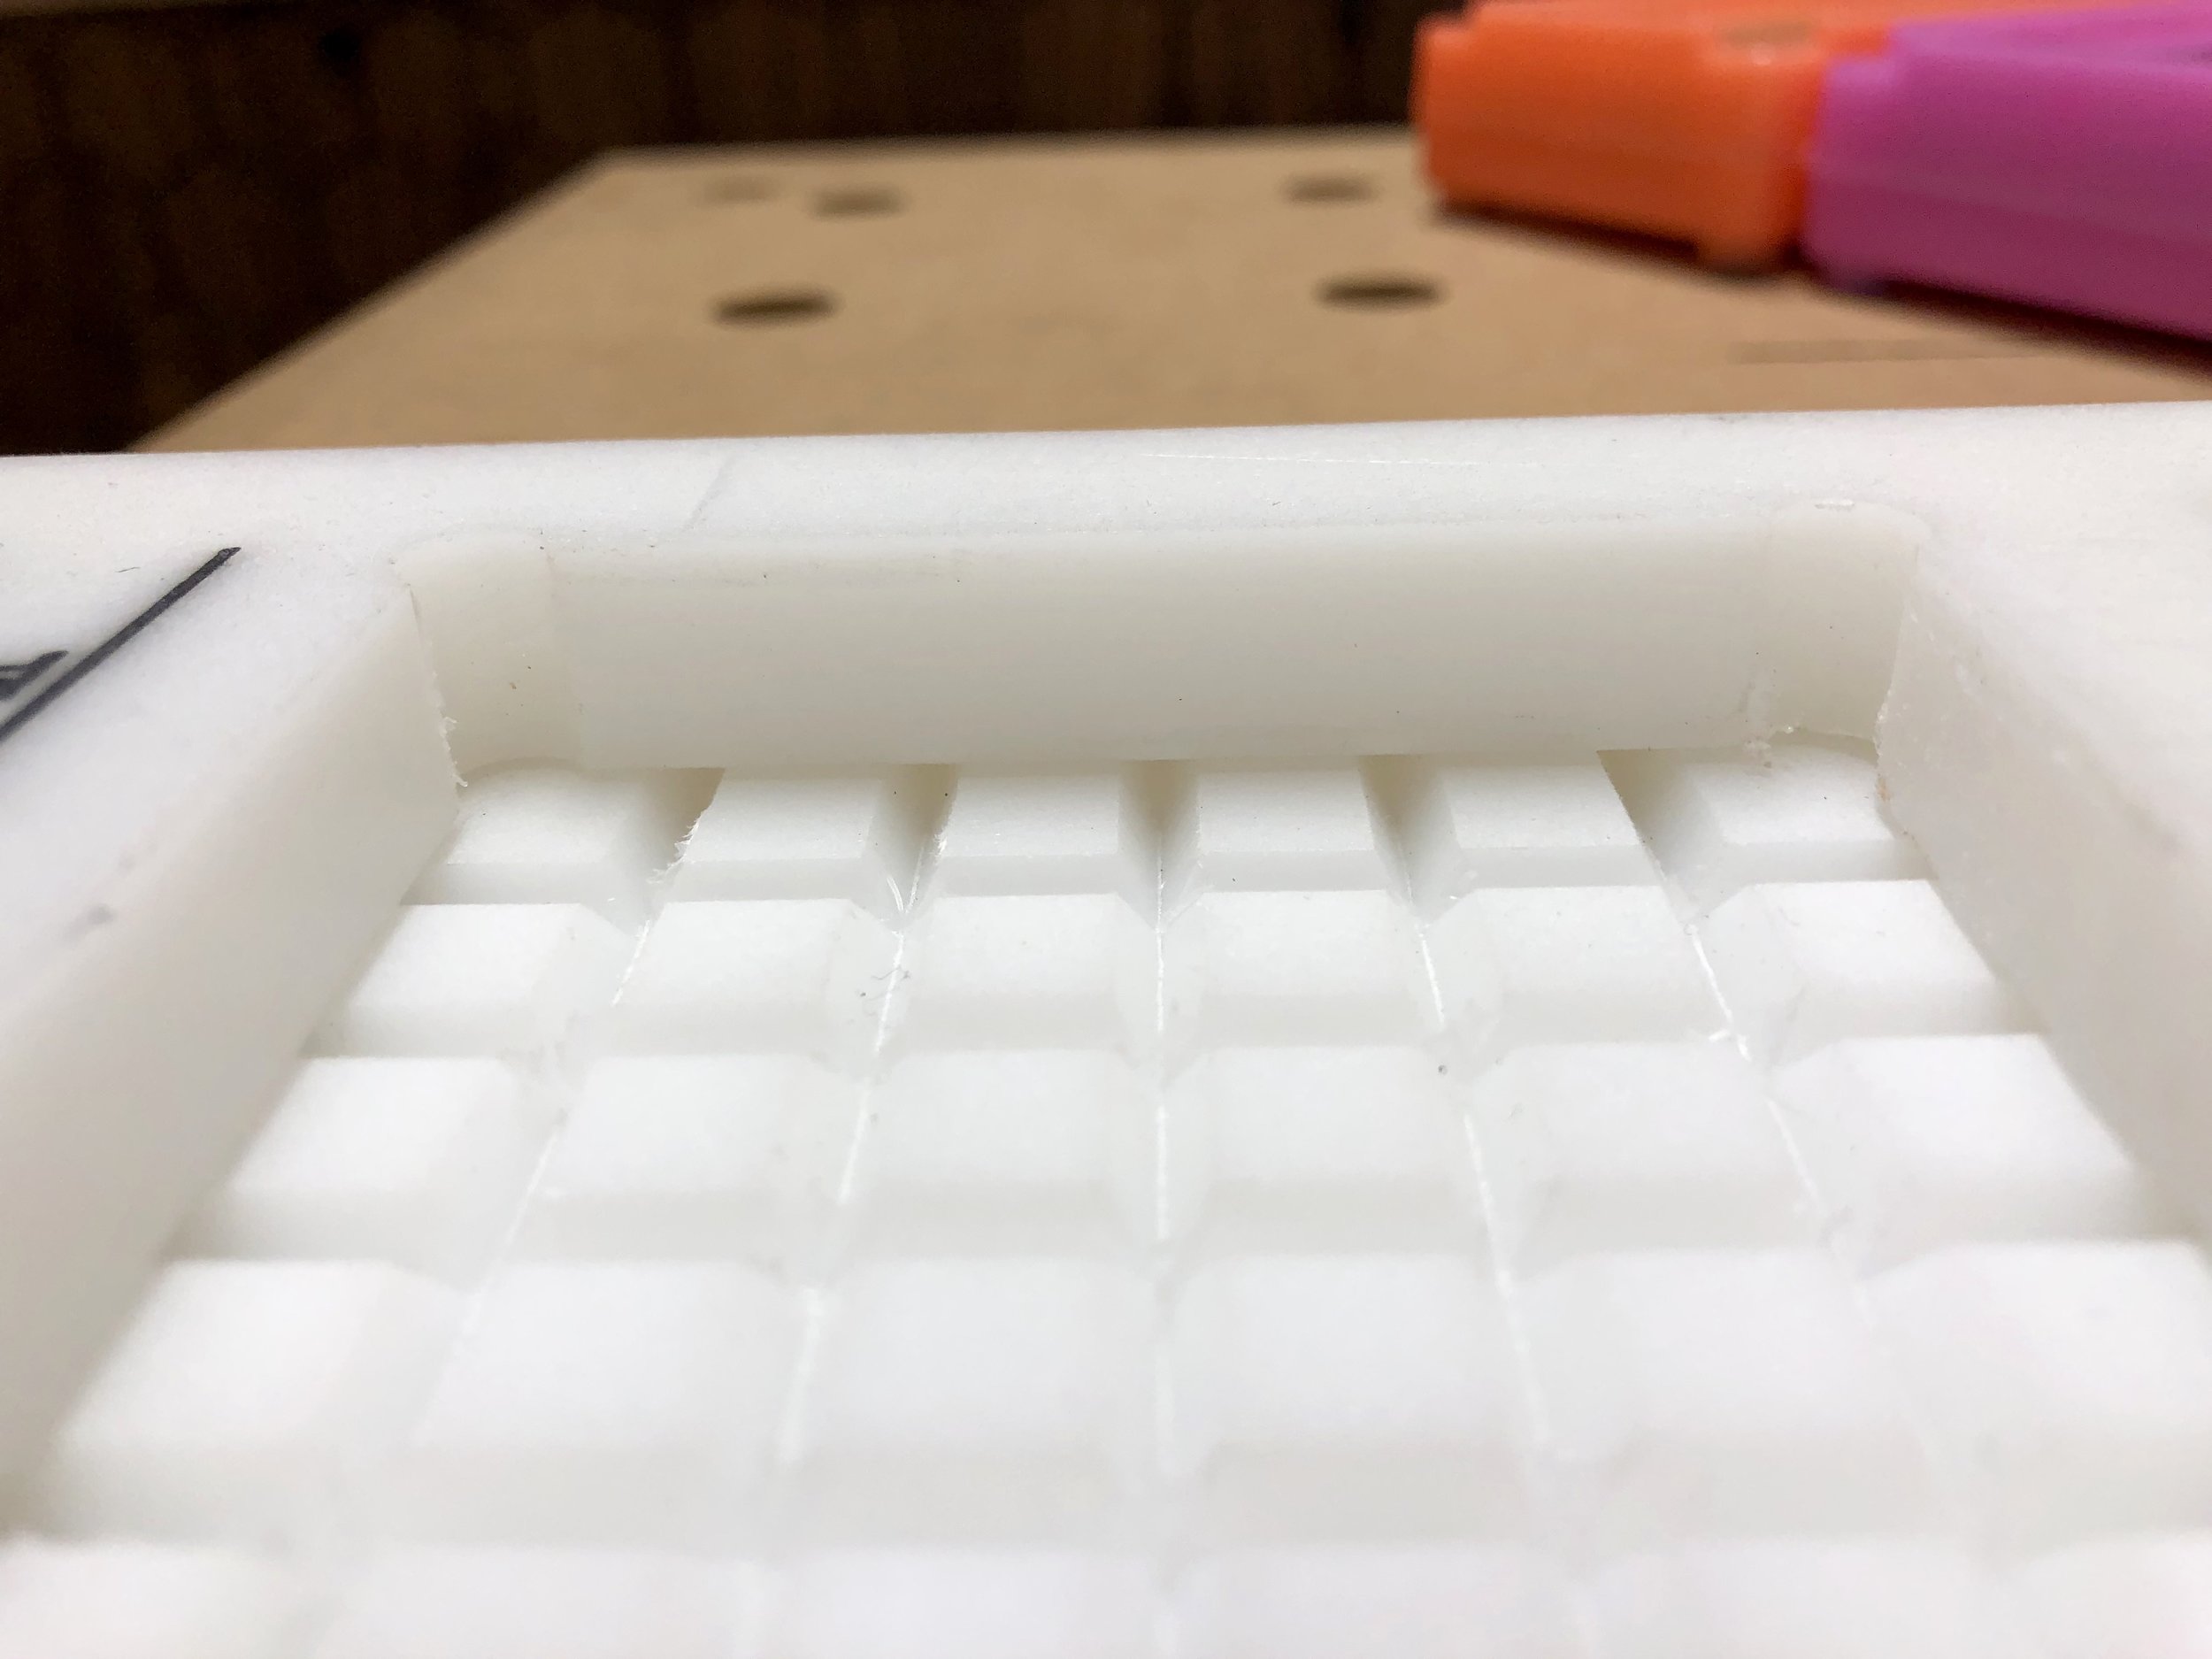
I chose to use HDPE (the same stuff as plastic cutting boards) for the final version. Since this was going to slide around I added rubber feet to the bottom. I also used black epoxy to fill in the lettering and numbers.
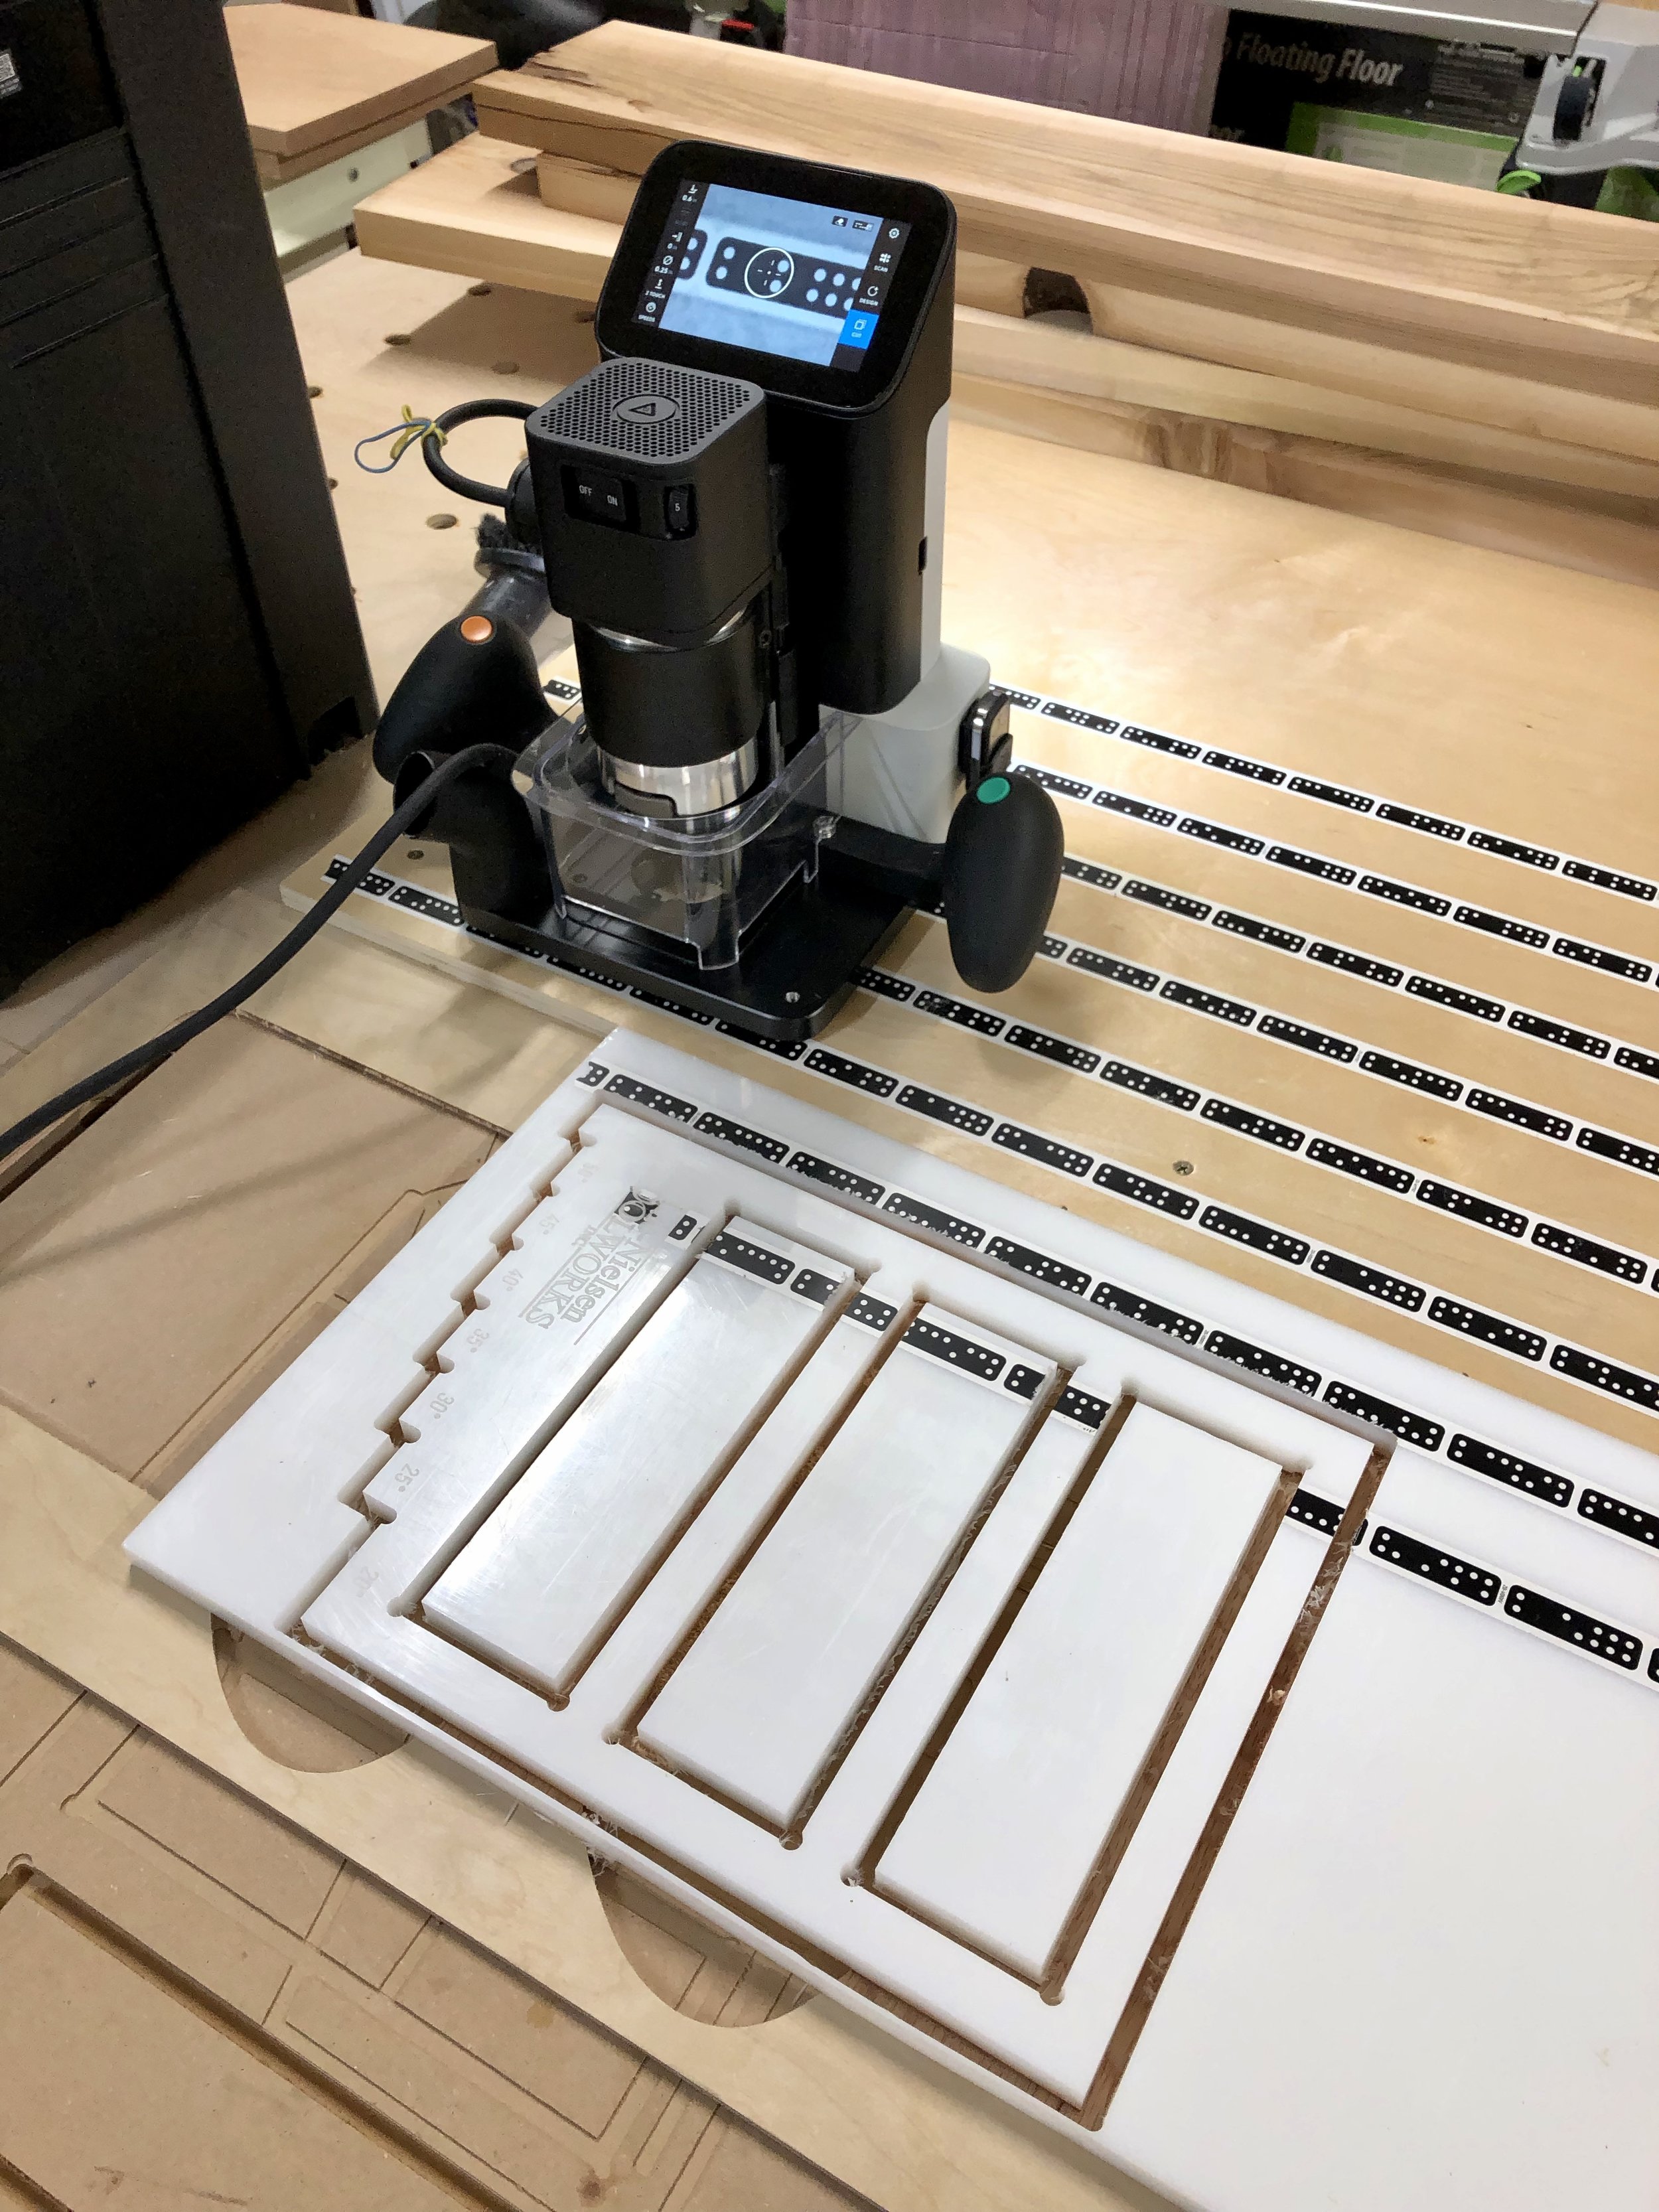
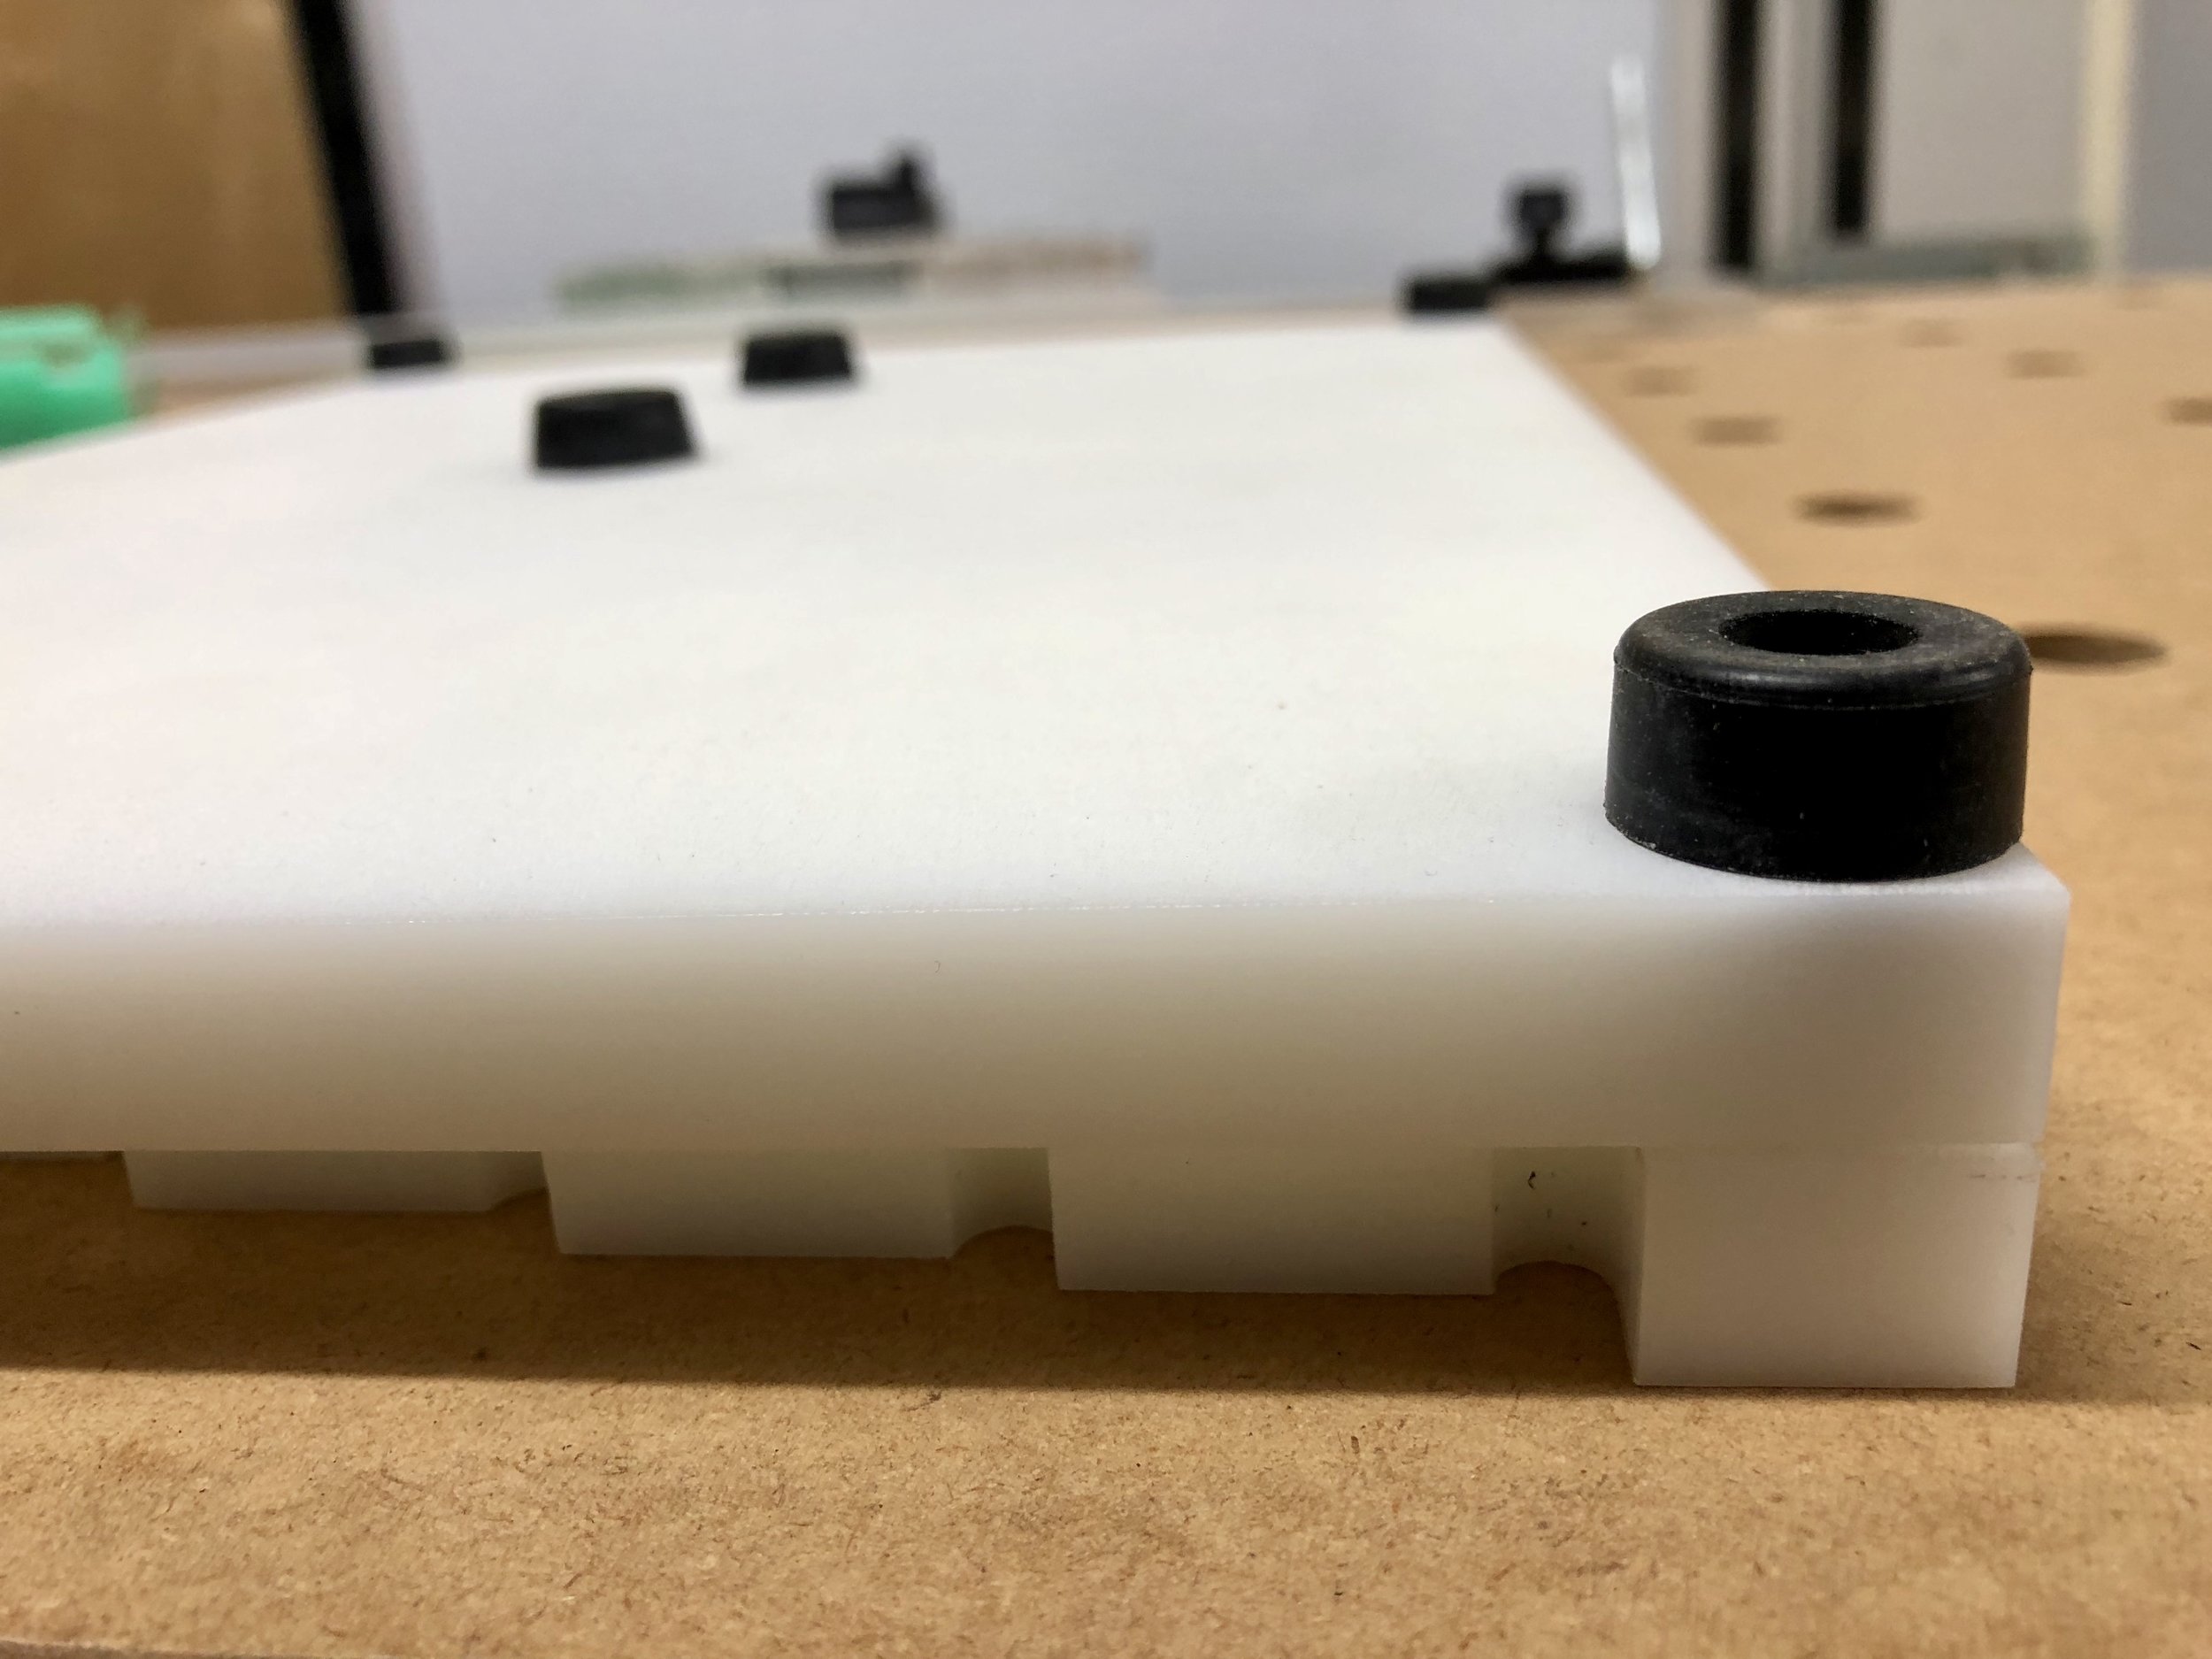
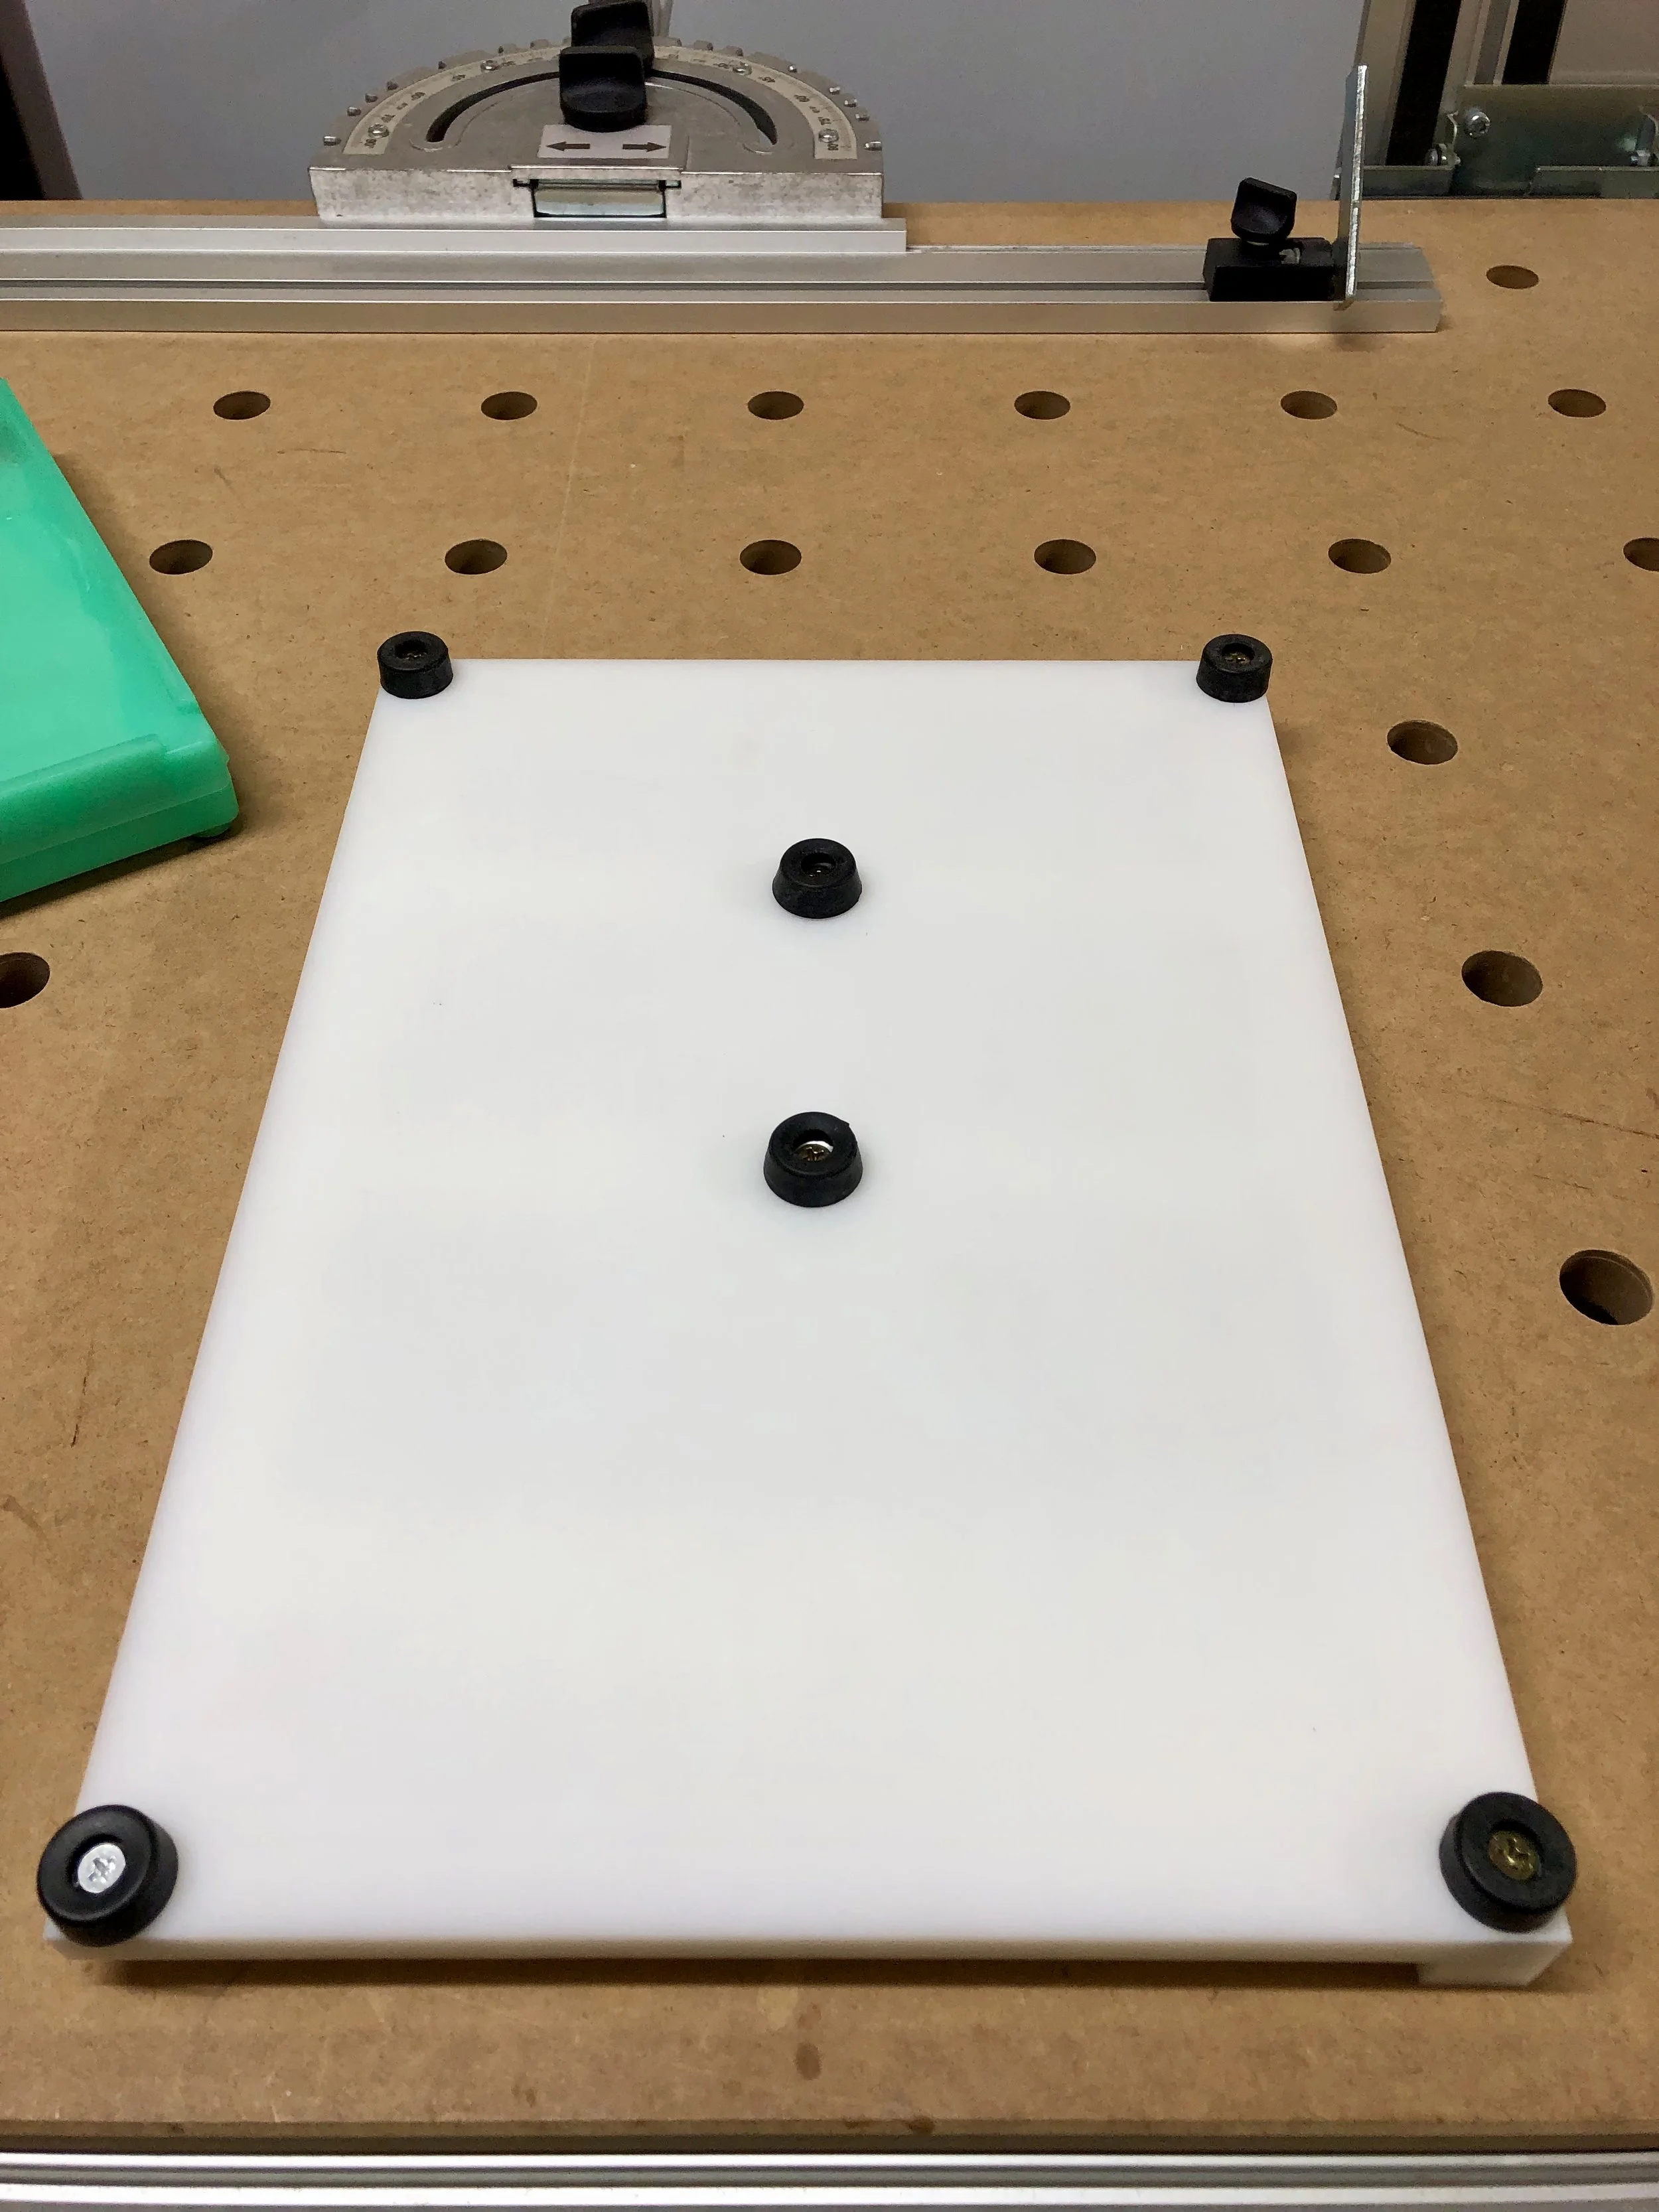
Lessons learned
Because of all of the drainage grooves in the back piece it tends to warp or bend up slightly so if I was to build another one I might do less grooves.
Alignment of the top and bottom pieces is critical for the correct measurements and can be a bit tedious.
Now it’s time to sharpen some blades and put the tools to work.
As always, I hope this was helpful. If you have any thoughts or comments please leave them below.
Cheers,
Lee

