
Custom walnut cabinetry, book-matched grain, burl veneer, concealed wiring and lighting, and the challenges of bringing it all together.
I recently completed a custom walnut fireplace surround with built-in display cases, cabinetry, and a matching hearth. This was one of those projects that involved quite a bit more than simply cutting wood and assembling cabinets.
Between sourcing the walnut, matching the grain and color, working with burl veneer, integrating lighting and electrical access, and preparing everything for installation. There were plenty of interesting challenges along the way. I ended up calling the project “The Butterfly”, inspired by all of the bookmatched walnut grain patterns incorporated throughout the design.
Here's a closer look at how it came together.
A Collaborative Design Process
I had the opportunity to work with interior designer Cassie Johnson, of Johnson & Walker Real Estate, on this project, which made it an especially enjoyable experience. One of the things I really appreciated was how open the homeowners were to my suggestions throughout the design and build. They had a vision for what they wanted, but they also trusted me to recommend materials, work through design challenges, and suggest details that I thought would make the finished project better.
The project took approximately three months from start to finish, with much of the first month spent sourcing materials. Finding the right walnut turned out to be a project in itself! The homeowners were incredibly patient throughout the process. I kept them updated with regular progress reports and photographs so they could see how things were coming together. They even made room in their garage for me to use as a workspace during the build, which was a tremendous help.
I'm grateful for the trust they placed in me and for their willingness to let me explore some of the design ideas that ultimately made this project unique.
Designing Around an Art Collection
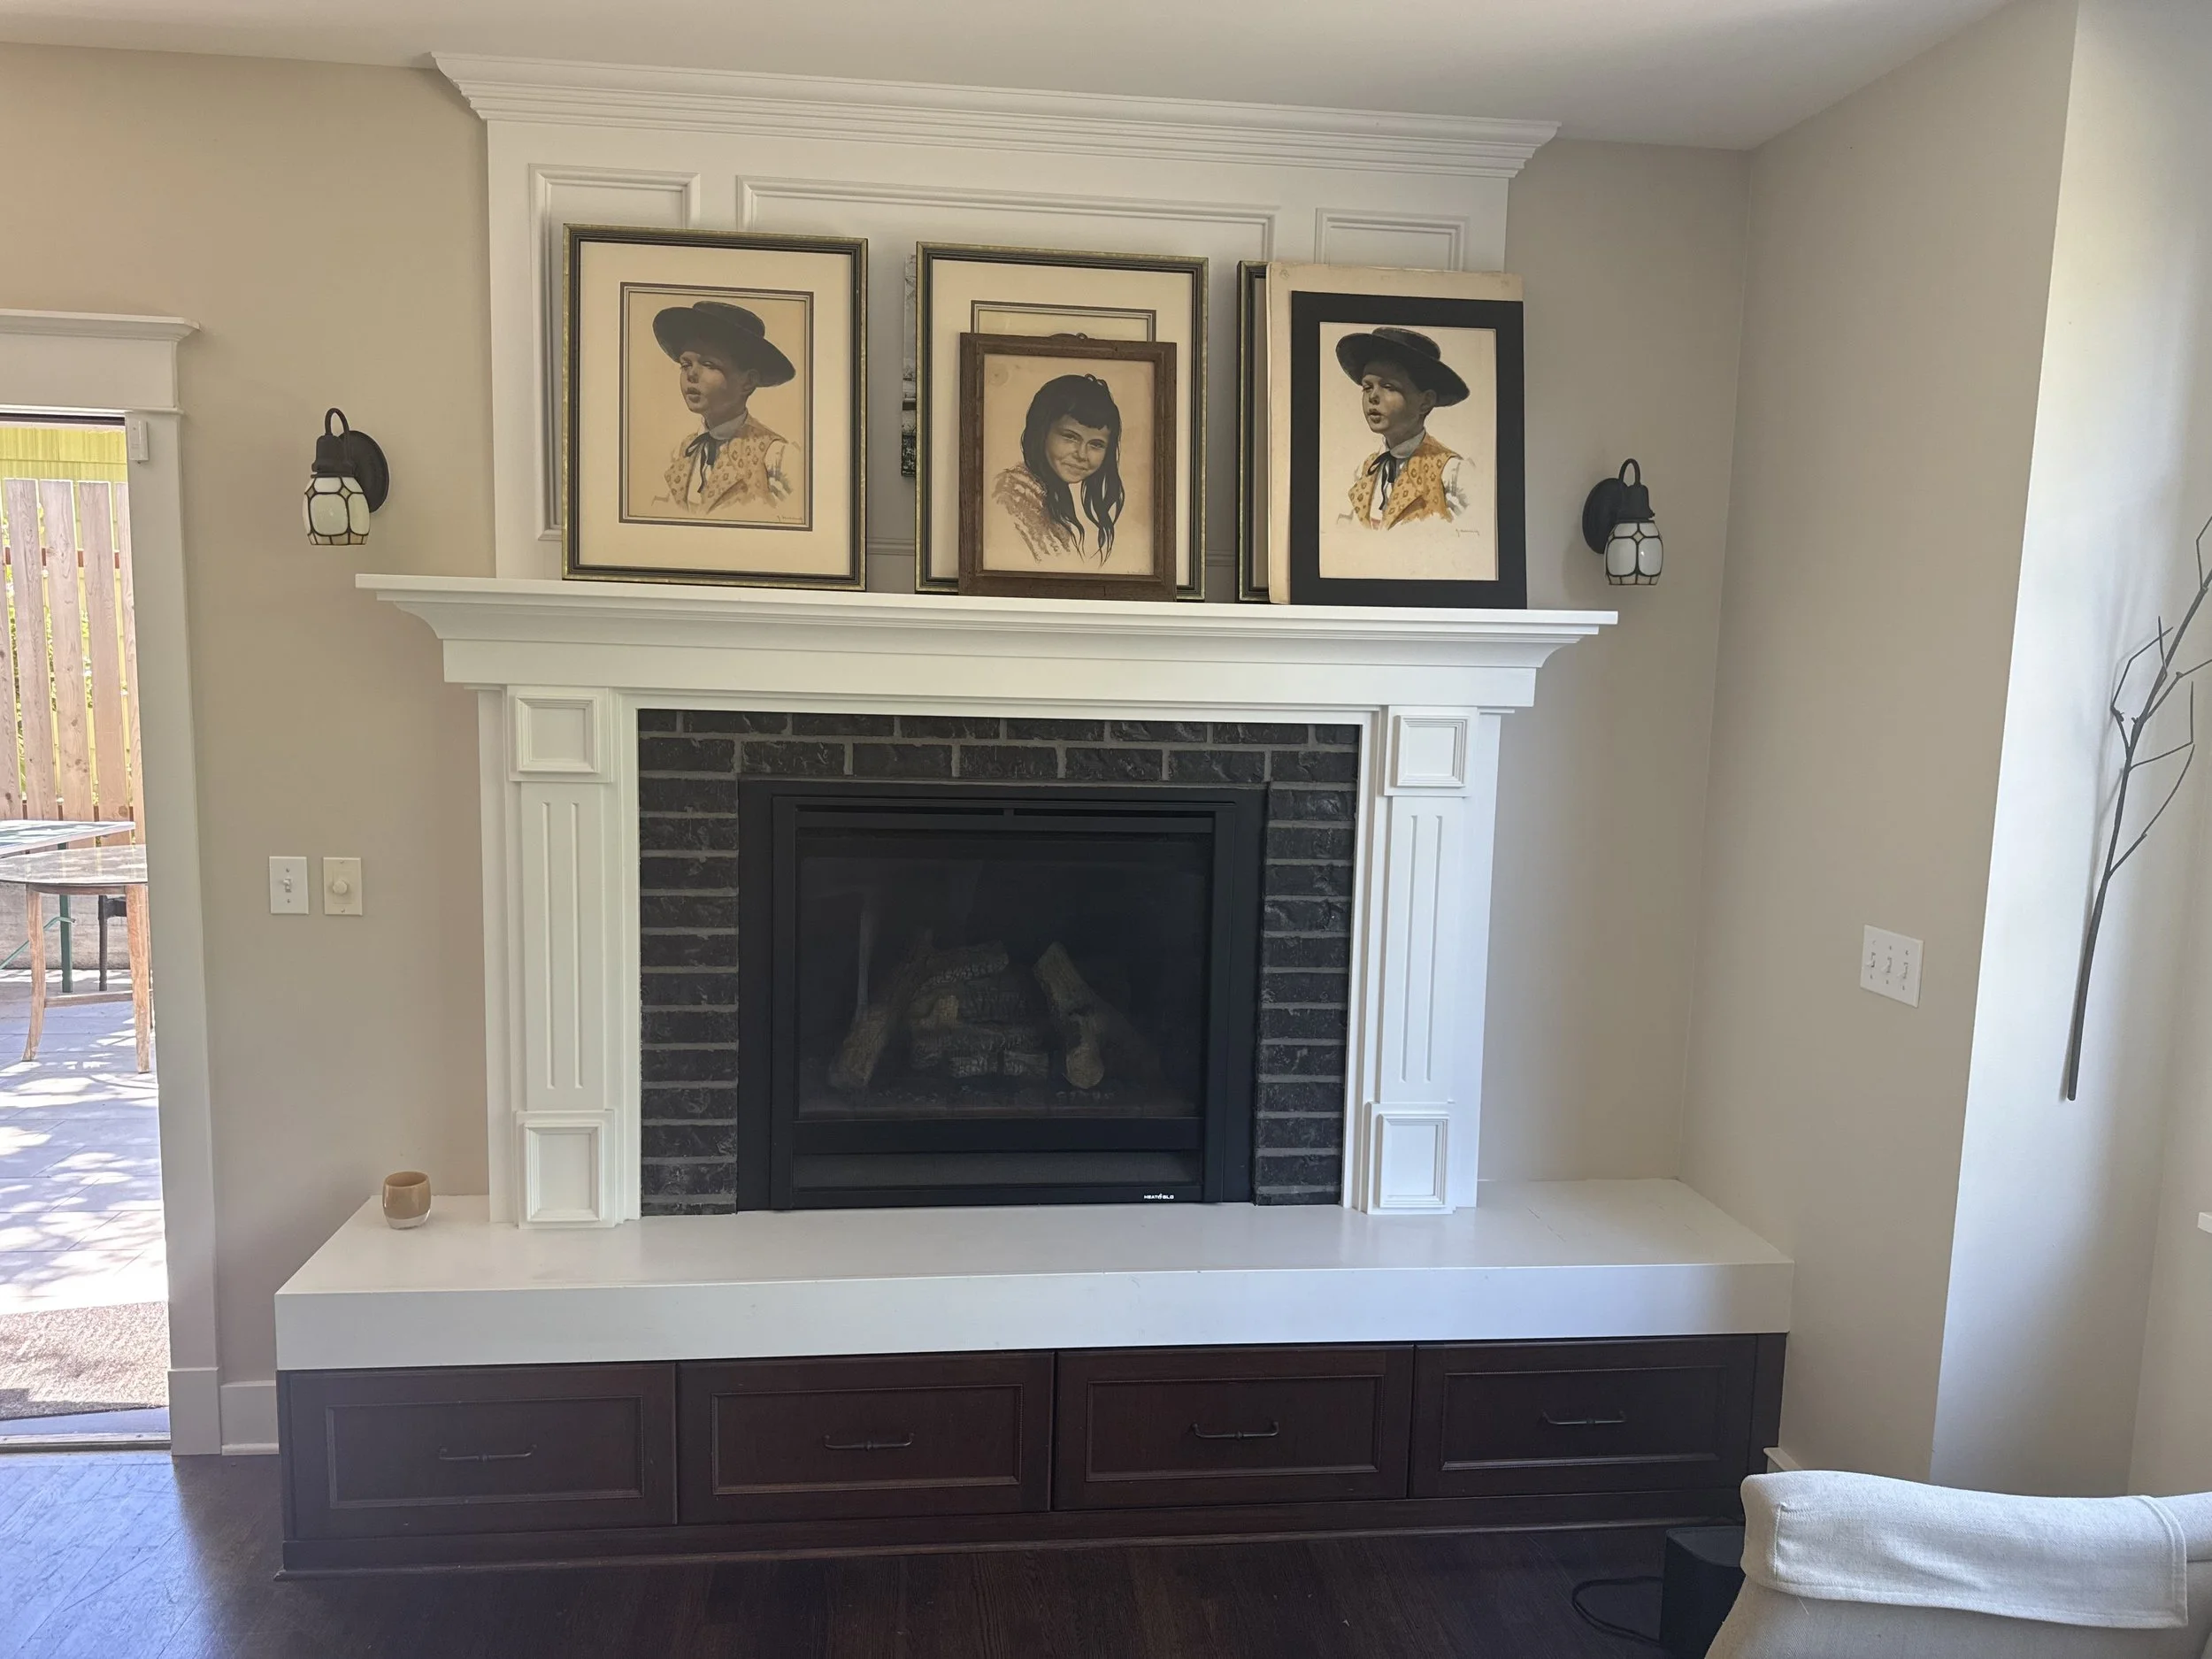
The homeowners enjoy traveling and have collected artwork and objects from the places they've visited as well as other pieces passed down from family members. Knowing that the built-in bookcases would be used primarily to display those pieces, I wanted to approach the design a little differently. Rather than creating ordinary shelving, I wanted the display cases to feel almost like jewel boxes for their collection. That idea helped guide several decisions, from the selection of burl walnut for the back panels to the concealed lighting and the way the wood grain flows throughout the cabinetry.
Why I Called It “The Butterfly”
One of the design details I spent a lot of time on was the grain.
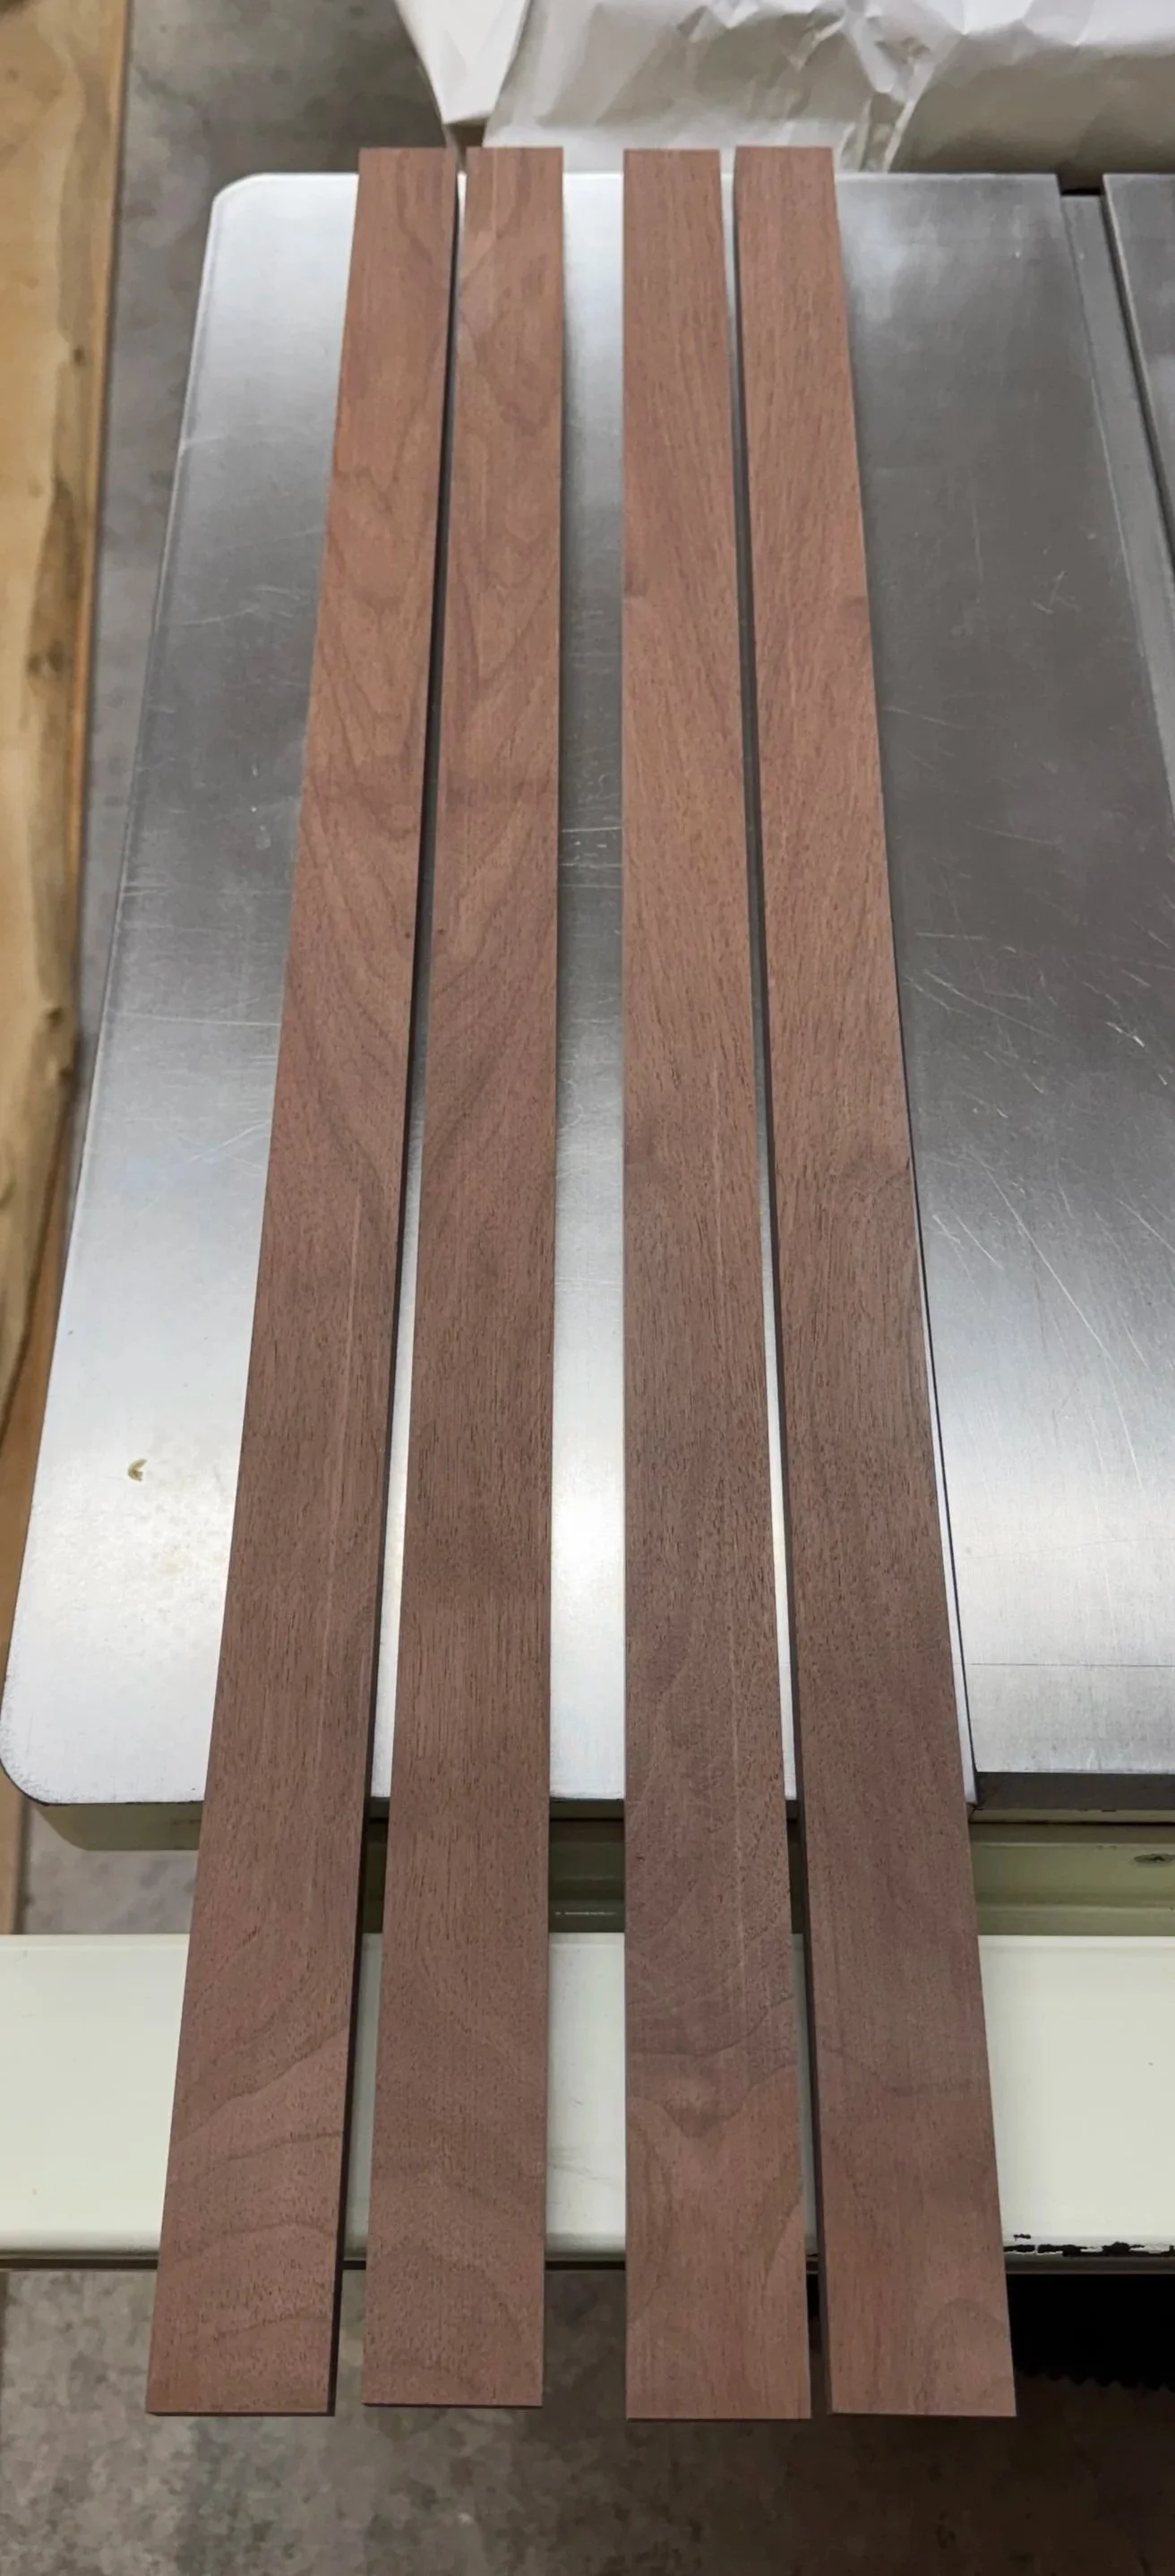
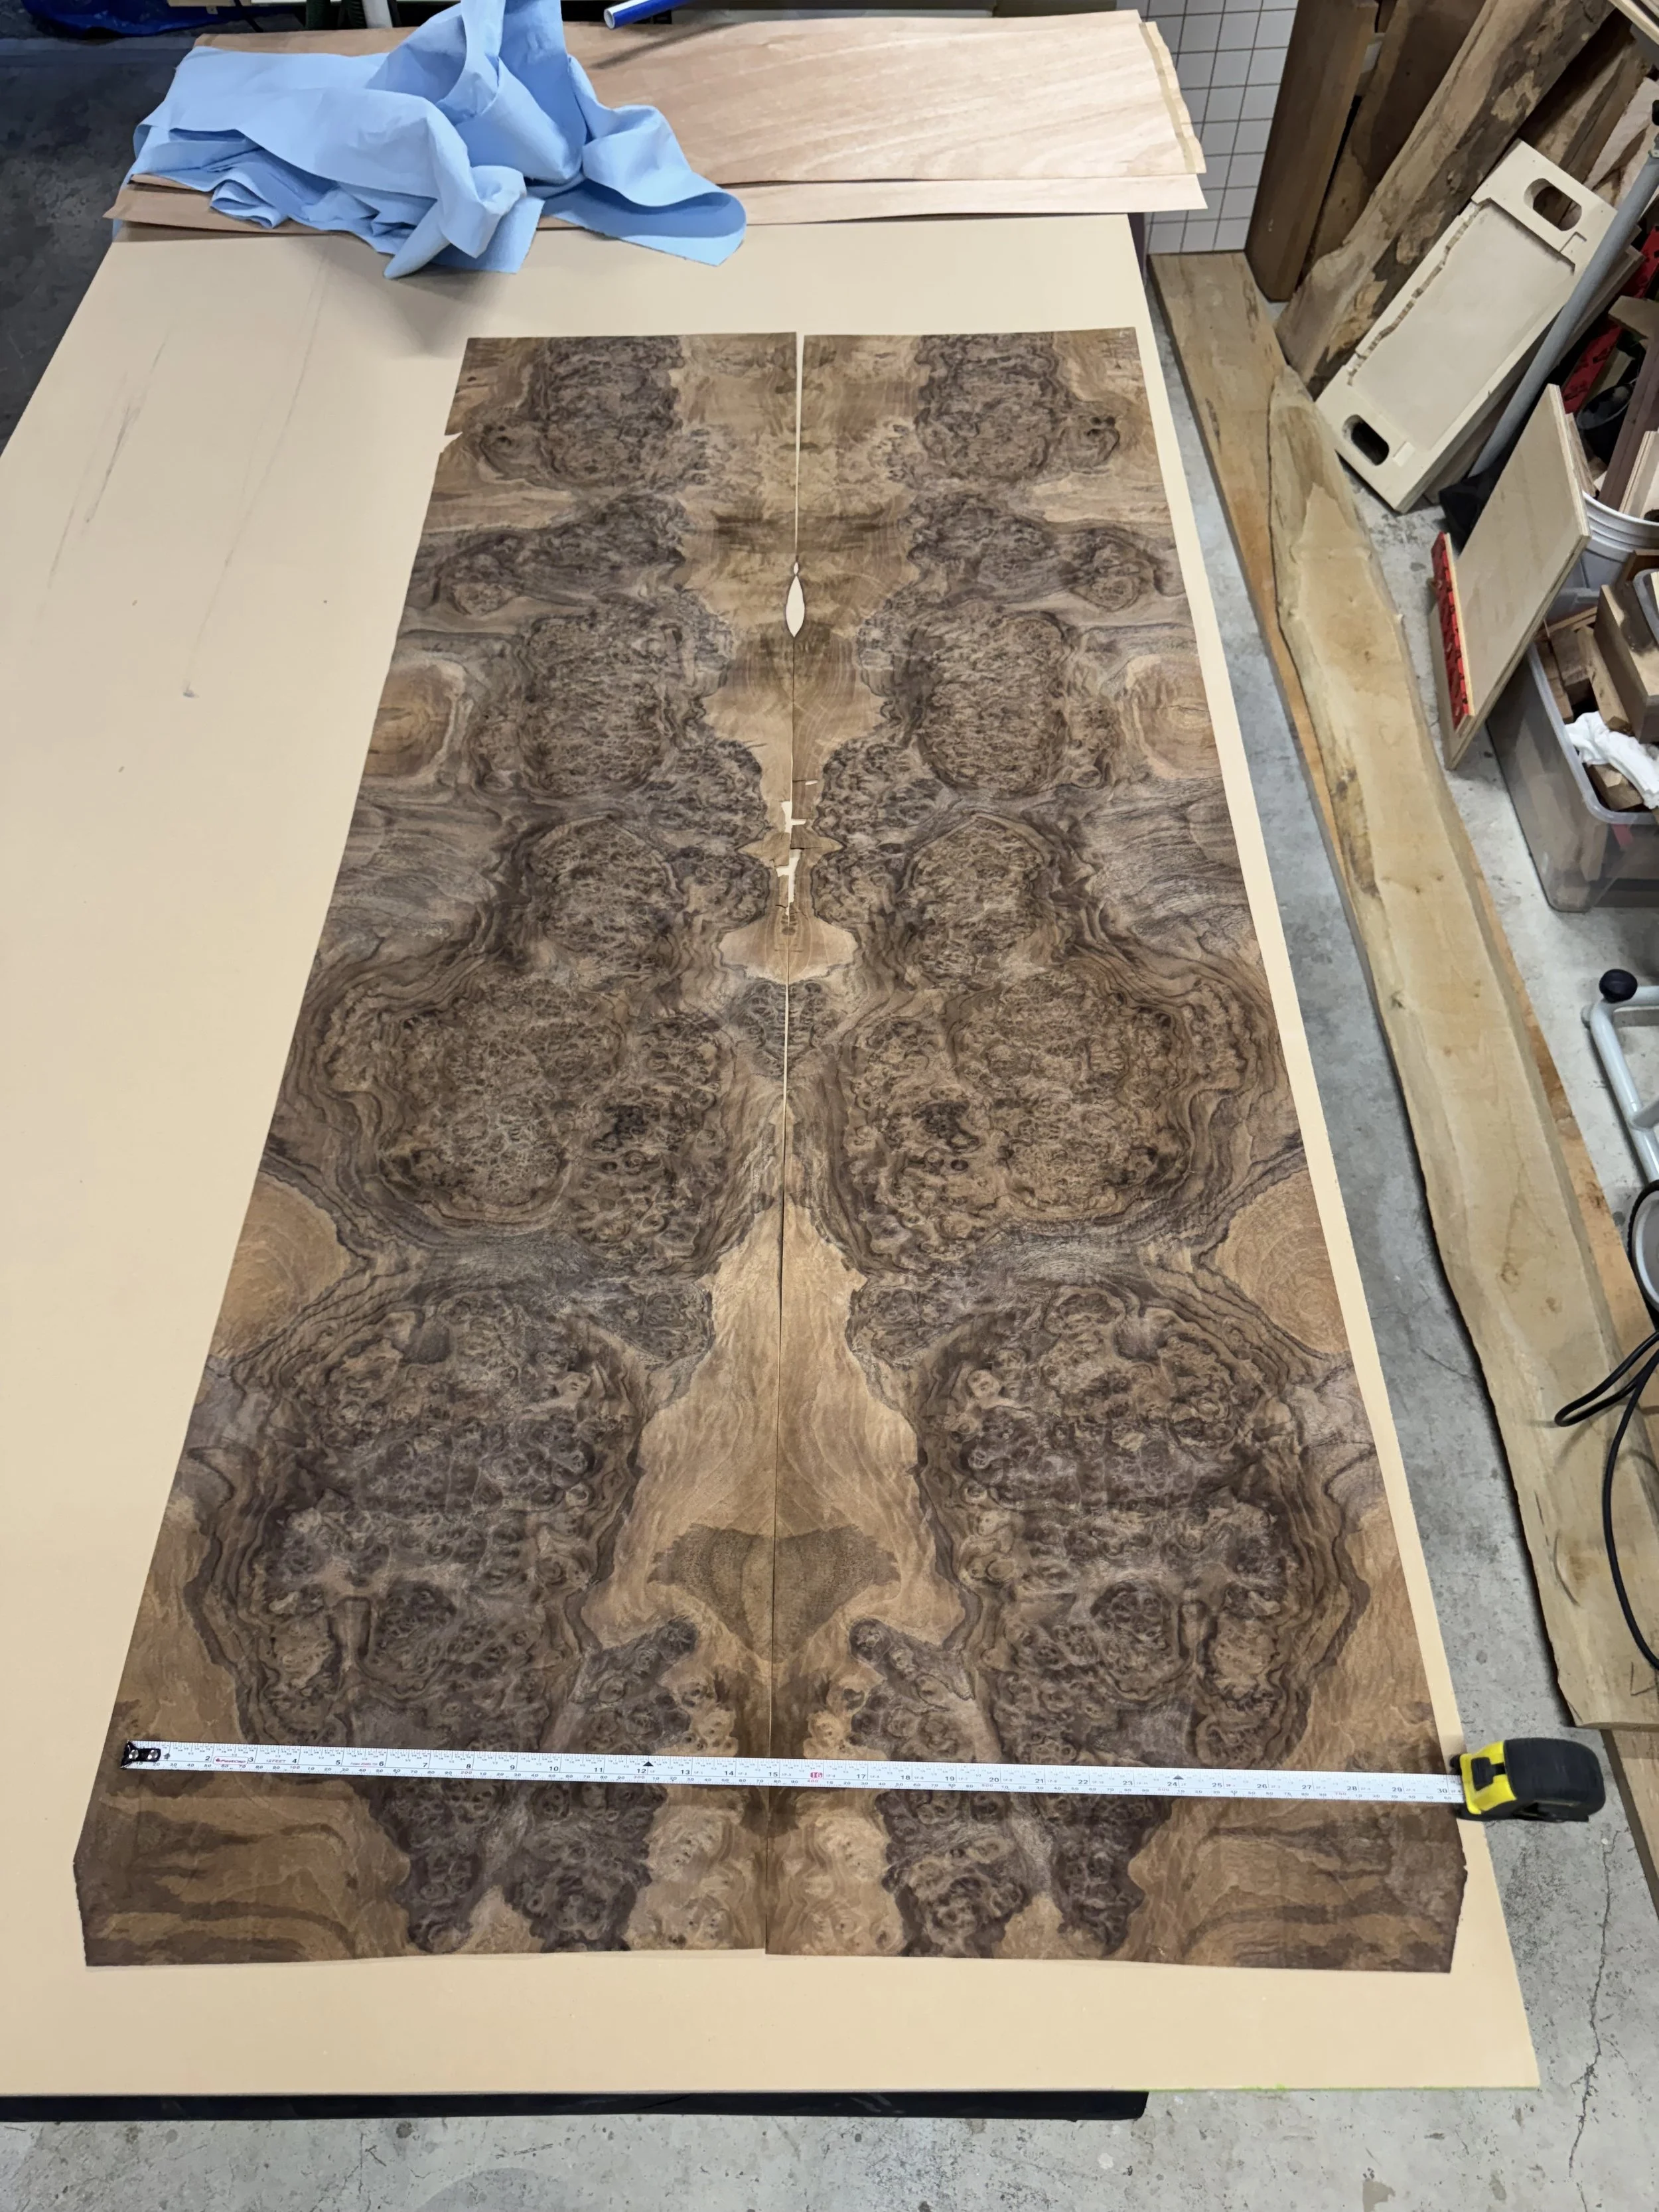
When two pieces of wood or veneer are cut and arranged as mirror images, the resulting pattern is known as bookmatching. Depending on the grain, it can create a symmetrical pattern resembling the wings of a butterfly.
I incorporated bookmatched grain in several places throughout the surround, including the stiles and rails of the display cases, drawer fronts, mantel, and hearth. The walnut burl veneer used for the display case backs added another layer of distinctive, mirrored grain patterns.
But bookmatching was only part of the design. I also wanted the grain to flow continuously across the drawer fronts rather than having each drawer look like an unrelated piece of wood. I took a similar approach with the shelves, maintaining the grain's continuity across the two display cases.
These details required quite a bit of planning during material selection, layout, and fabrication. Once a board is cut into individual components, it's easy to lose track of the original grain pattern if everything isn't carefully marked and organized. It's the kind of detail that can be subtle in the finished project, but I think it helps make the entire surround feel like a cohesive piece of furniture rather than a collection of cabinets.
Finding the Right Walnut
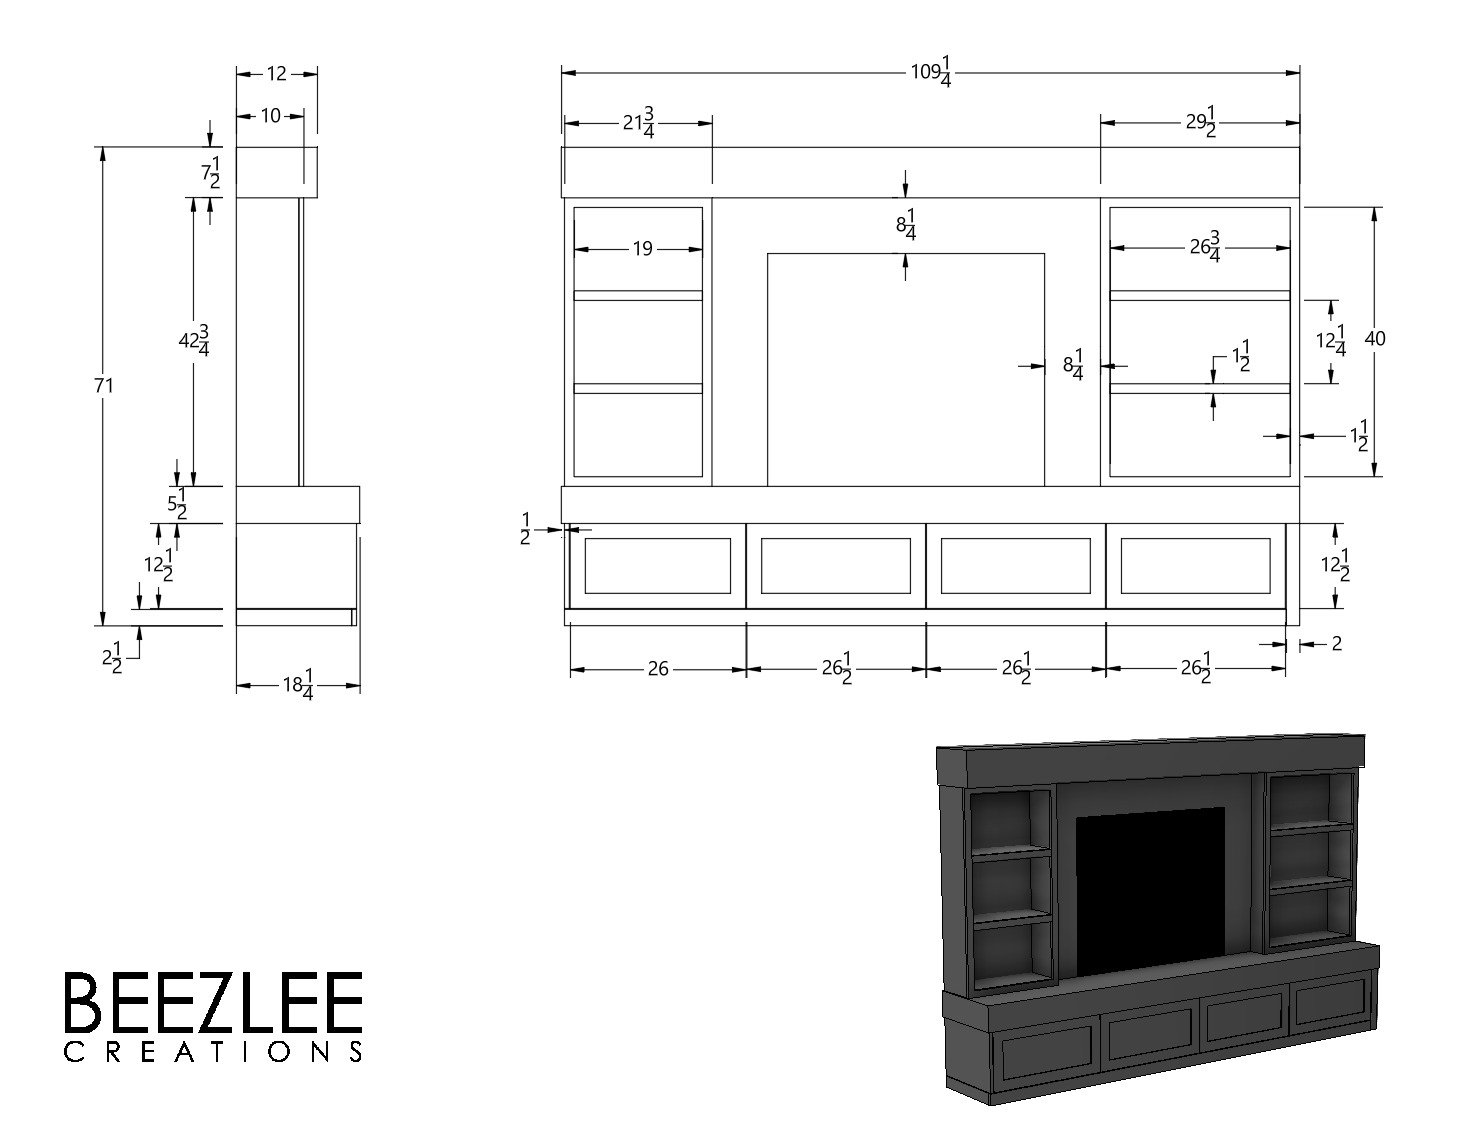
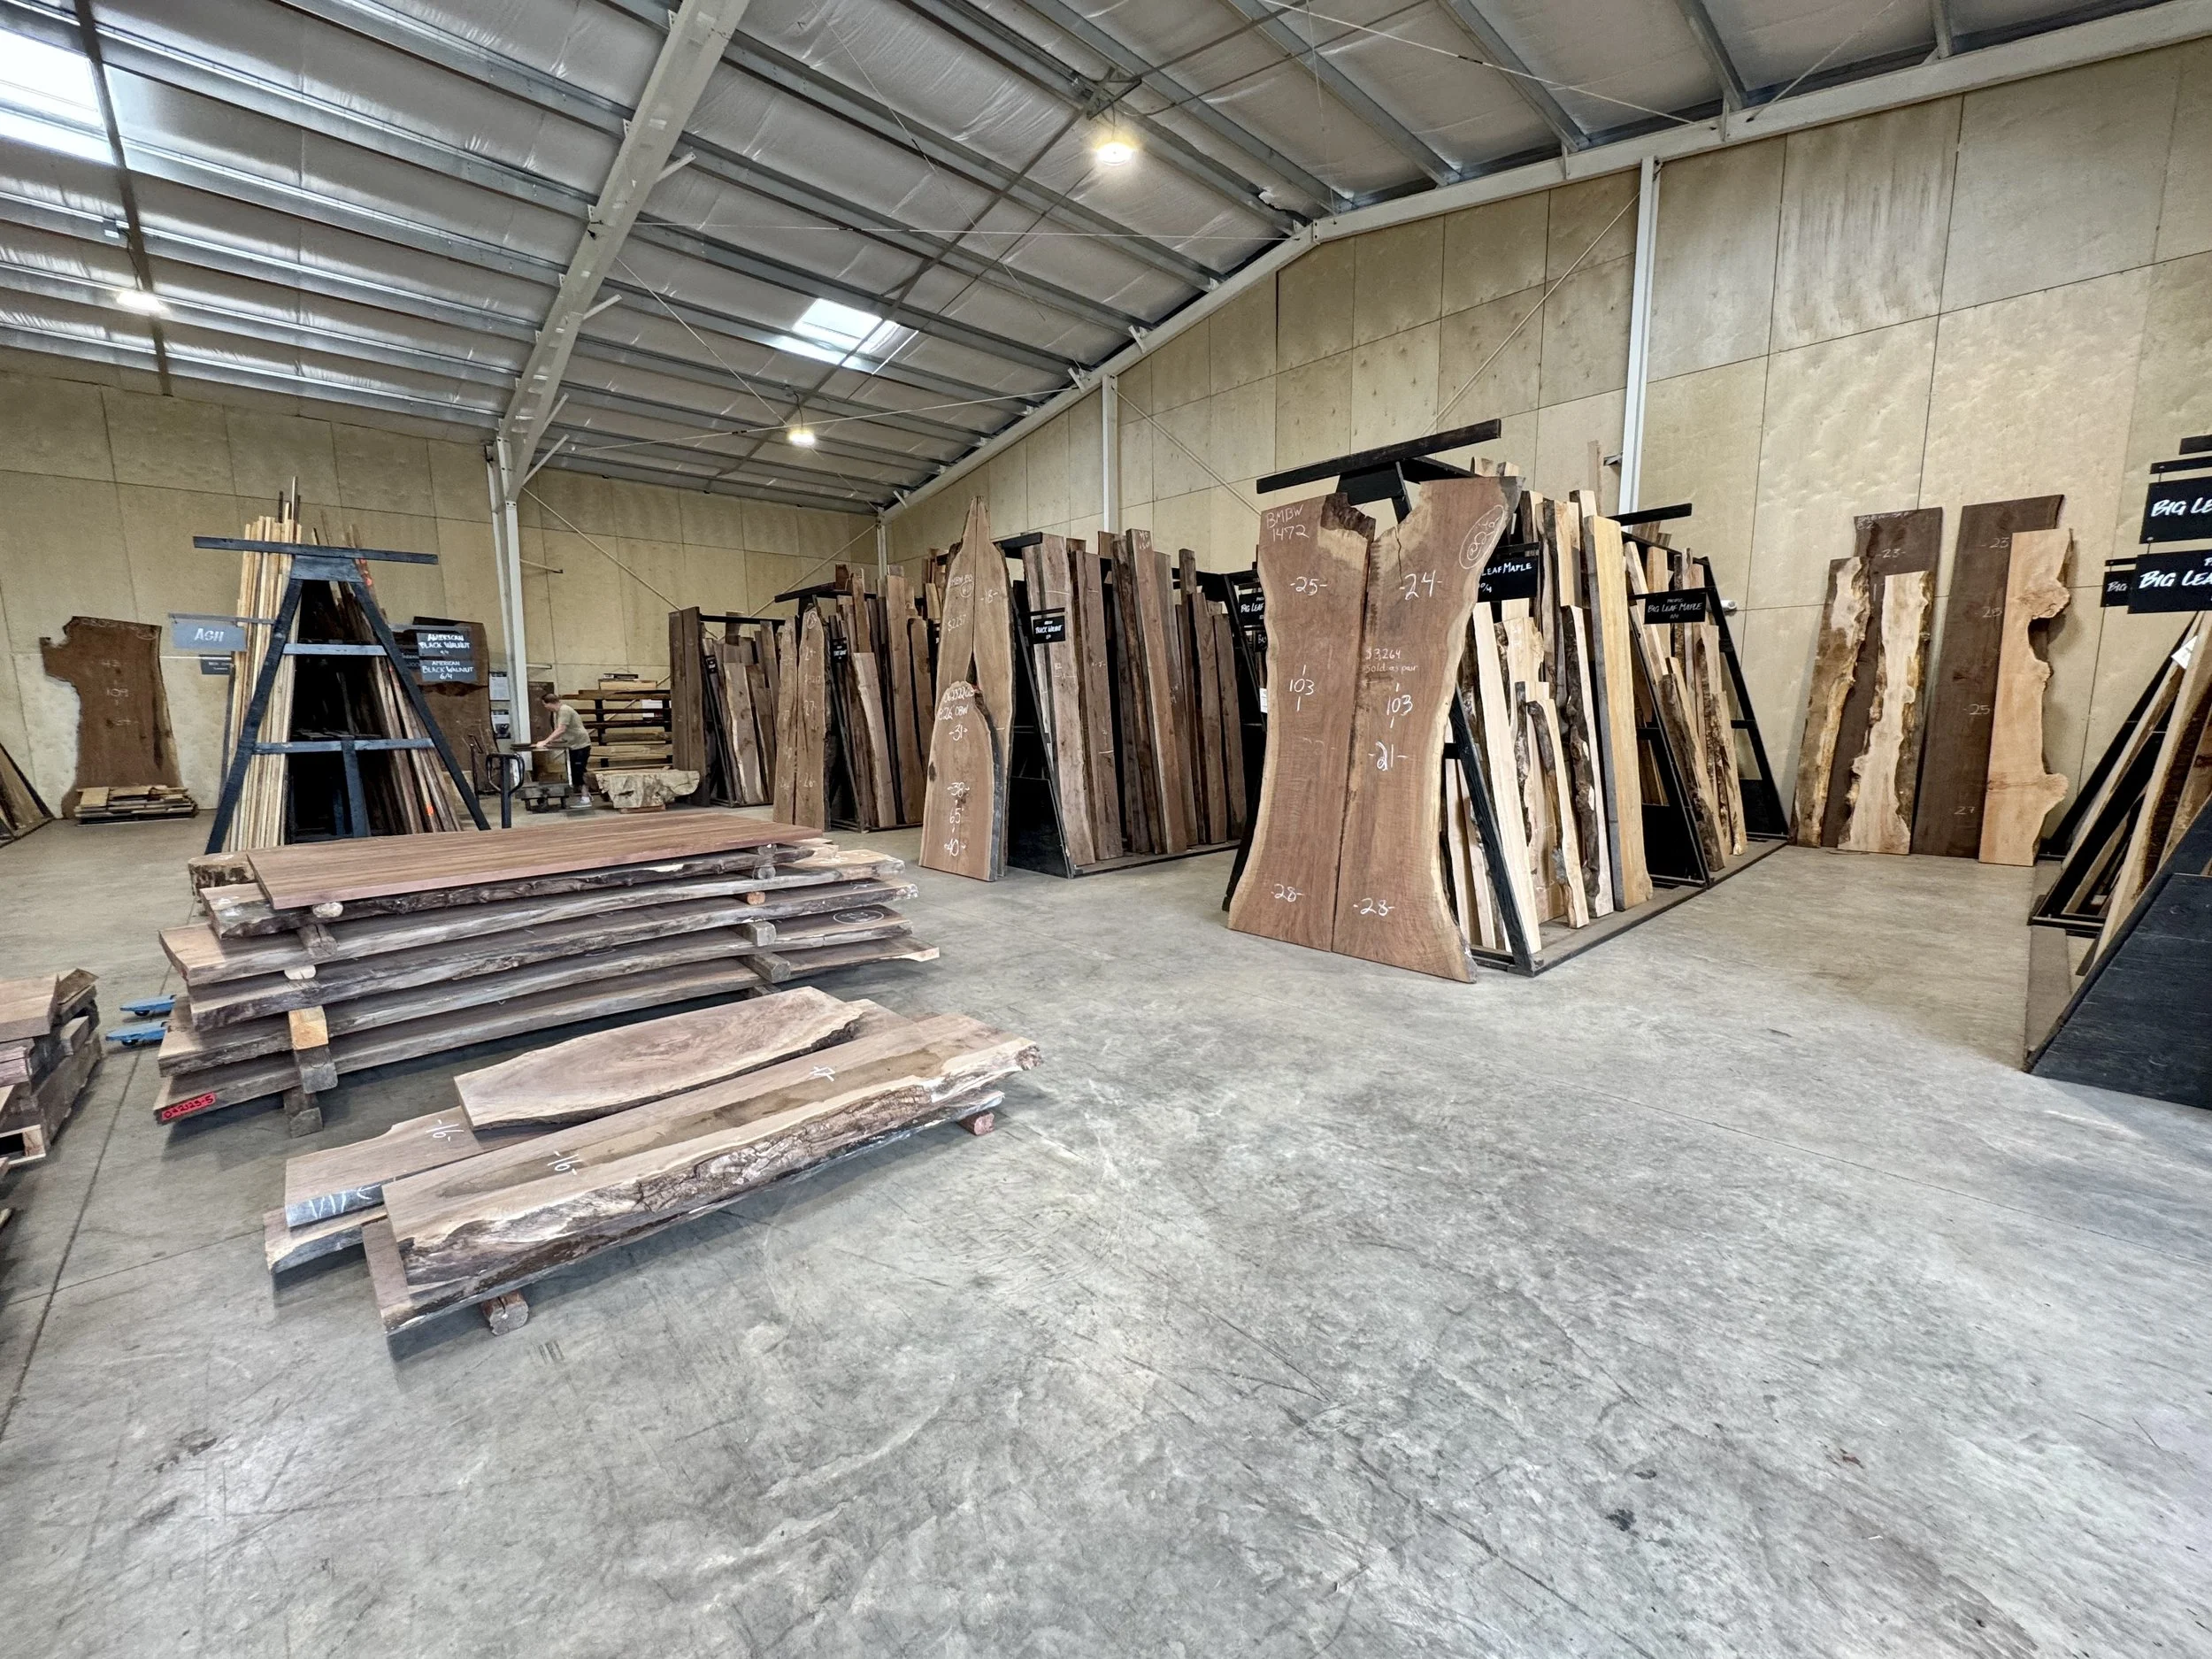
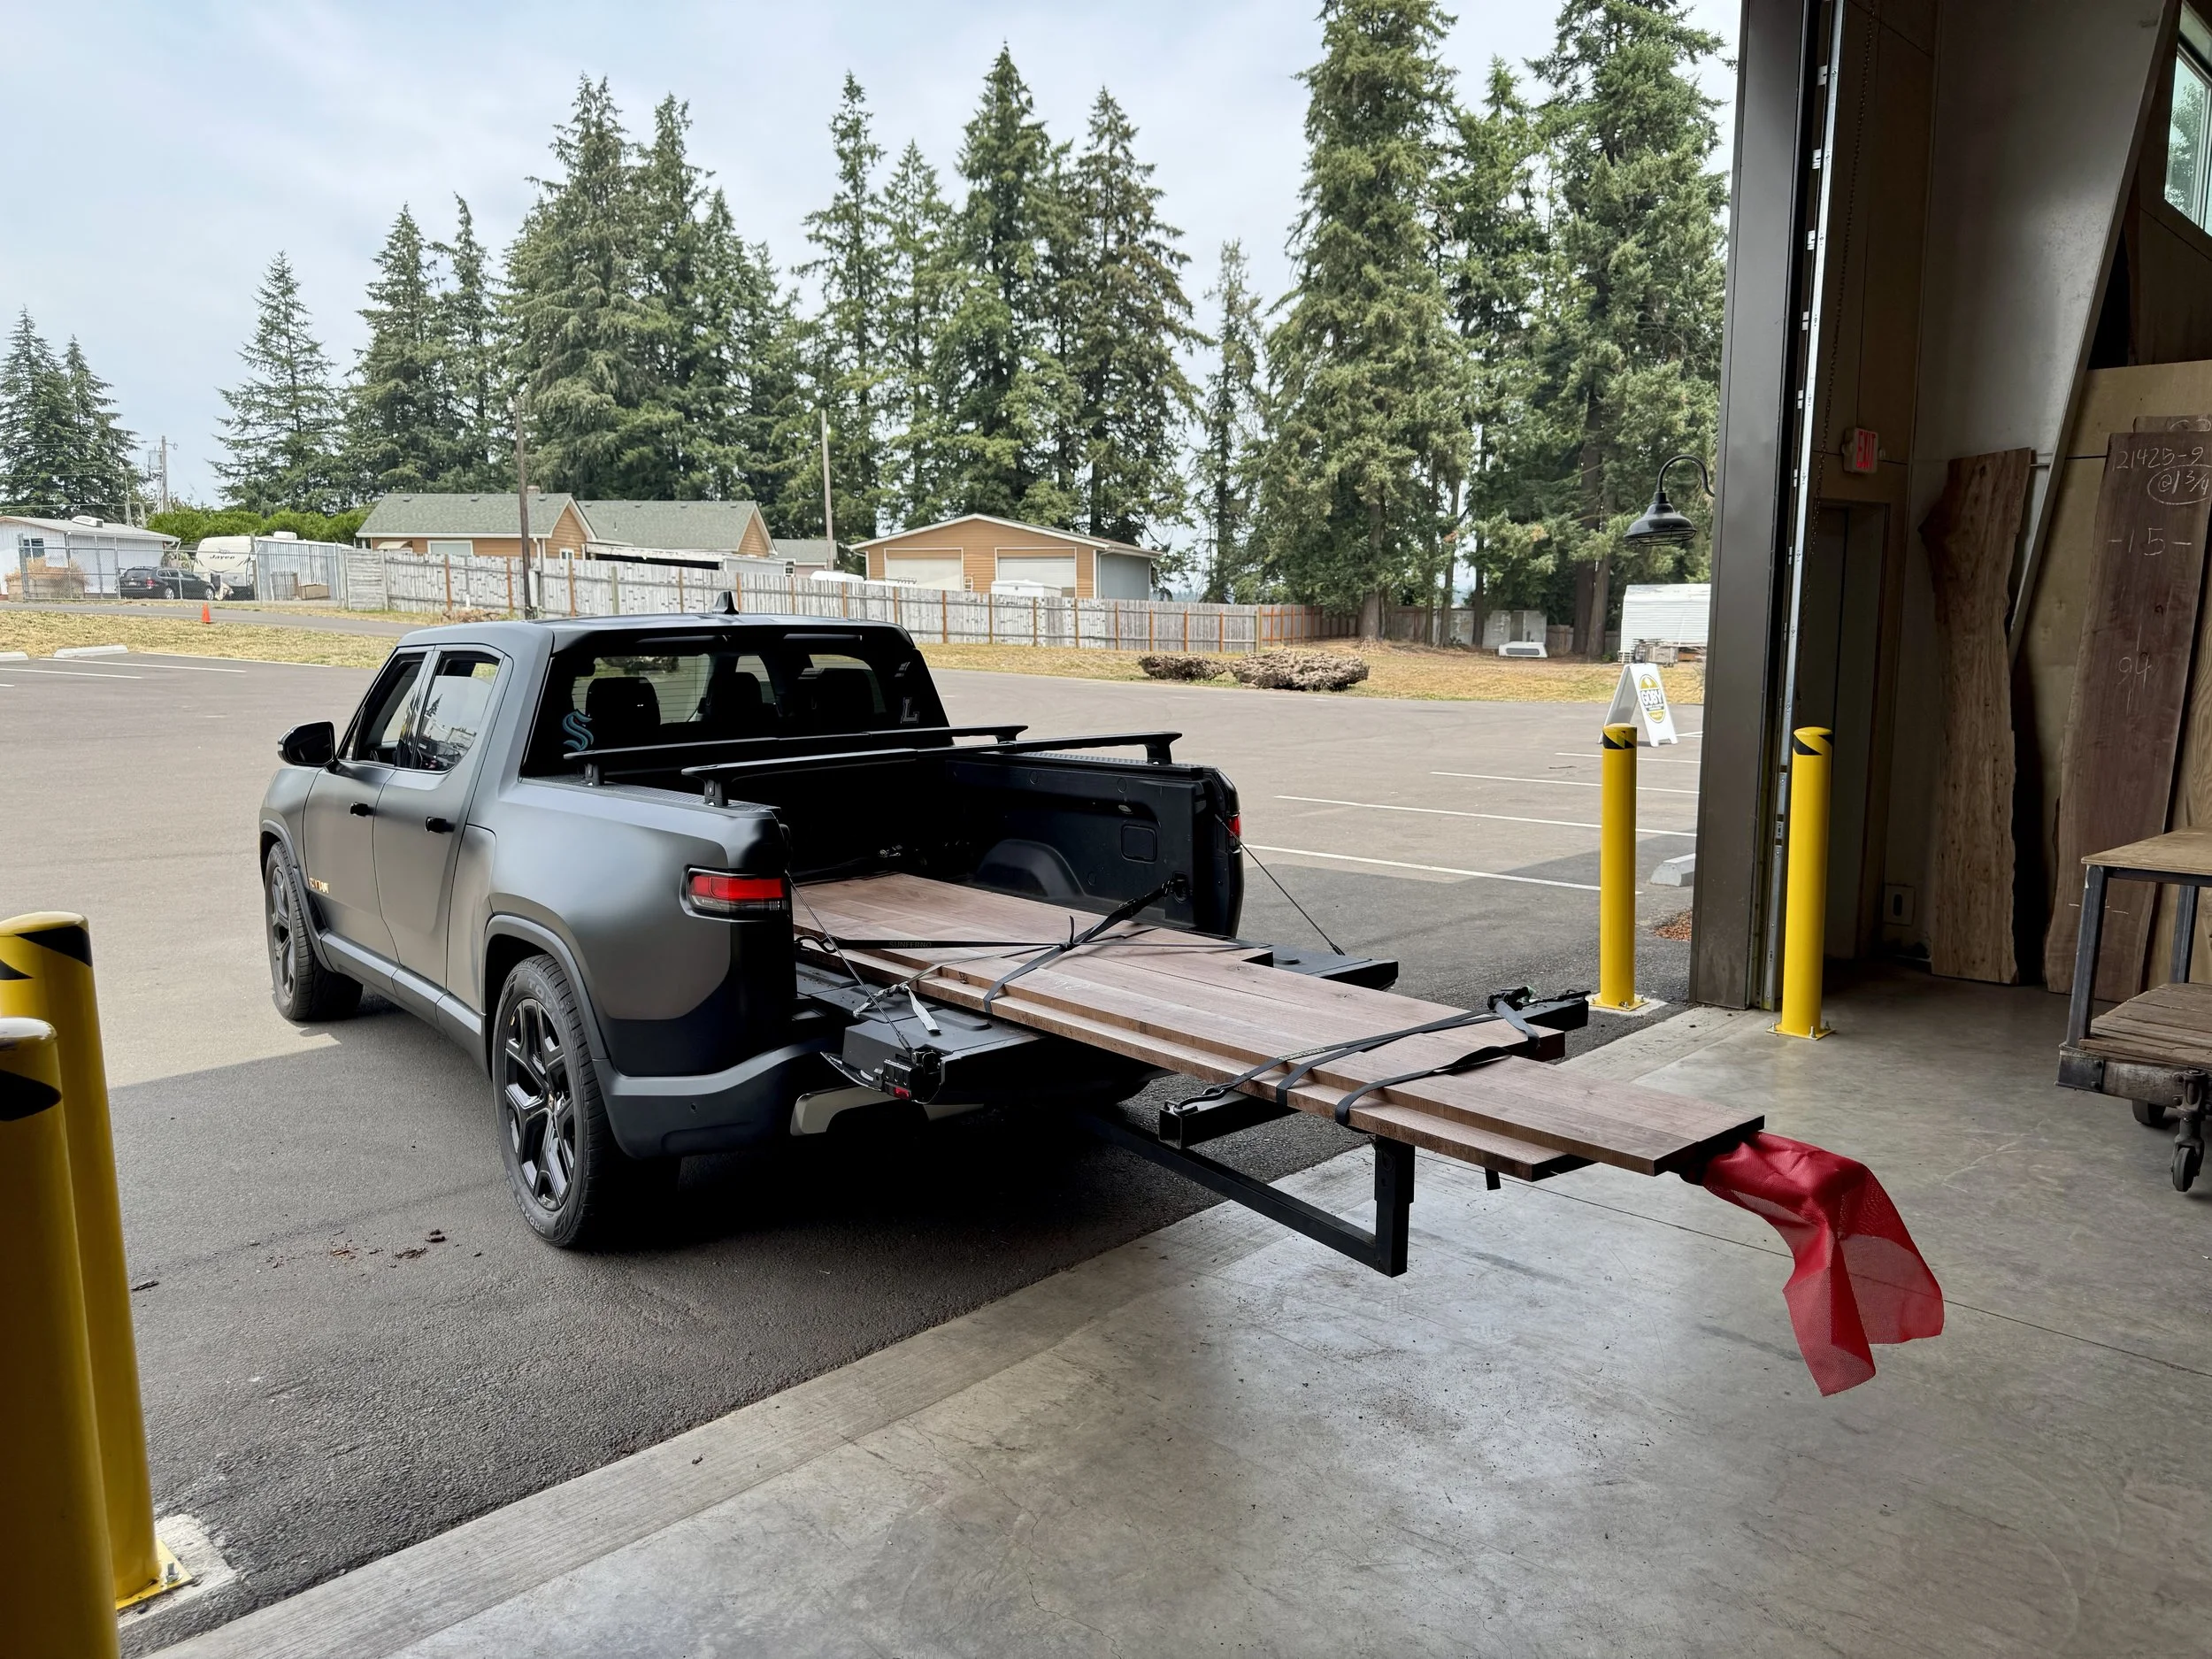
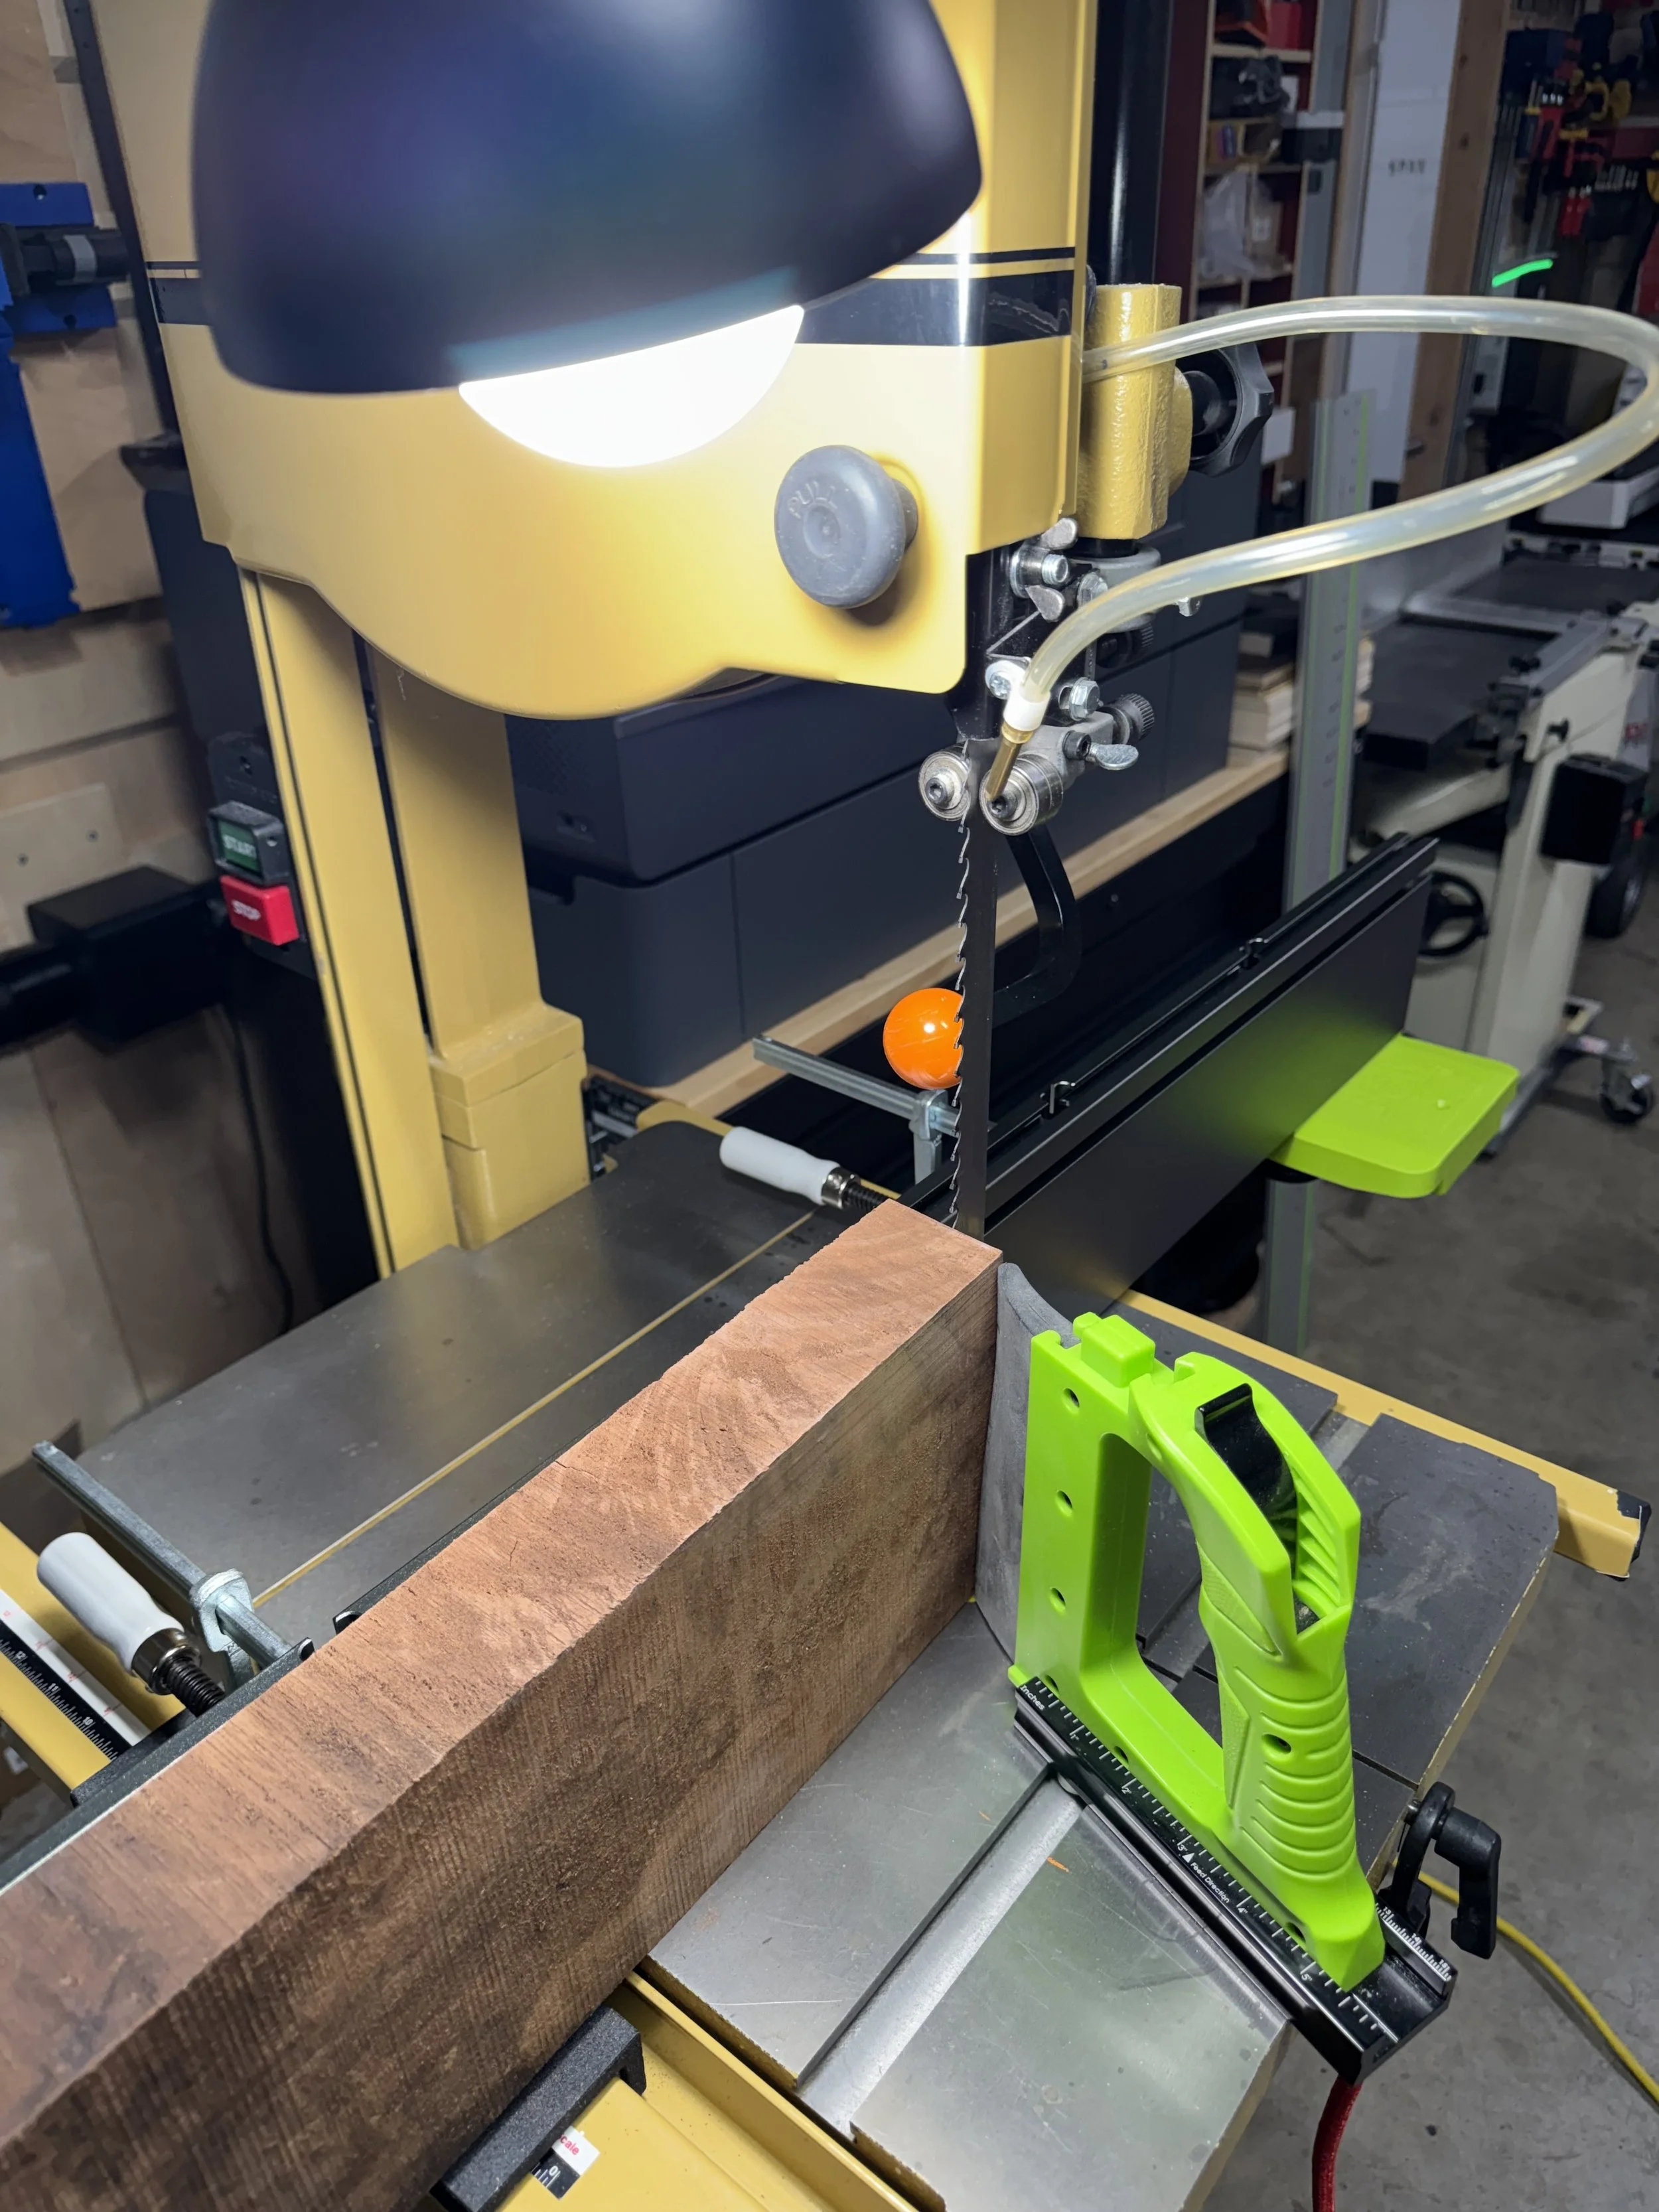
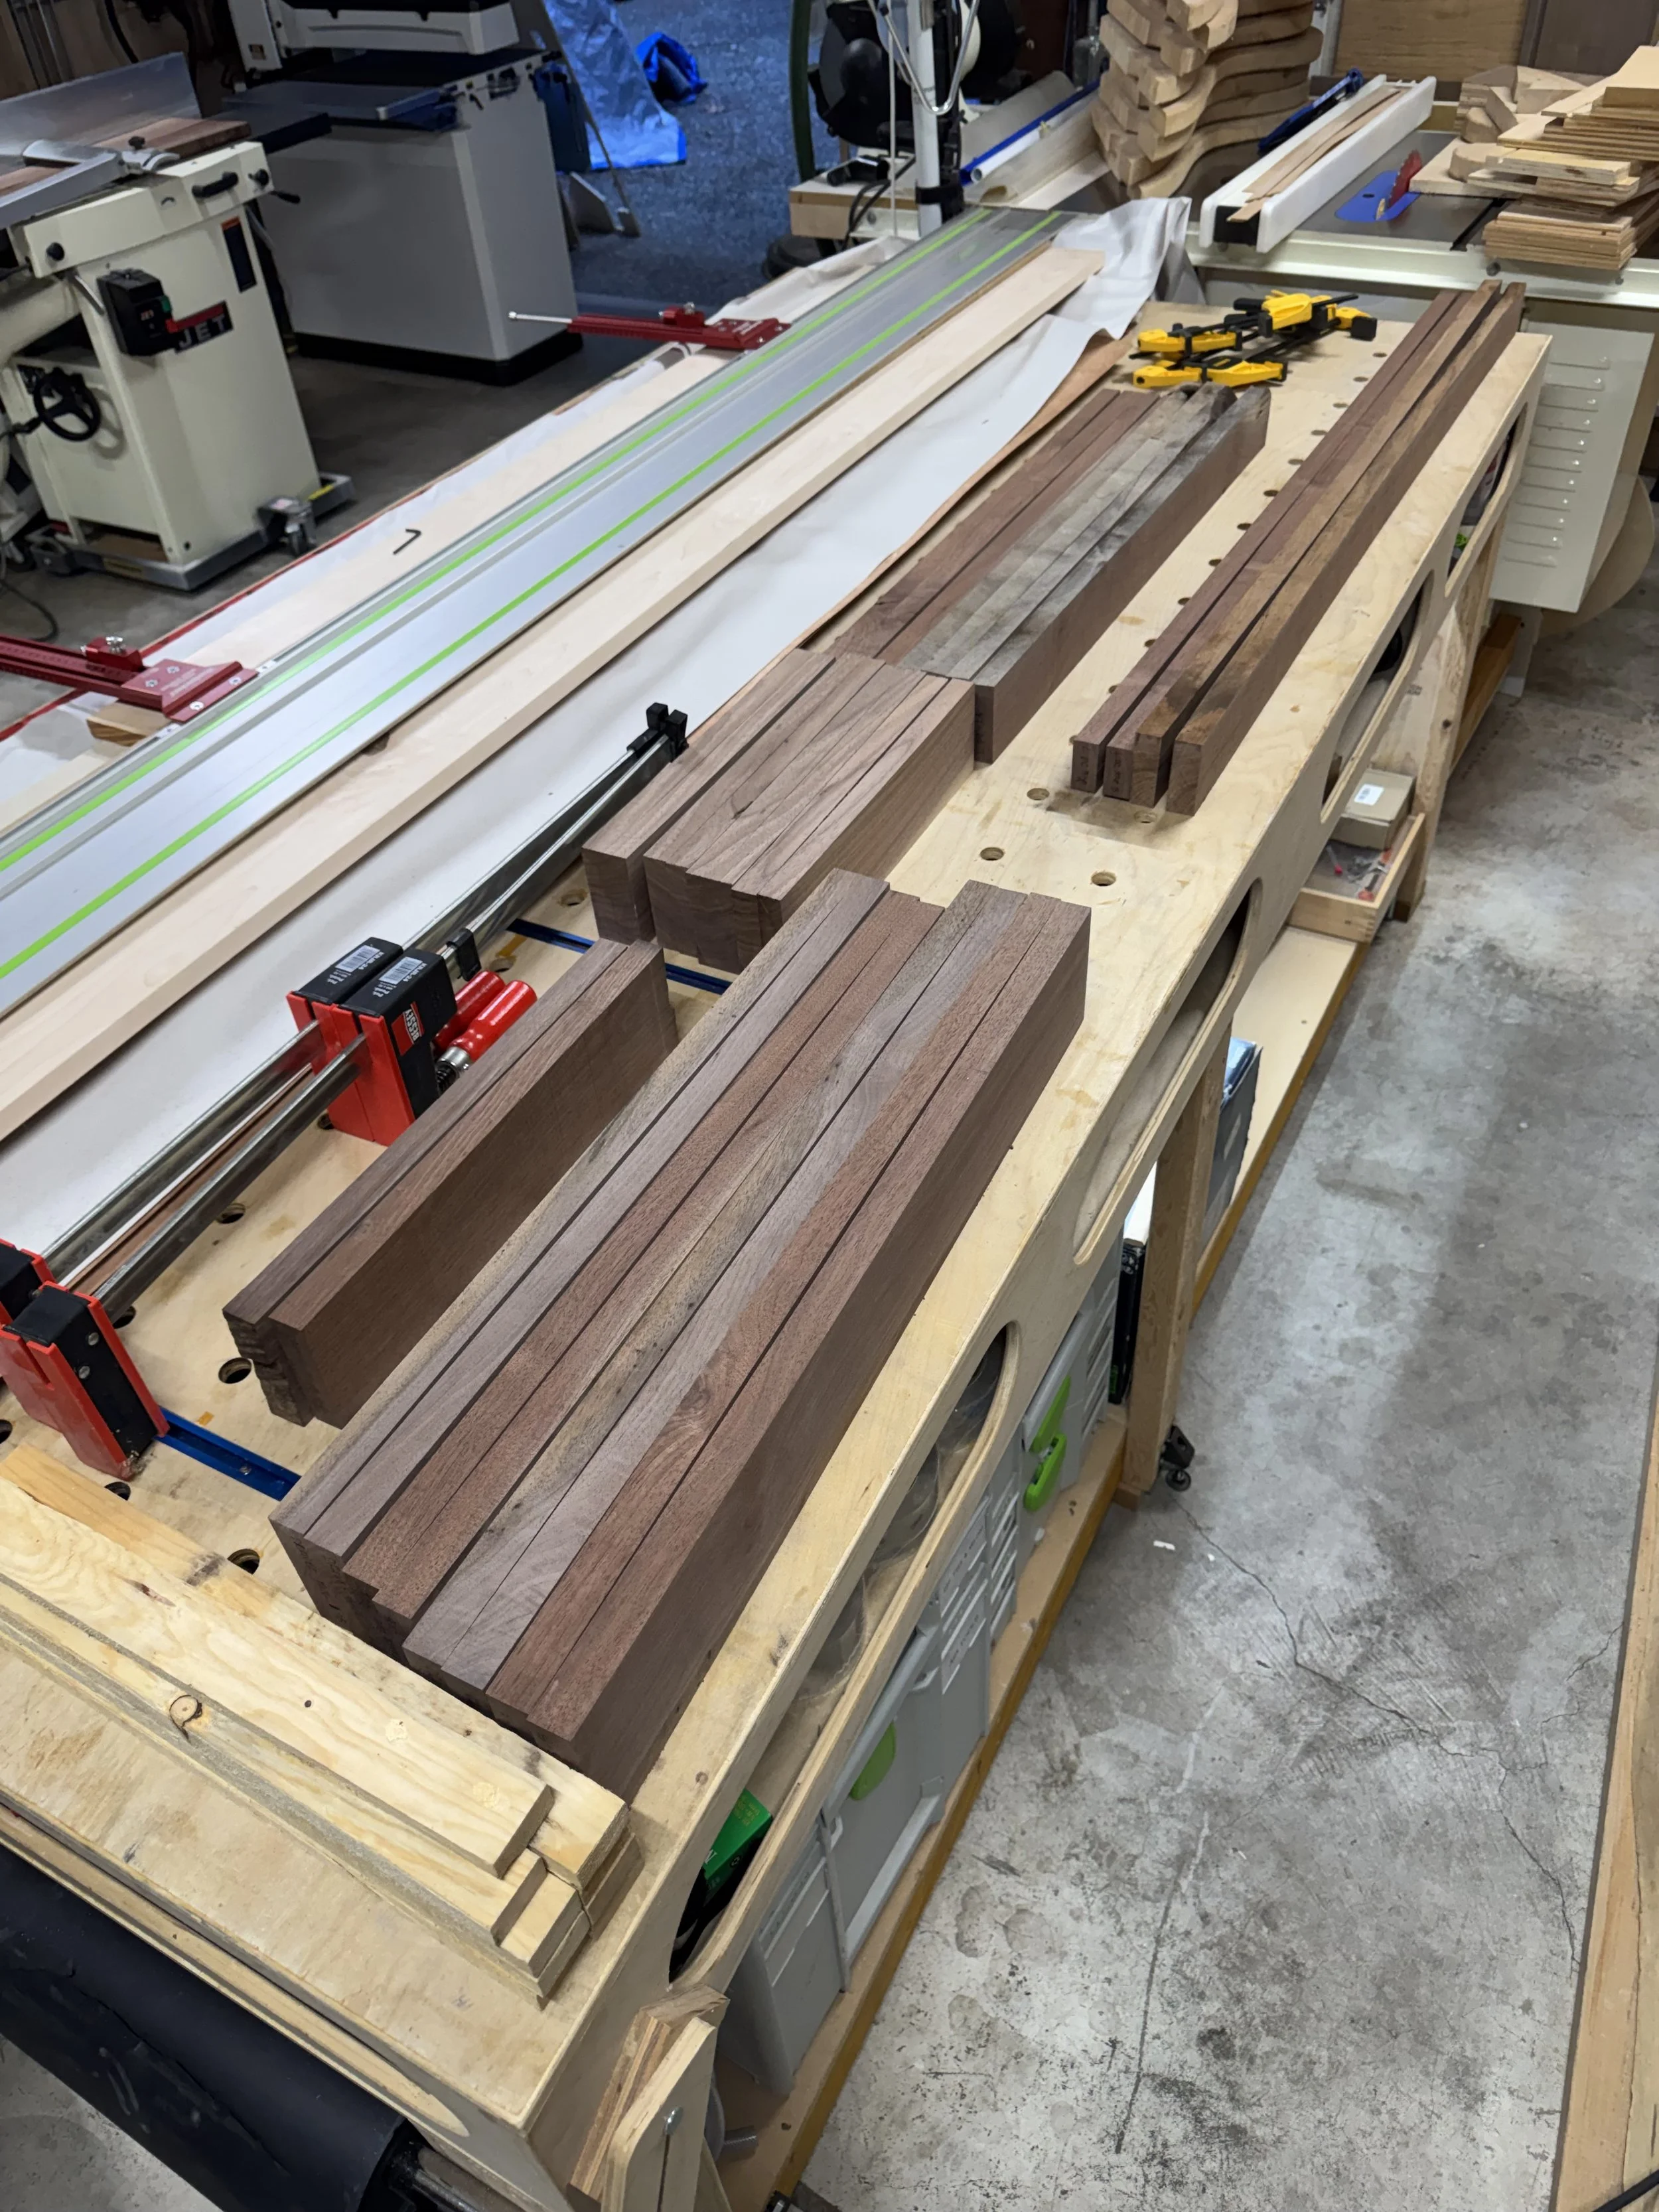
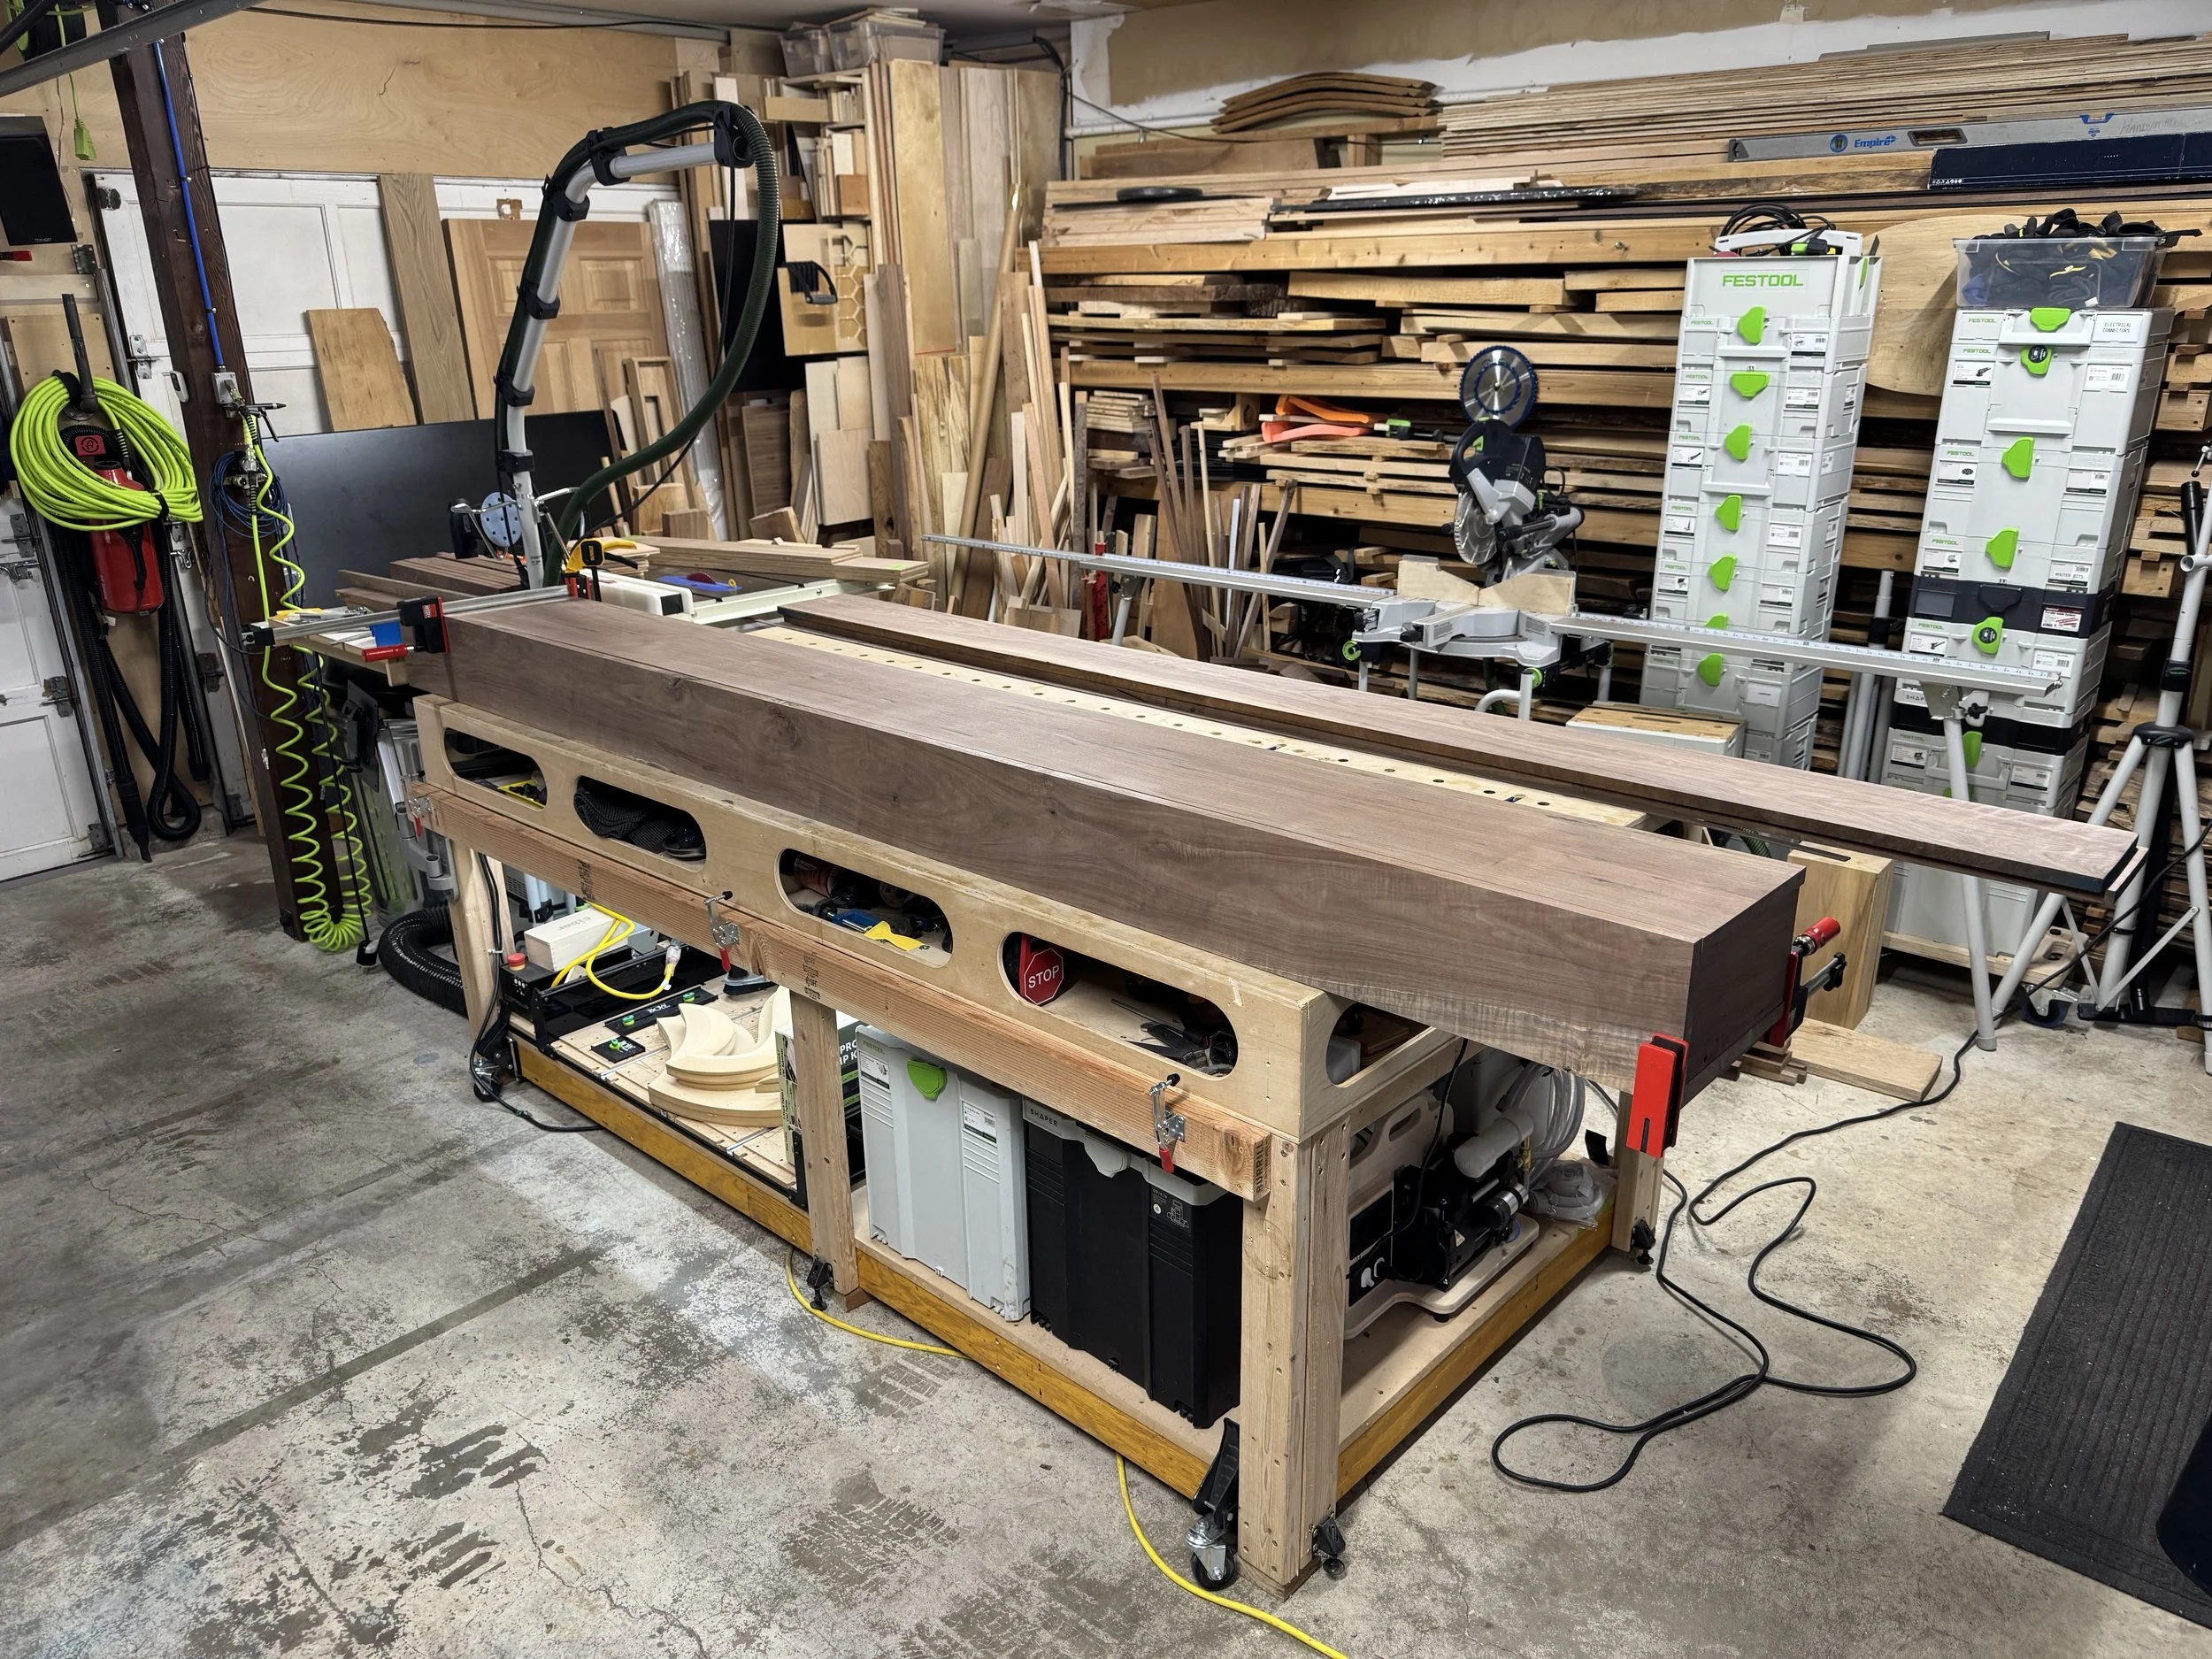
One of the first challenges was finding the lumber. The surround measured more than nine feet across, so I needed boards at least ten feet long, preferably longer. I also wanted them as wide as possible, with minimal knots, defects, and other imperfections. Finding walnut that met those requirements turned out to be more difficult than I expected.
I initially looked at suppliers in the Seattle area, including Crosscut and G&H, but suitable material was difficult to find. Eventually, I expanded my search to Oregon and found the large solid walnut boards I needed through Goby Walnut.
I also had a practical reason for choosing solid walnut for the hearth. The homeowners wanted to be able to sit on it, which meant the surface would see more wear than a typical decorative mantel. I didn't want to use plywood with a thin face veneer that could be damaged by years of sitting, sliding, or everyday use. Solid wood gives the hearth a better opportunity for long-term maintenance. If the surface becomes scratched or worn, it can be sanded and refinished without the risk of sanding through a thin decorative veneer. It was an important consideration because I wanted this project to look good not just when it was installed, but many years down the road.
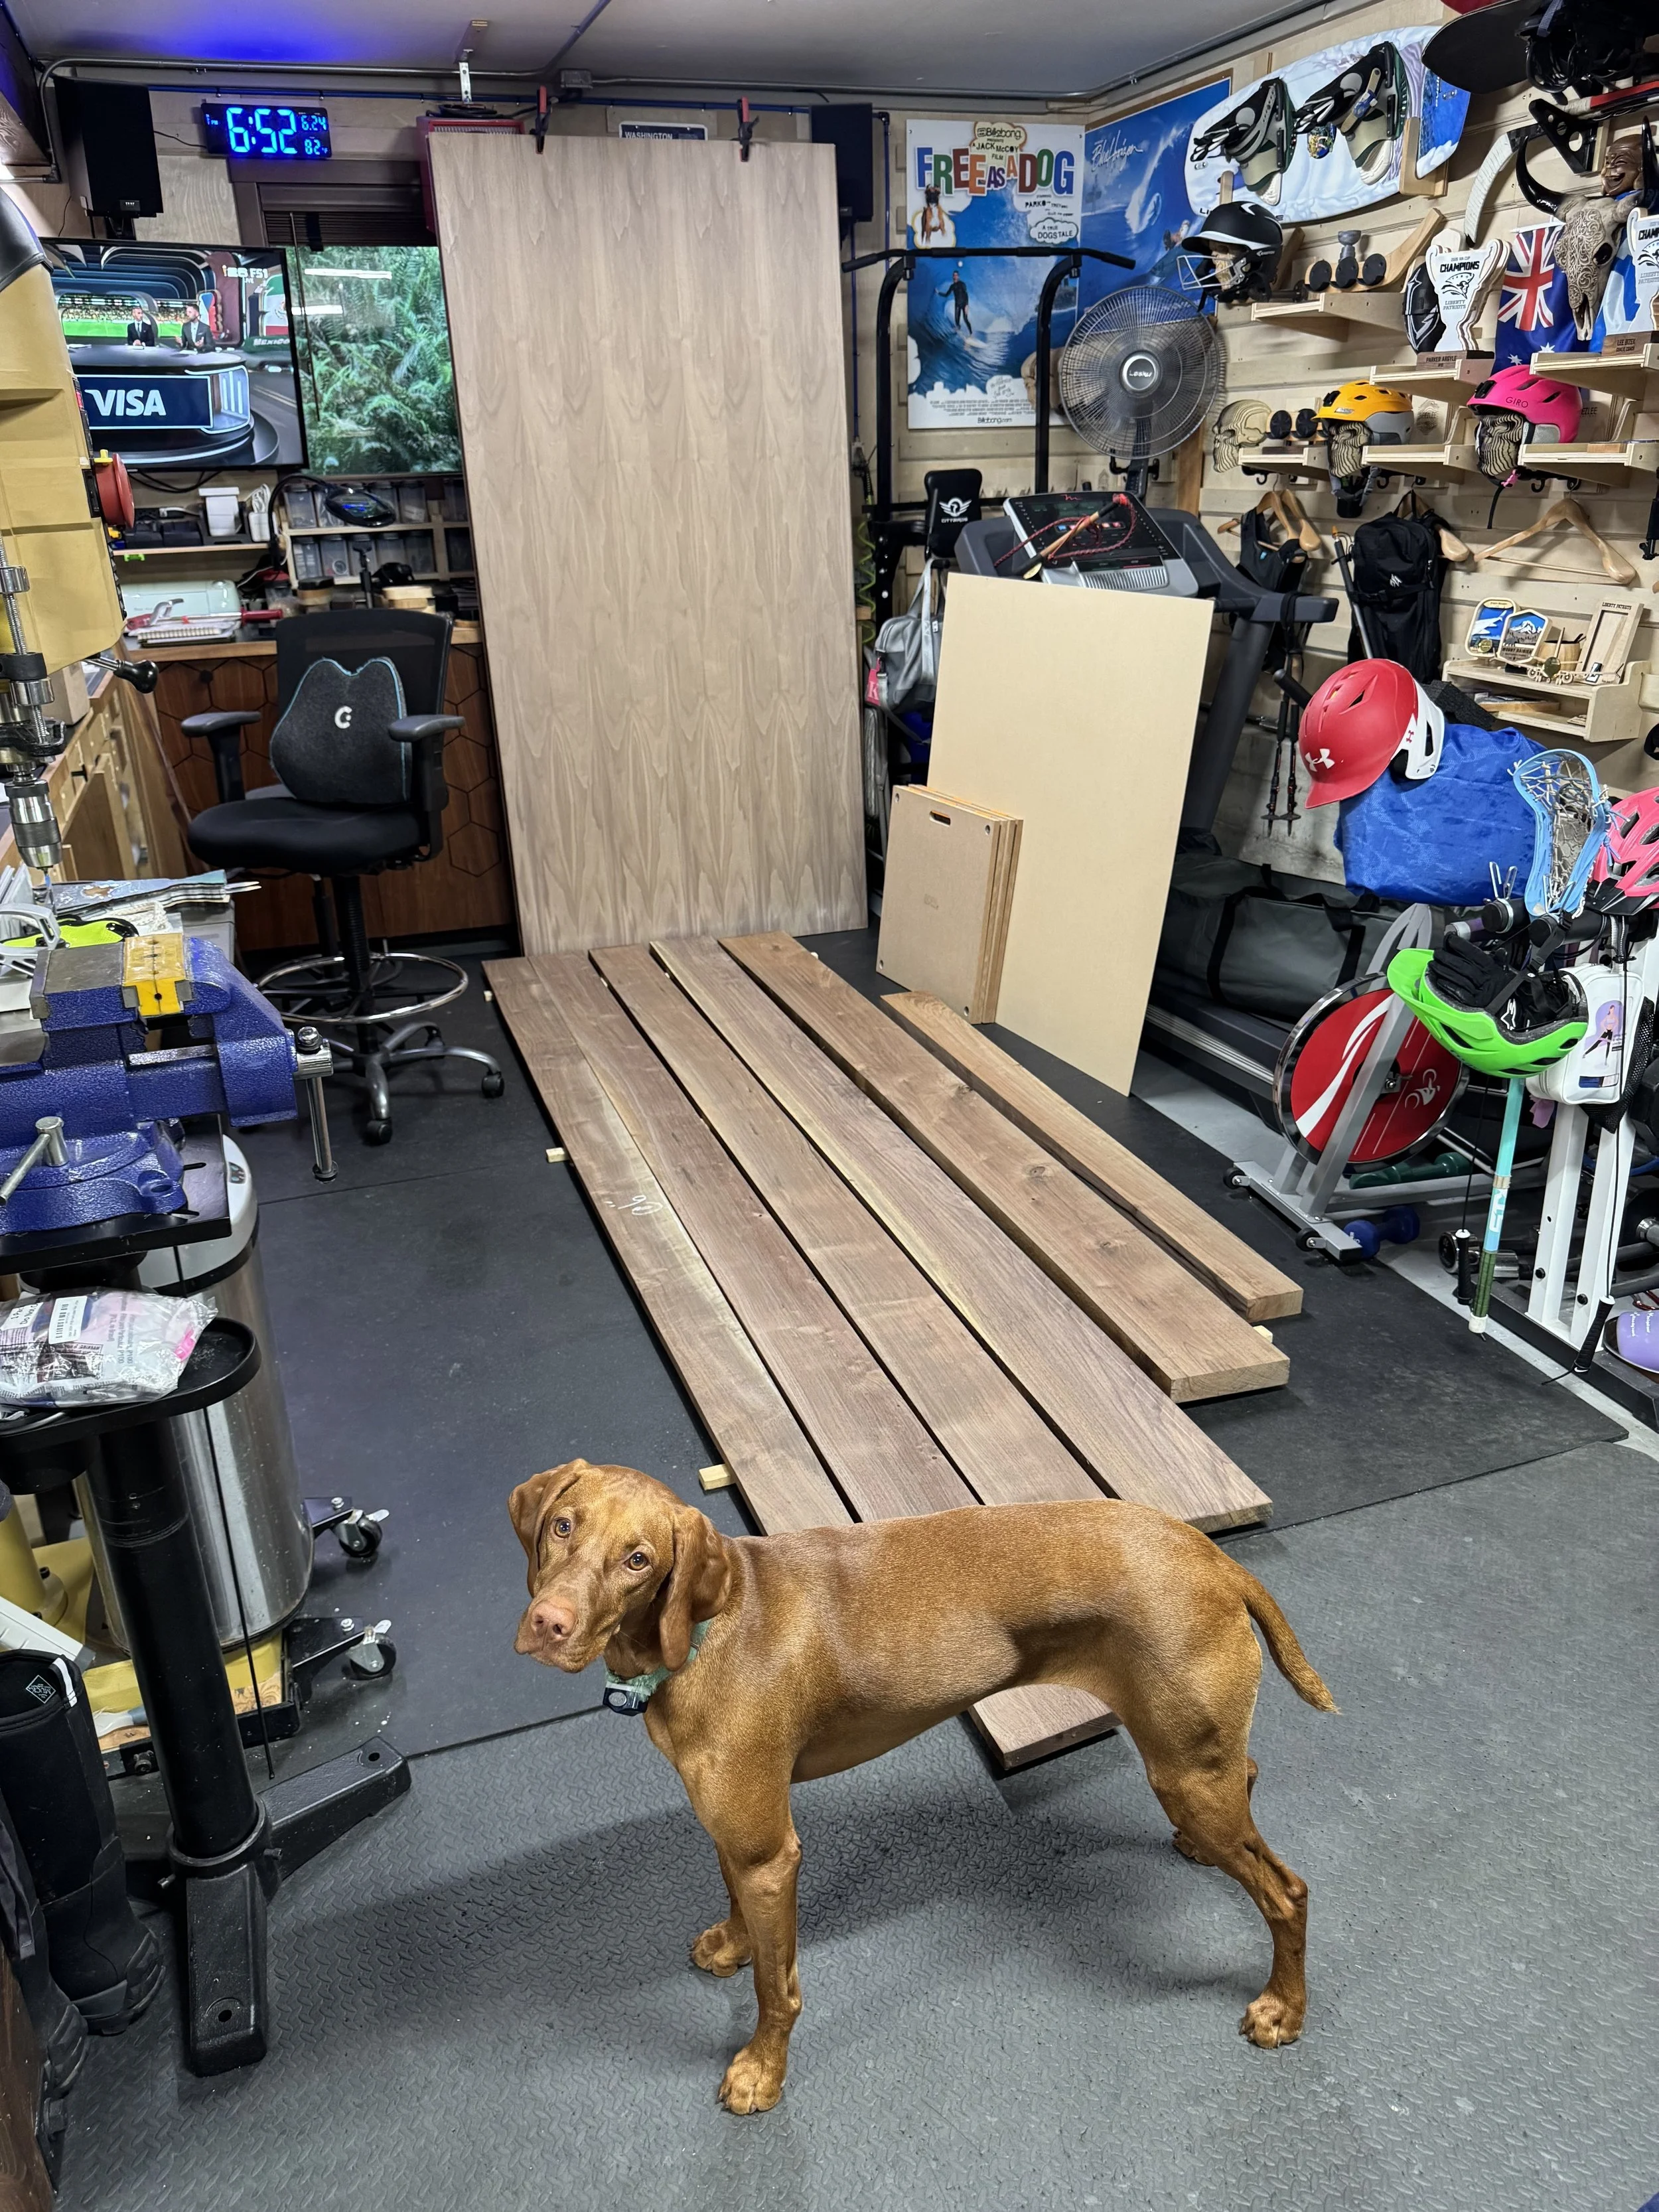
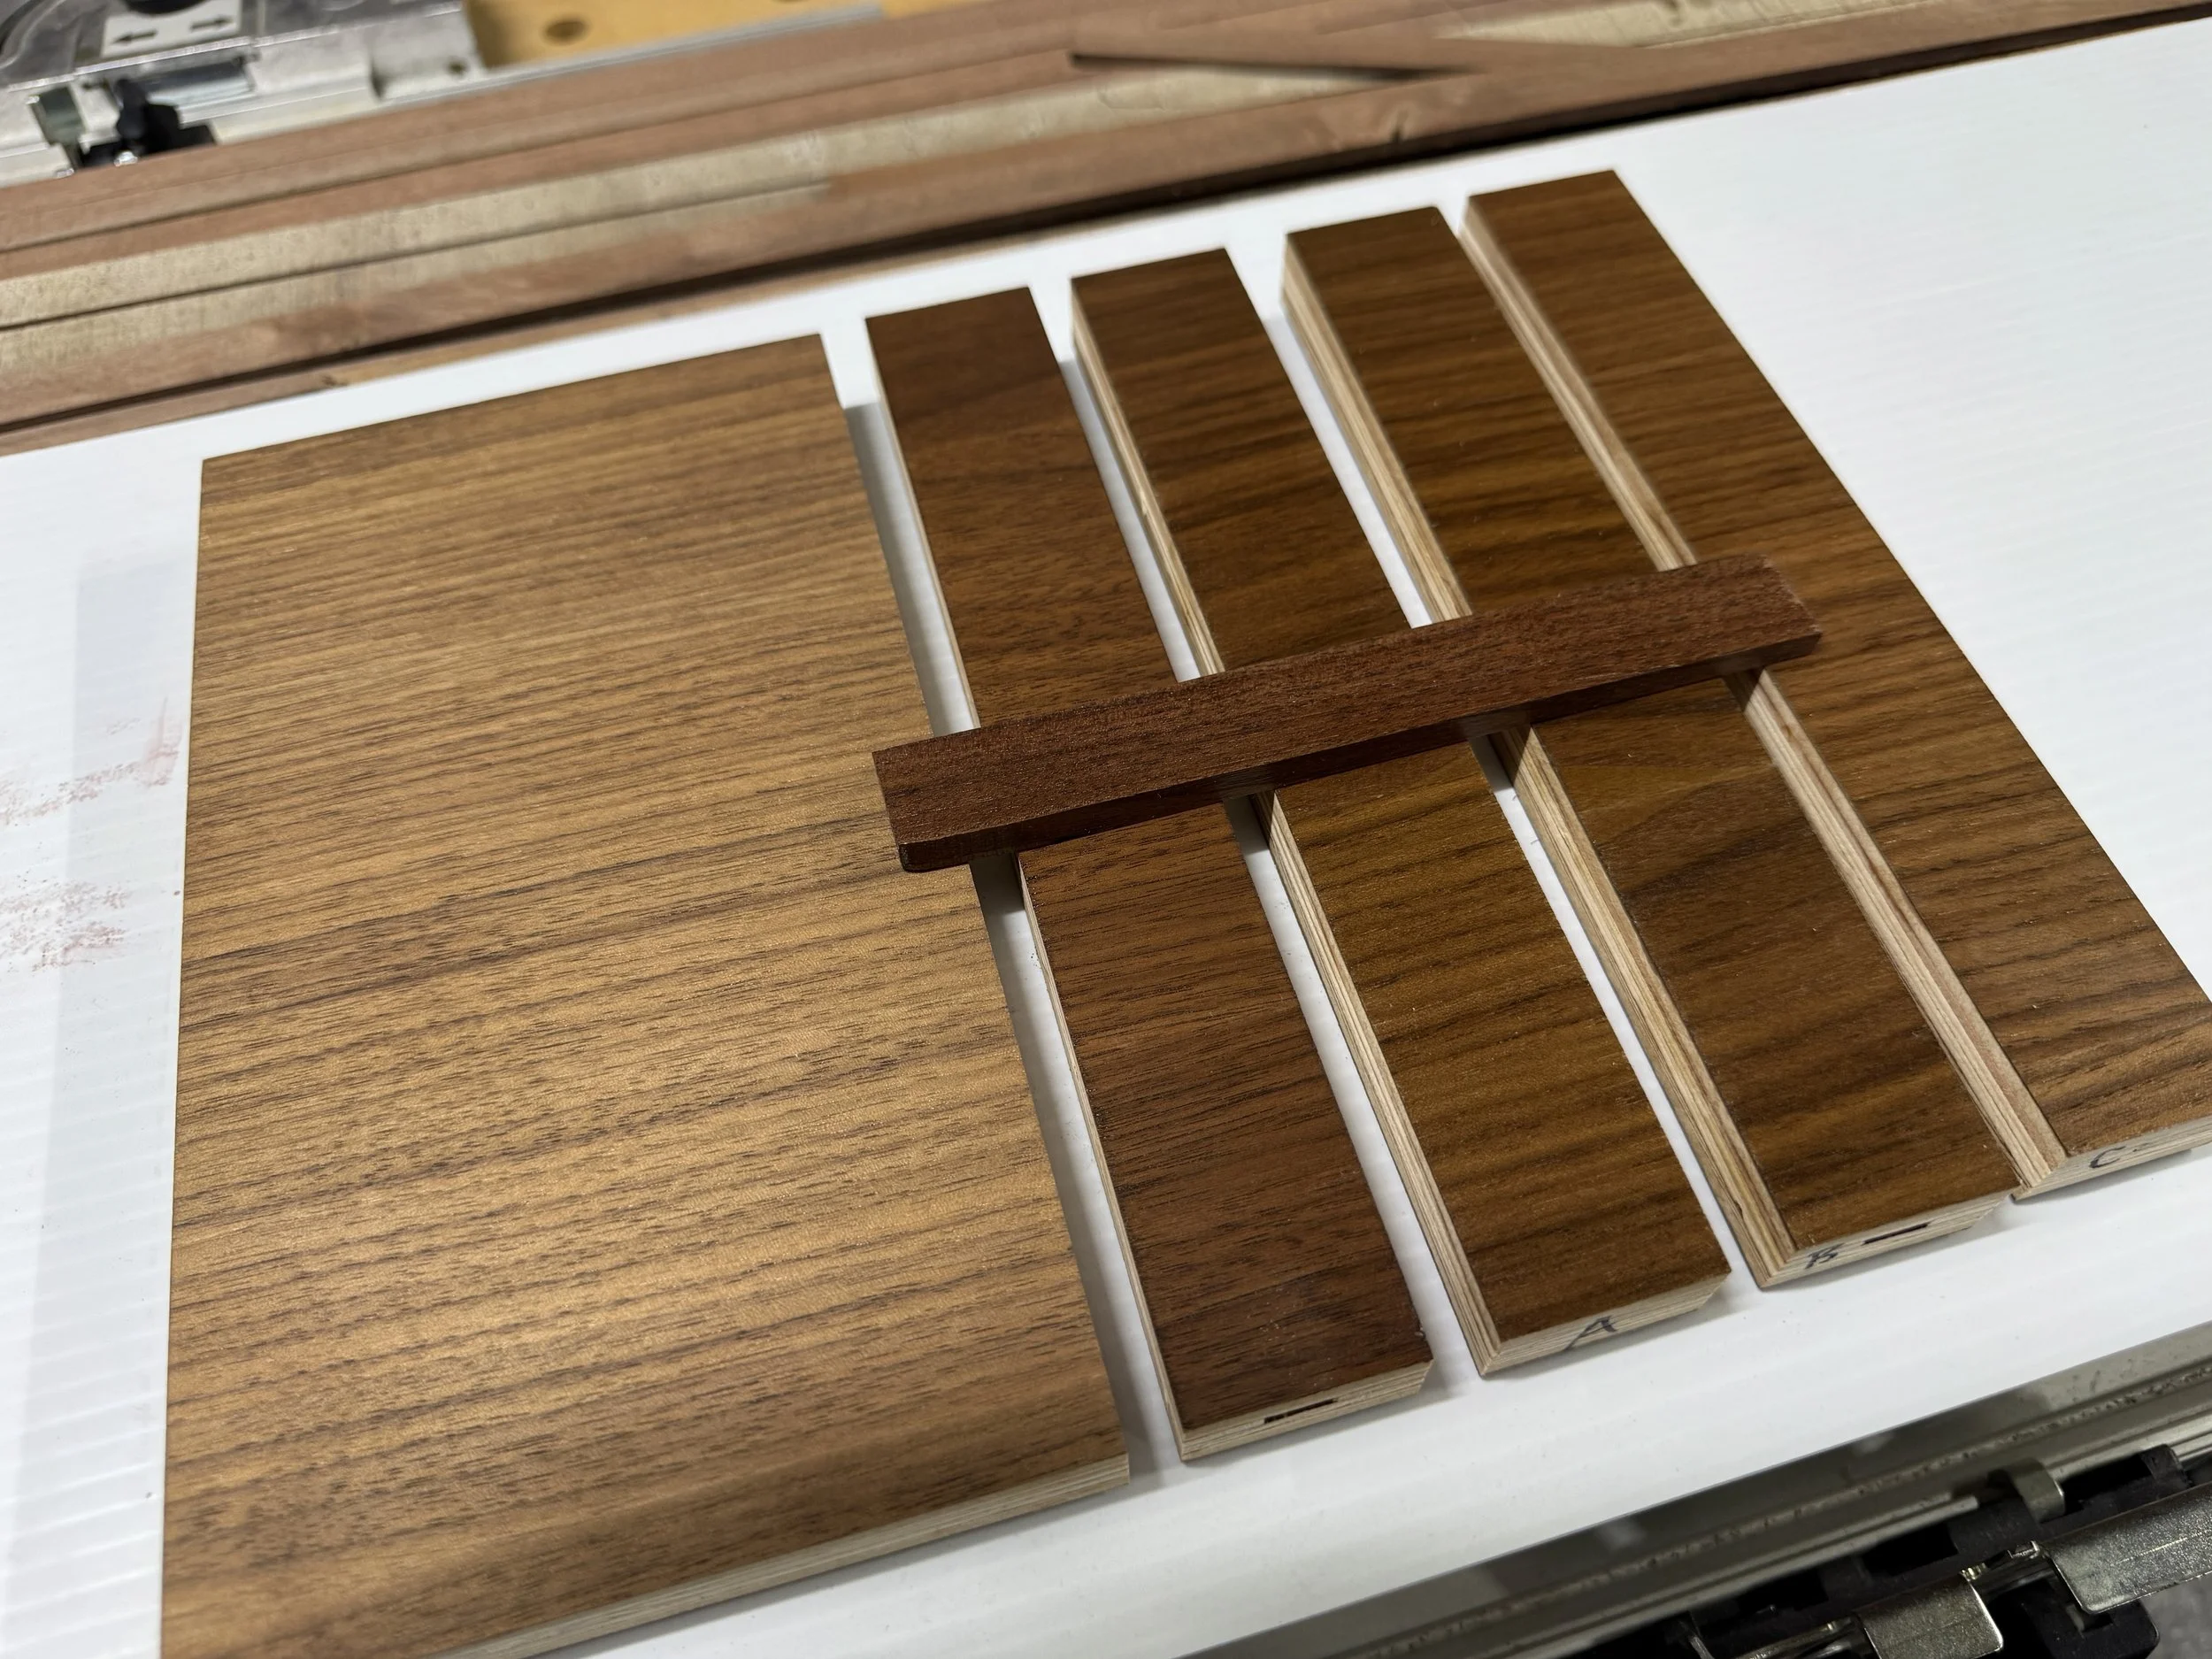
Something else I learned during the sourcing process was just how much walnut can vary in color. The solid walnut I purchased from Goby had a noticeably richer, reddish tone than the walnut plywood I was using for the cabinetry. The plywood was veneered with Eastern walnut that had a more chocolate-brown appearance. Walnut's appearance can vary significantly depending on its growing conditions, individual tree, drying, processing, and finishing. In this particular project, the regional difference between my material sources was especially noticeable. That created an interesting challenge: how do you make a combination of solid walnut and walnut plywood look like they belong in the same project?
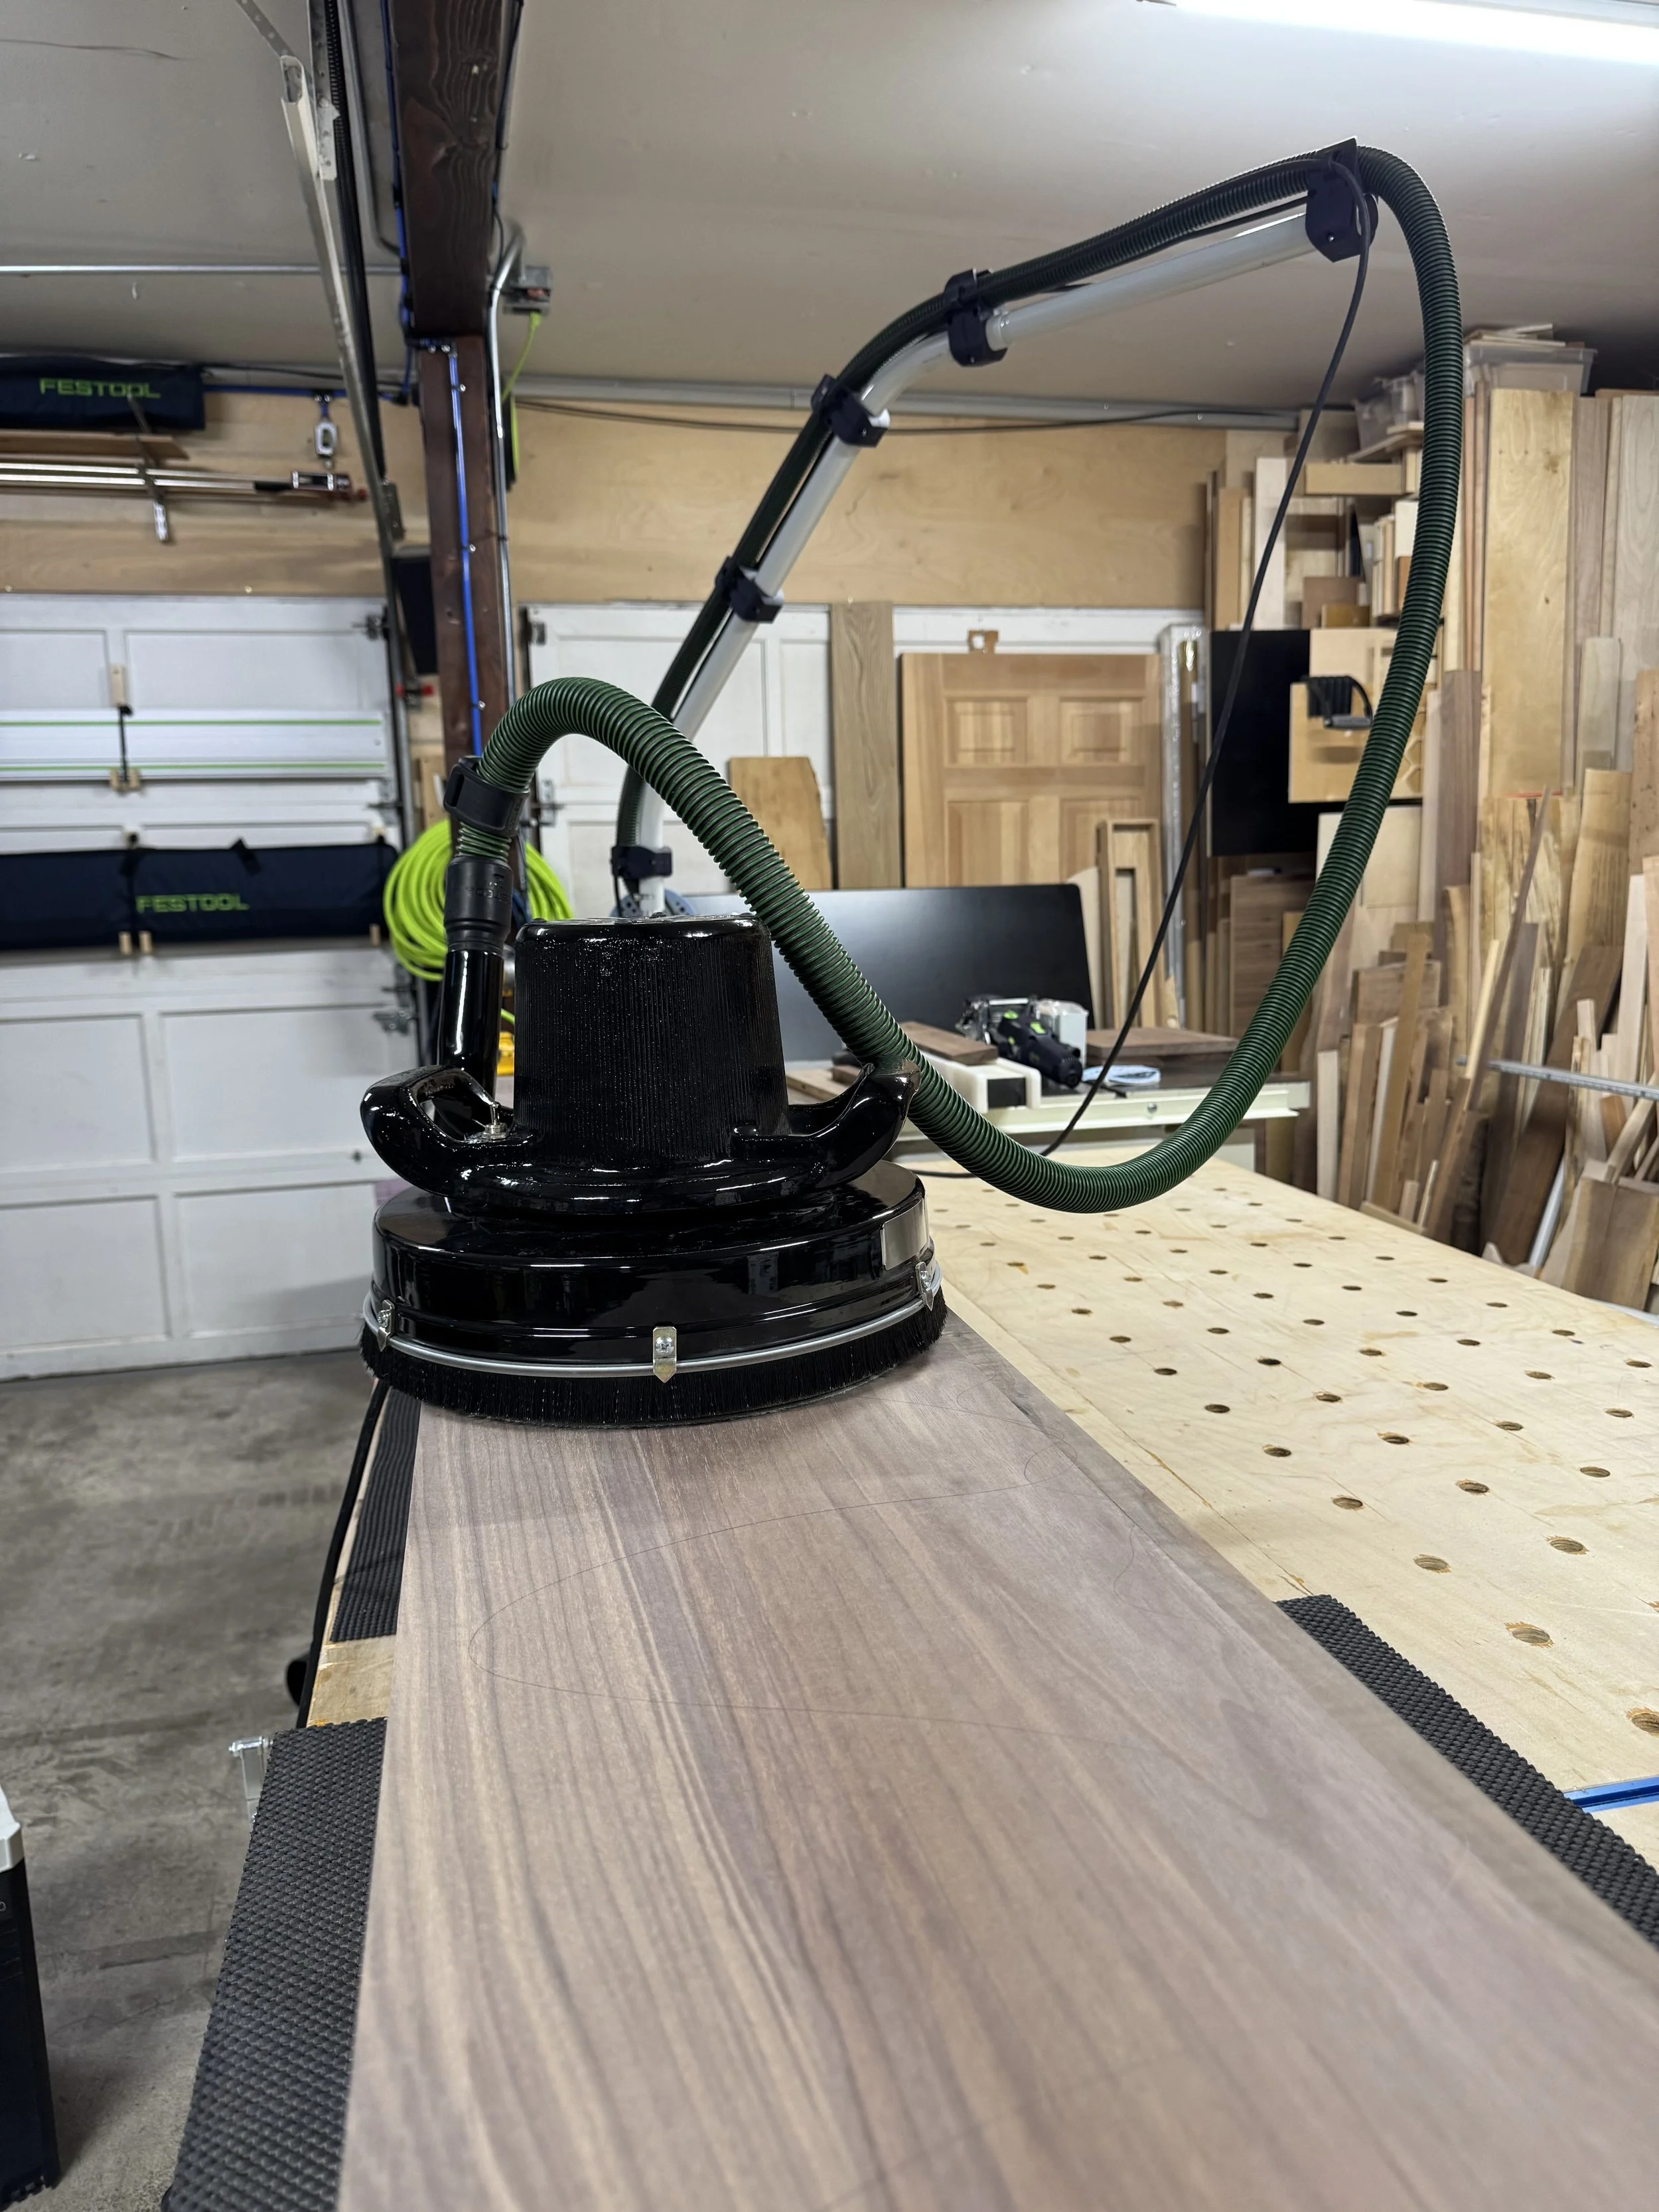
I spent quite a bit of time experimenting with stain and finish samples to bring the plywood closer to the color of the solid walnut. The goal wasn't to make every board look identical. Natural variation is part of what makes walnut attractive. But I also didn't want the plywood cabinet components to look noticeably disconnected from the large solid walnut pieces. Getting the color balance right took testing, adjustments, and plenty of comparisons under different lighting conditions.
Working with Walnut Burl Veneer
This was one of my favorite parts of the project, and probably one of the most nerve-racking.
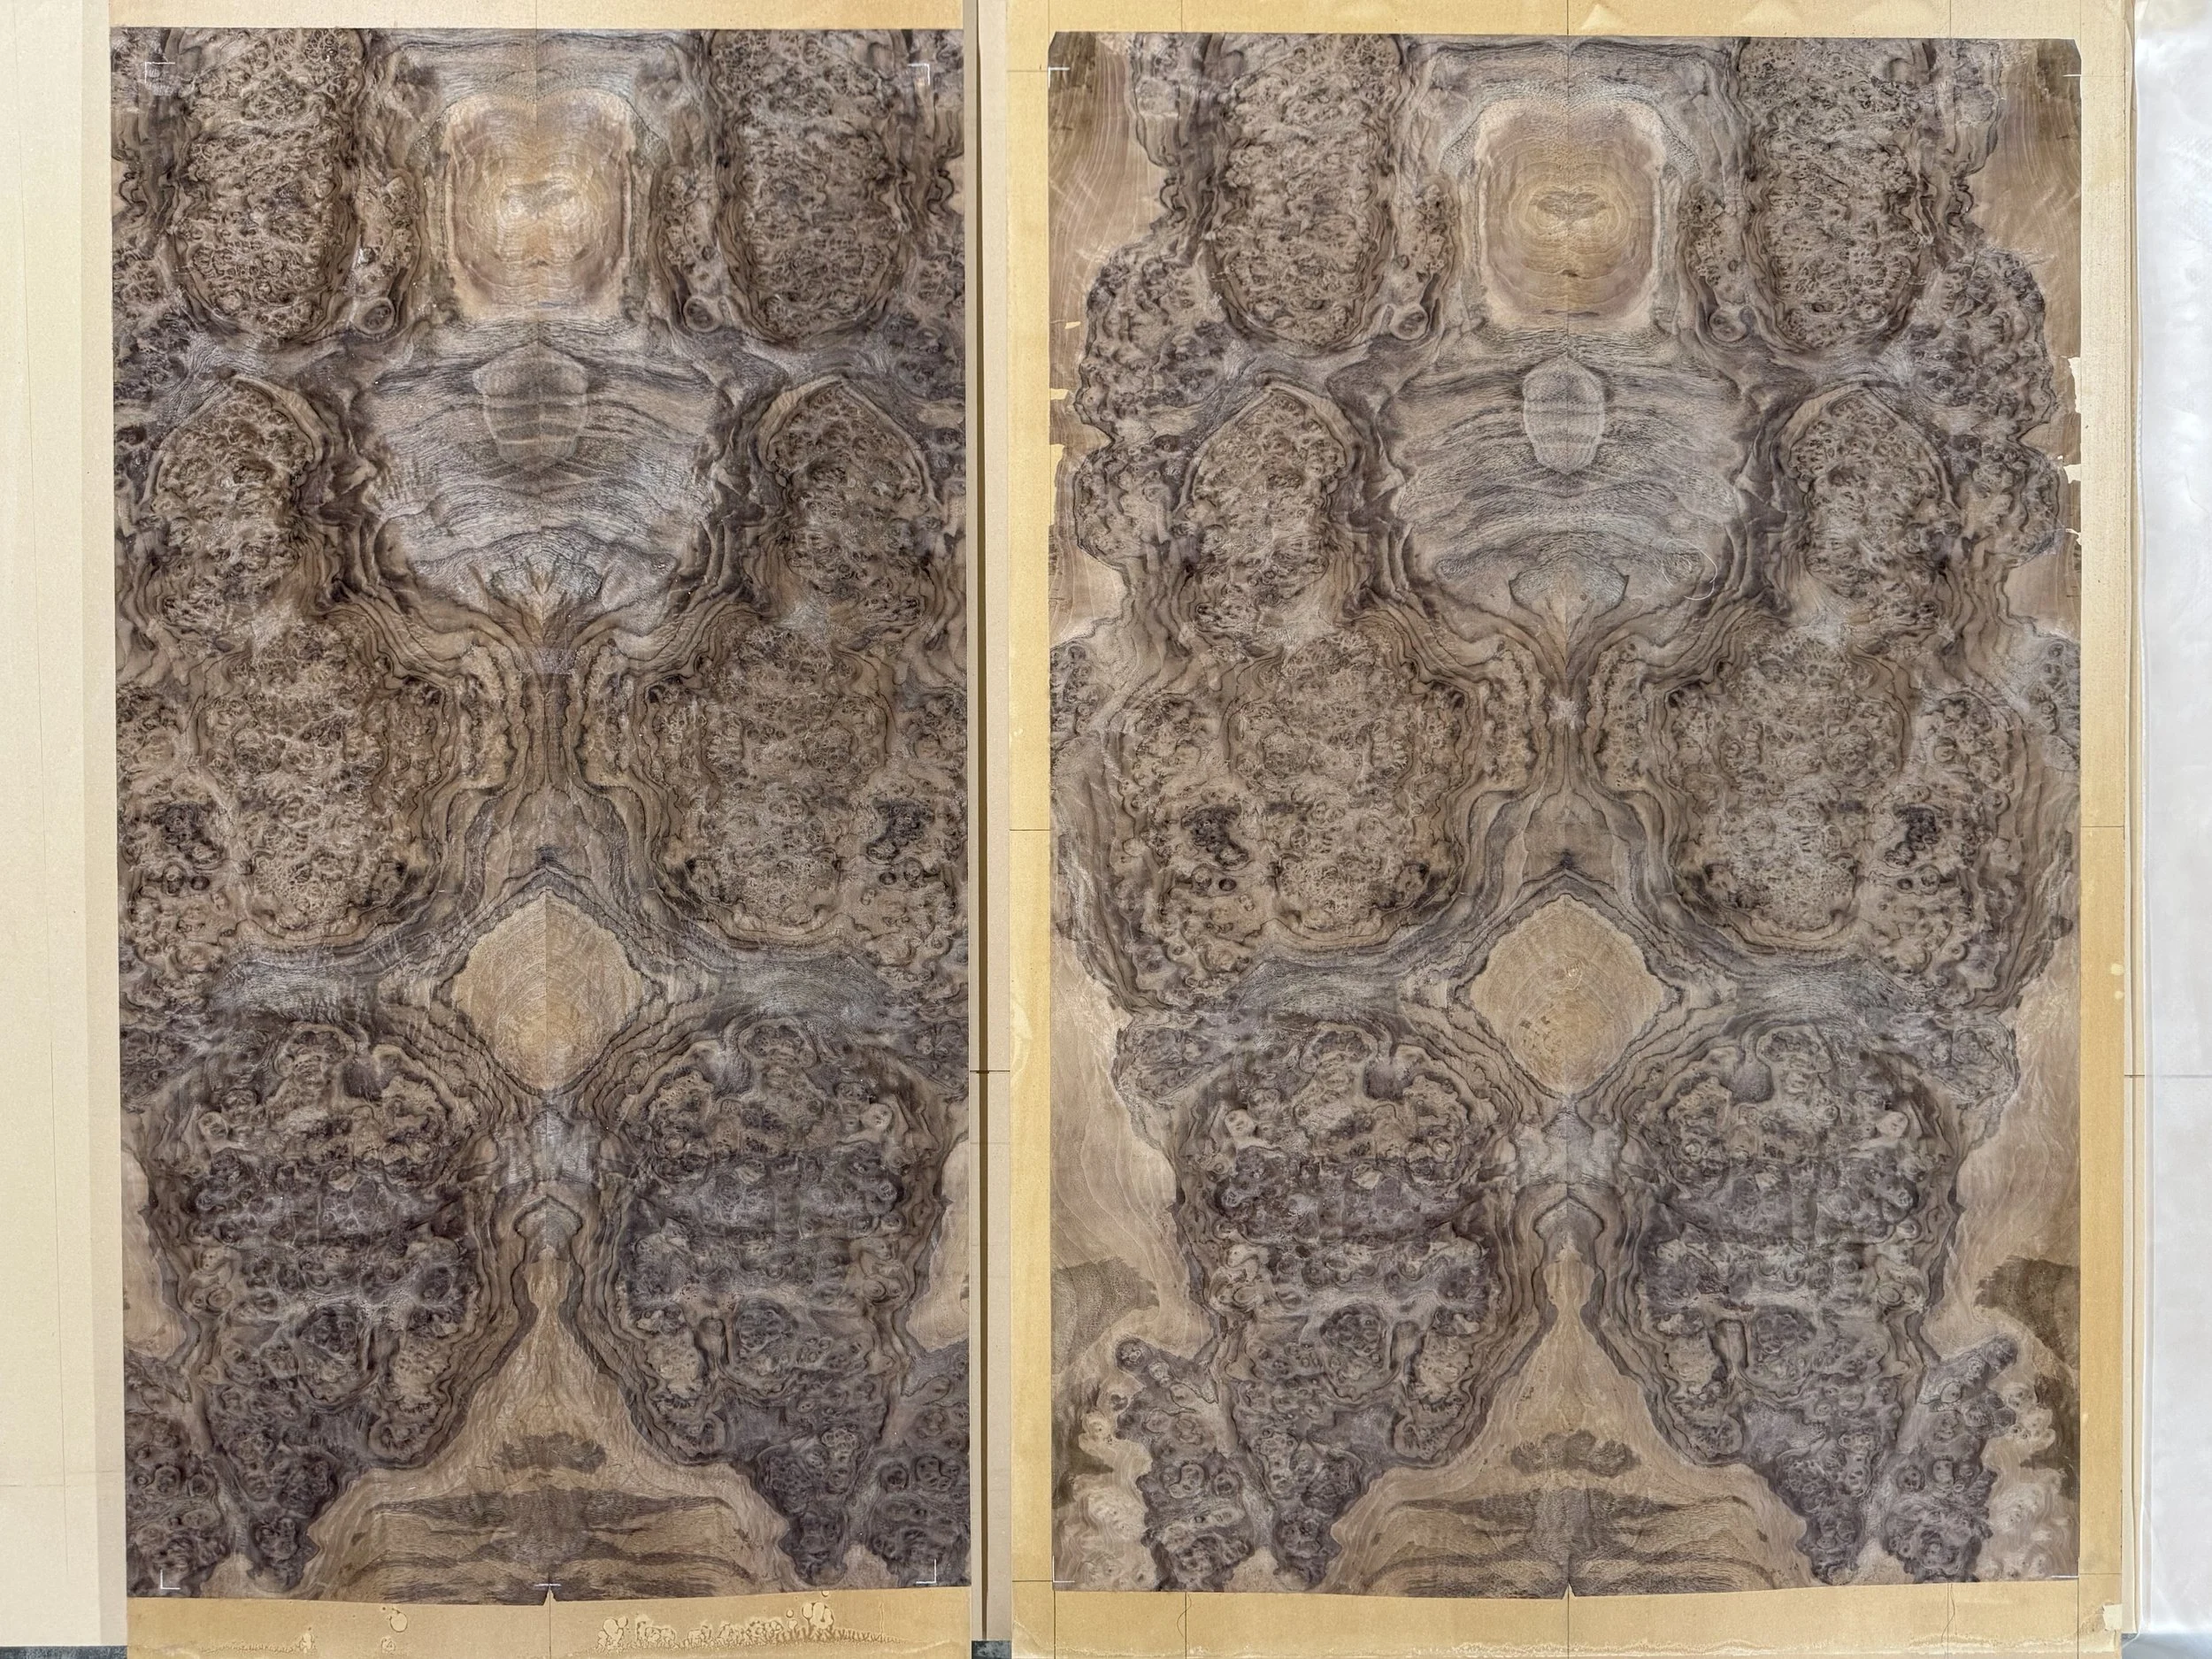
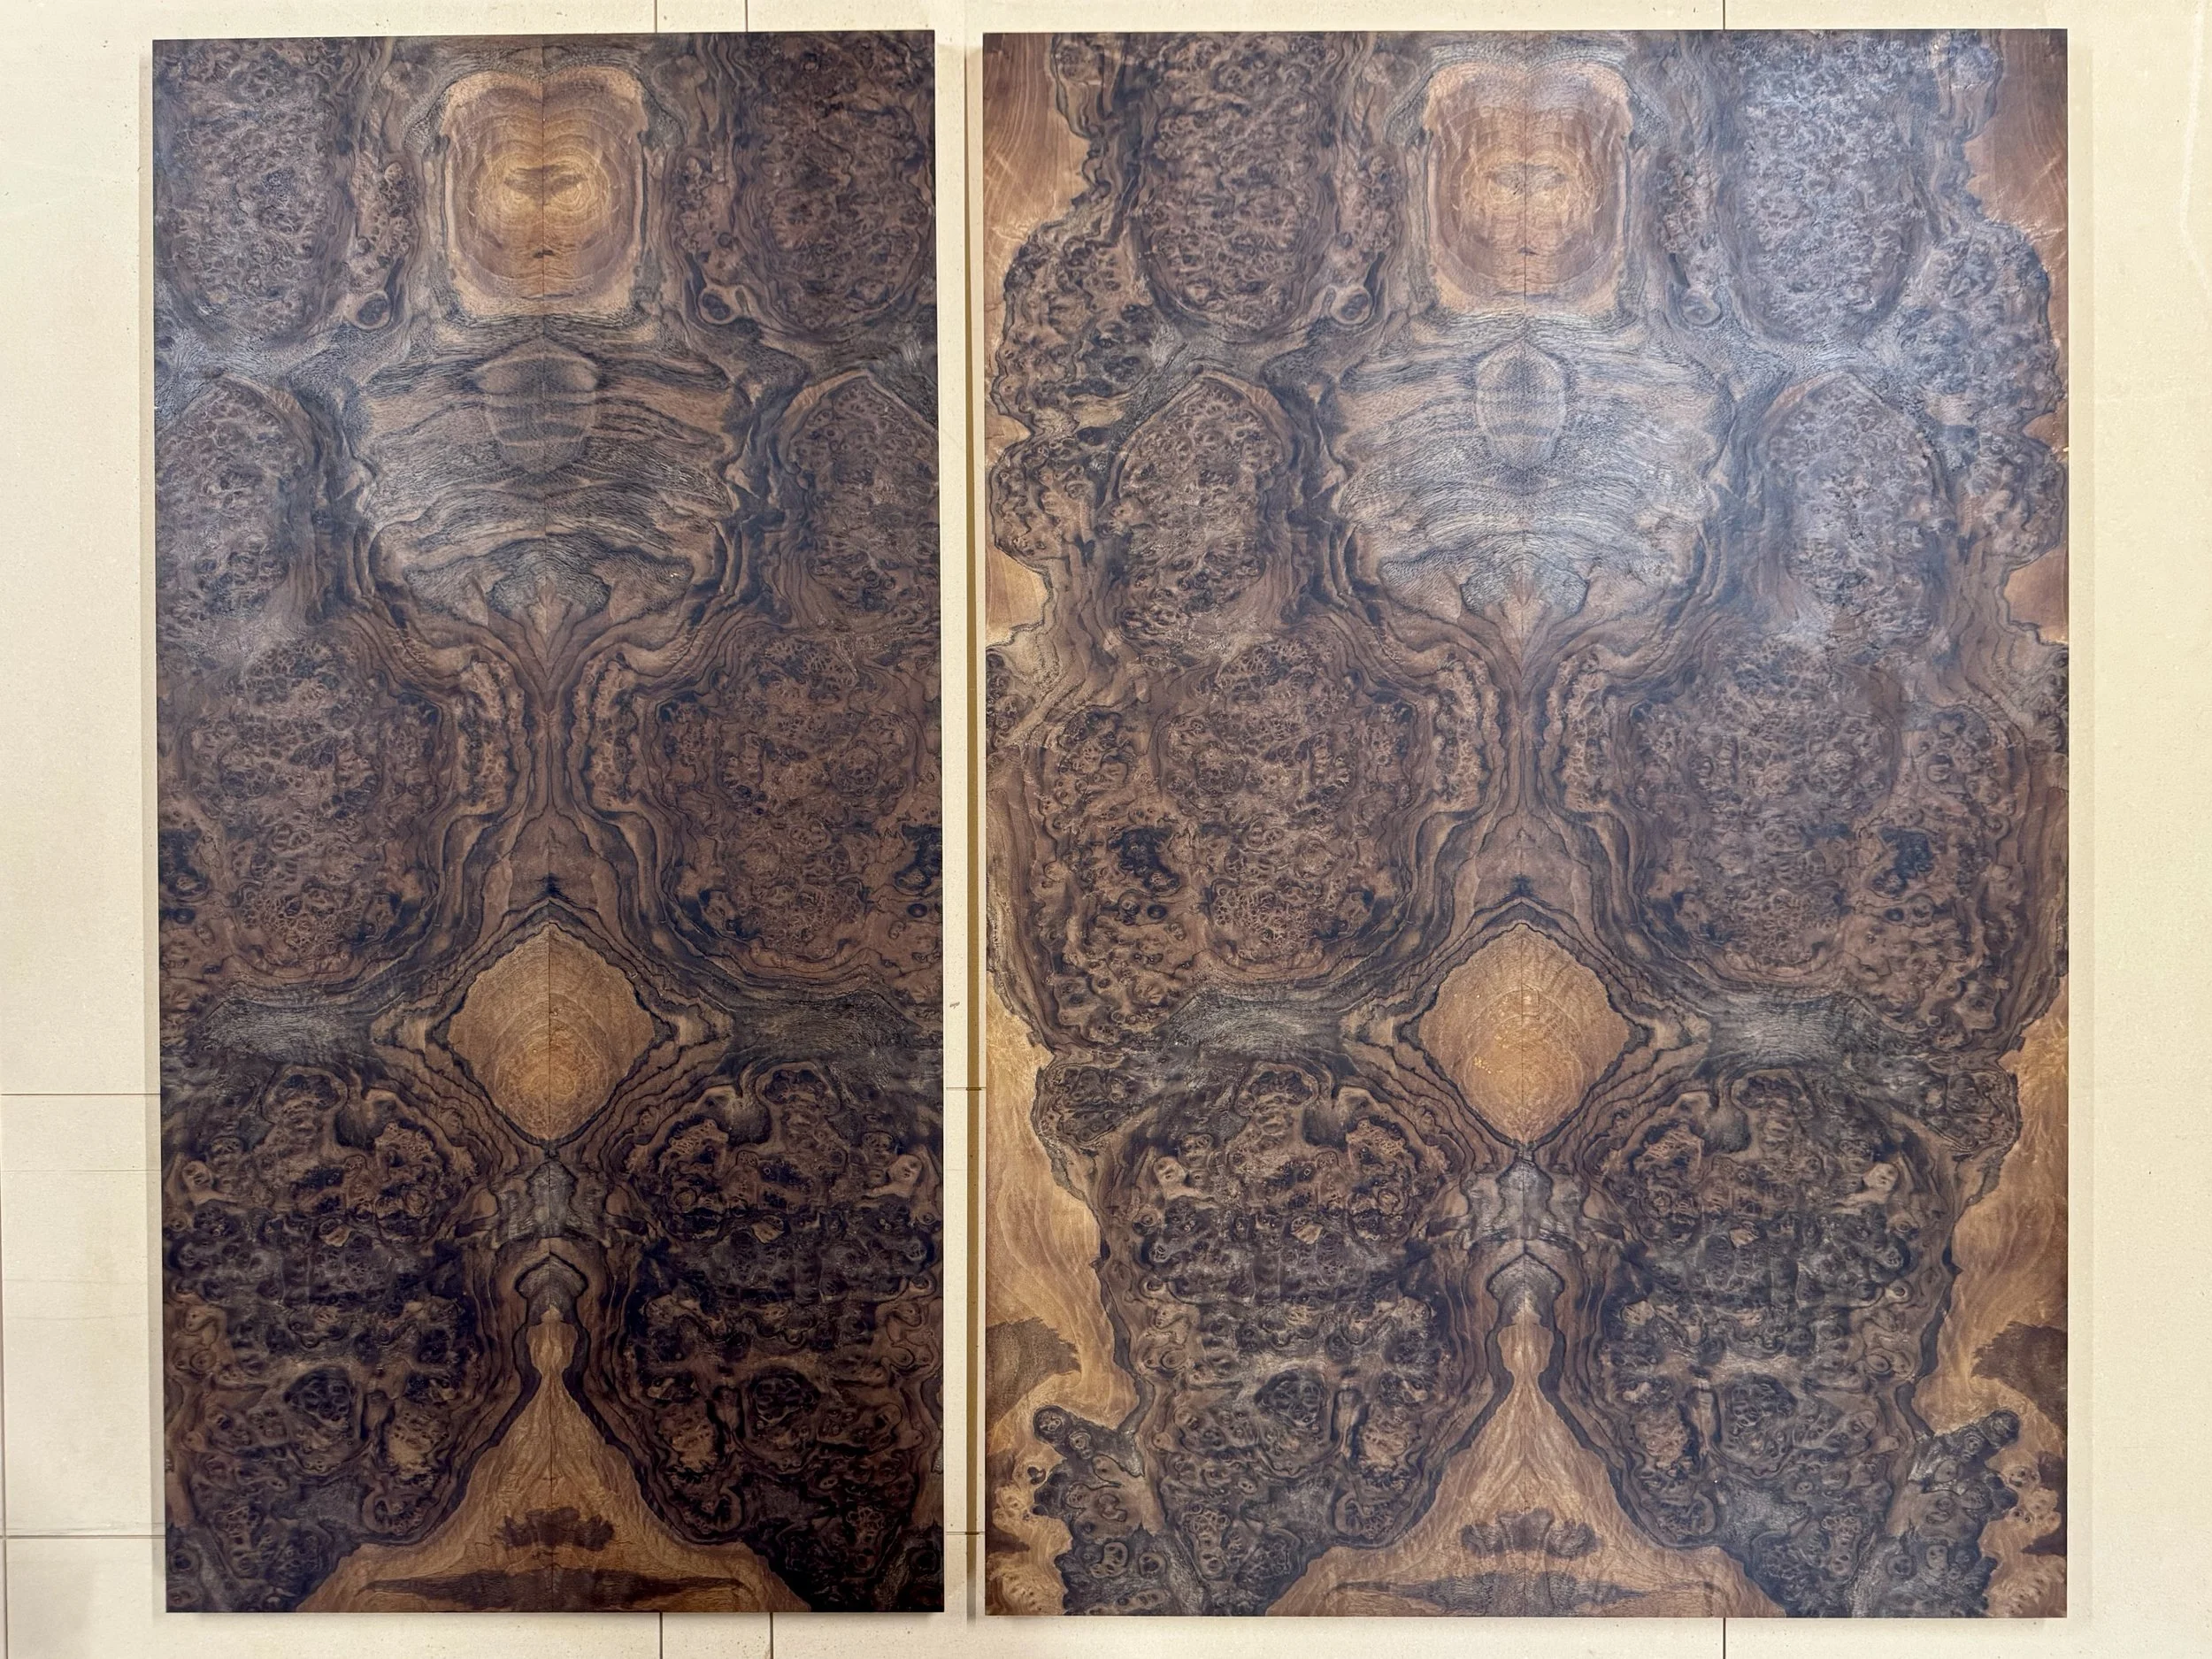
Knowing that the homeowners planned to use the display cases for their art collection, I suggested using walnut burl veneer for the back panels. The idea was to create something almost like a jewel box, with the richly figured walnut providing a distinctive backdrop for the artwork.
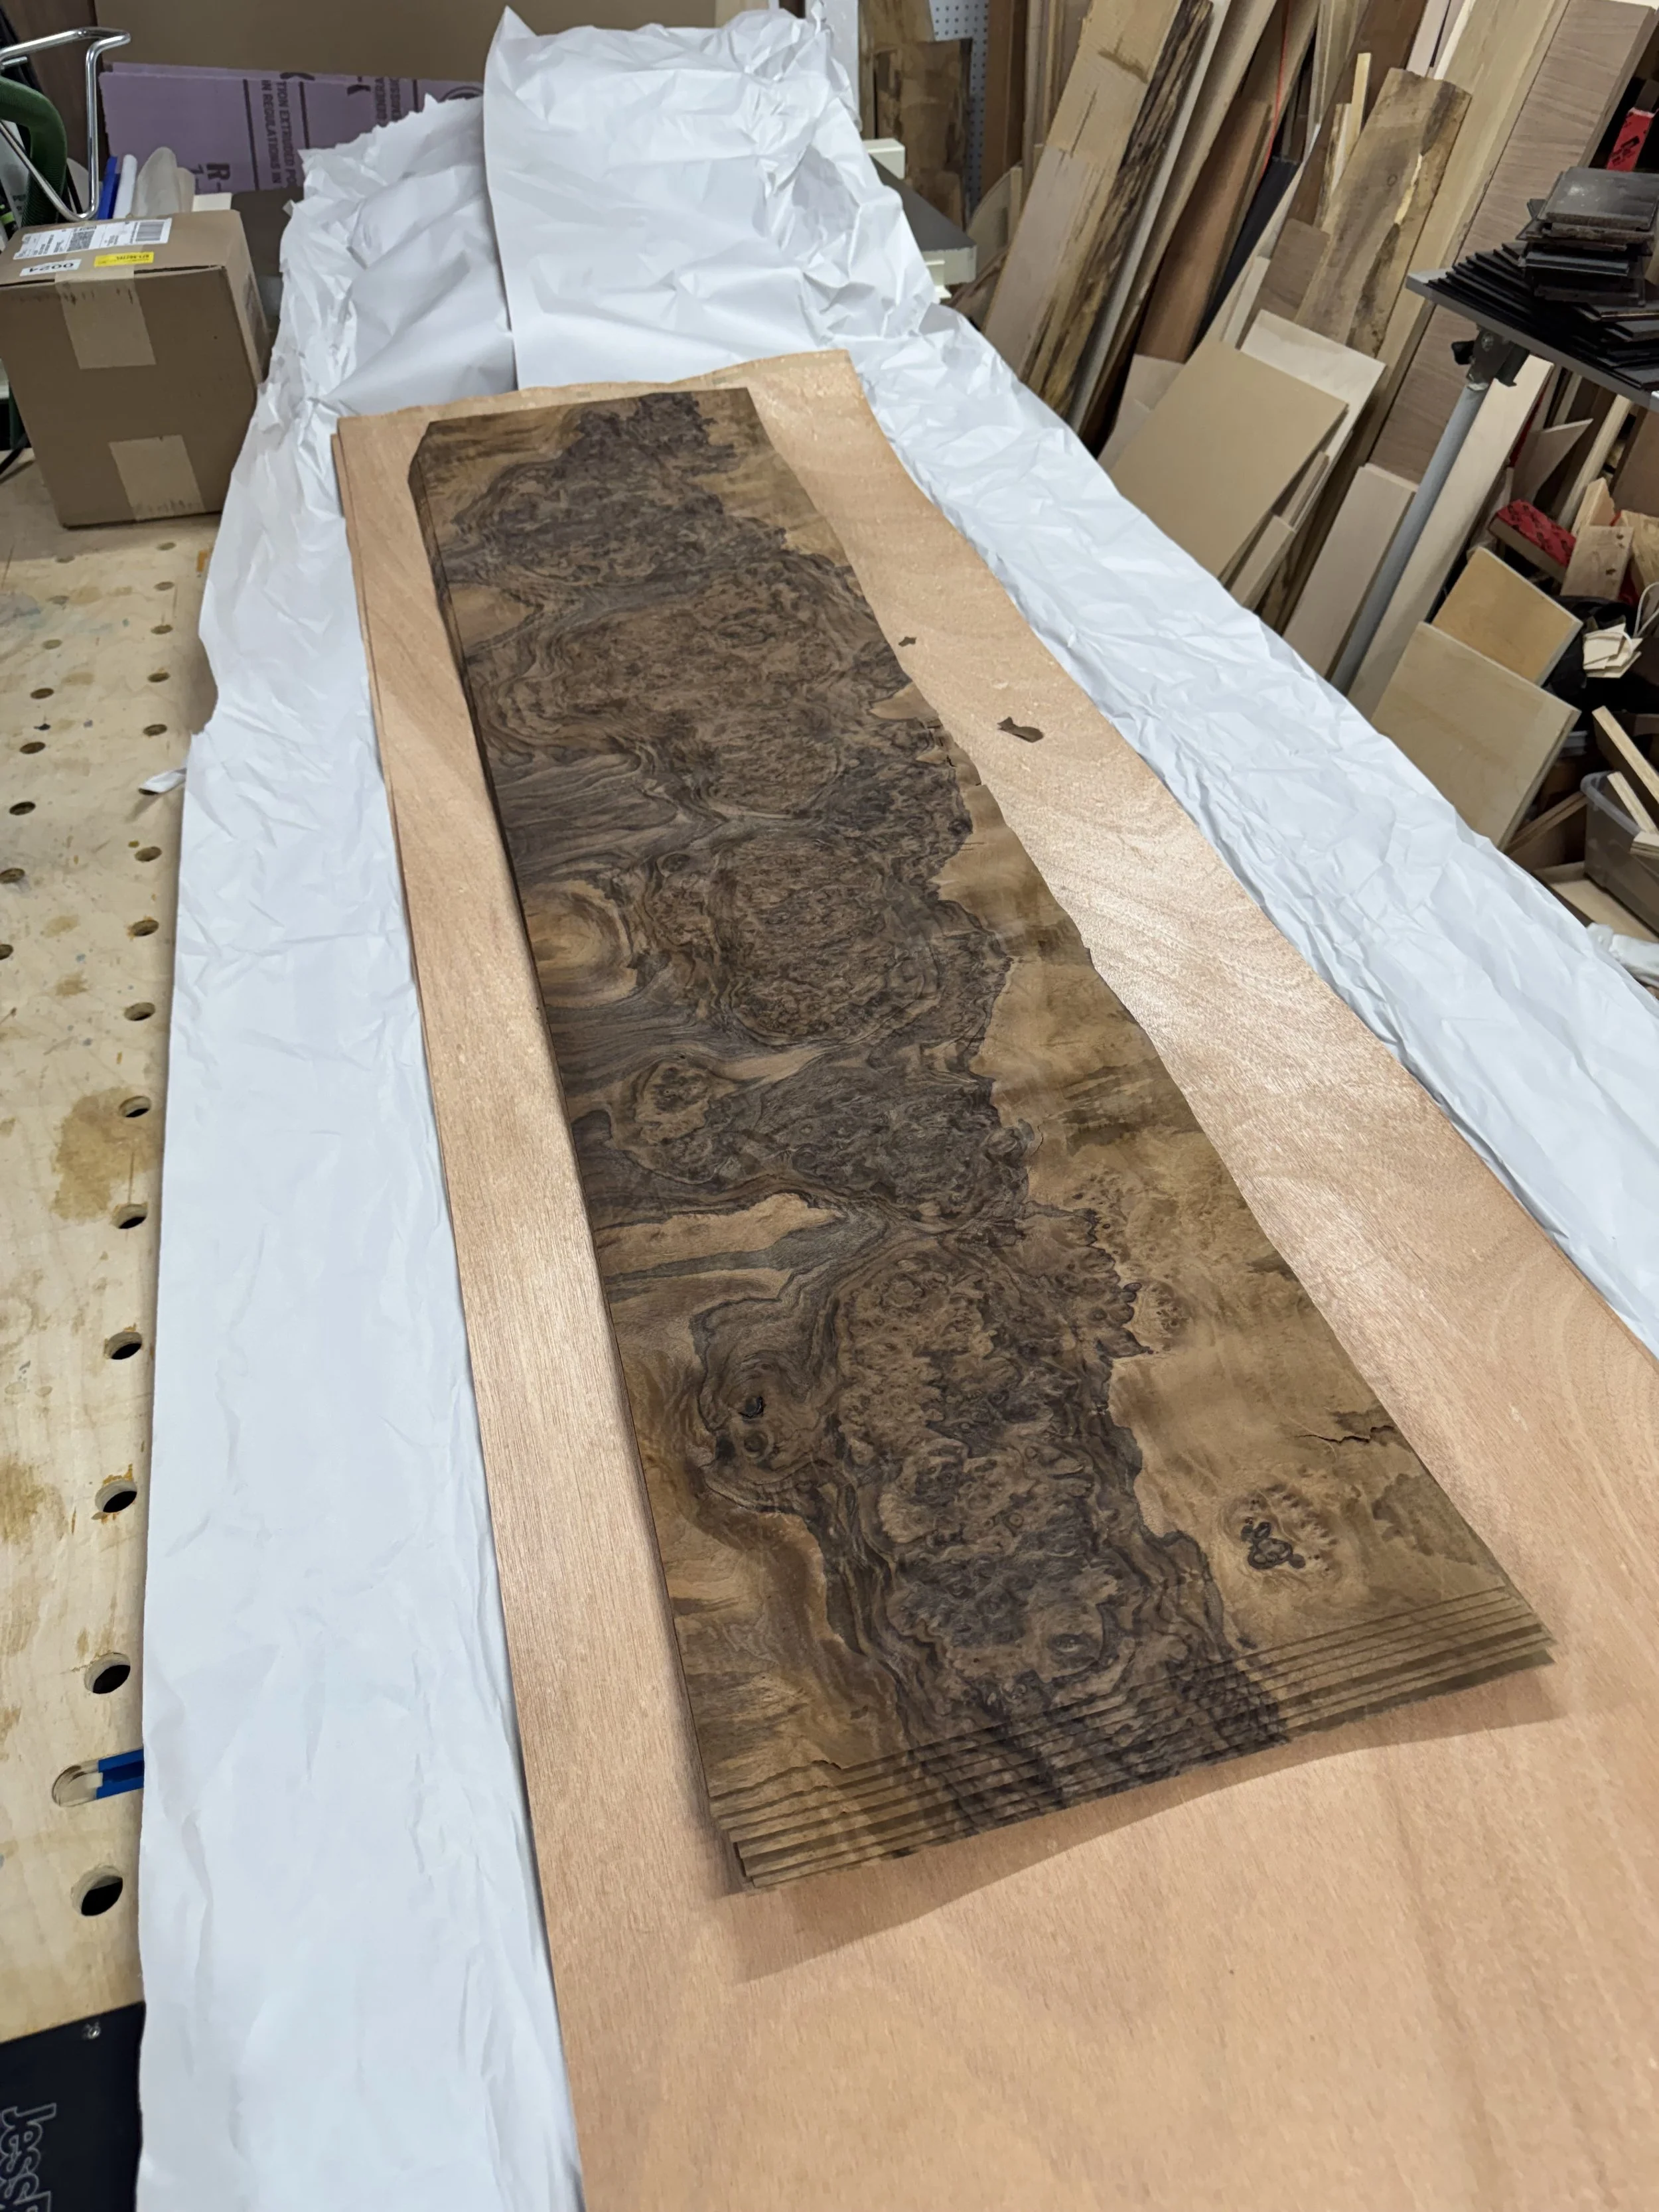
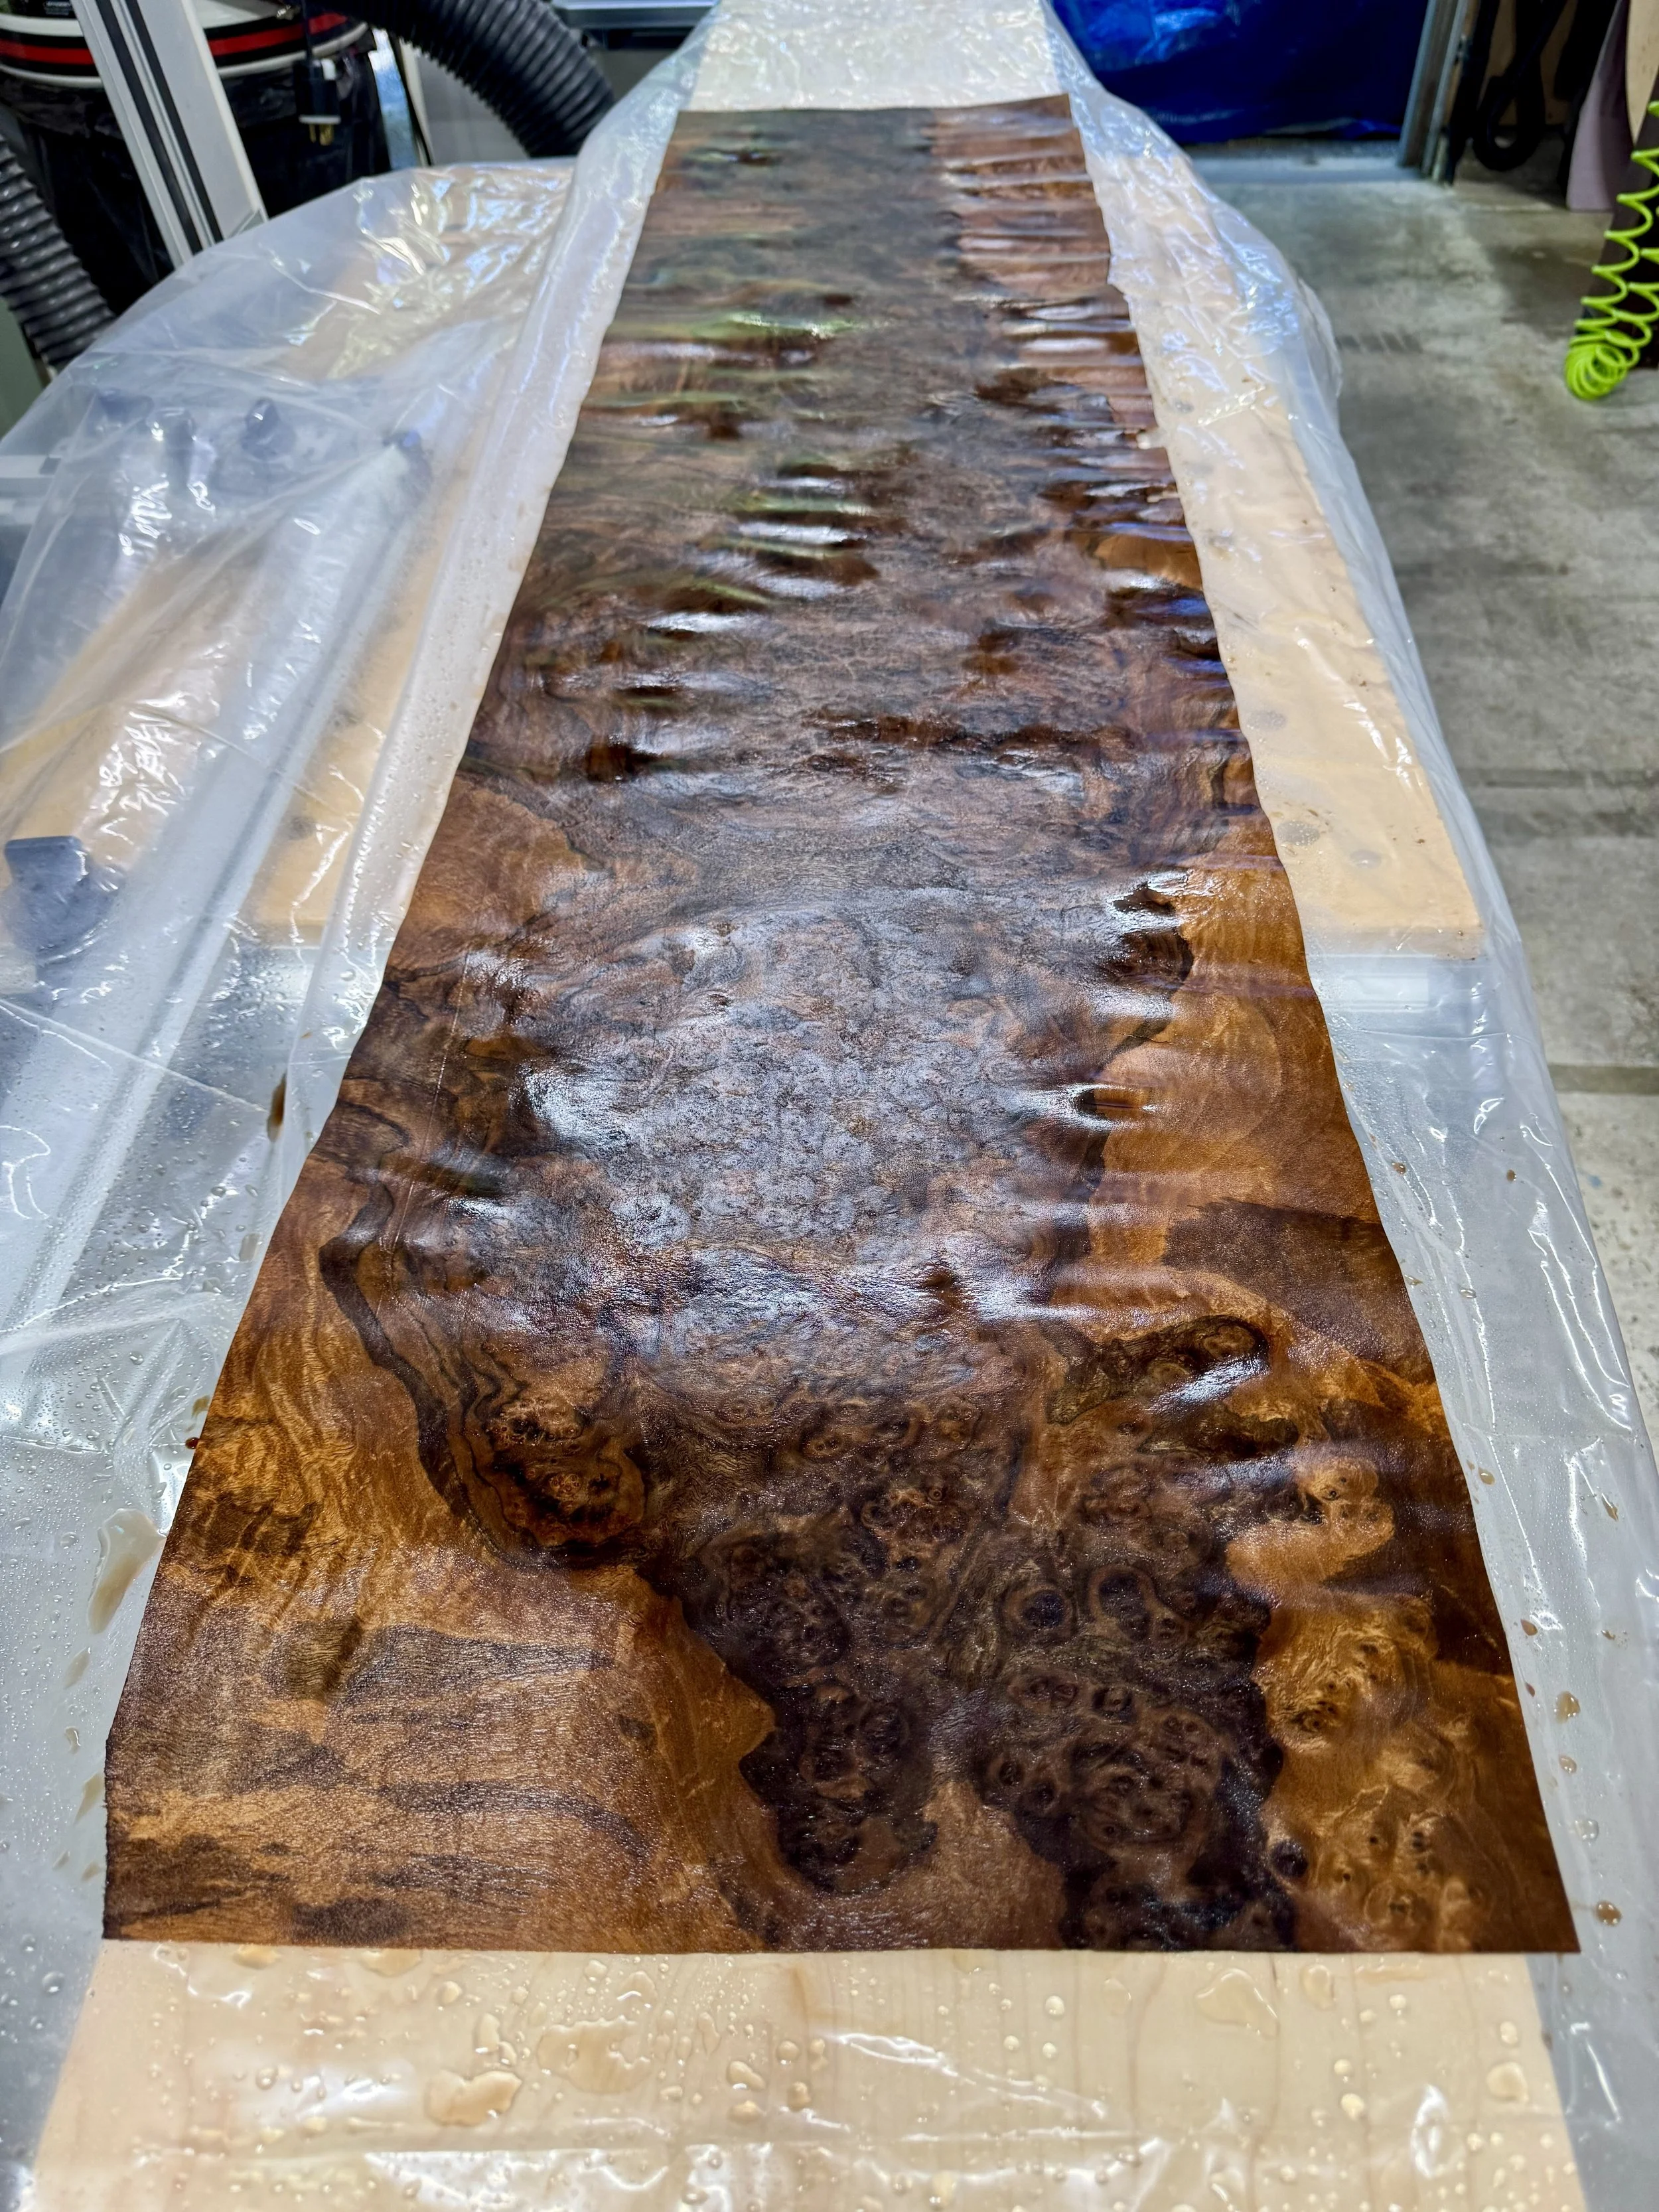
Burl walnut has incredible character, with swirling grain patterns and natural variations that you don't typically see in conventional walnut lumber. But that beauty comes with some challenges. Unlike ordinary plywood or solid lumber, each sheet of burl veneer is completely unique. The grain, color, figure, and imperfections are specific to that piece of wood. You can't simply make a mistake and order an identical replacement. That added a little extra pressure to every decision.
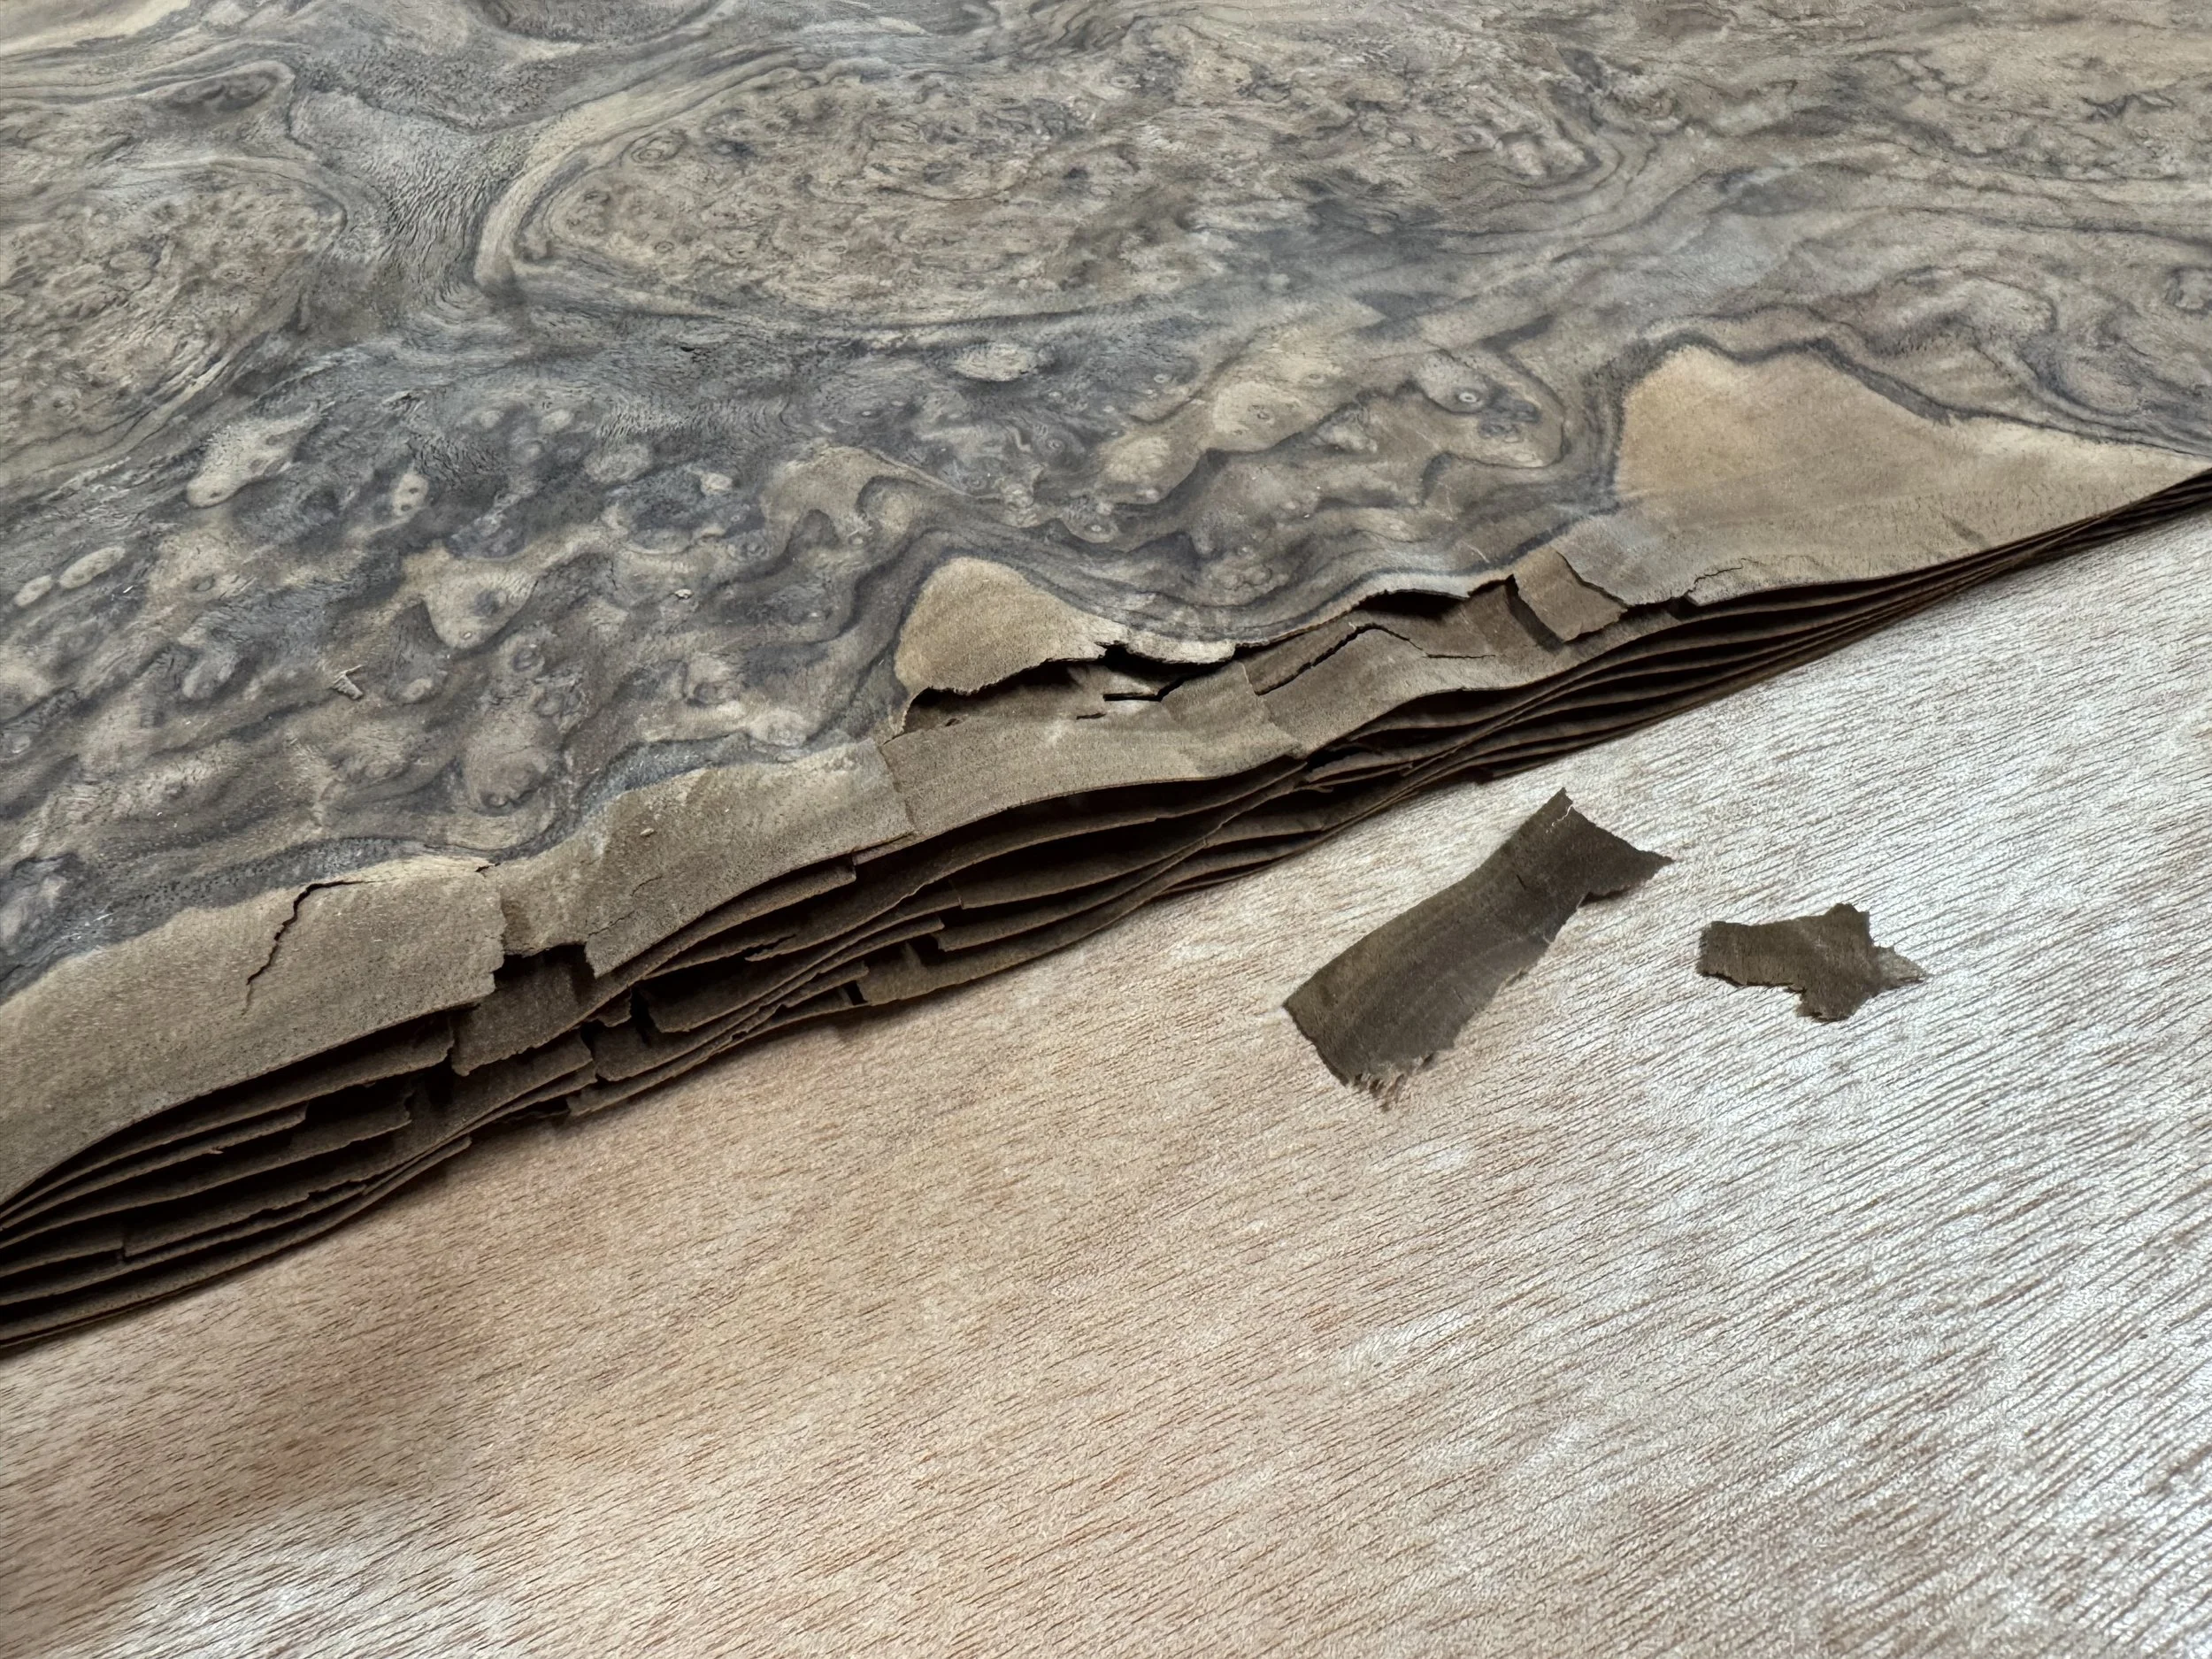
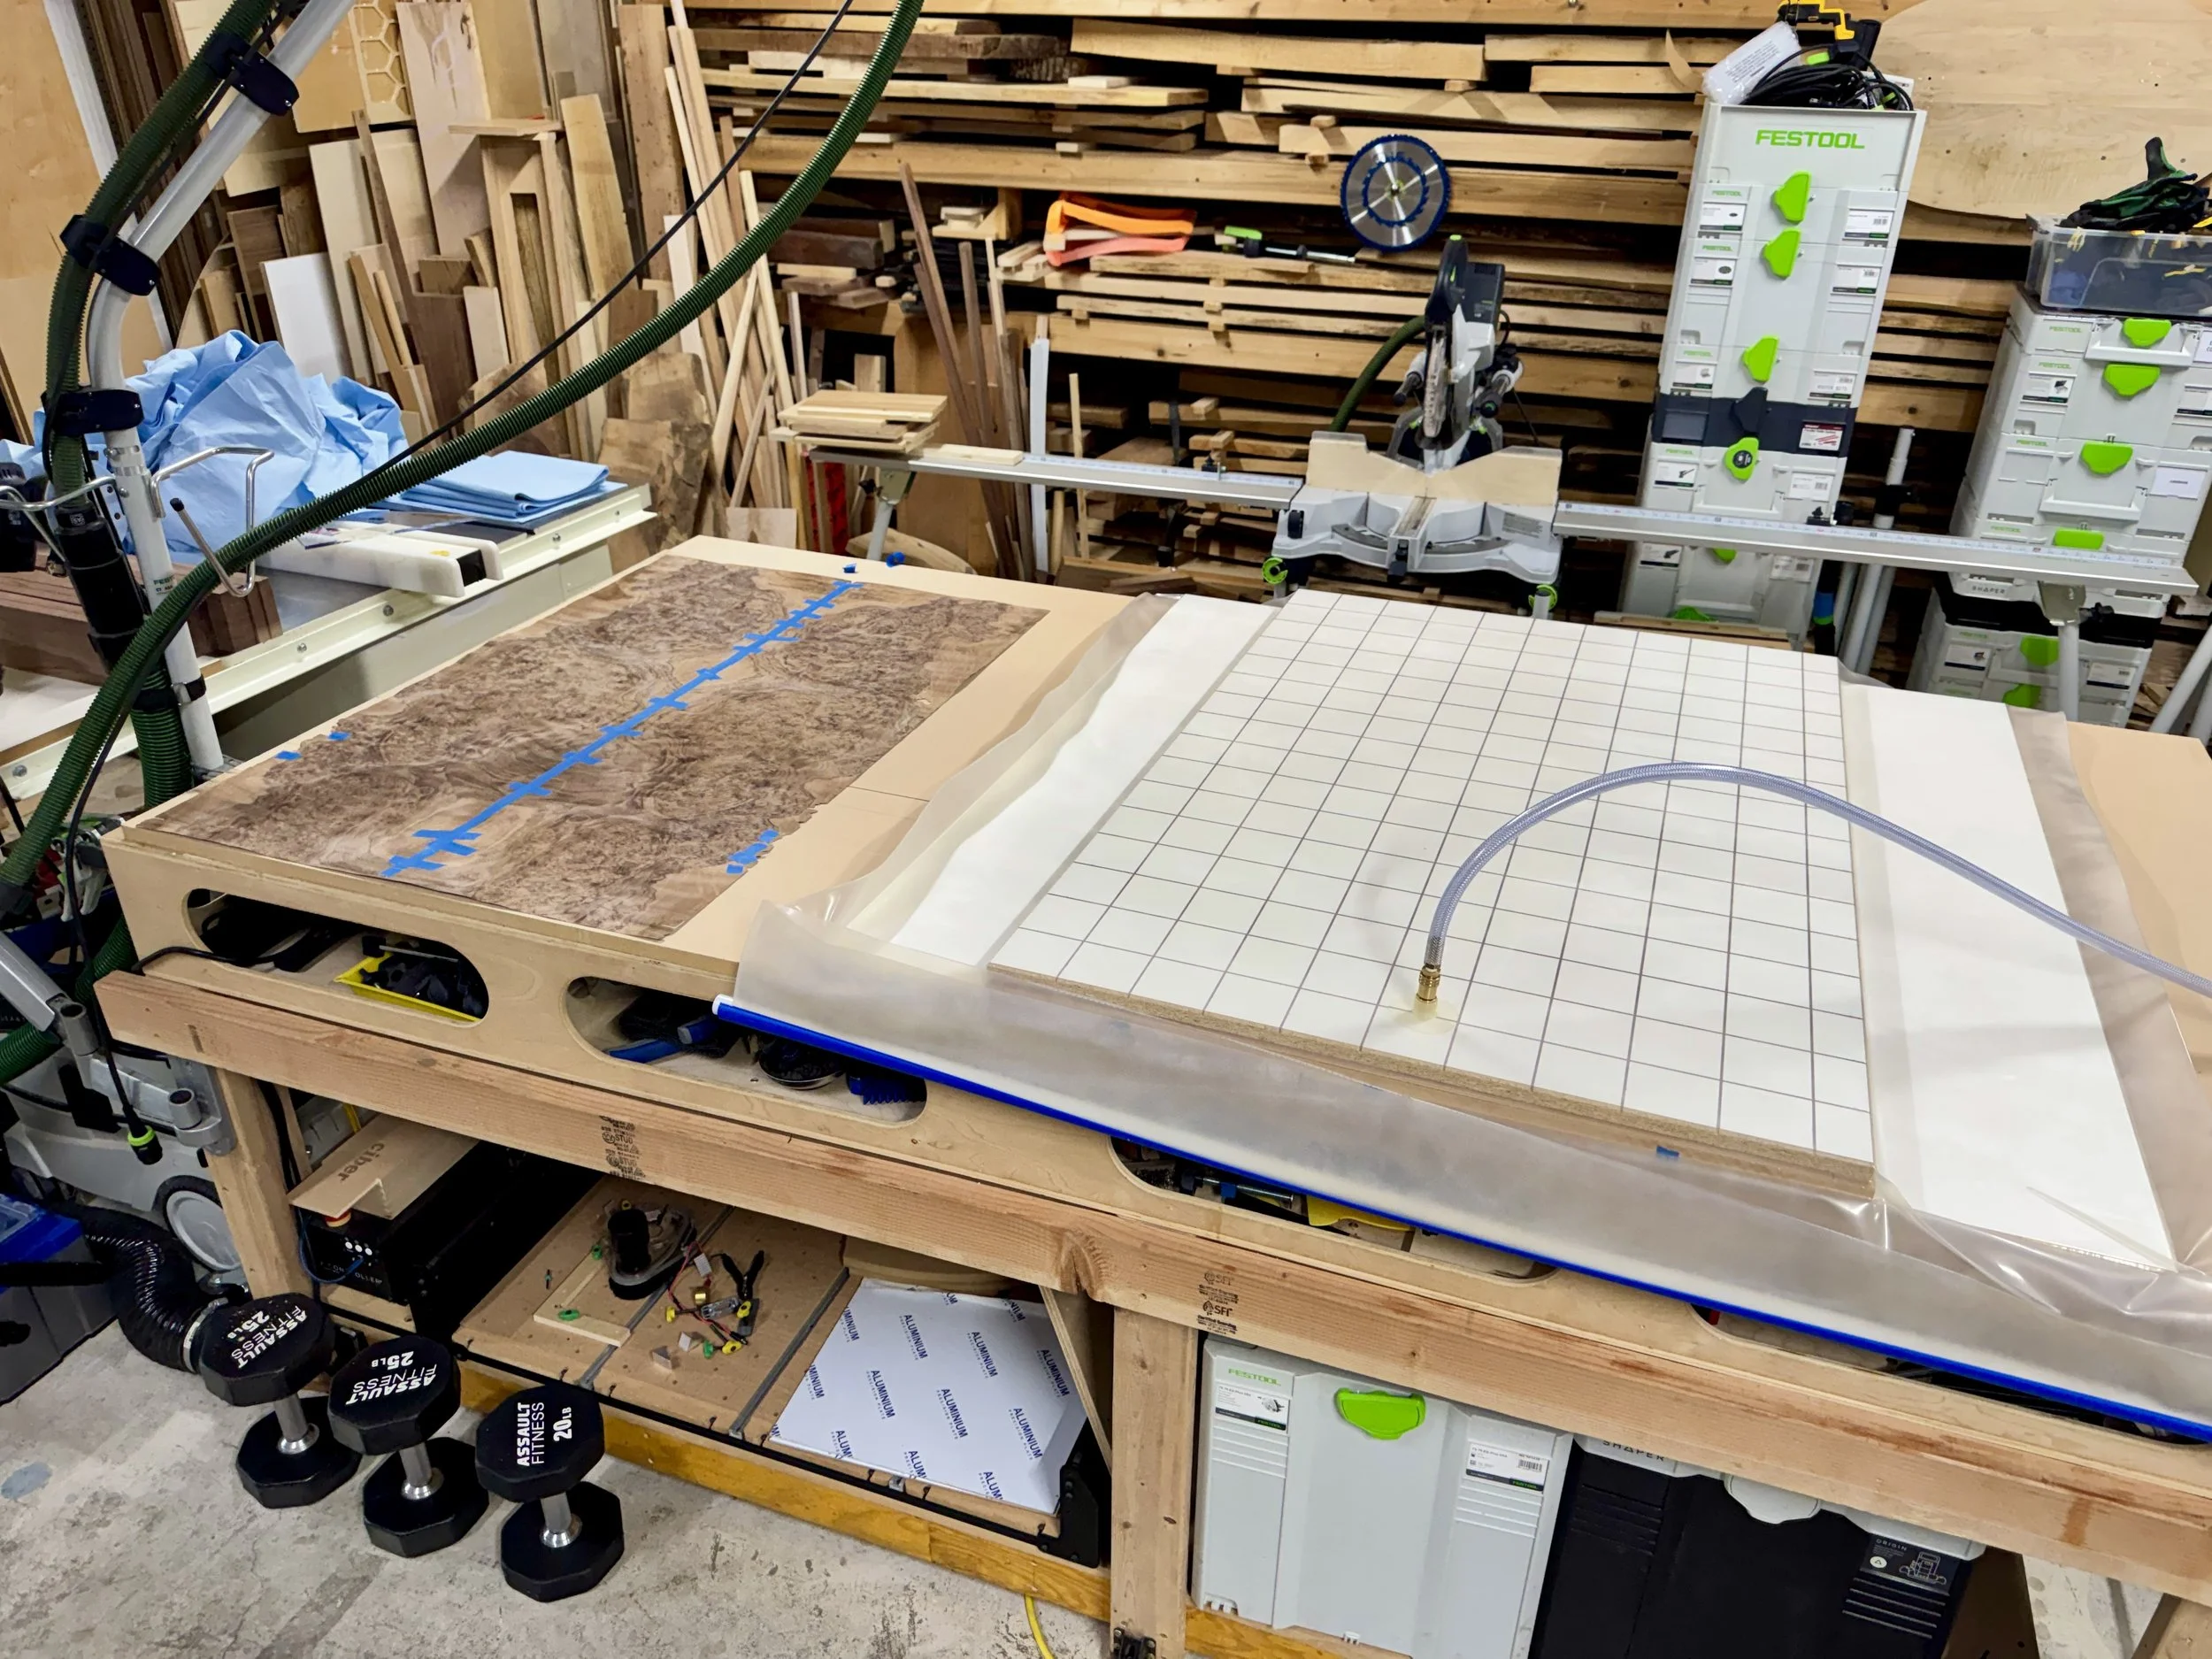
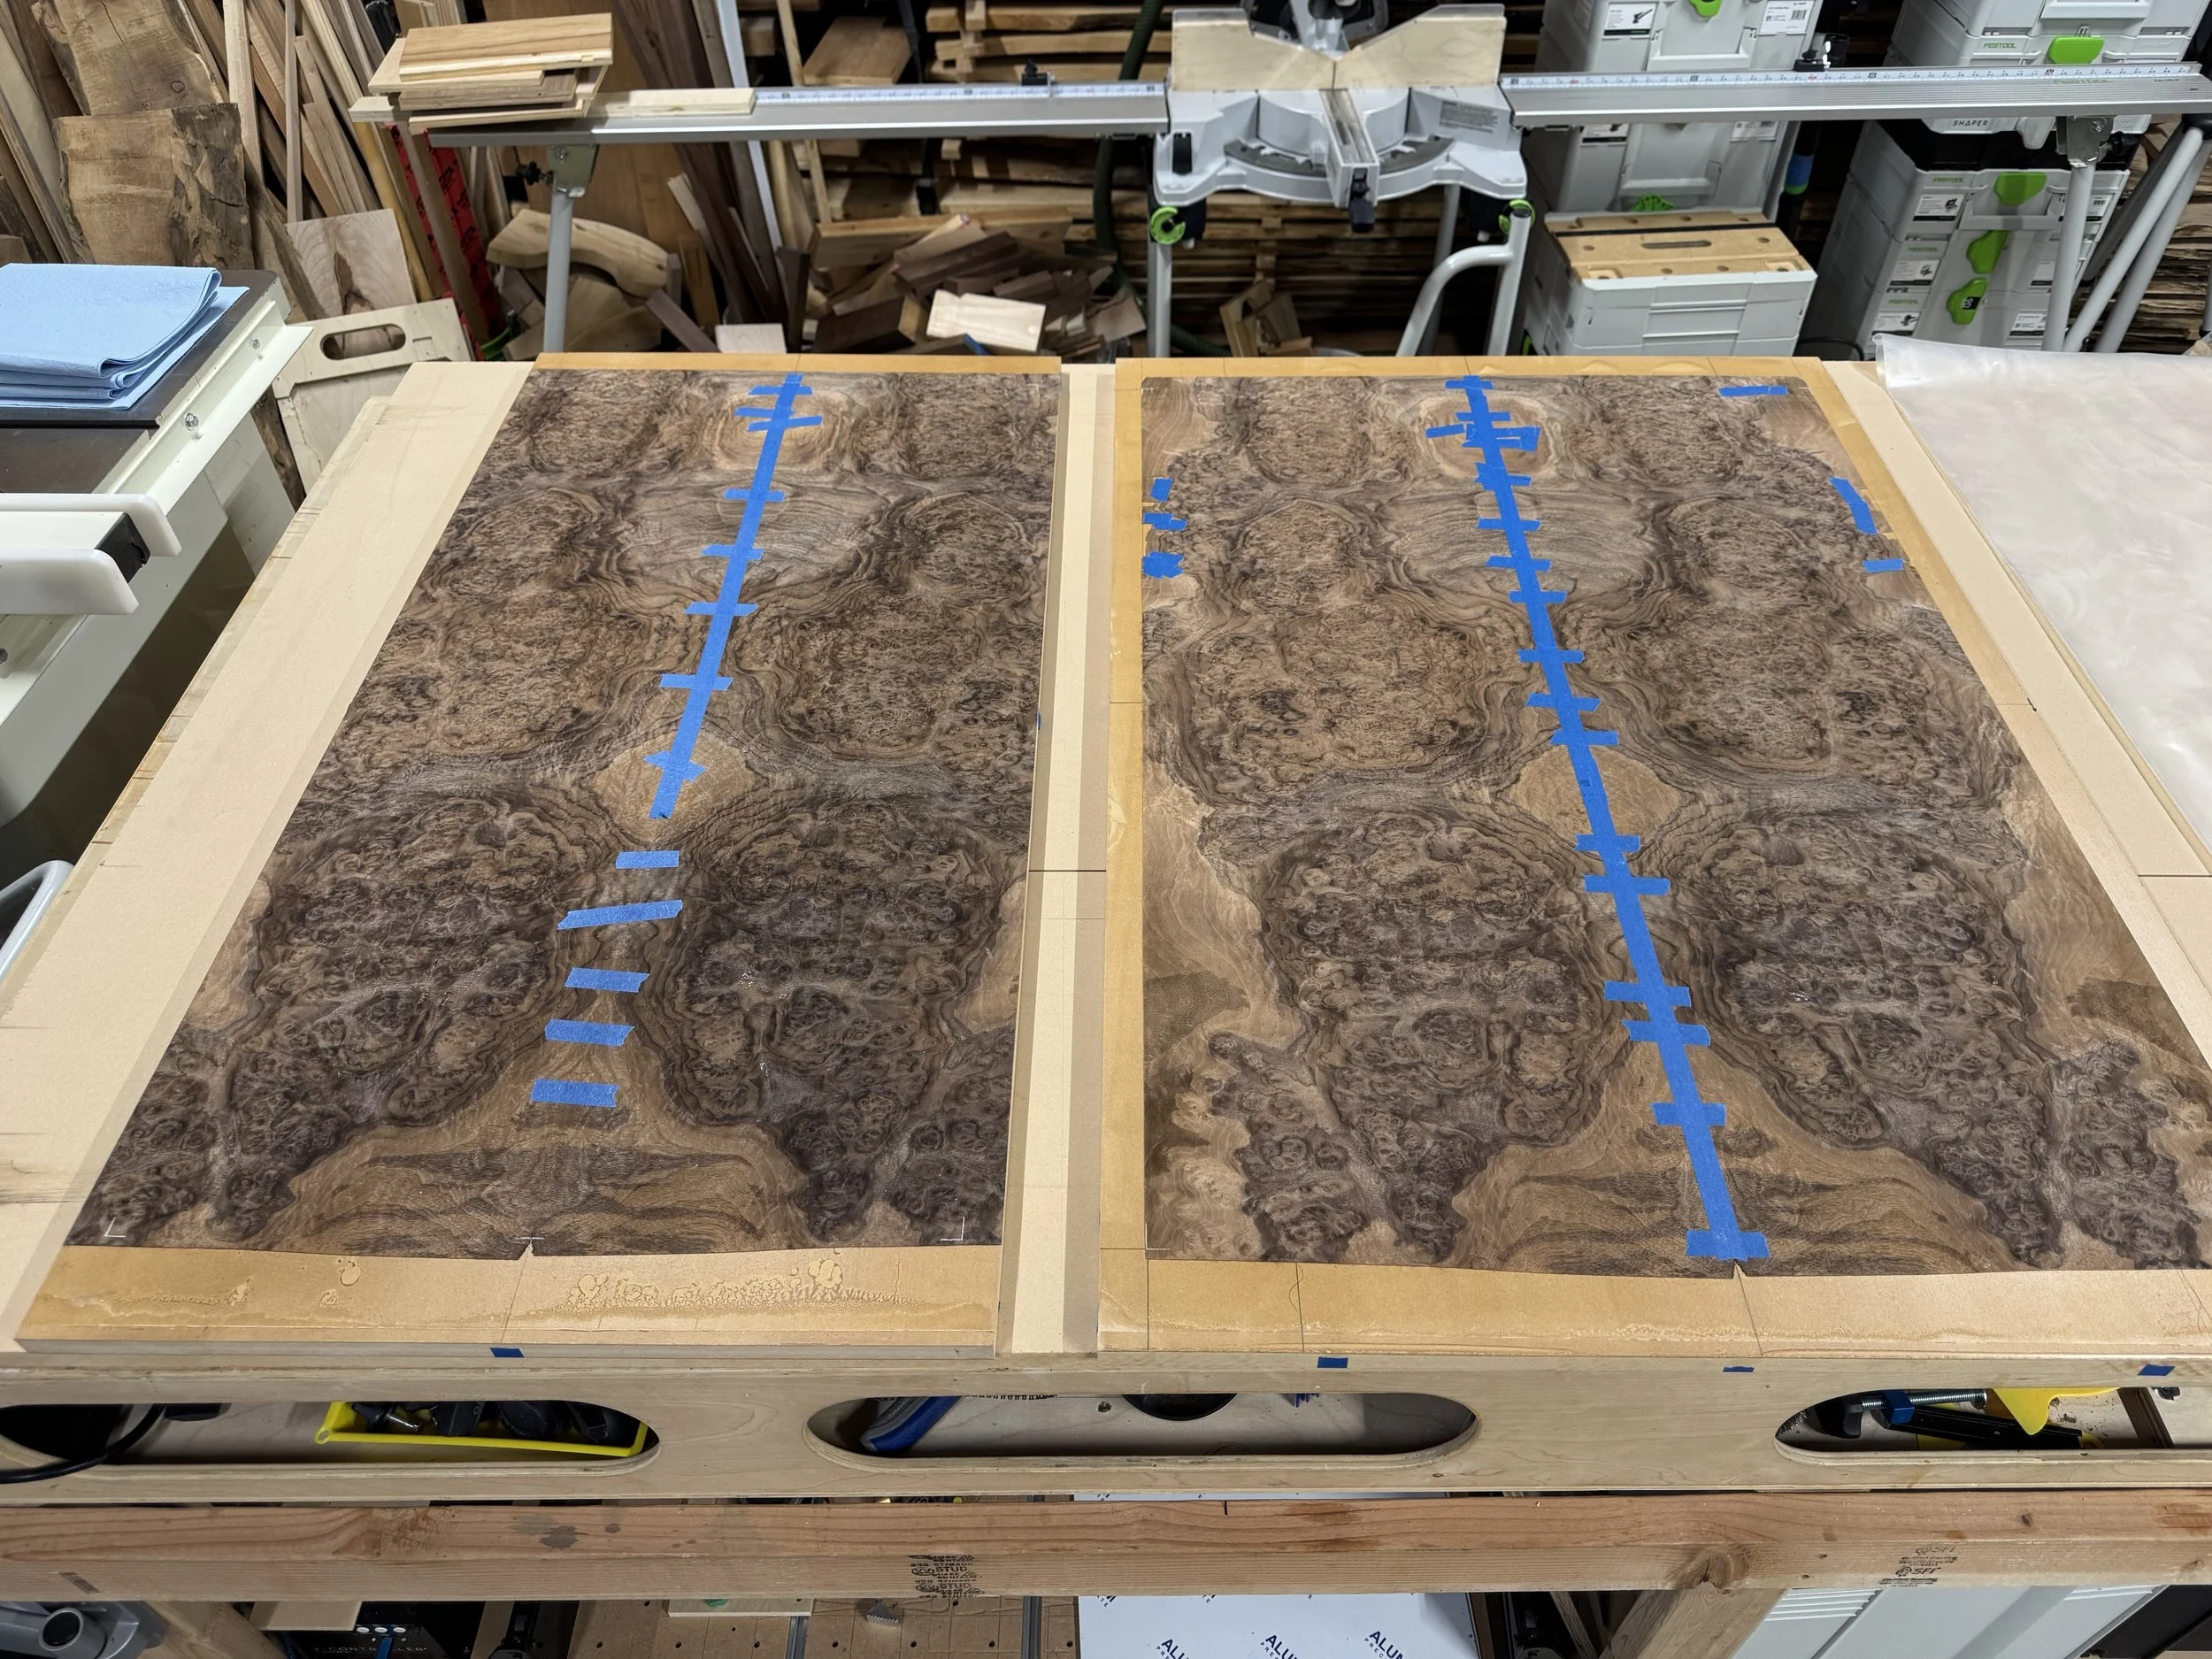
I spent hours arranging the veneer sheets, studying the grain patterns, and experimenting with different layouts before settling on the final design. Some arrangements created more interesting bookmatched patterns, while others worked better with the proportions of the display cases. The lighter sapwood was also particularly brittle, which influenced how I handled the veneer and ultimately played a role in the final layout.
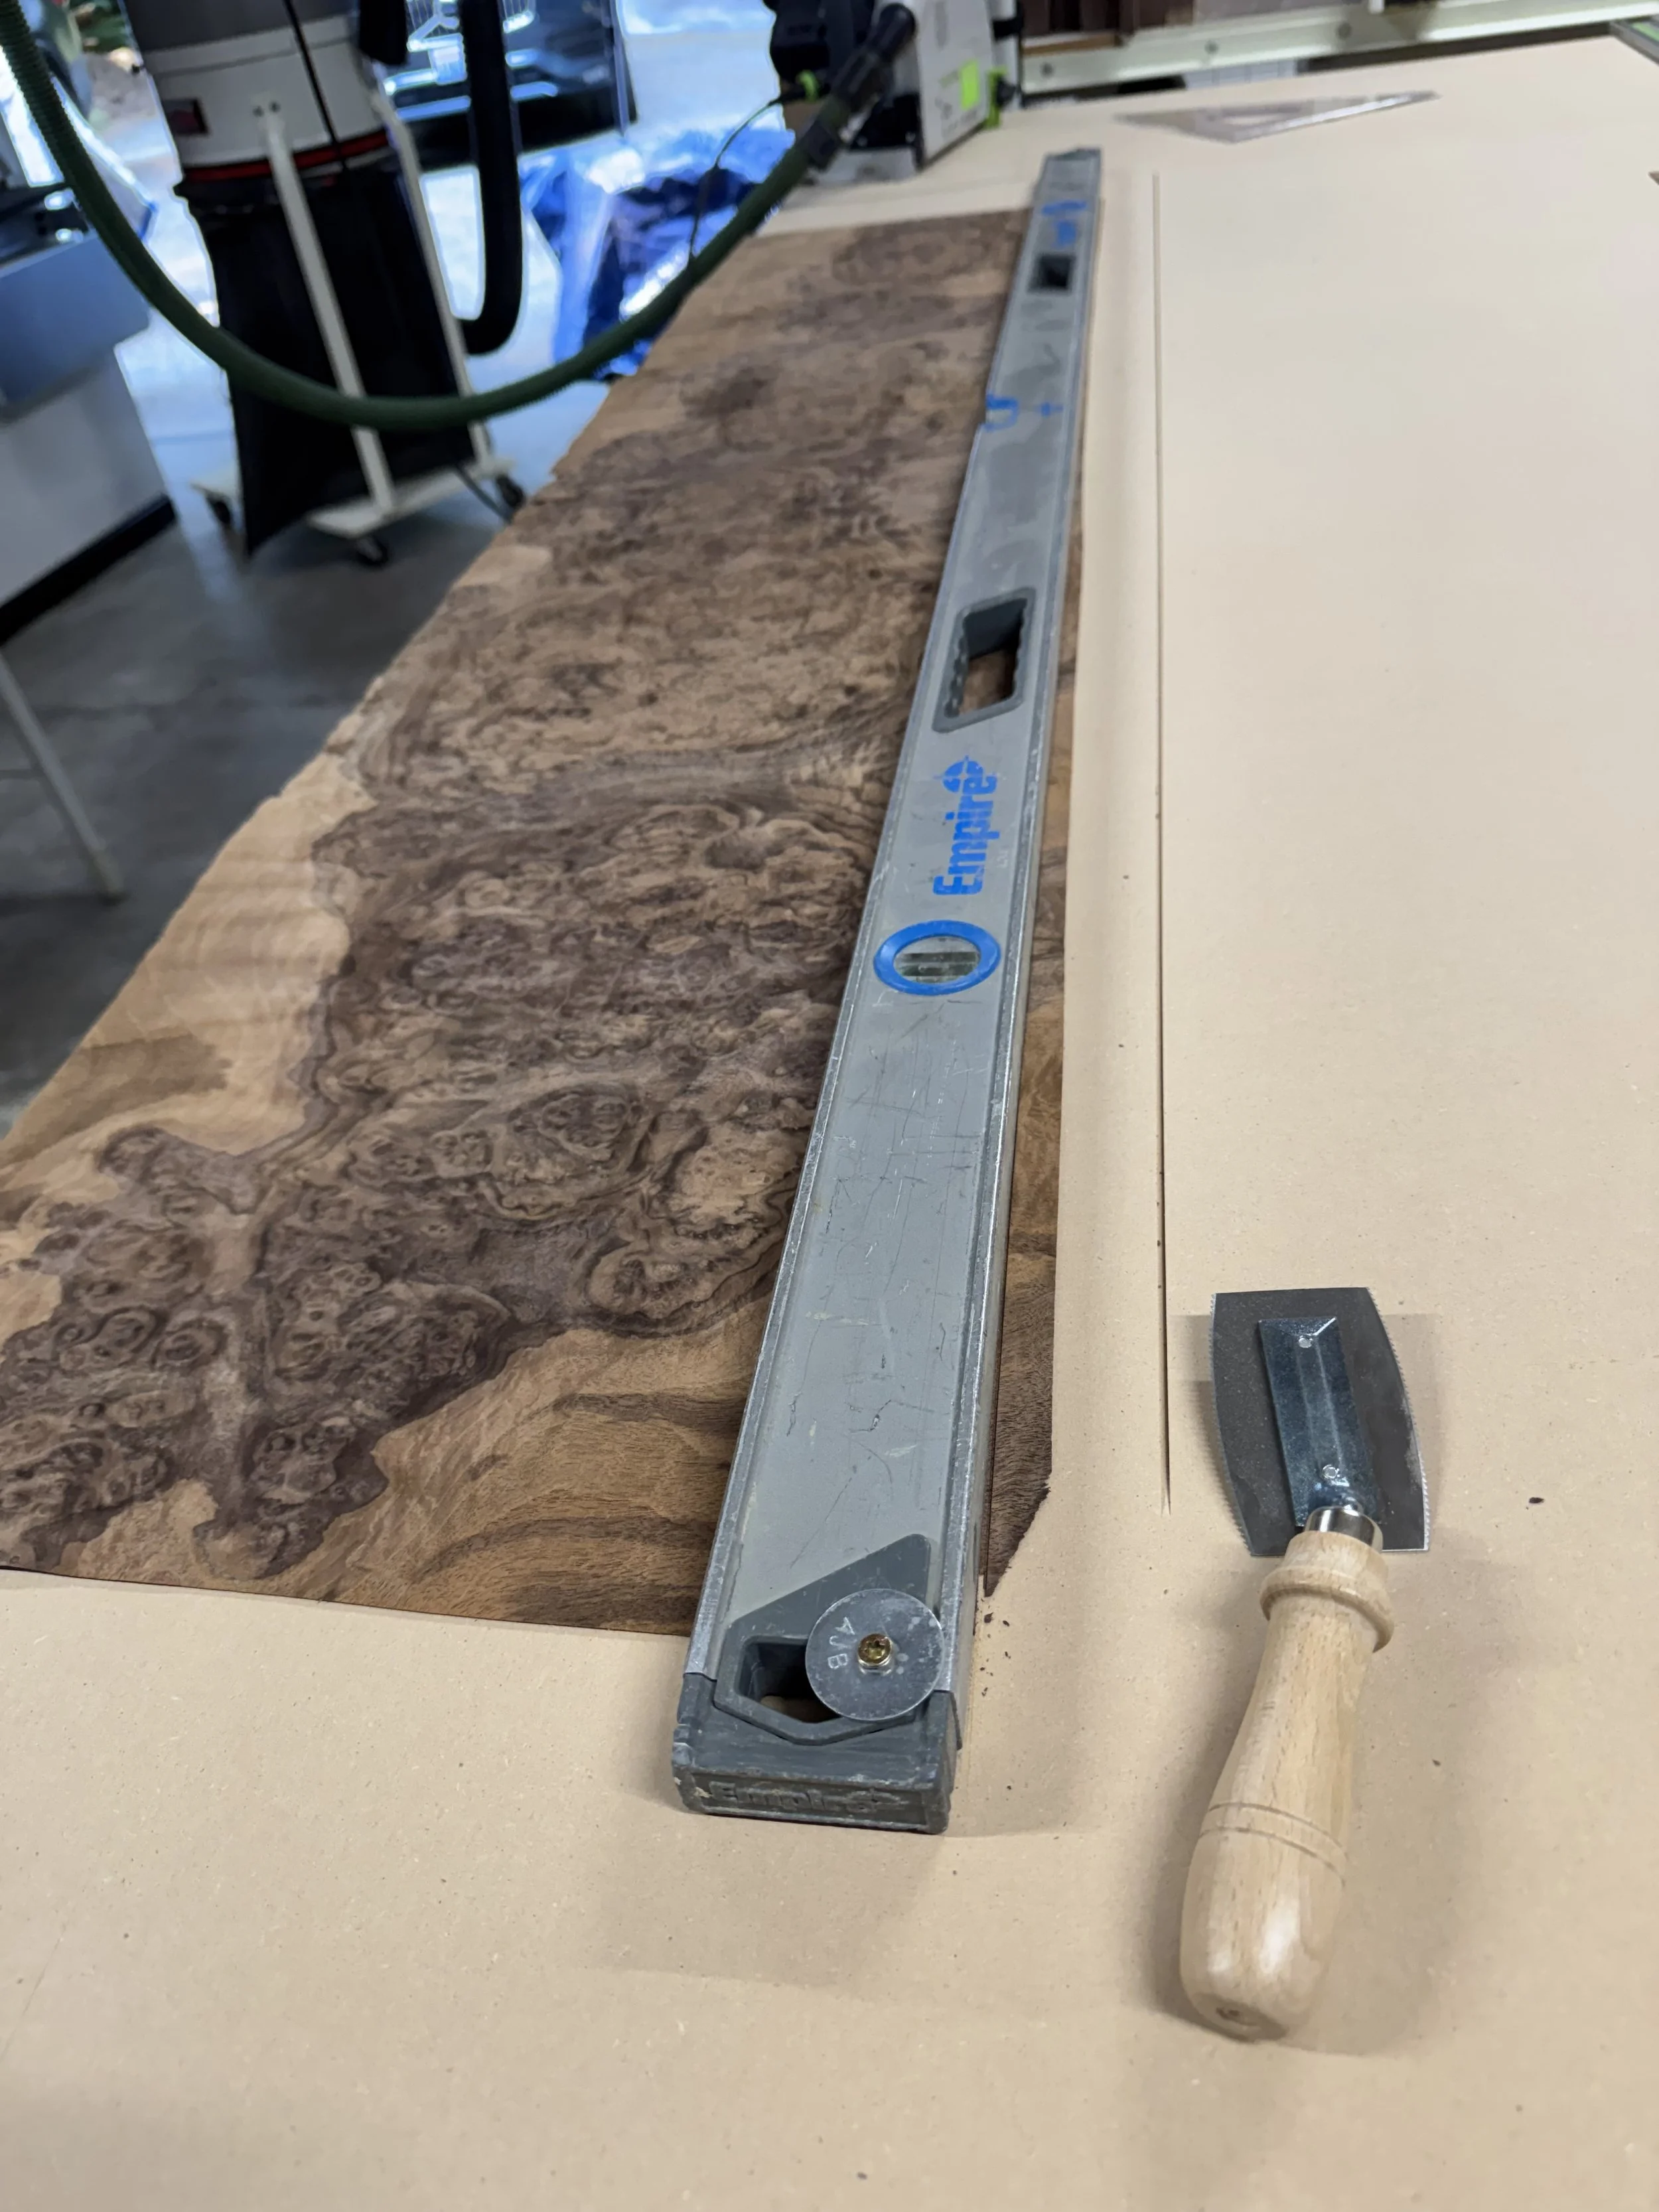
Before the veneer could be bonded to the backing panels, it needed quite a bit of preparation. The sheets weren't flat, and some had areas that required careful repairs. Working with highly figured burl veneer requires patience. The irregular grain makes the material delicate, and forcing it into position can easily cause damage.
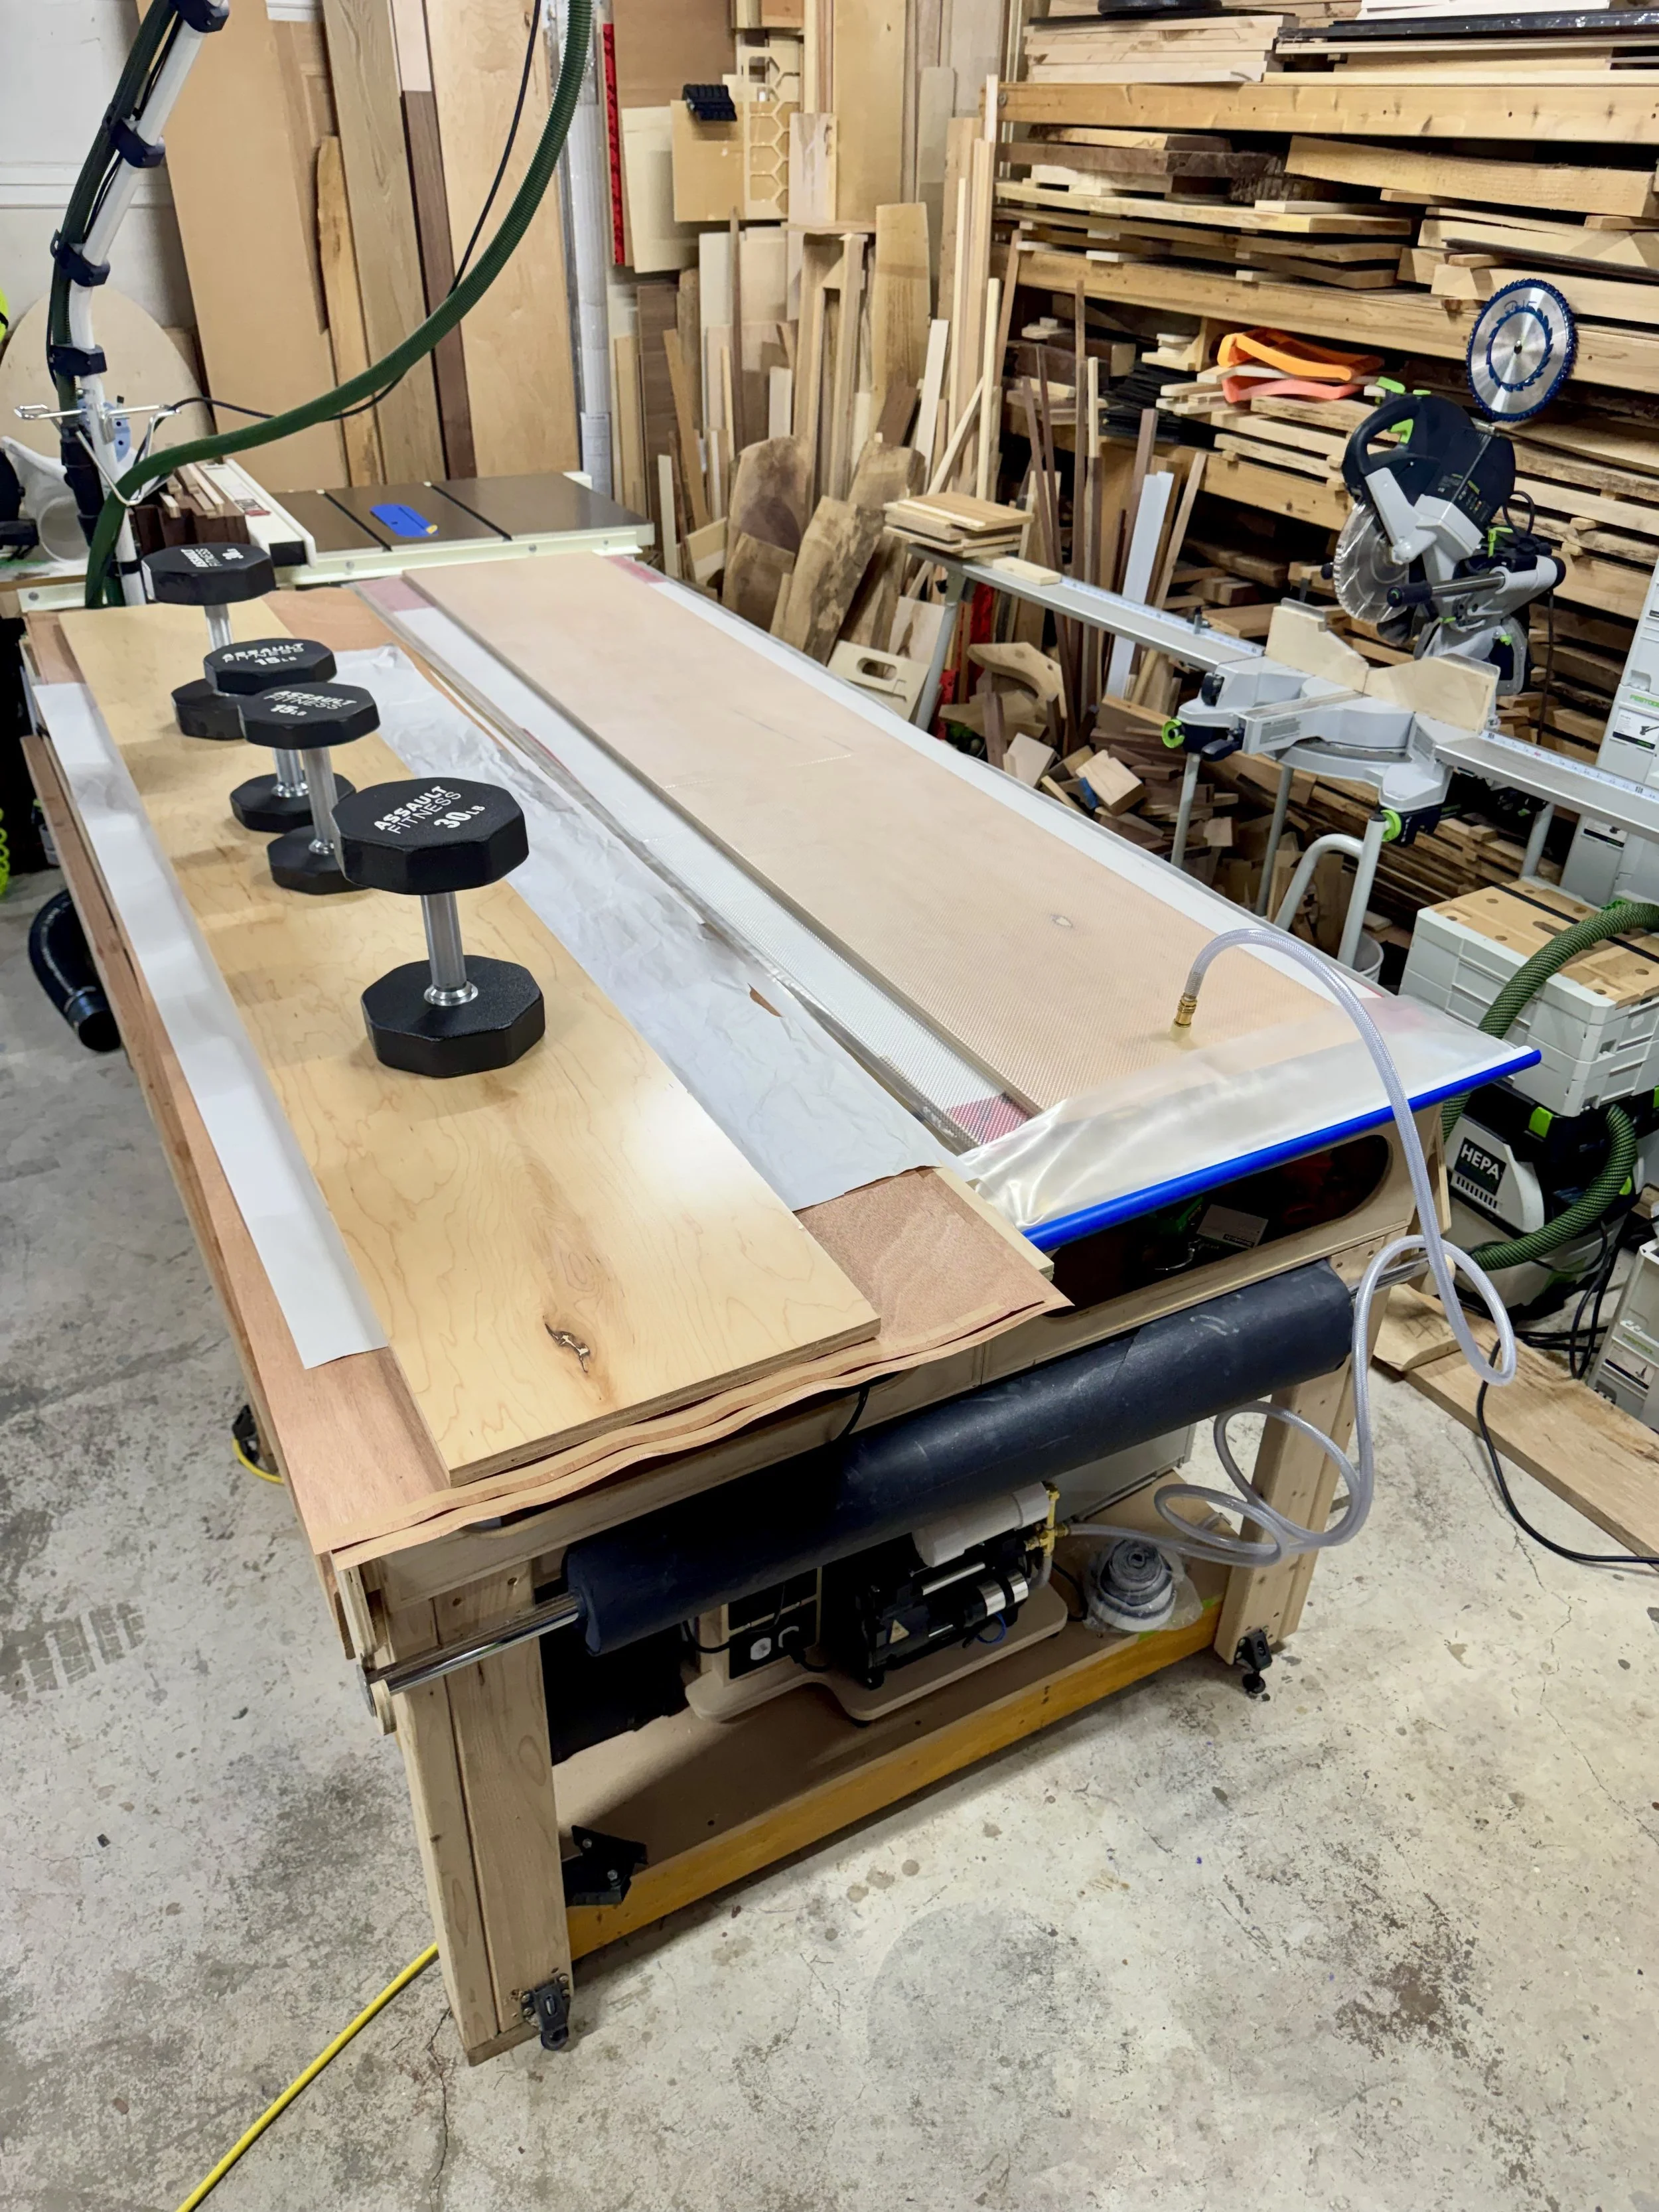
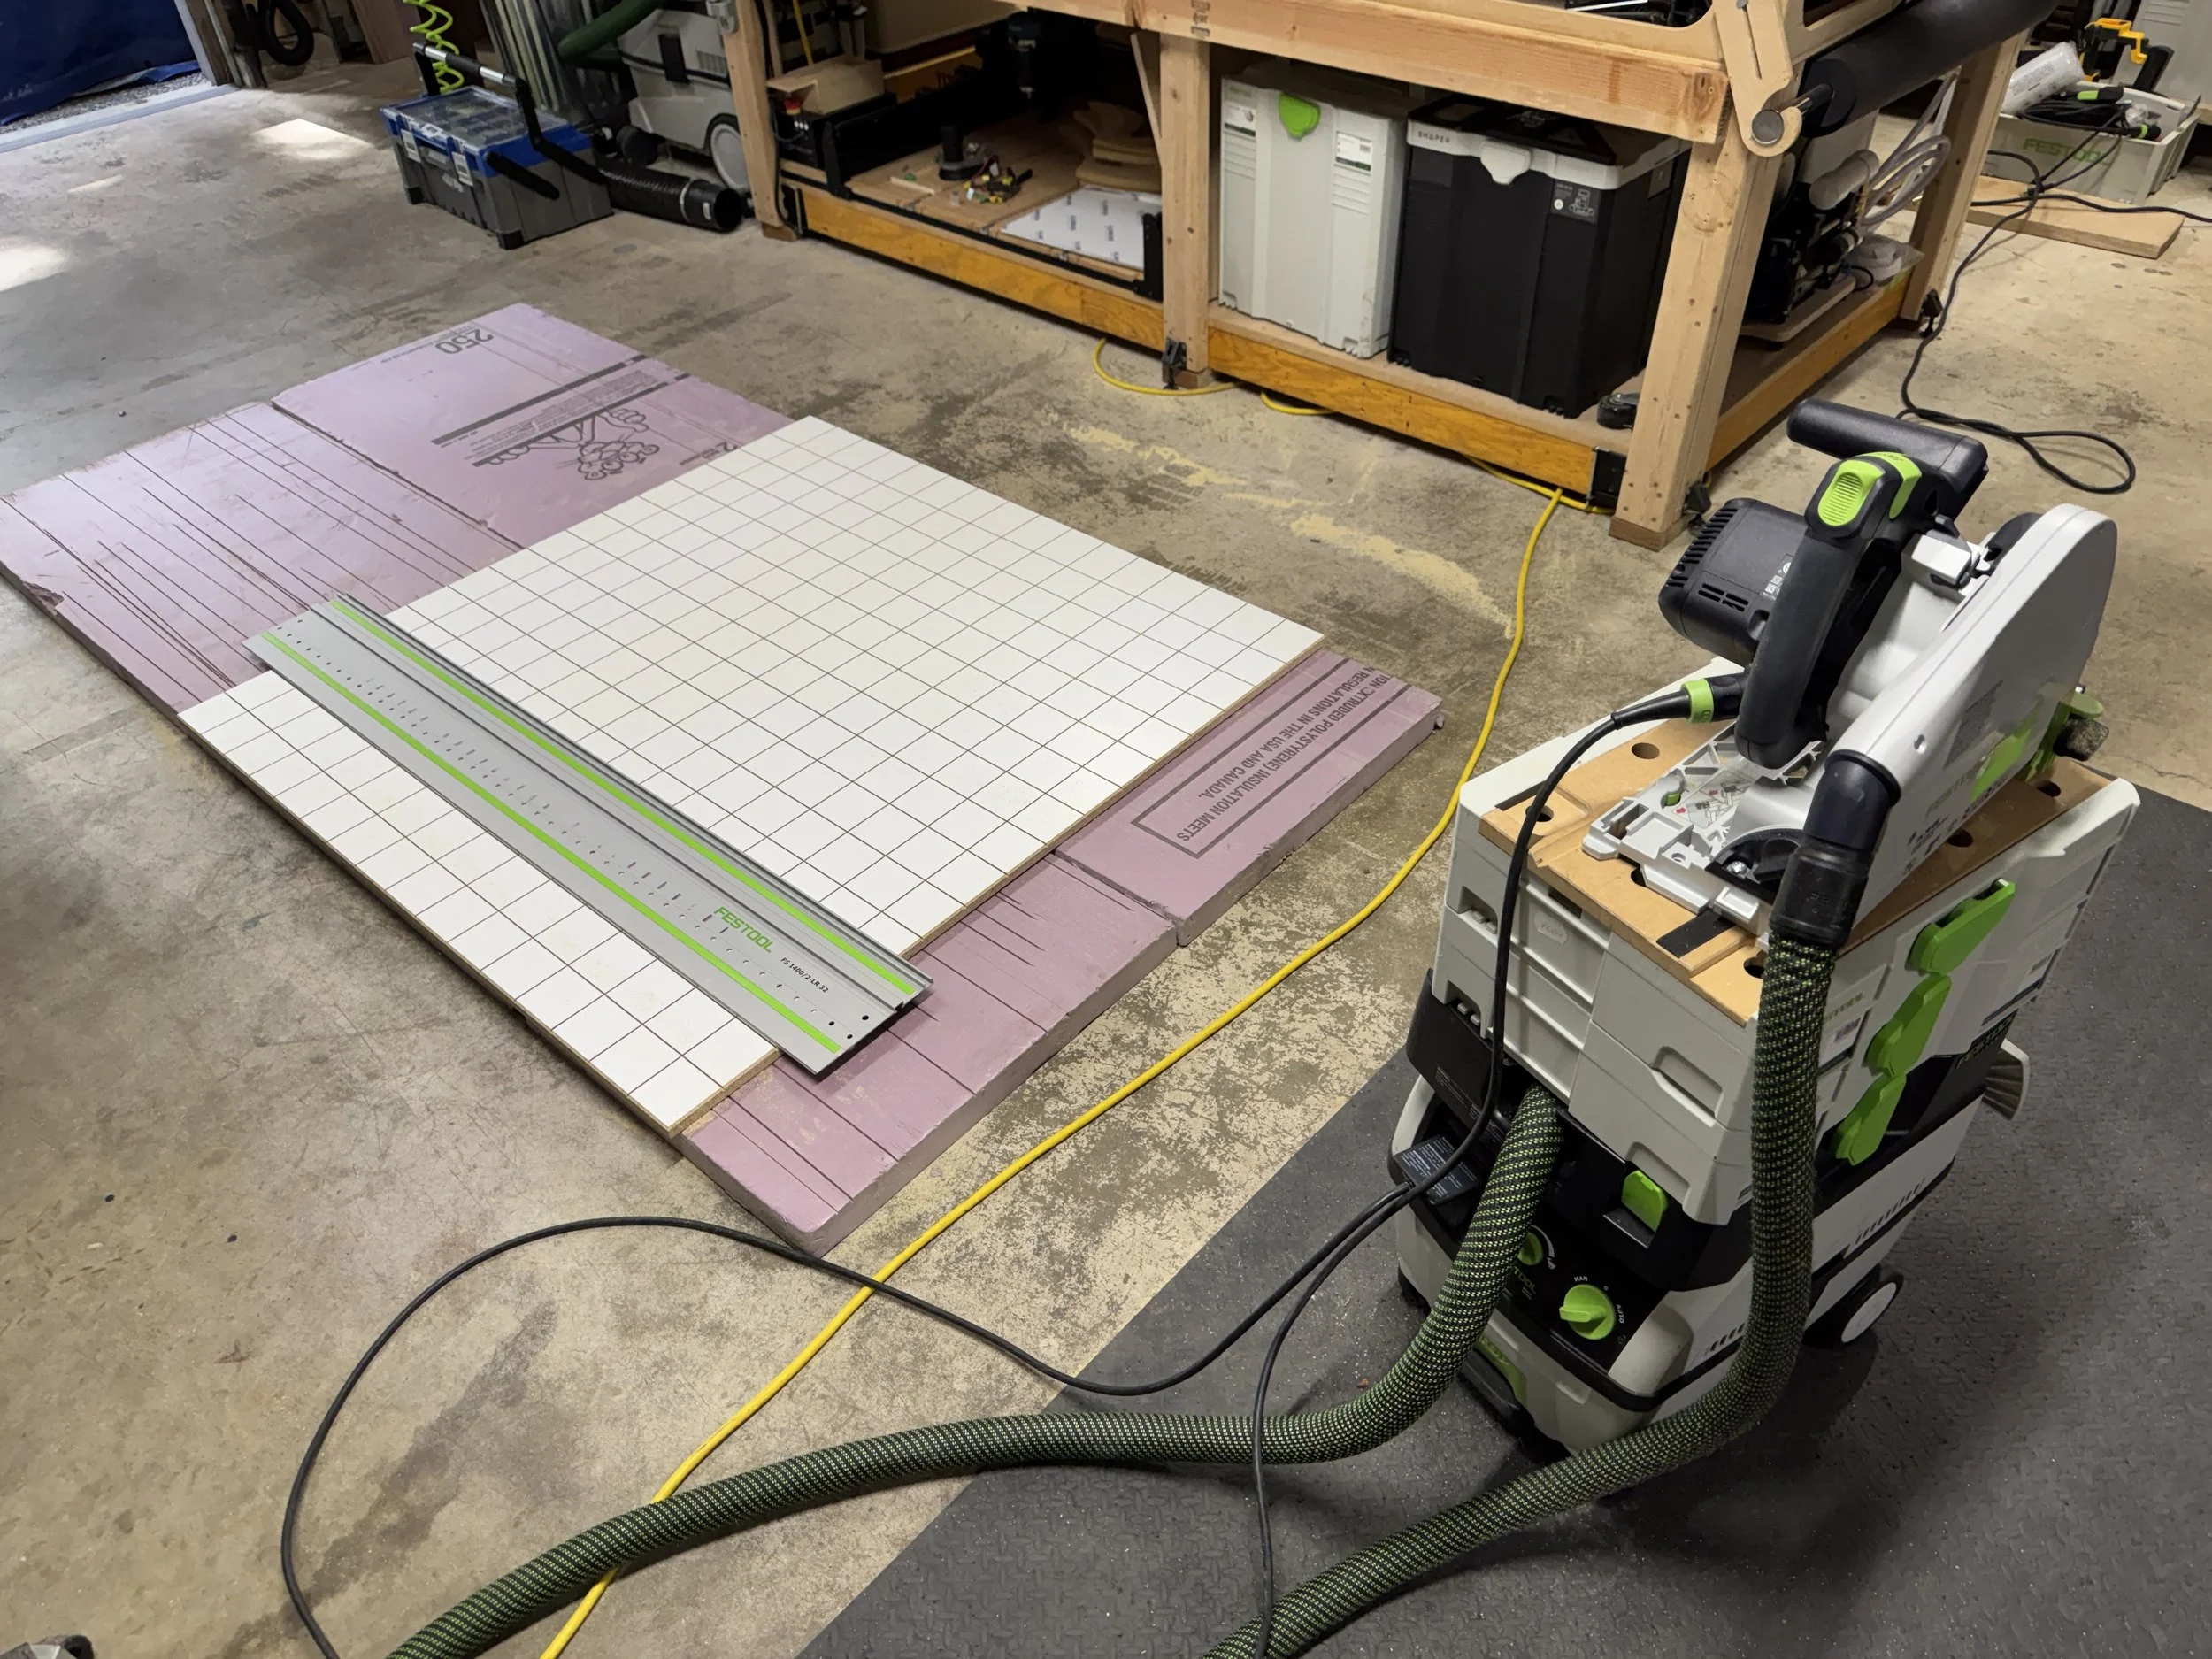
Once the sheets were flattened, repaired, and arranged, I used my vacuum press, which I had recent built from a DIY kit, to bond them to the backing panels. Vacuum pressing applies consistent pressure across the surface, helping maintain contact between the veneer, adhesive, and substrate while the bond cures.
Of course, the preparation doesn't end when the veneer goes into the bag. Everything needs to be carefully aligned, the adhesive applied correctly, and the assembly positioned so the sheets don't shift during pressing. Additionally, I learned that you need to apply a backer veneer to the substrate at the same time so that the panel doesn’t bow or cup during the curing process.
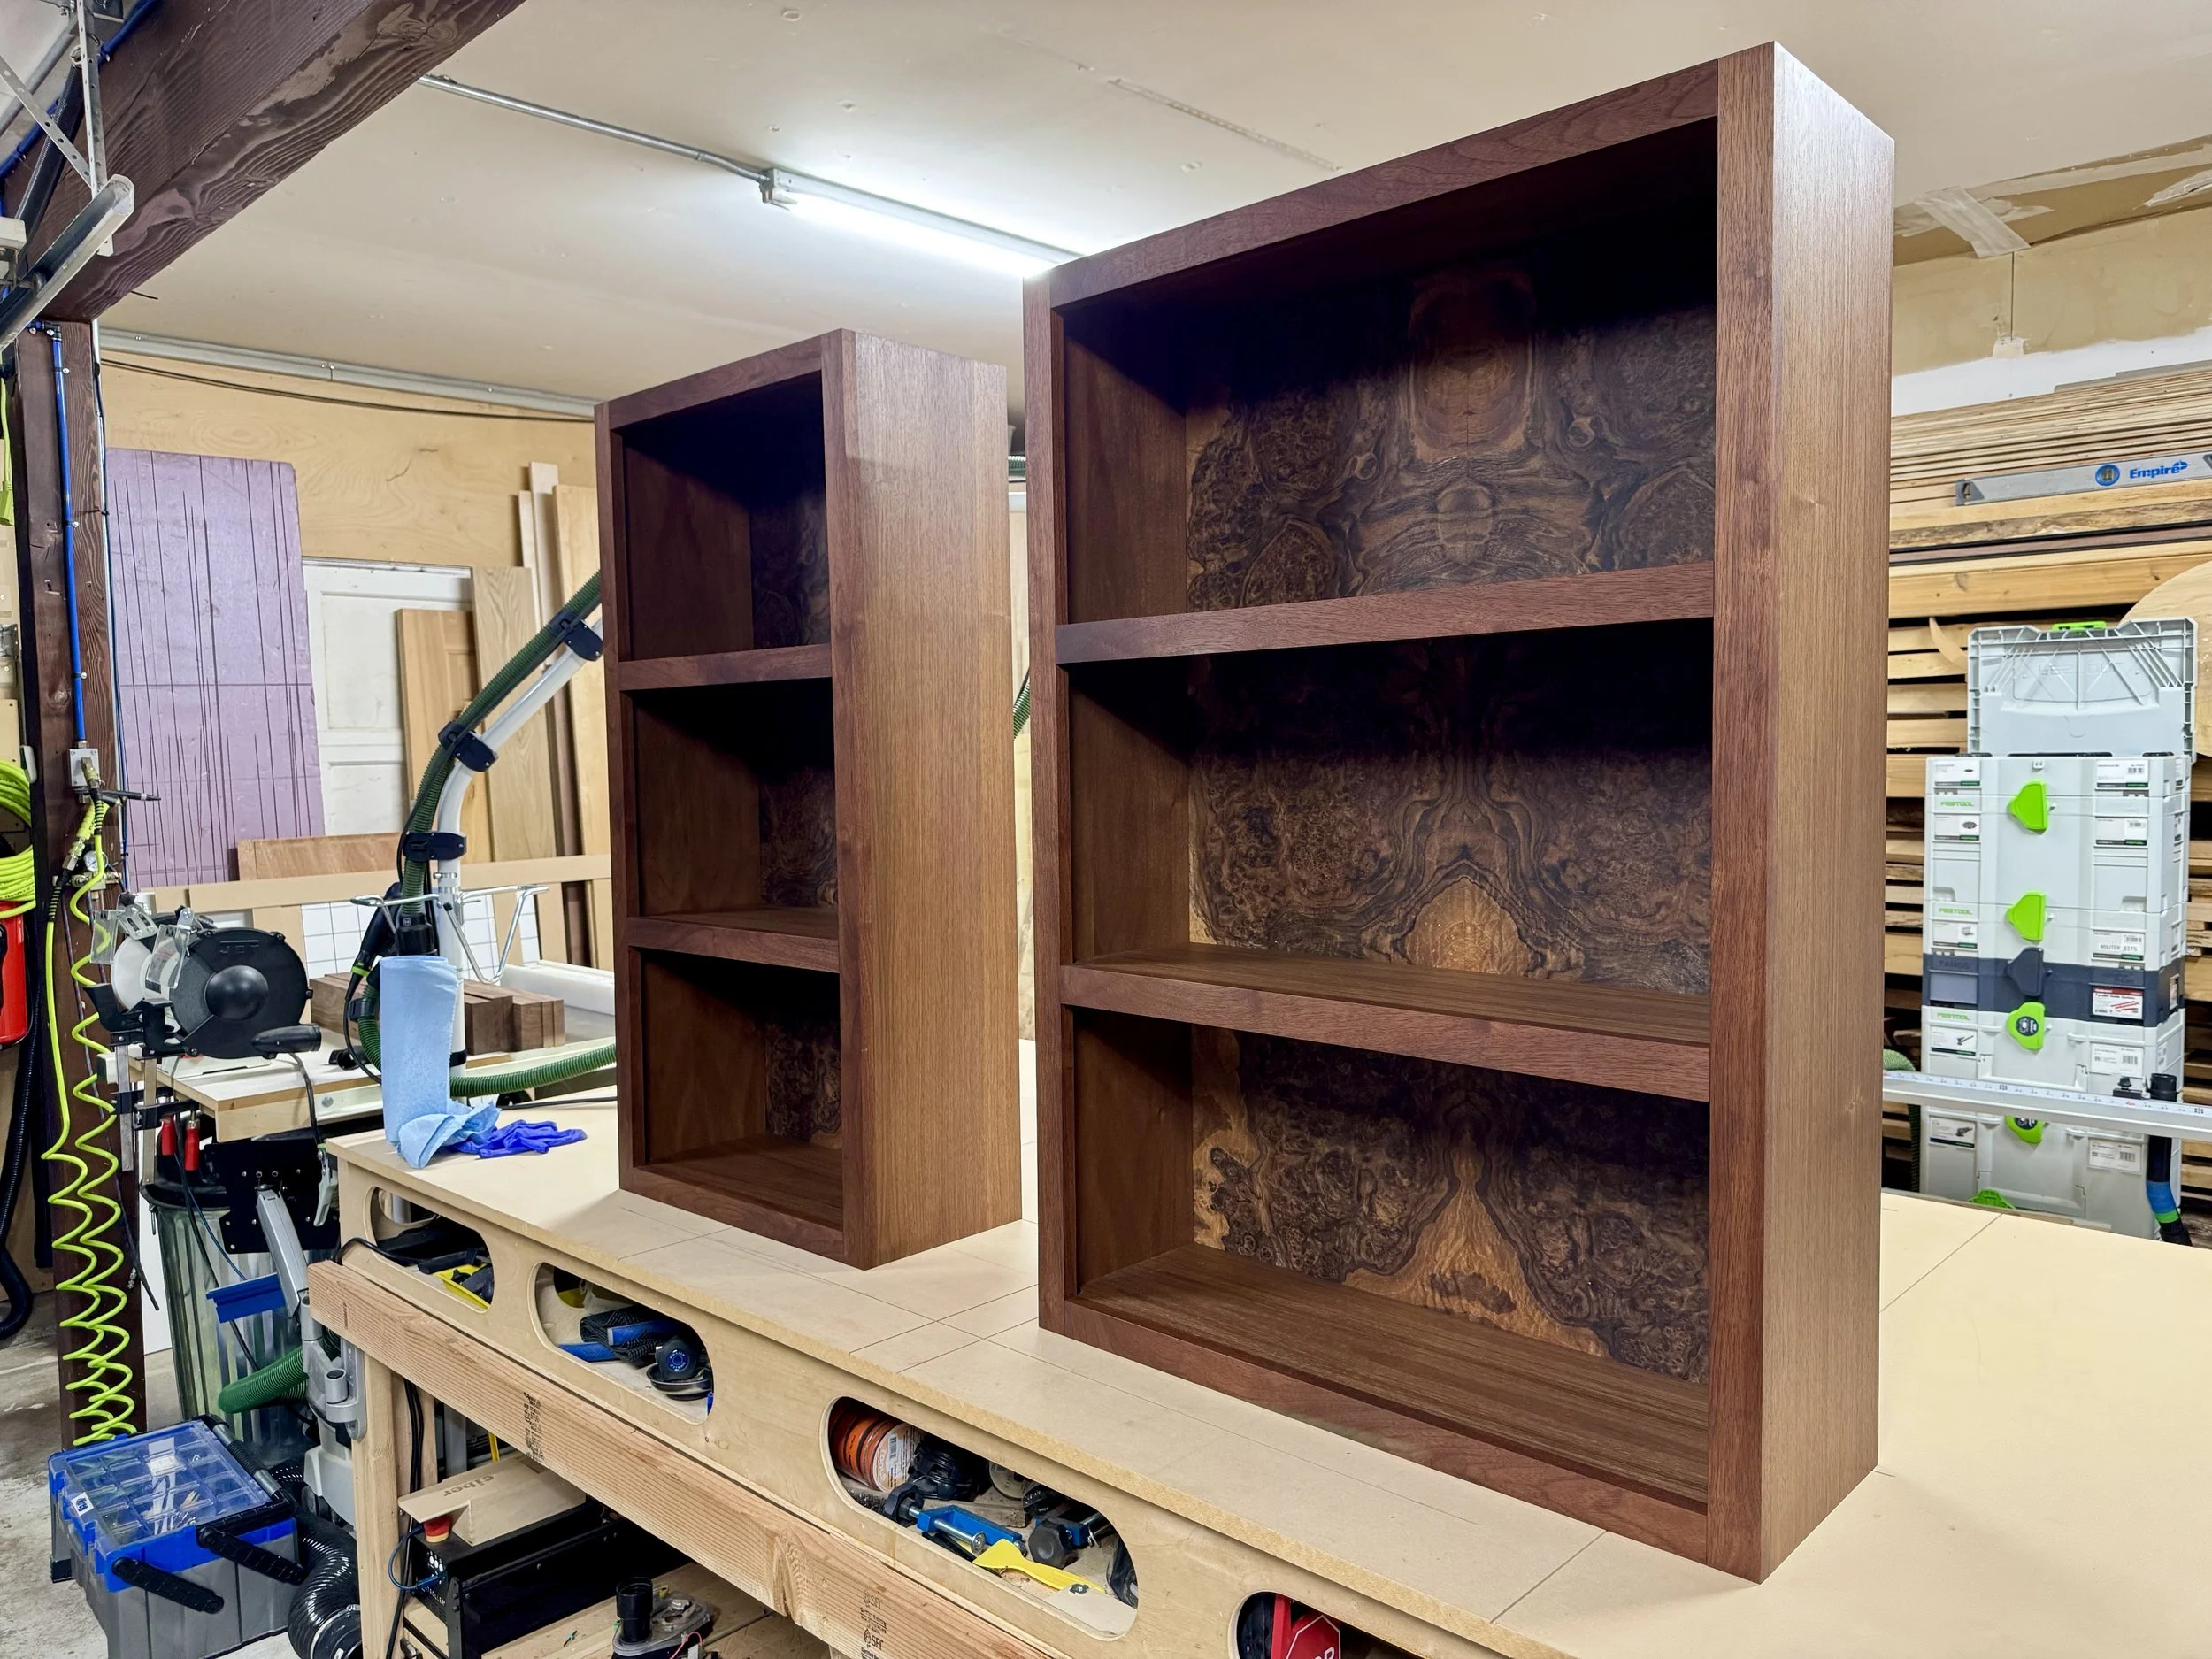
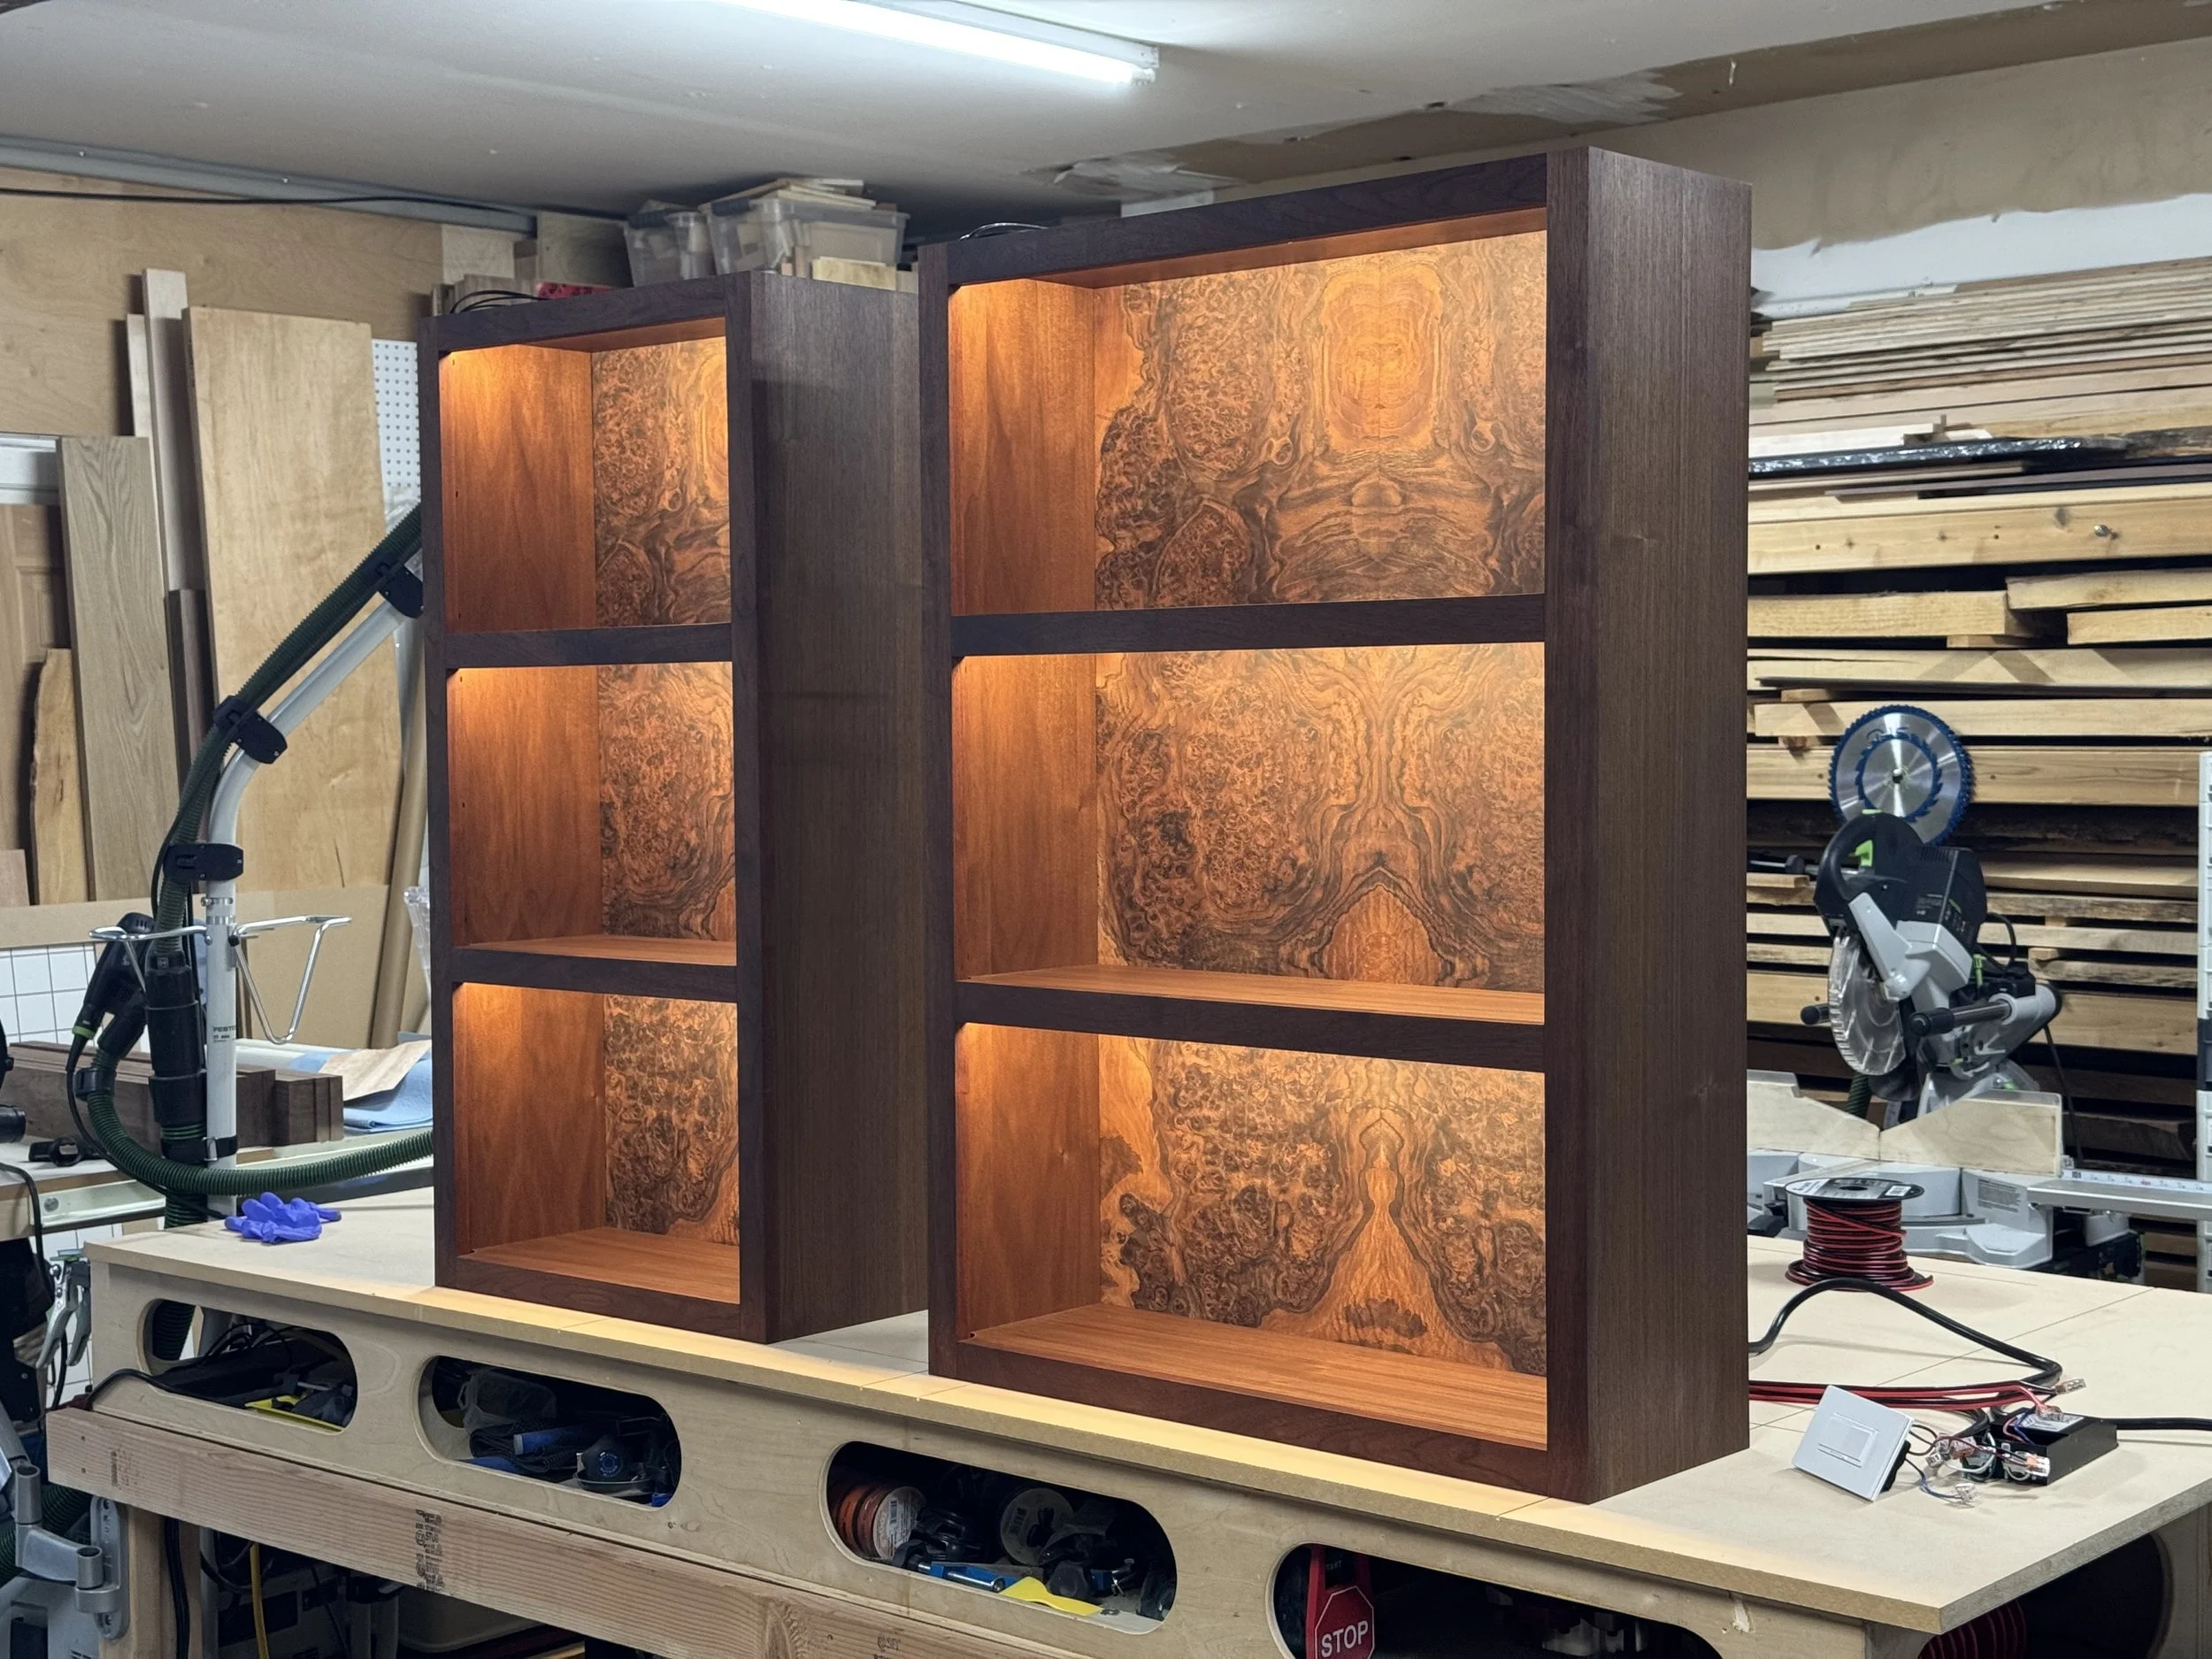
Seeing those panels come out of the vacuum press successfully was a pretty satisfying moment. However, there was still delicate work to do with sanding and cutting the panels to size. What started as fragile, irregular pieces of walnut burl had become the bookmatched back panels I'd envisioned for the display cases. And once the panels were installed with the concealed LED lighting, the effect was exactly what I'd hoped for.
Integrated Lighting
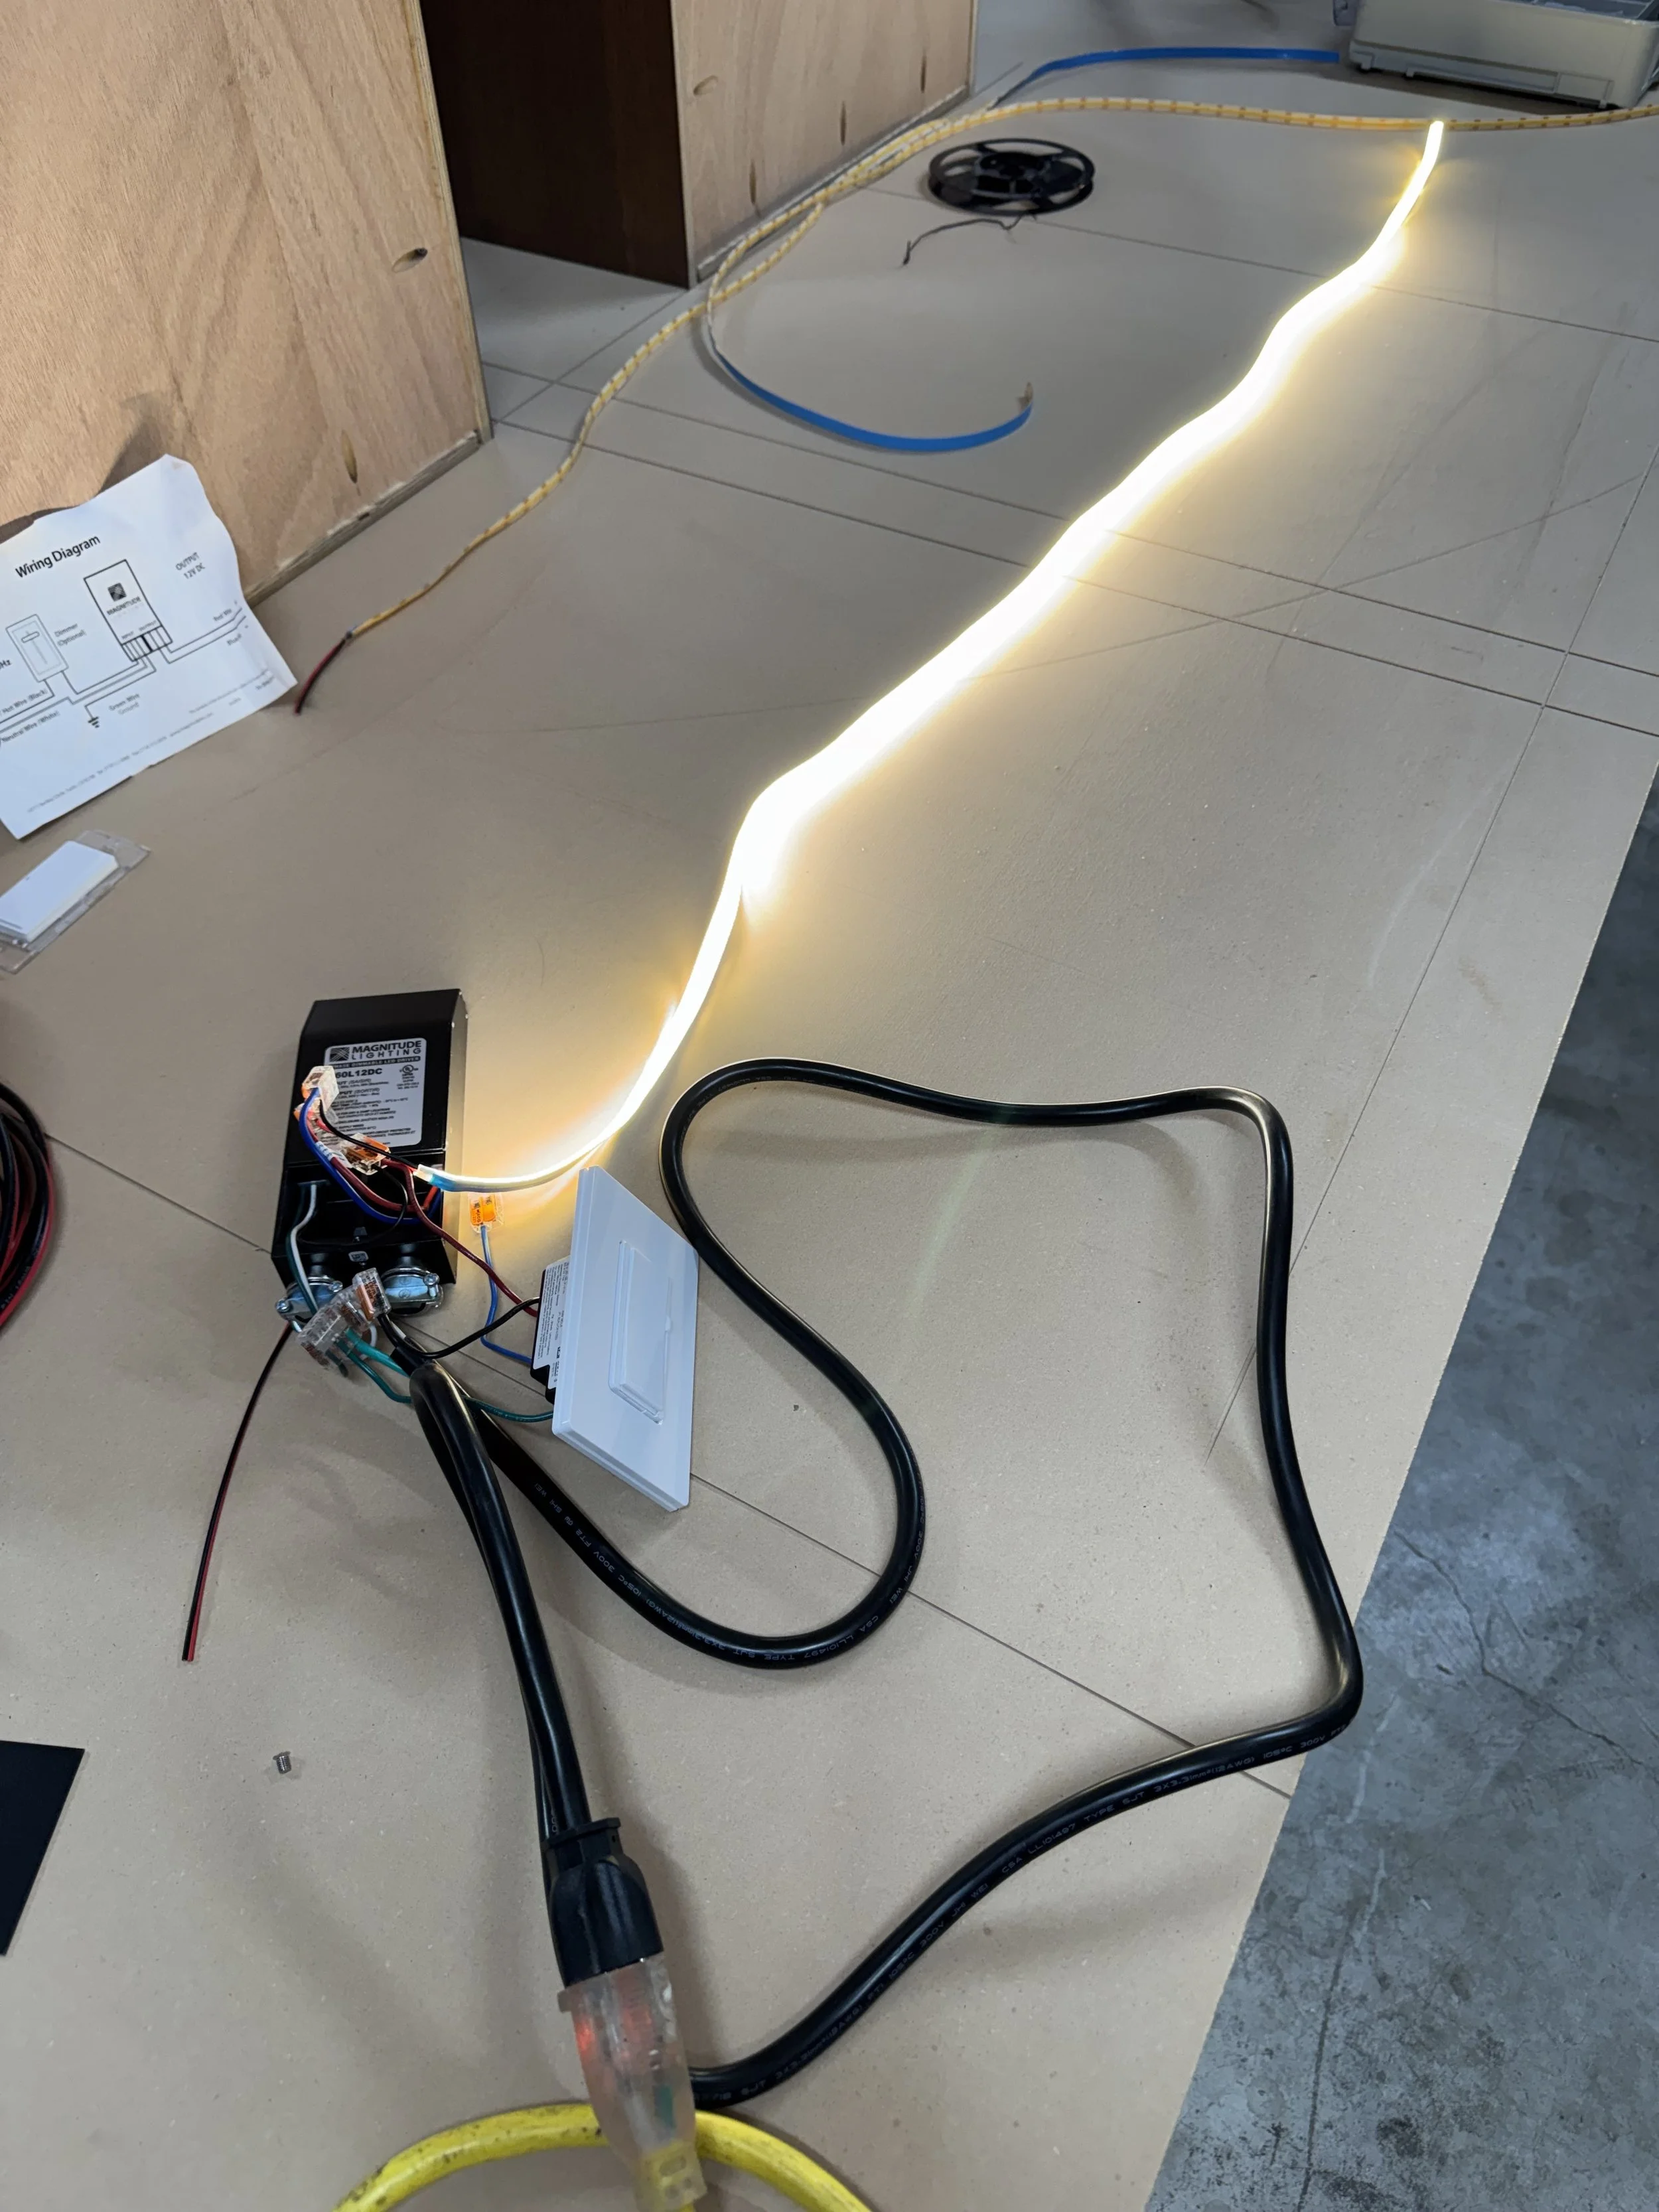
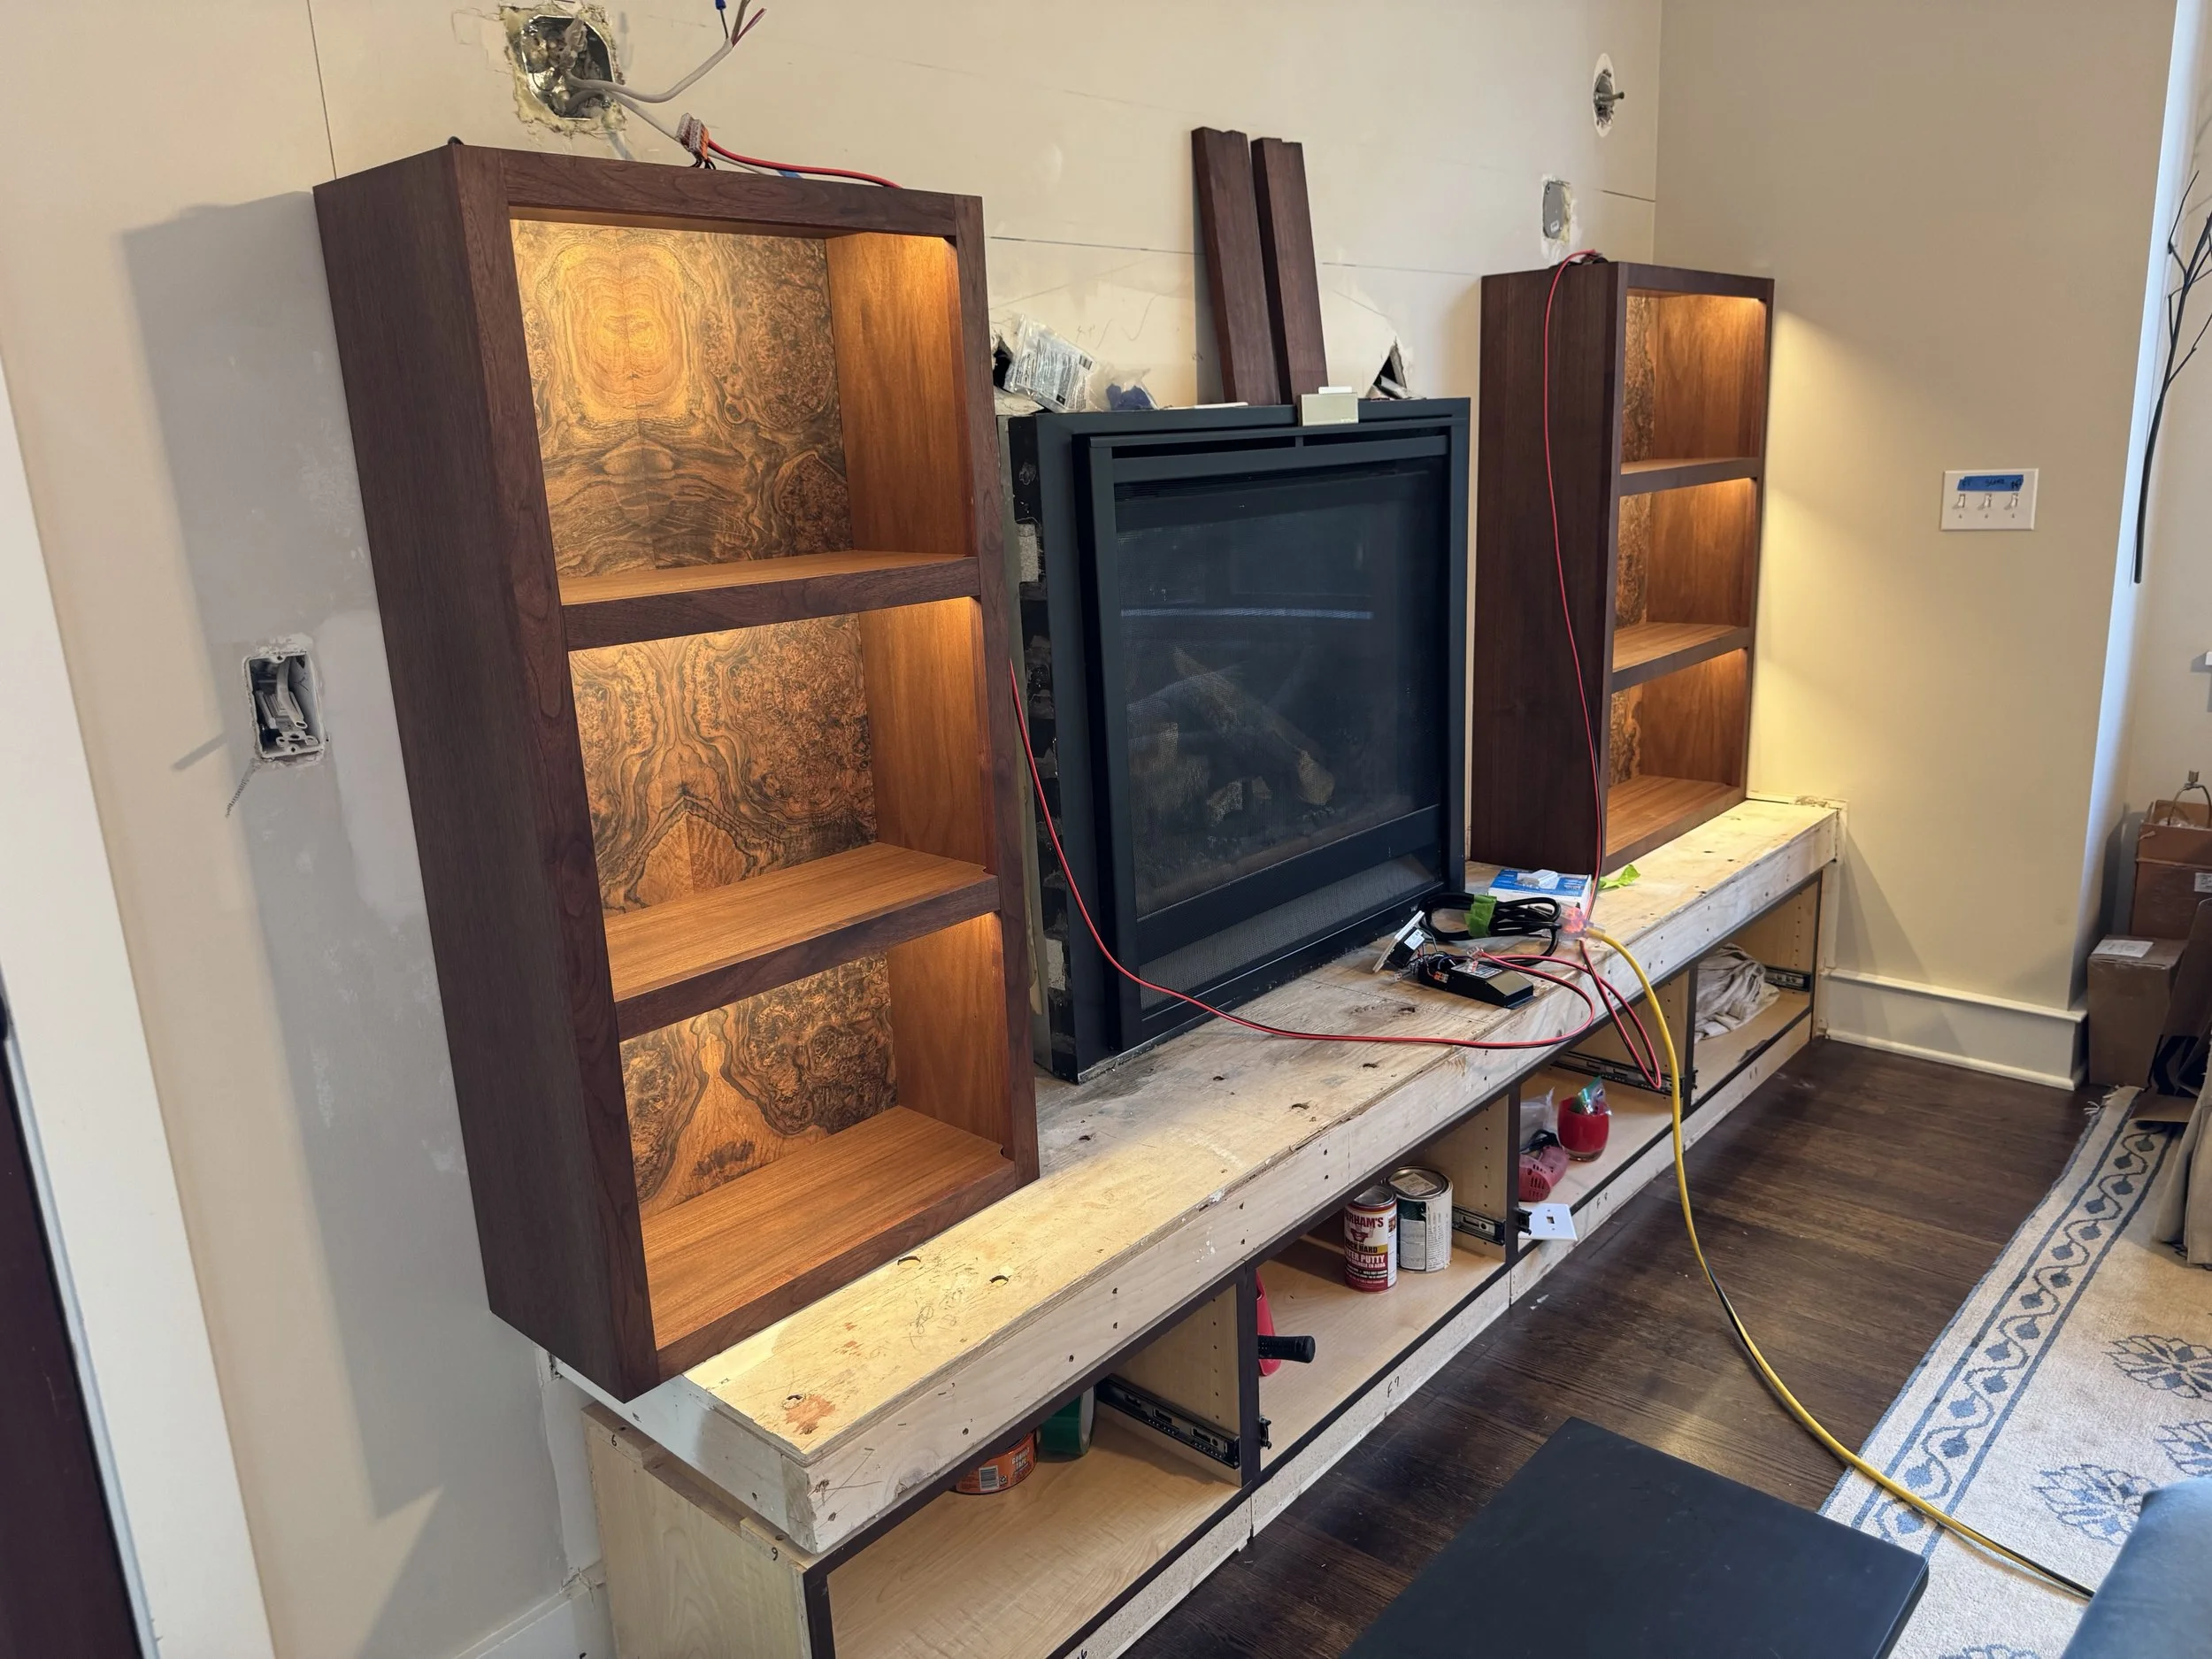
Because the display cases were designed to showcase art, lighting was another important feature. I incorporated concealed LED lighting to illuminate the objects on display and help bring out the character of the walnut and burl veneer. There were several things to consider beyond simply installing LED strips: wire routing, access to power supplies, keeping the lighting concealed, and making sure the electrical components could be serviced.
The mantel's internal electrical compartment became part of that solution.
Fabrication and Installation
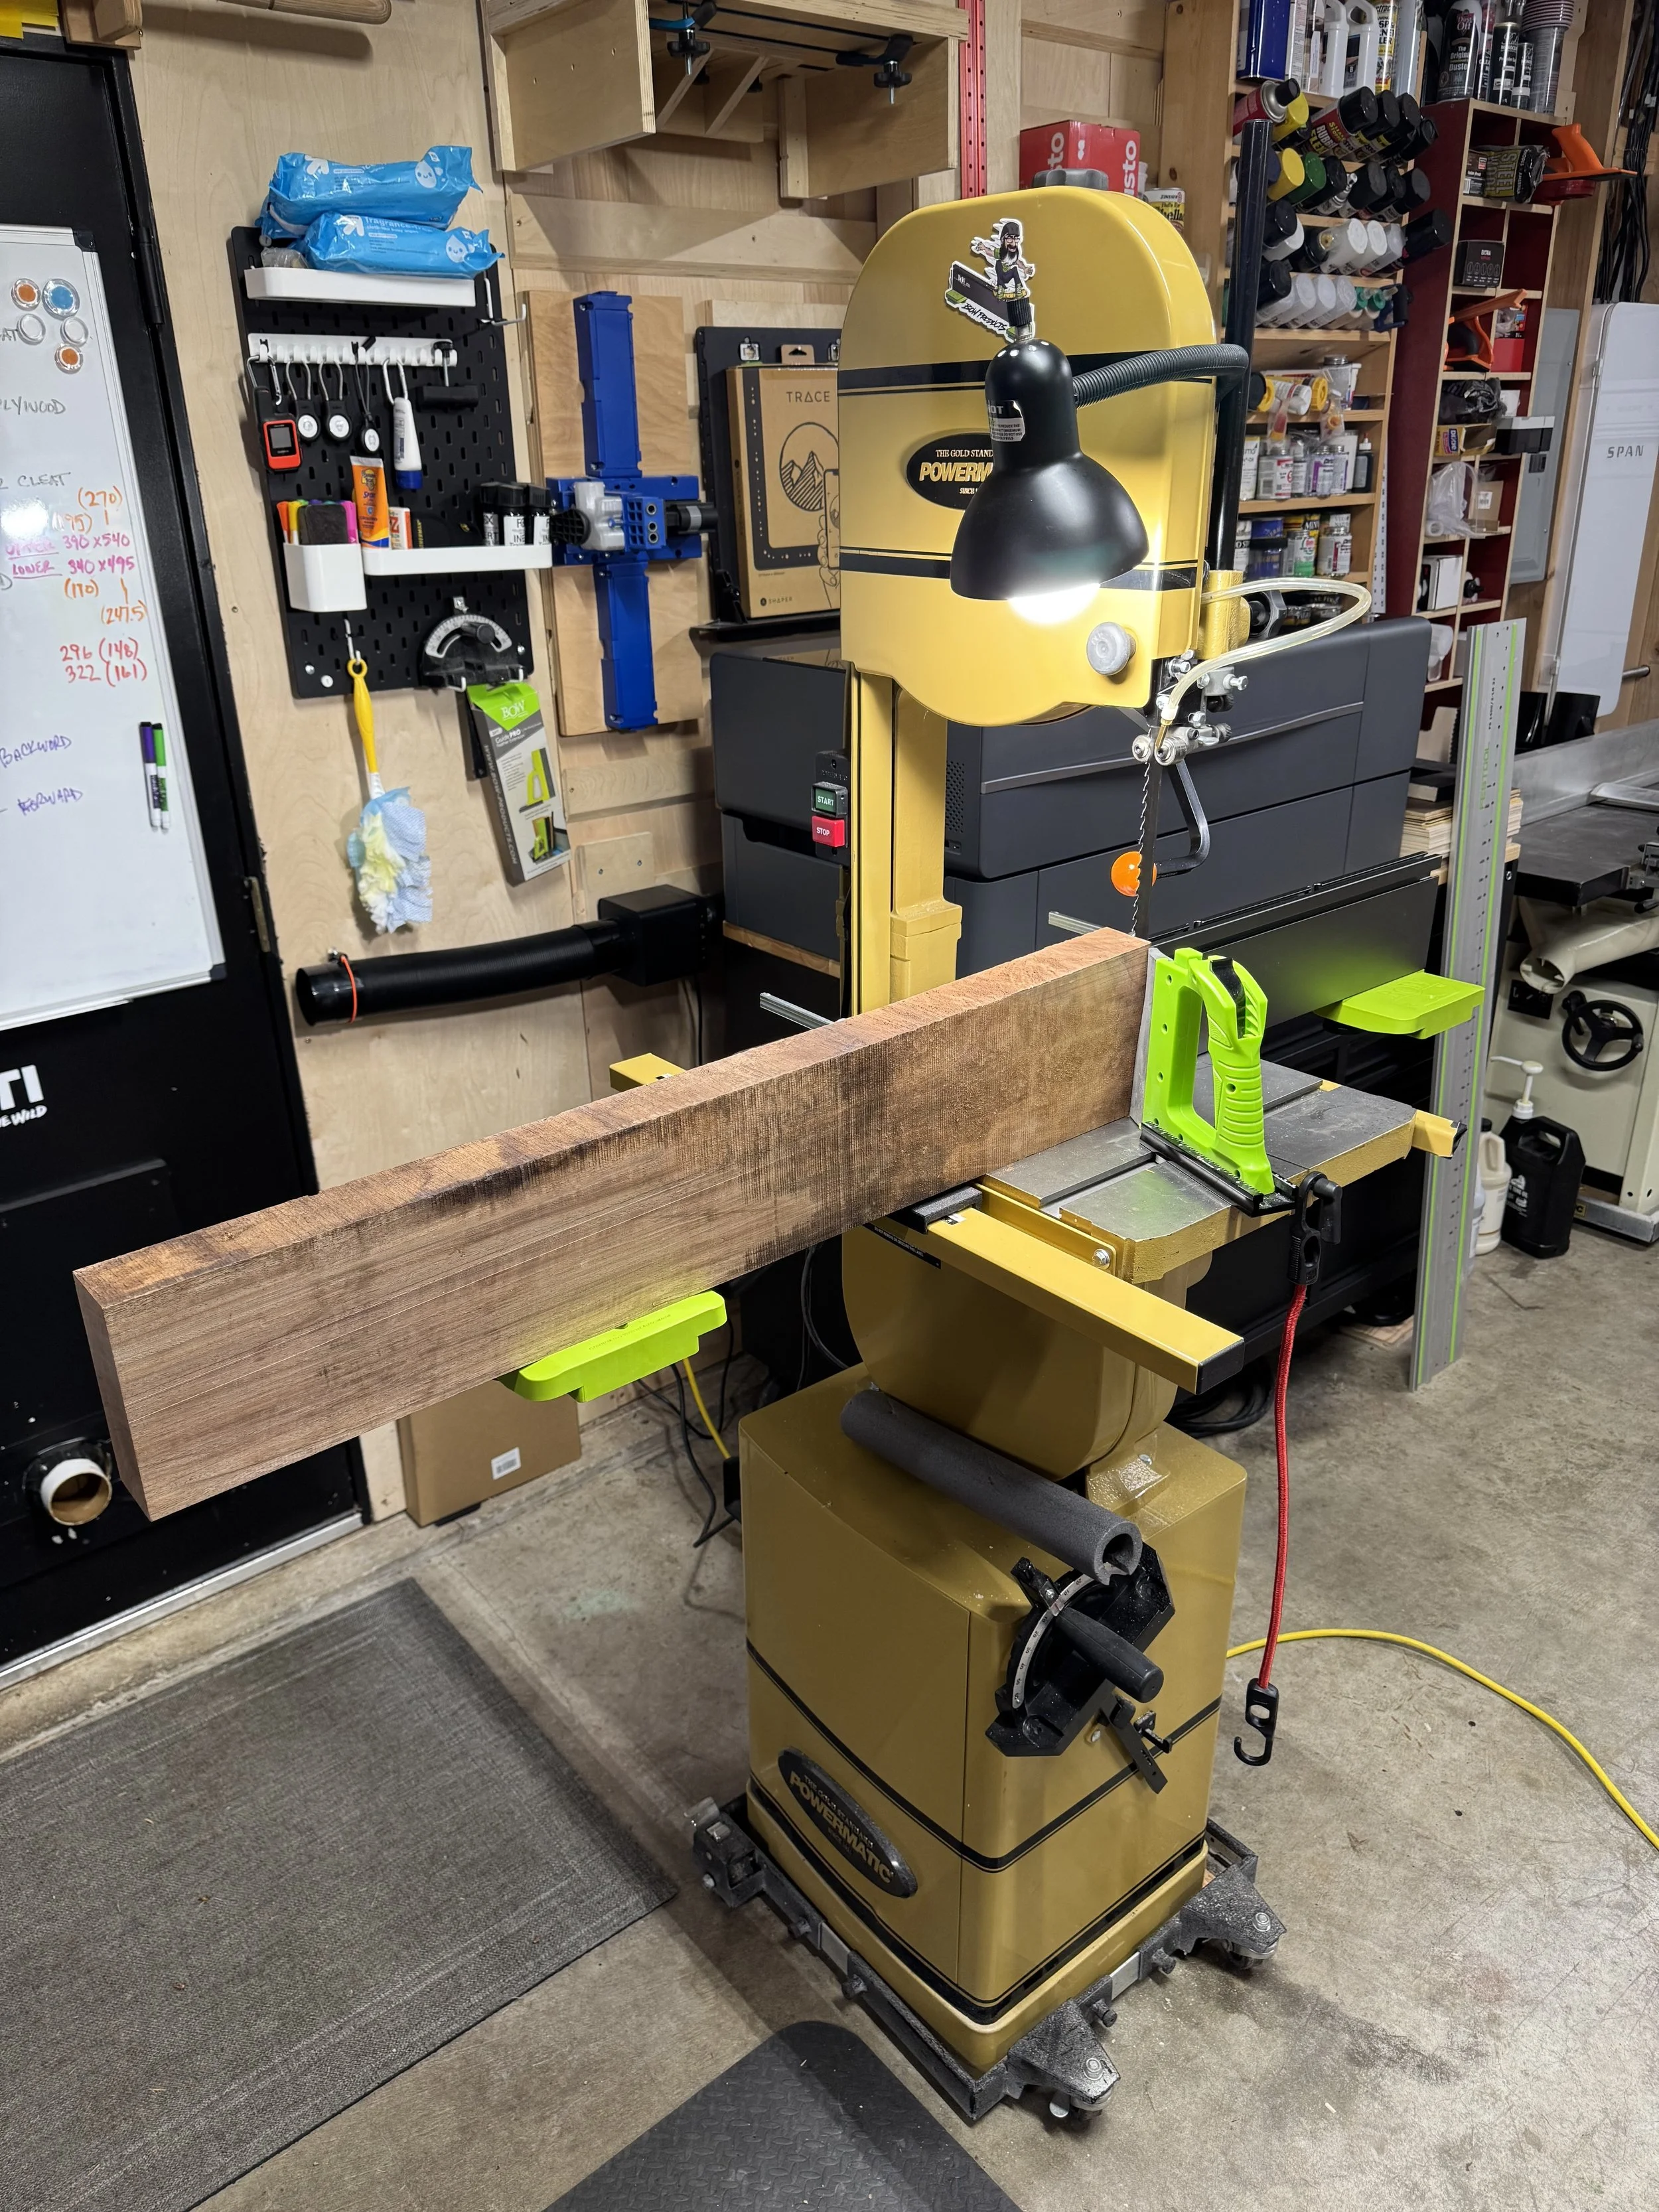
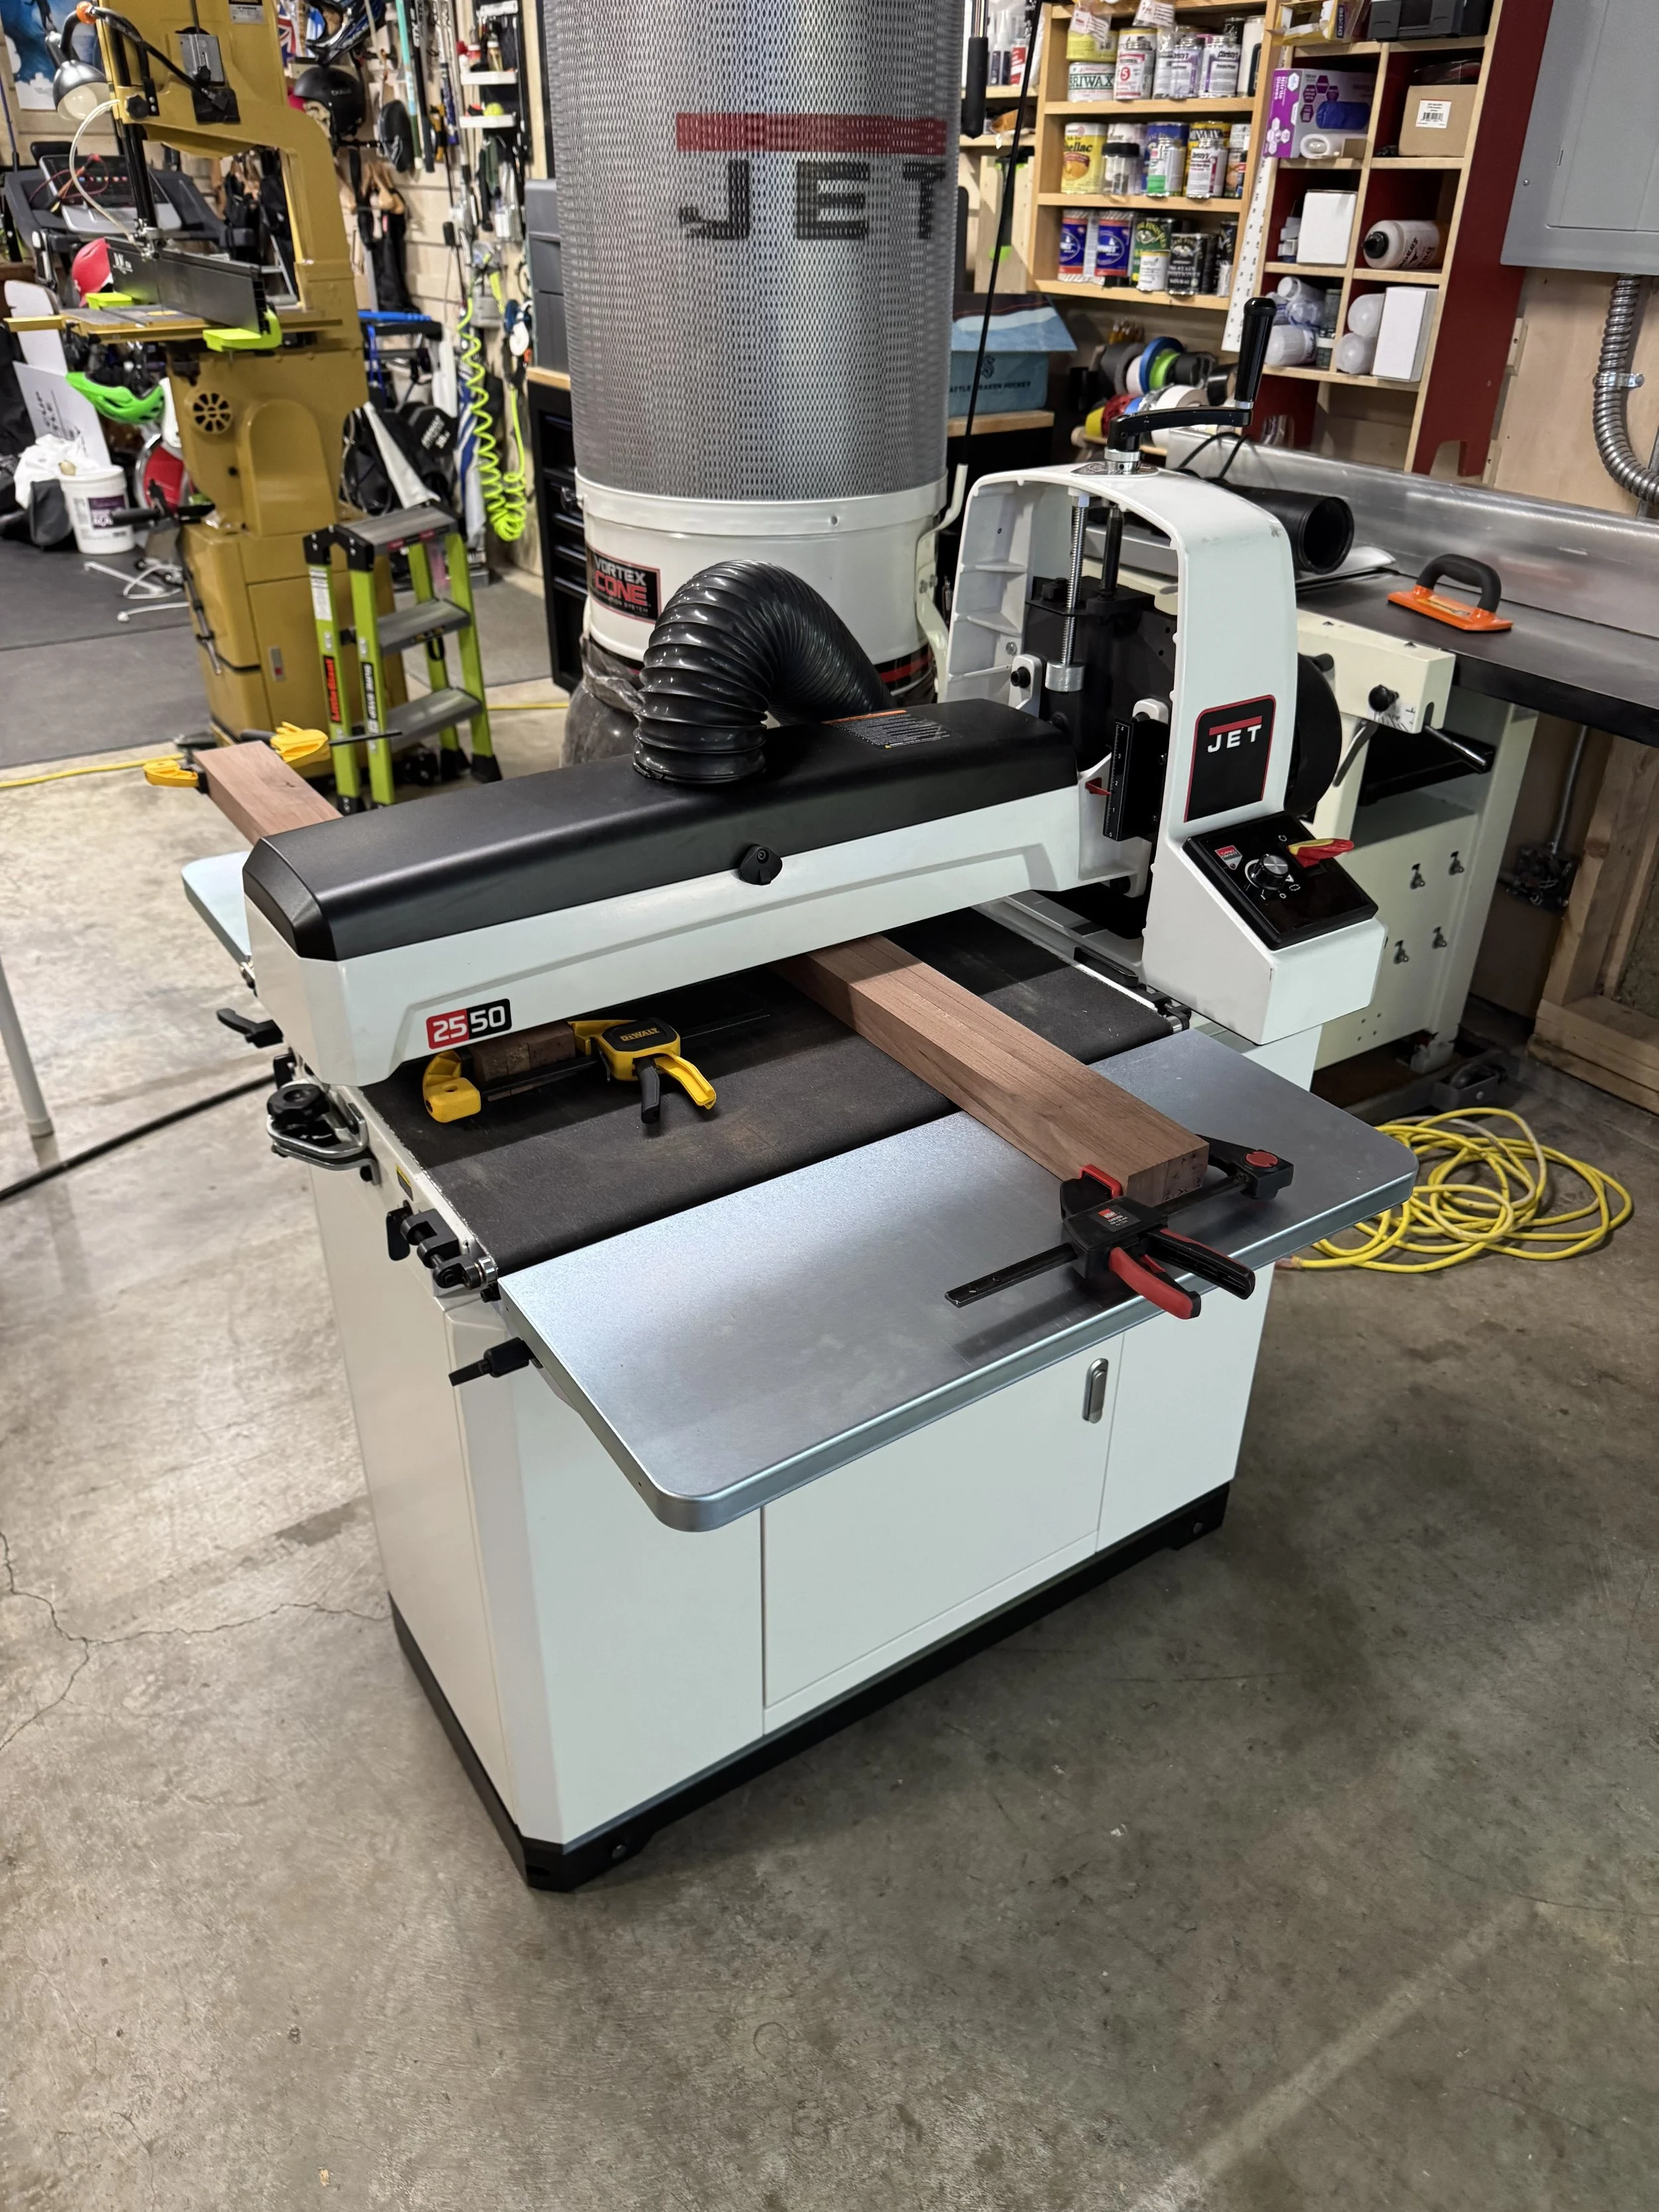
Once the design and material selections were worked out, I moved into fabrication. The build involved a combination of solid walnut and plywood cabinetry, milling, grain matching, assembly, veneer work, sanding, and finishing. With so many components needing to line up visually, I had to pay close attention to the order in which everything was cut and assembled. The grain-matched pieces in particular needed to stay organized so the intended patterns weren't lost during fabrication.
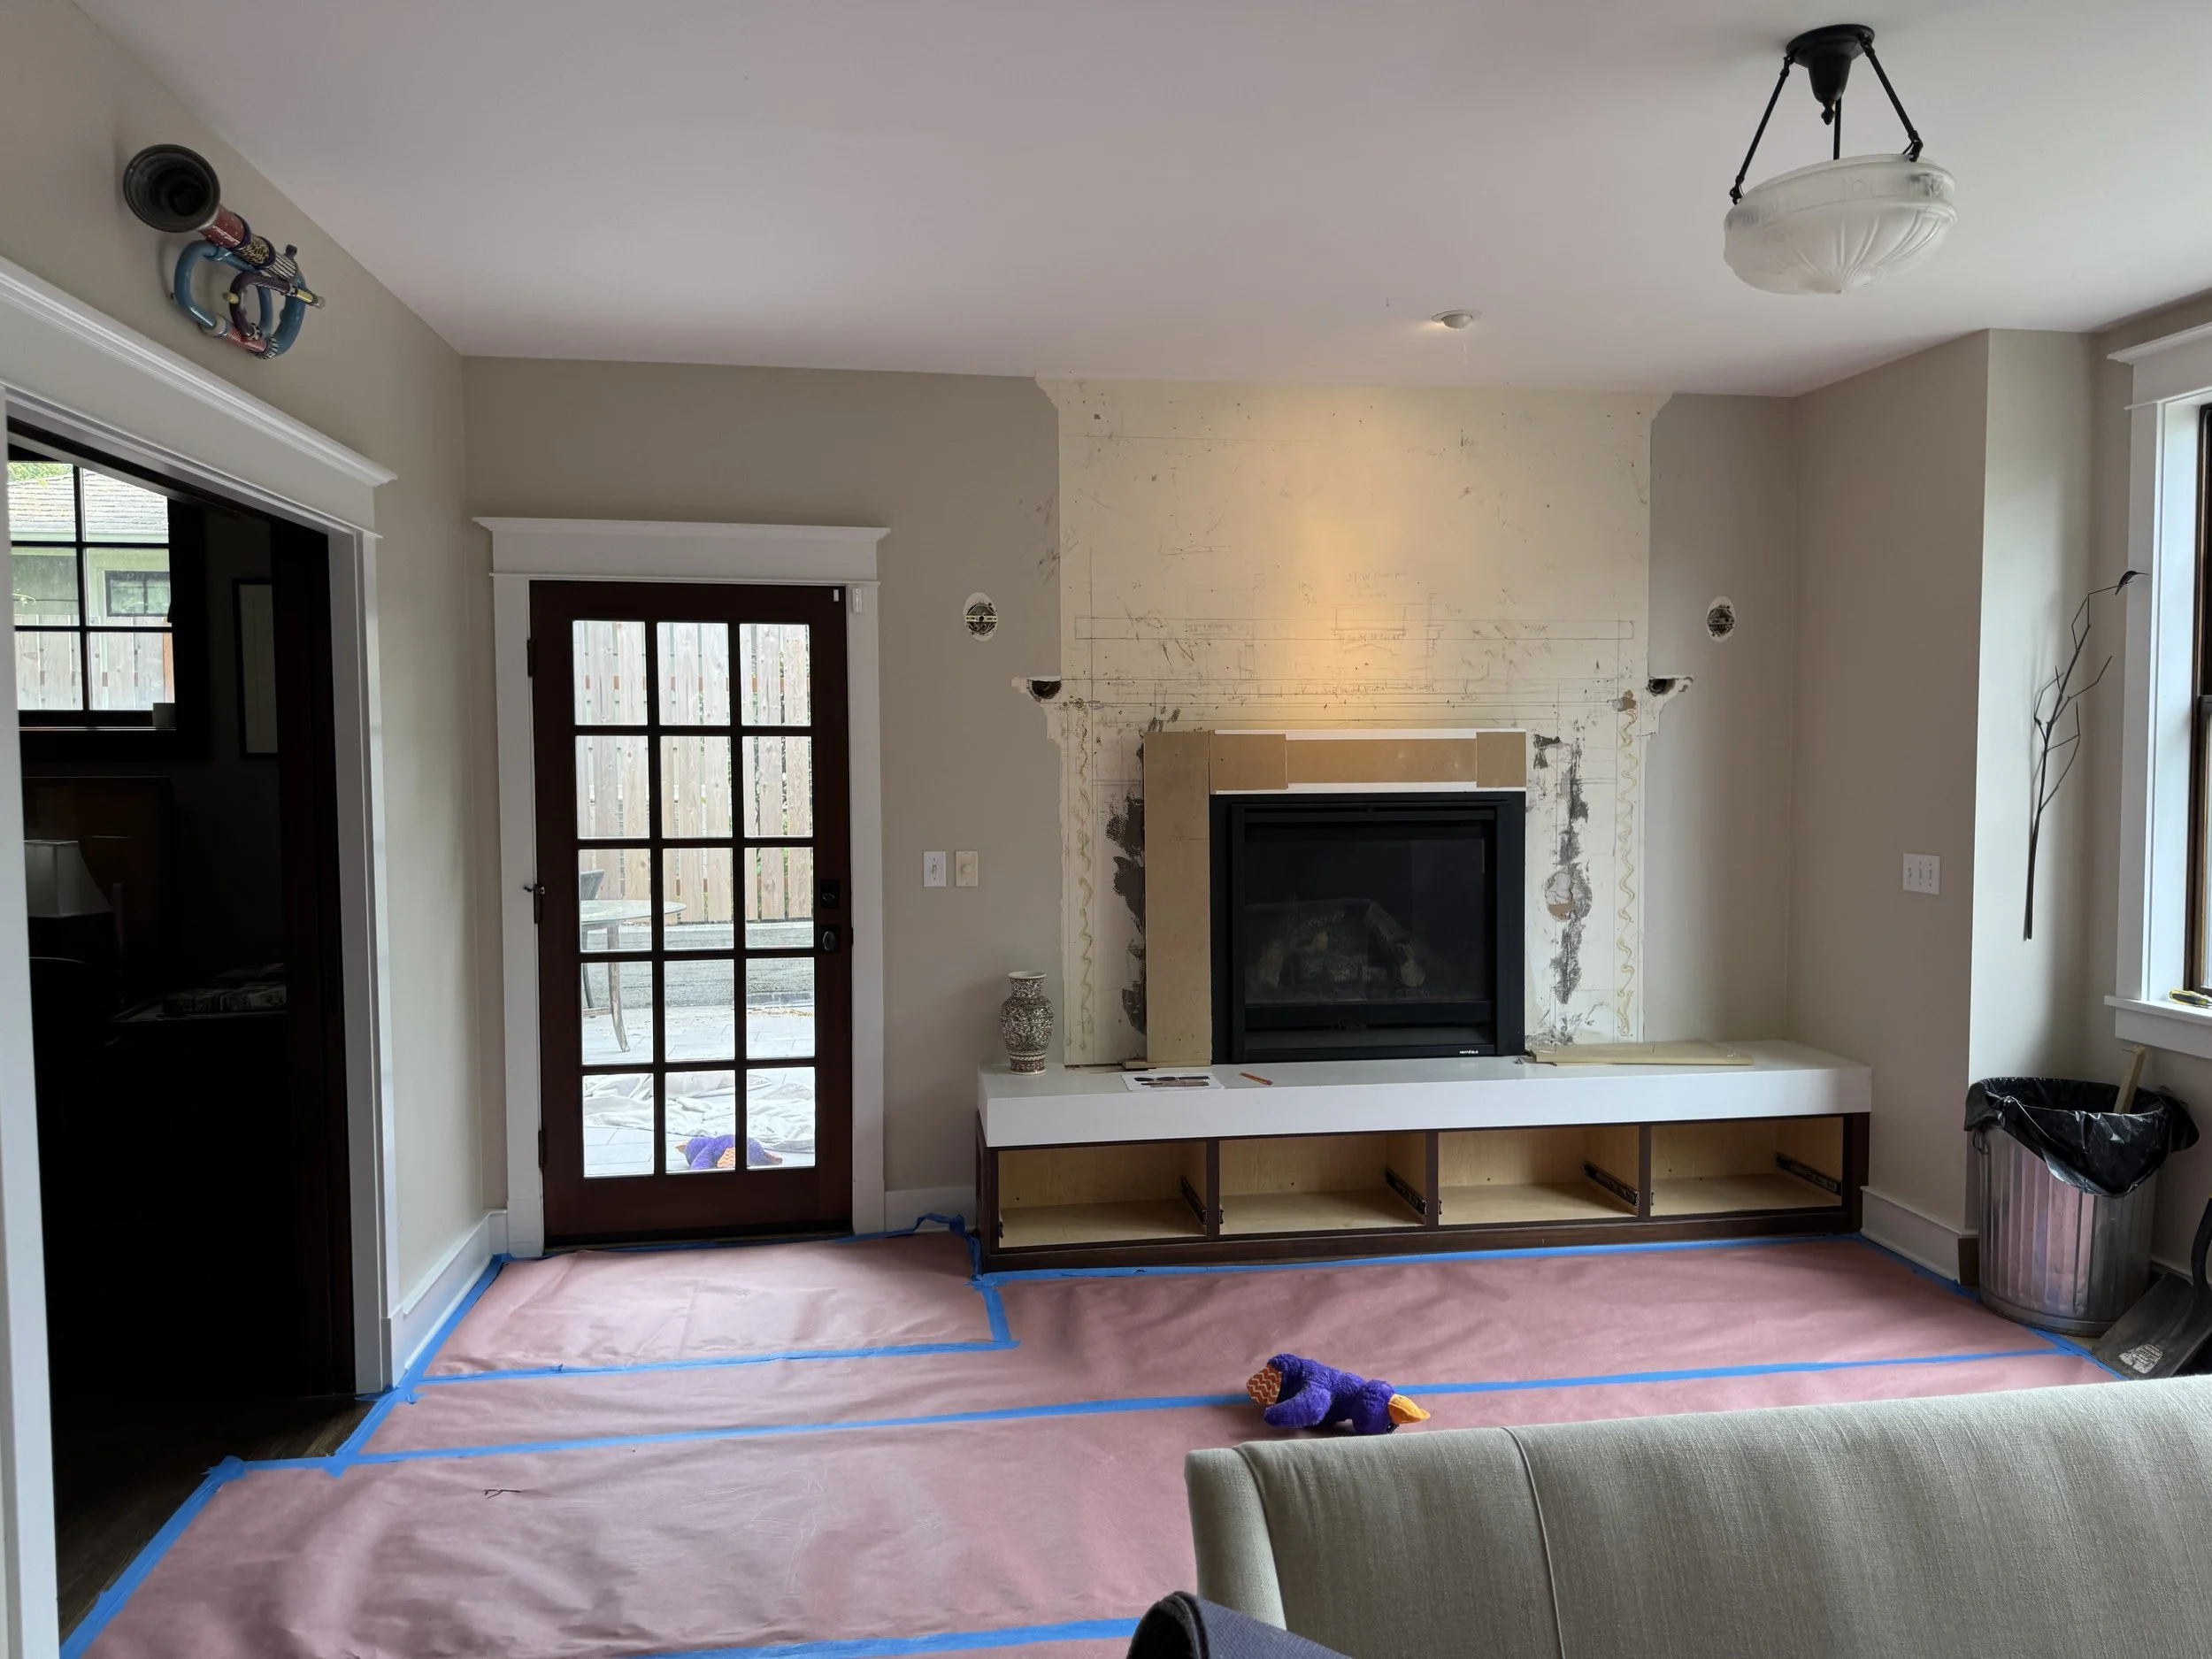
Another part of the project that isn't obvious from the finished photographs is the framing behind the tile.
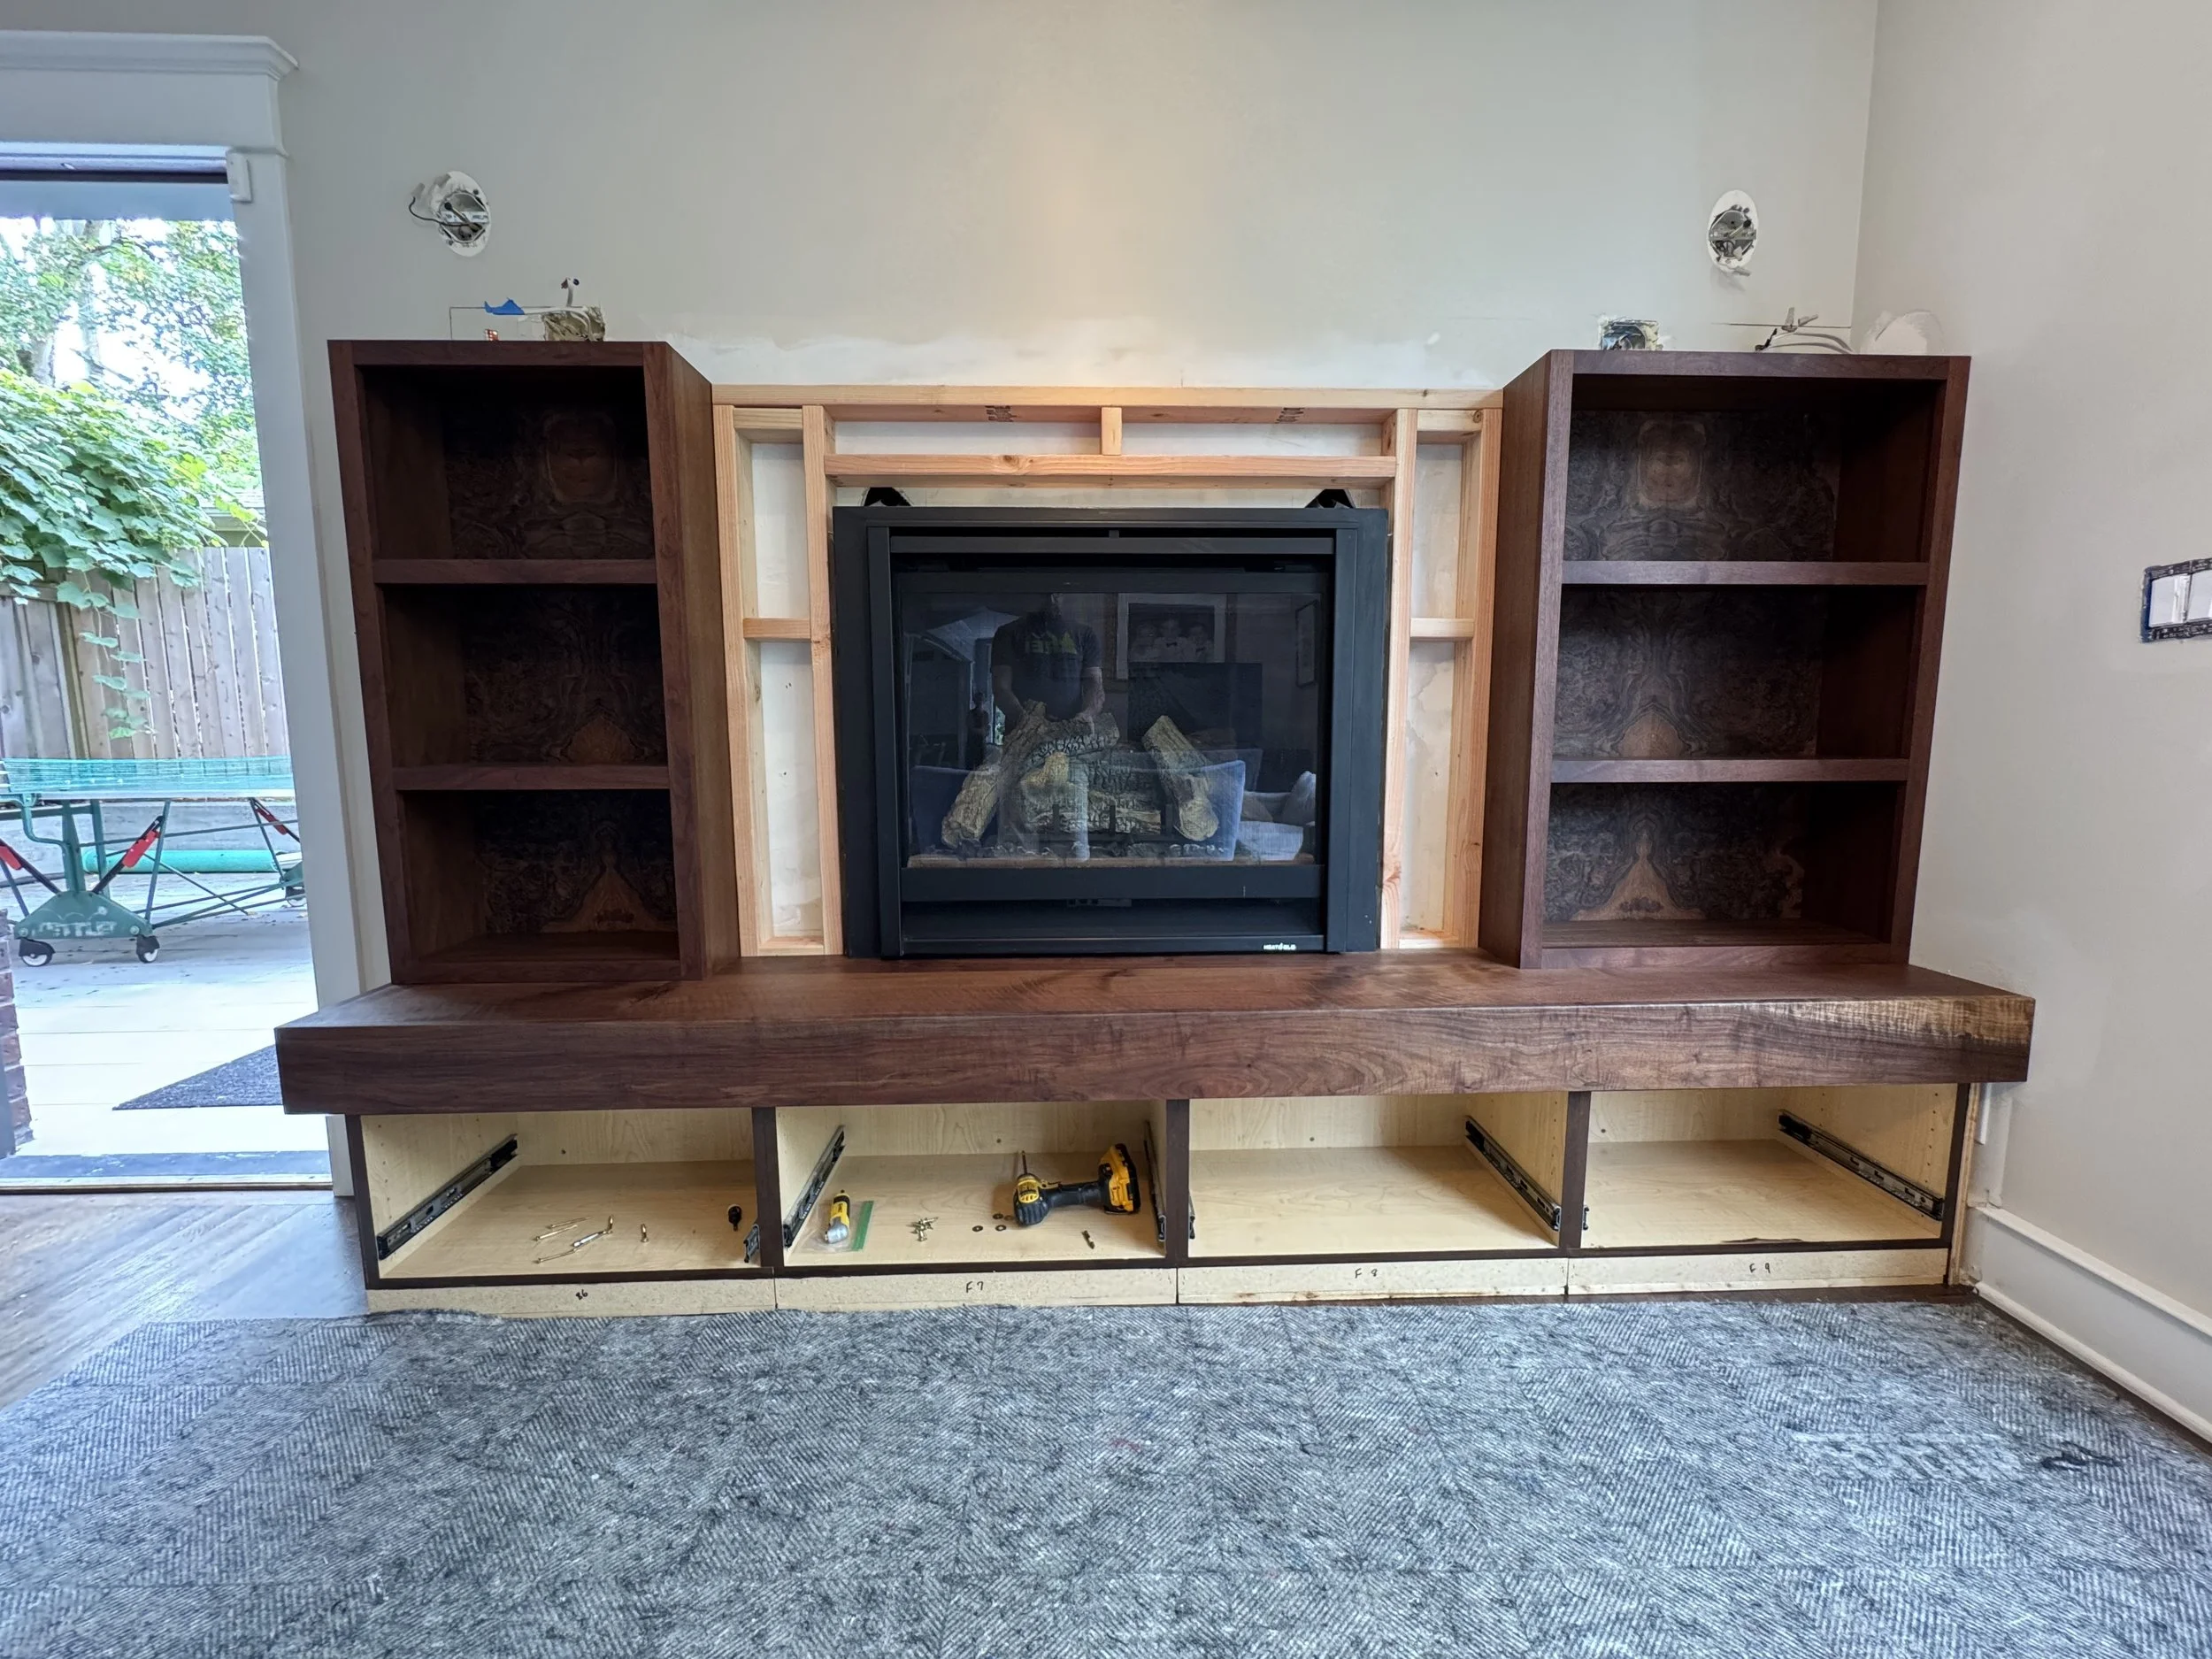
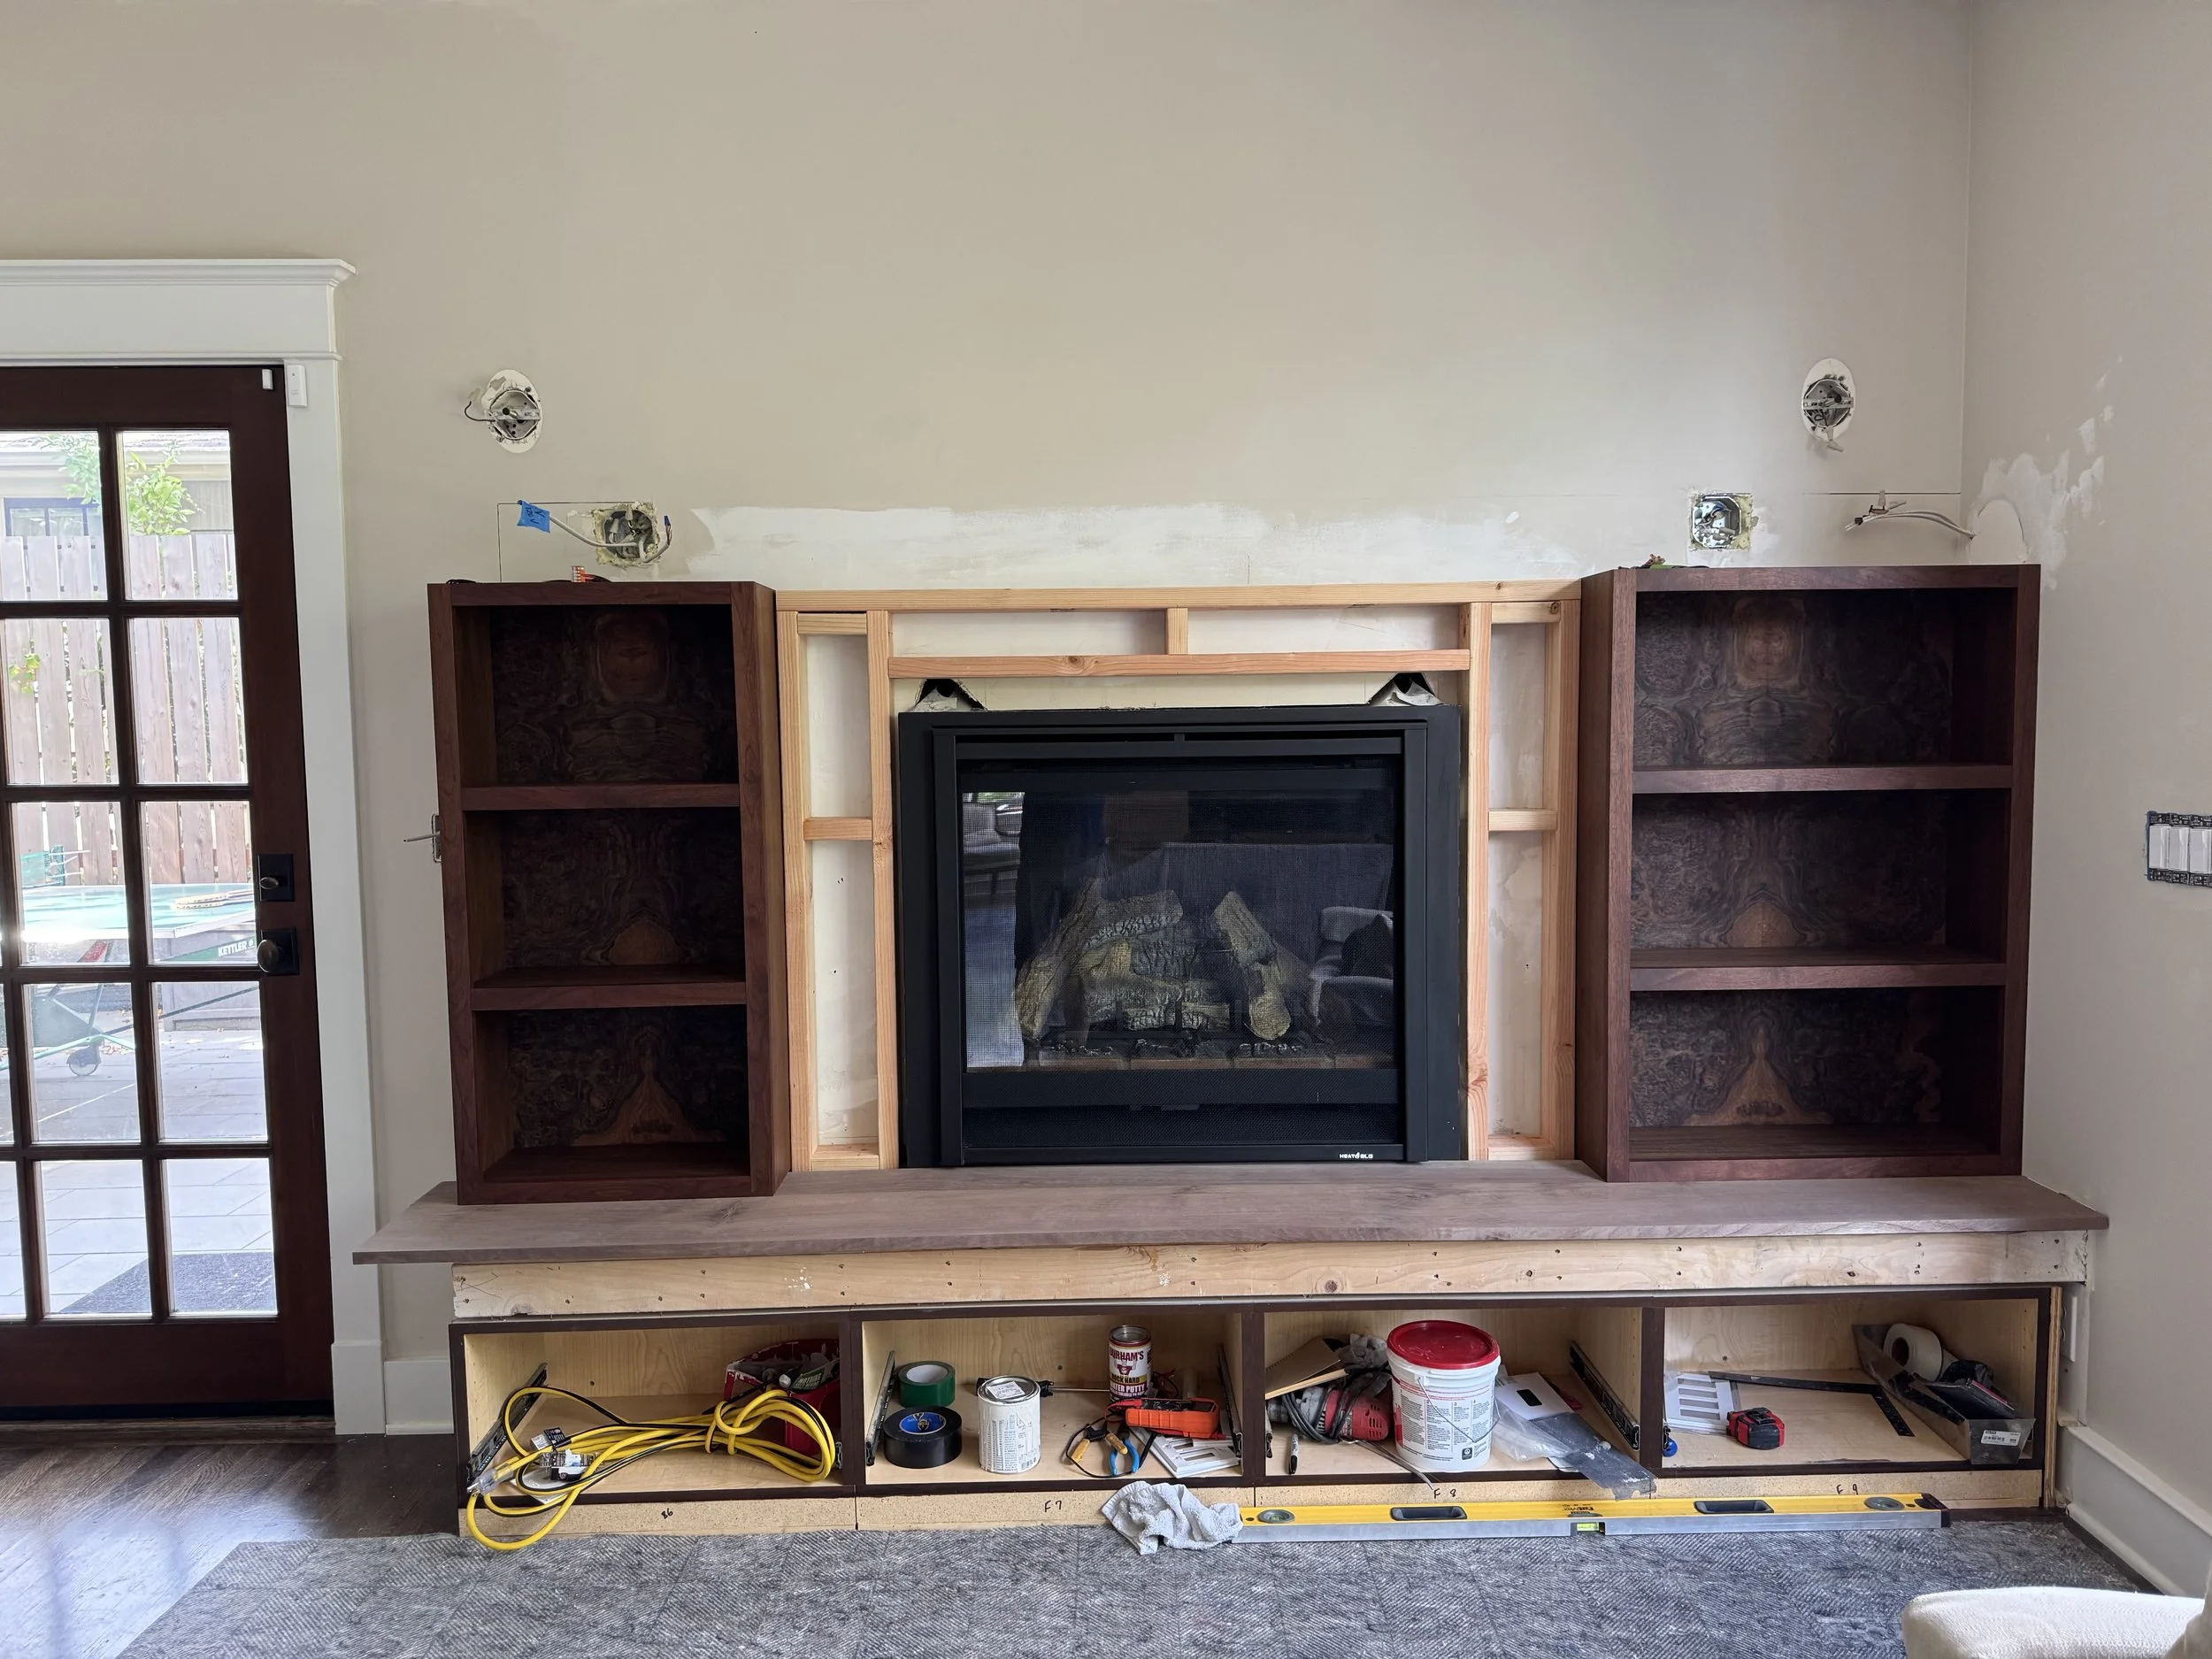
I built a custom subframe to support the tile installation, which was completed by another contractor. This wasn't just a matter of creating a surface for the tile to attach to. The thickness and placement of the framing had to account for the finished tile assembly so that the tile would ultimately sit flush with the face of the fireplace. Getting this right required planning before the finished materials were installed. Otherwise, even a small difference in depth could have affected the appearance of the entire surround. It was one of those details where coordination between different trades was just as important as the woodworking itself.
Installation is always an interesting part of a custom project. You can spend hours working to precise dimensions in the shop, but existing walls, floors, and surrounding structures are rarely perfectly straight, level, or square. The final assembly required careful fitting and adjustments to bring all the components together. After spending so much time working on individual pieces, it was great to finally see the surround take shape in the room.
Building a Mantel with Hidden Functionality
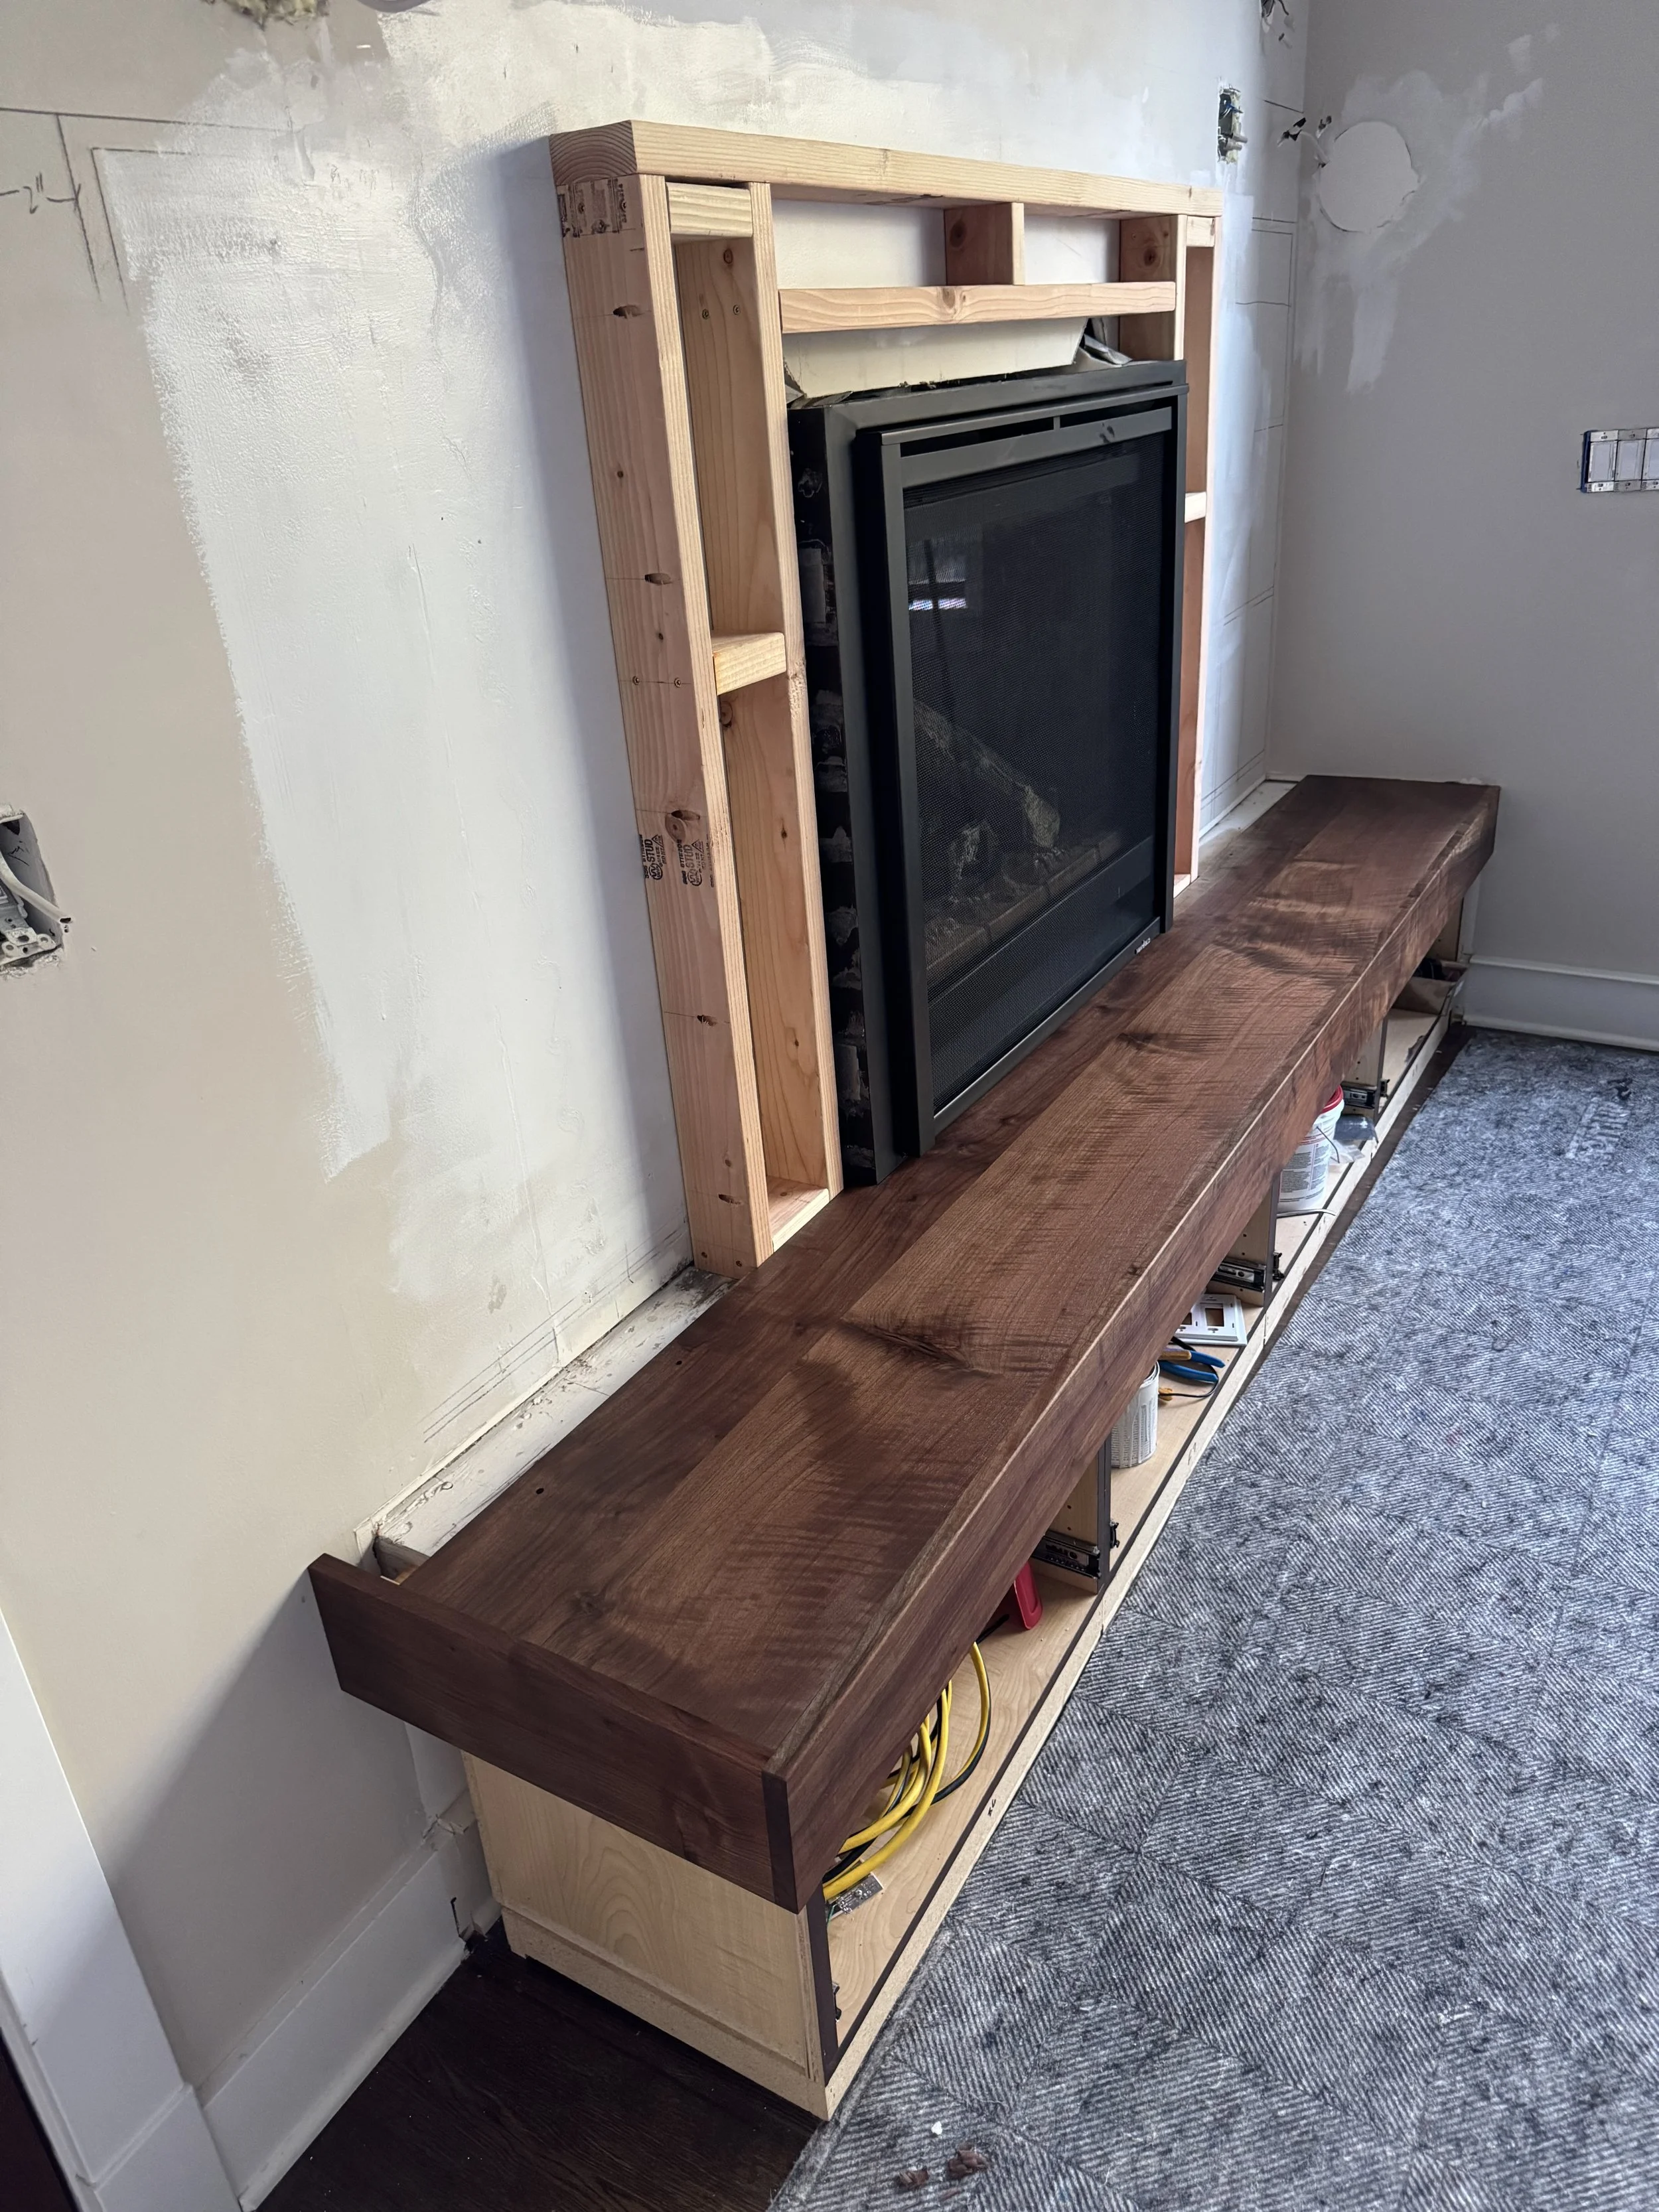
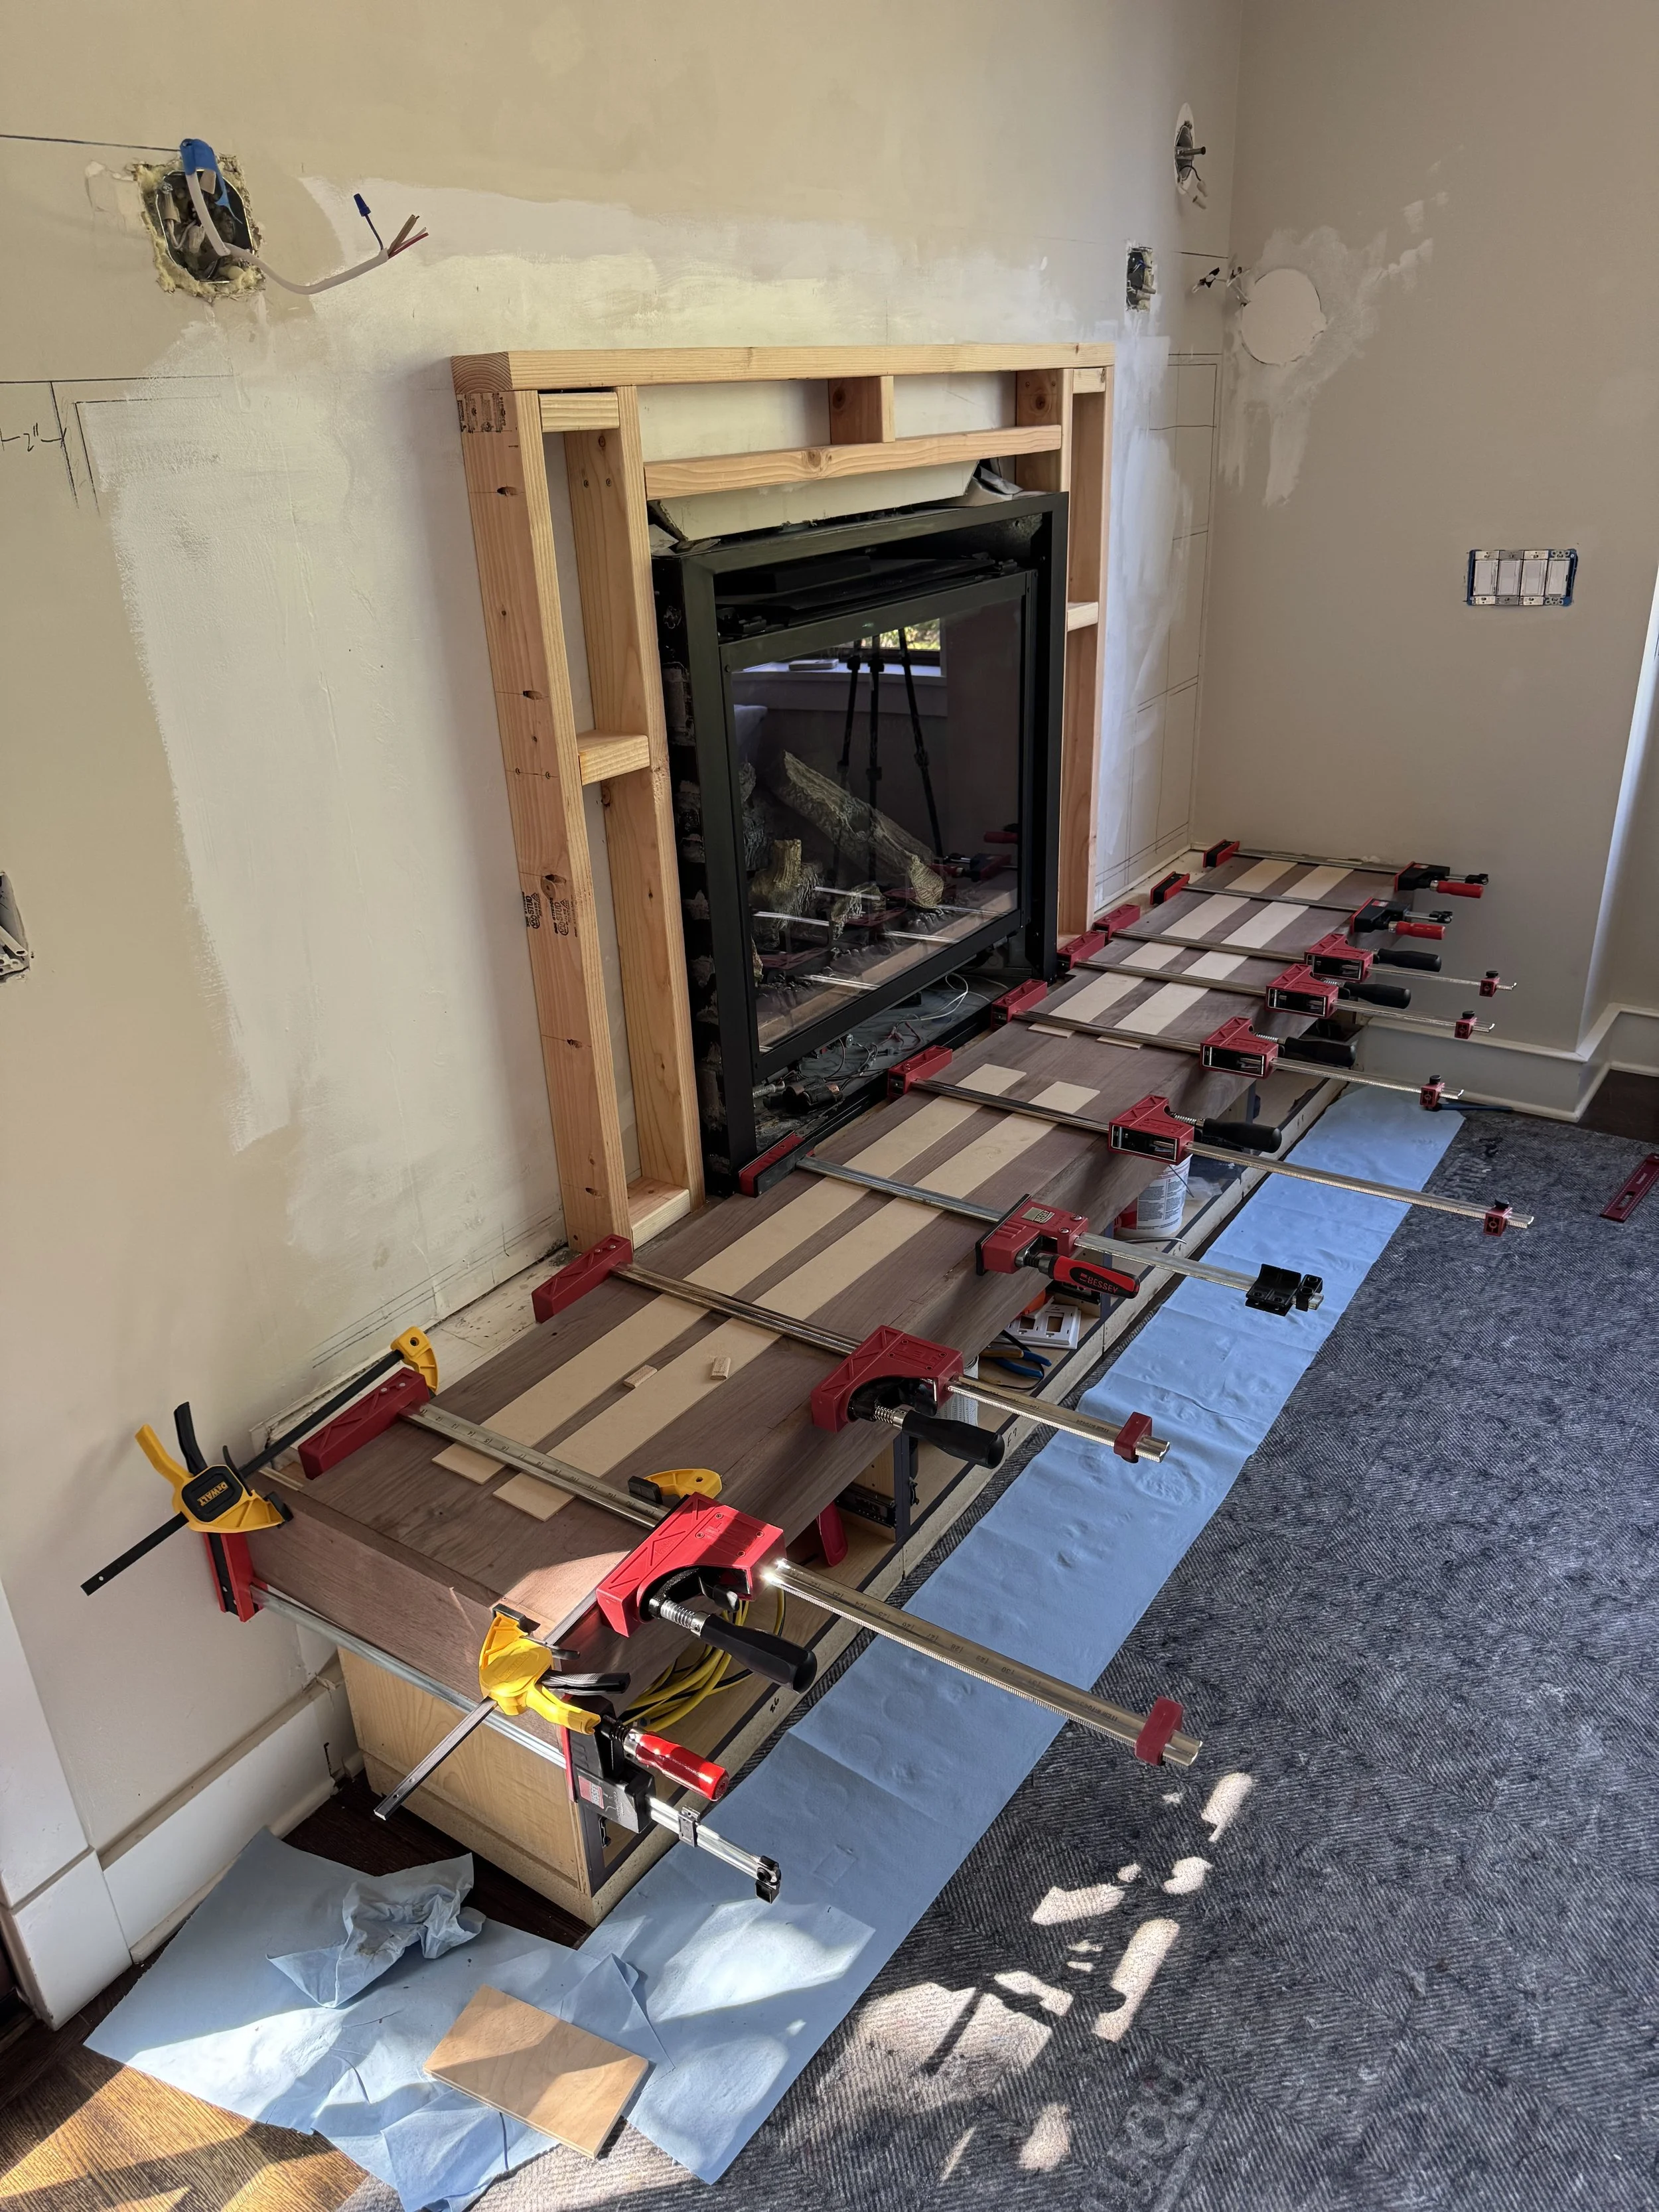
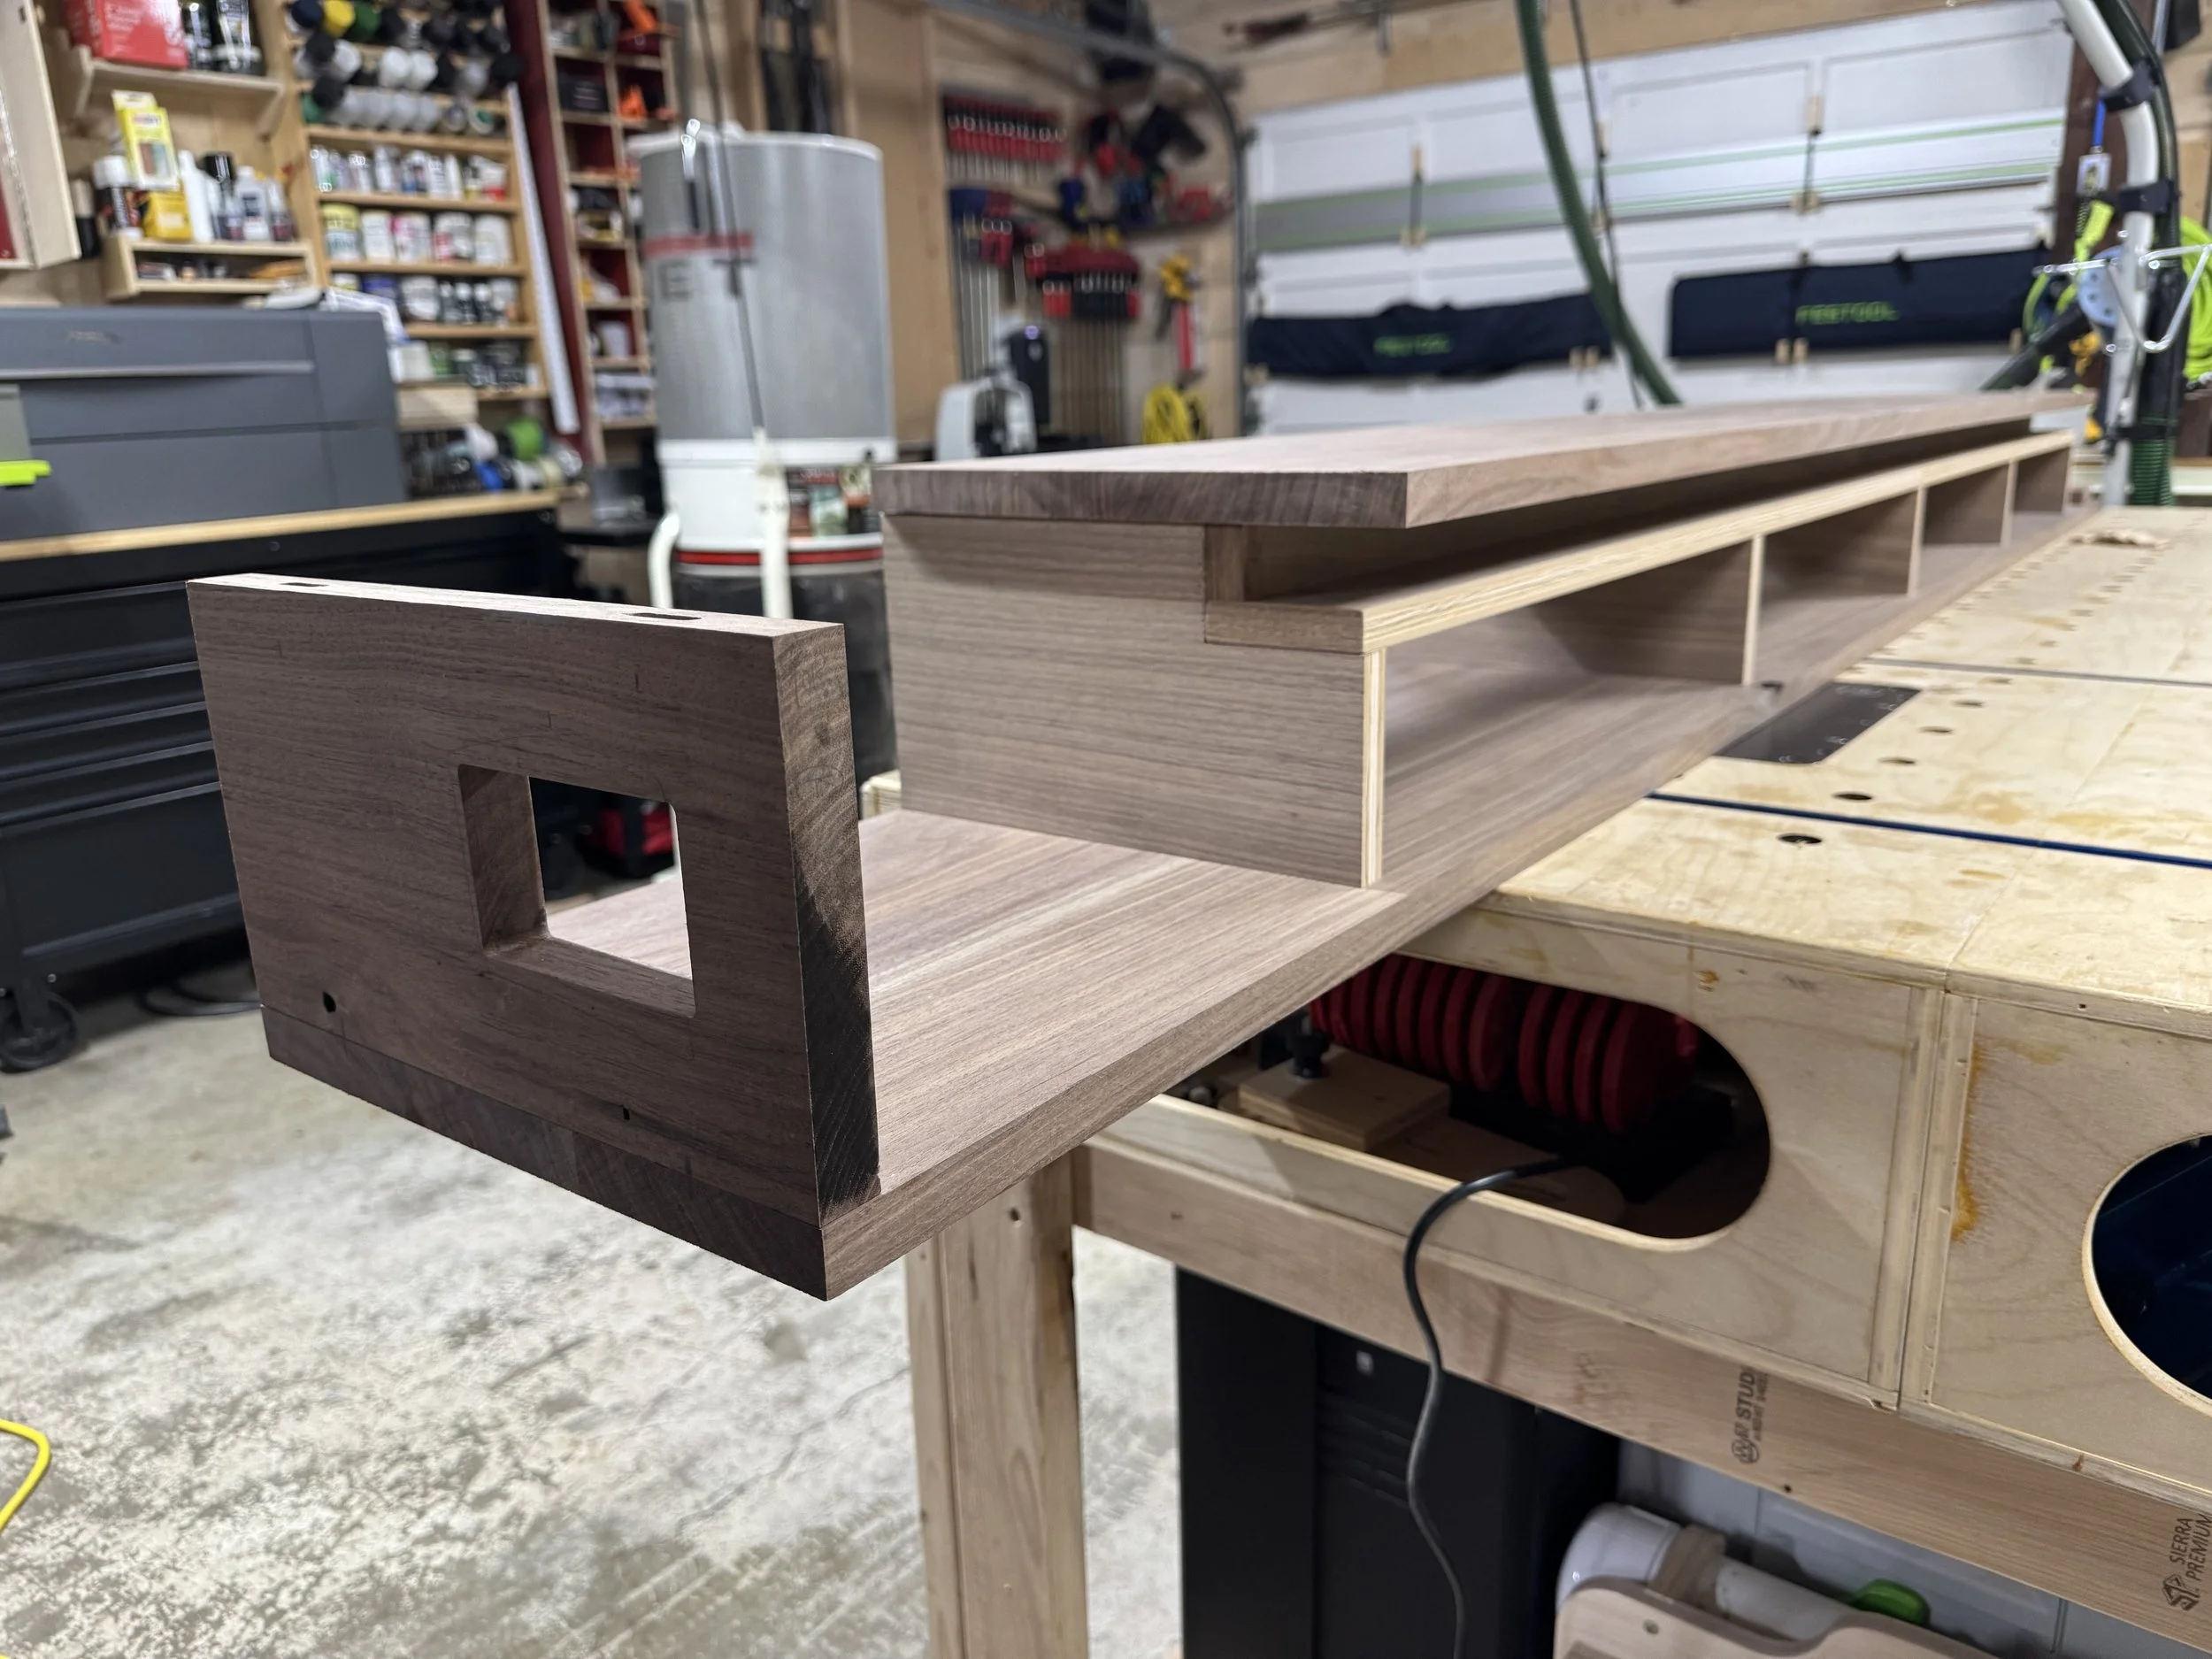
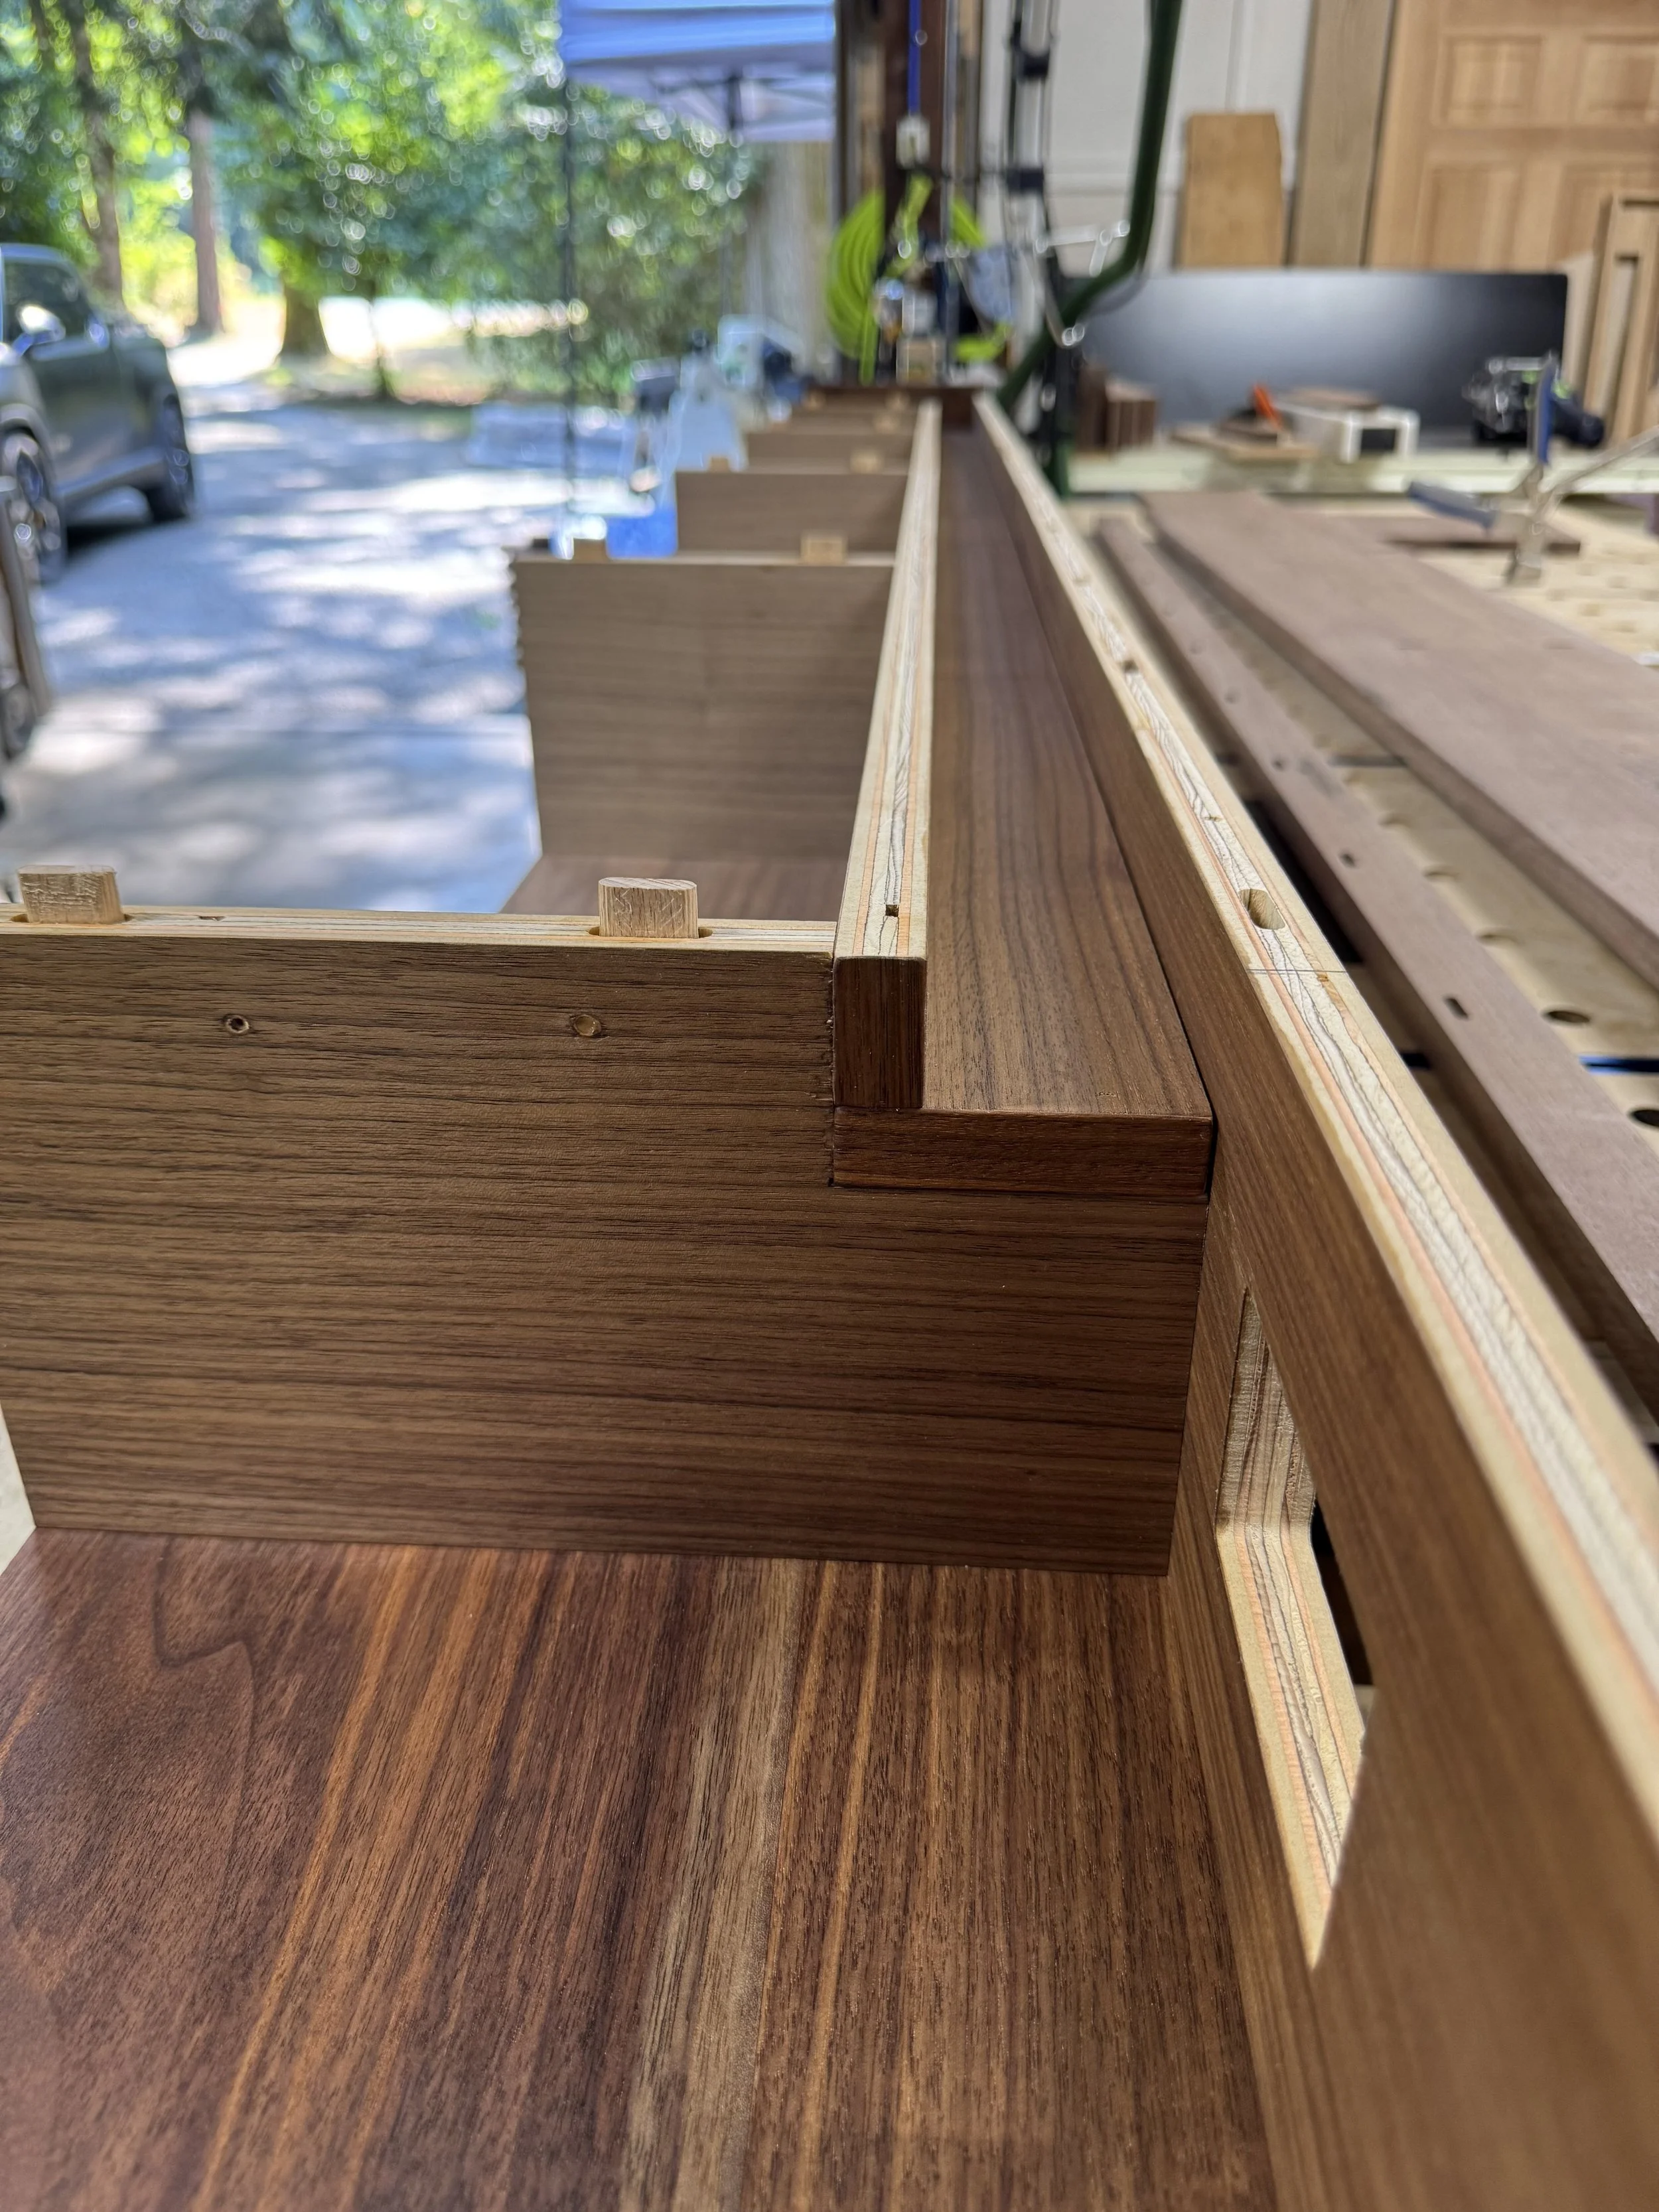
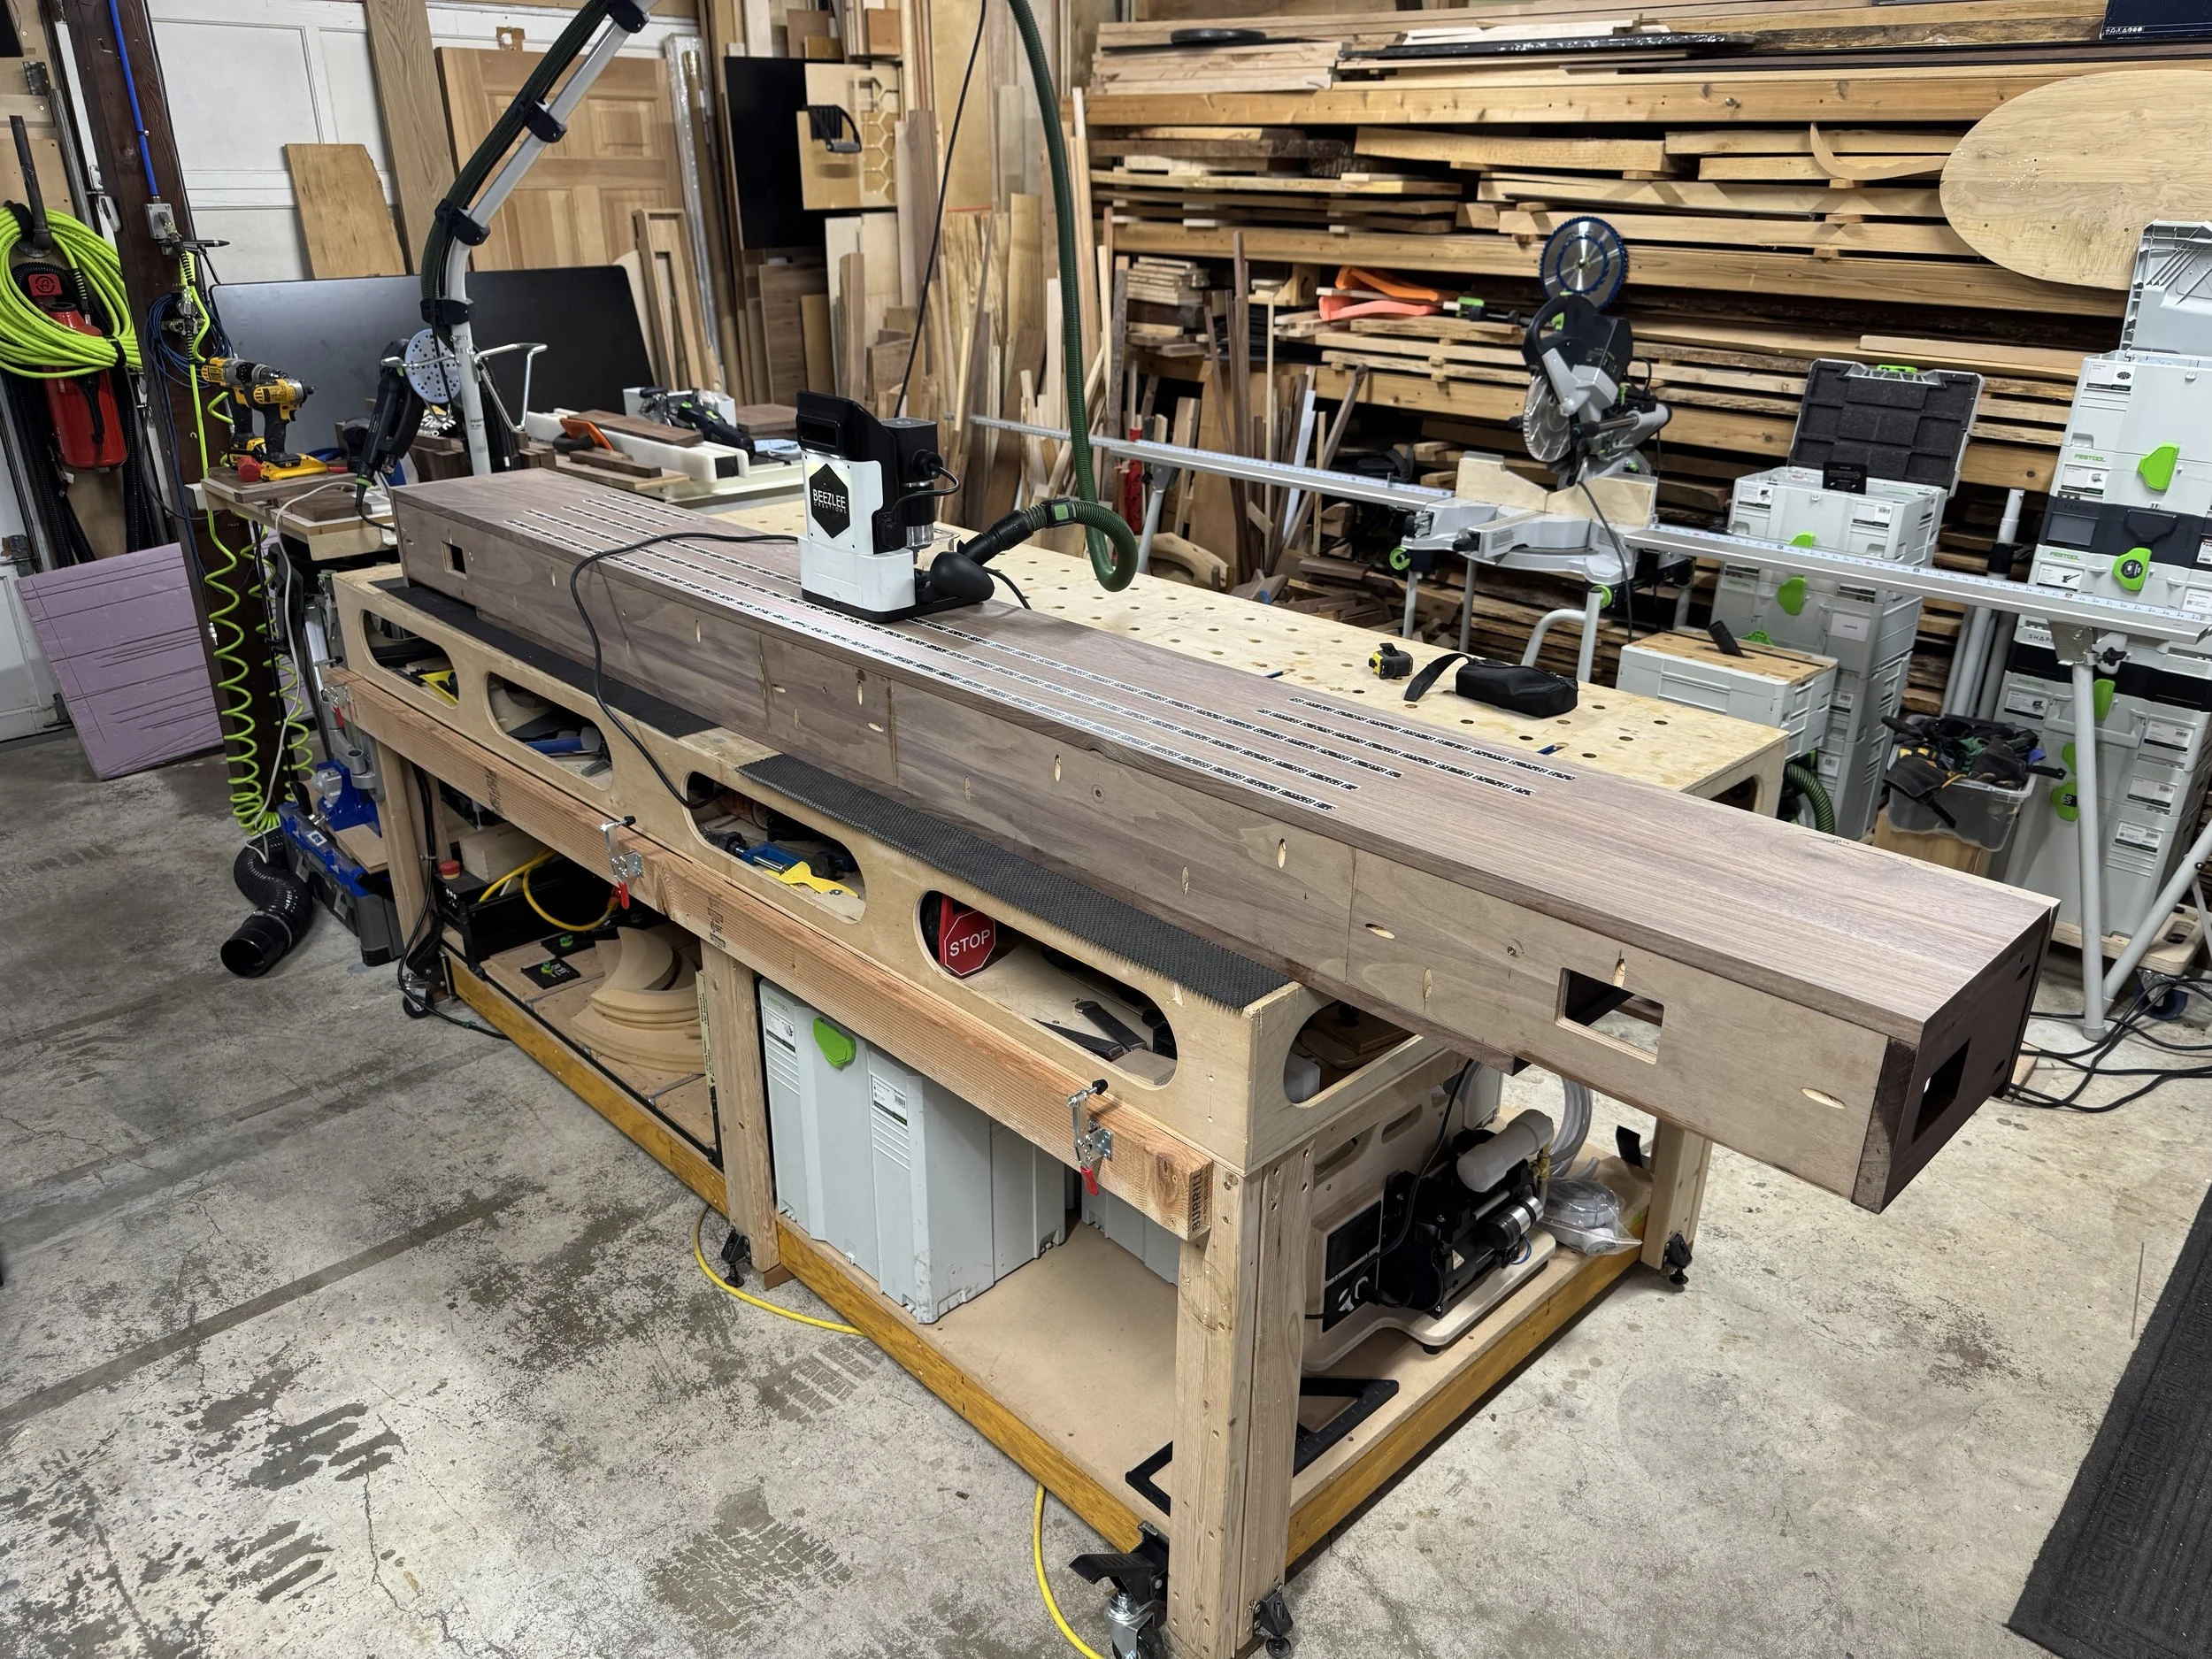
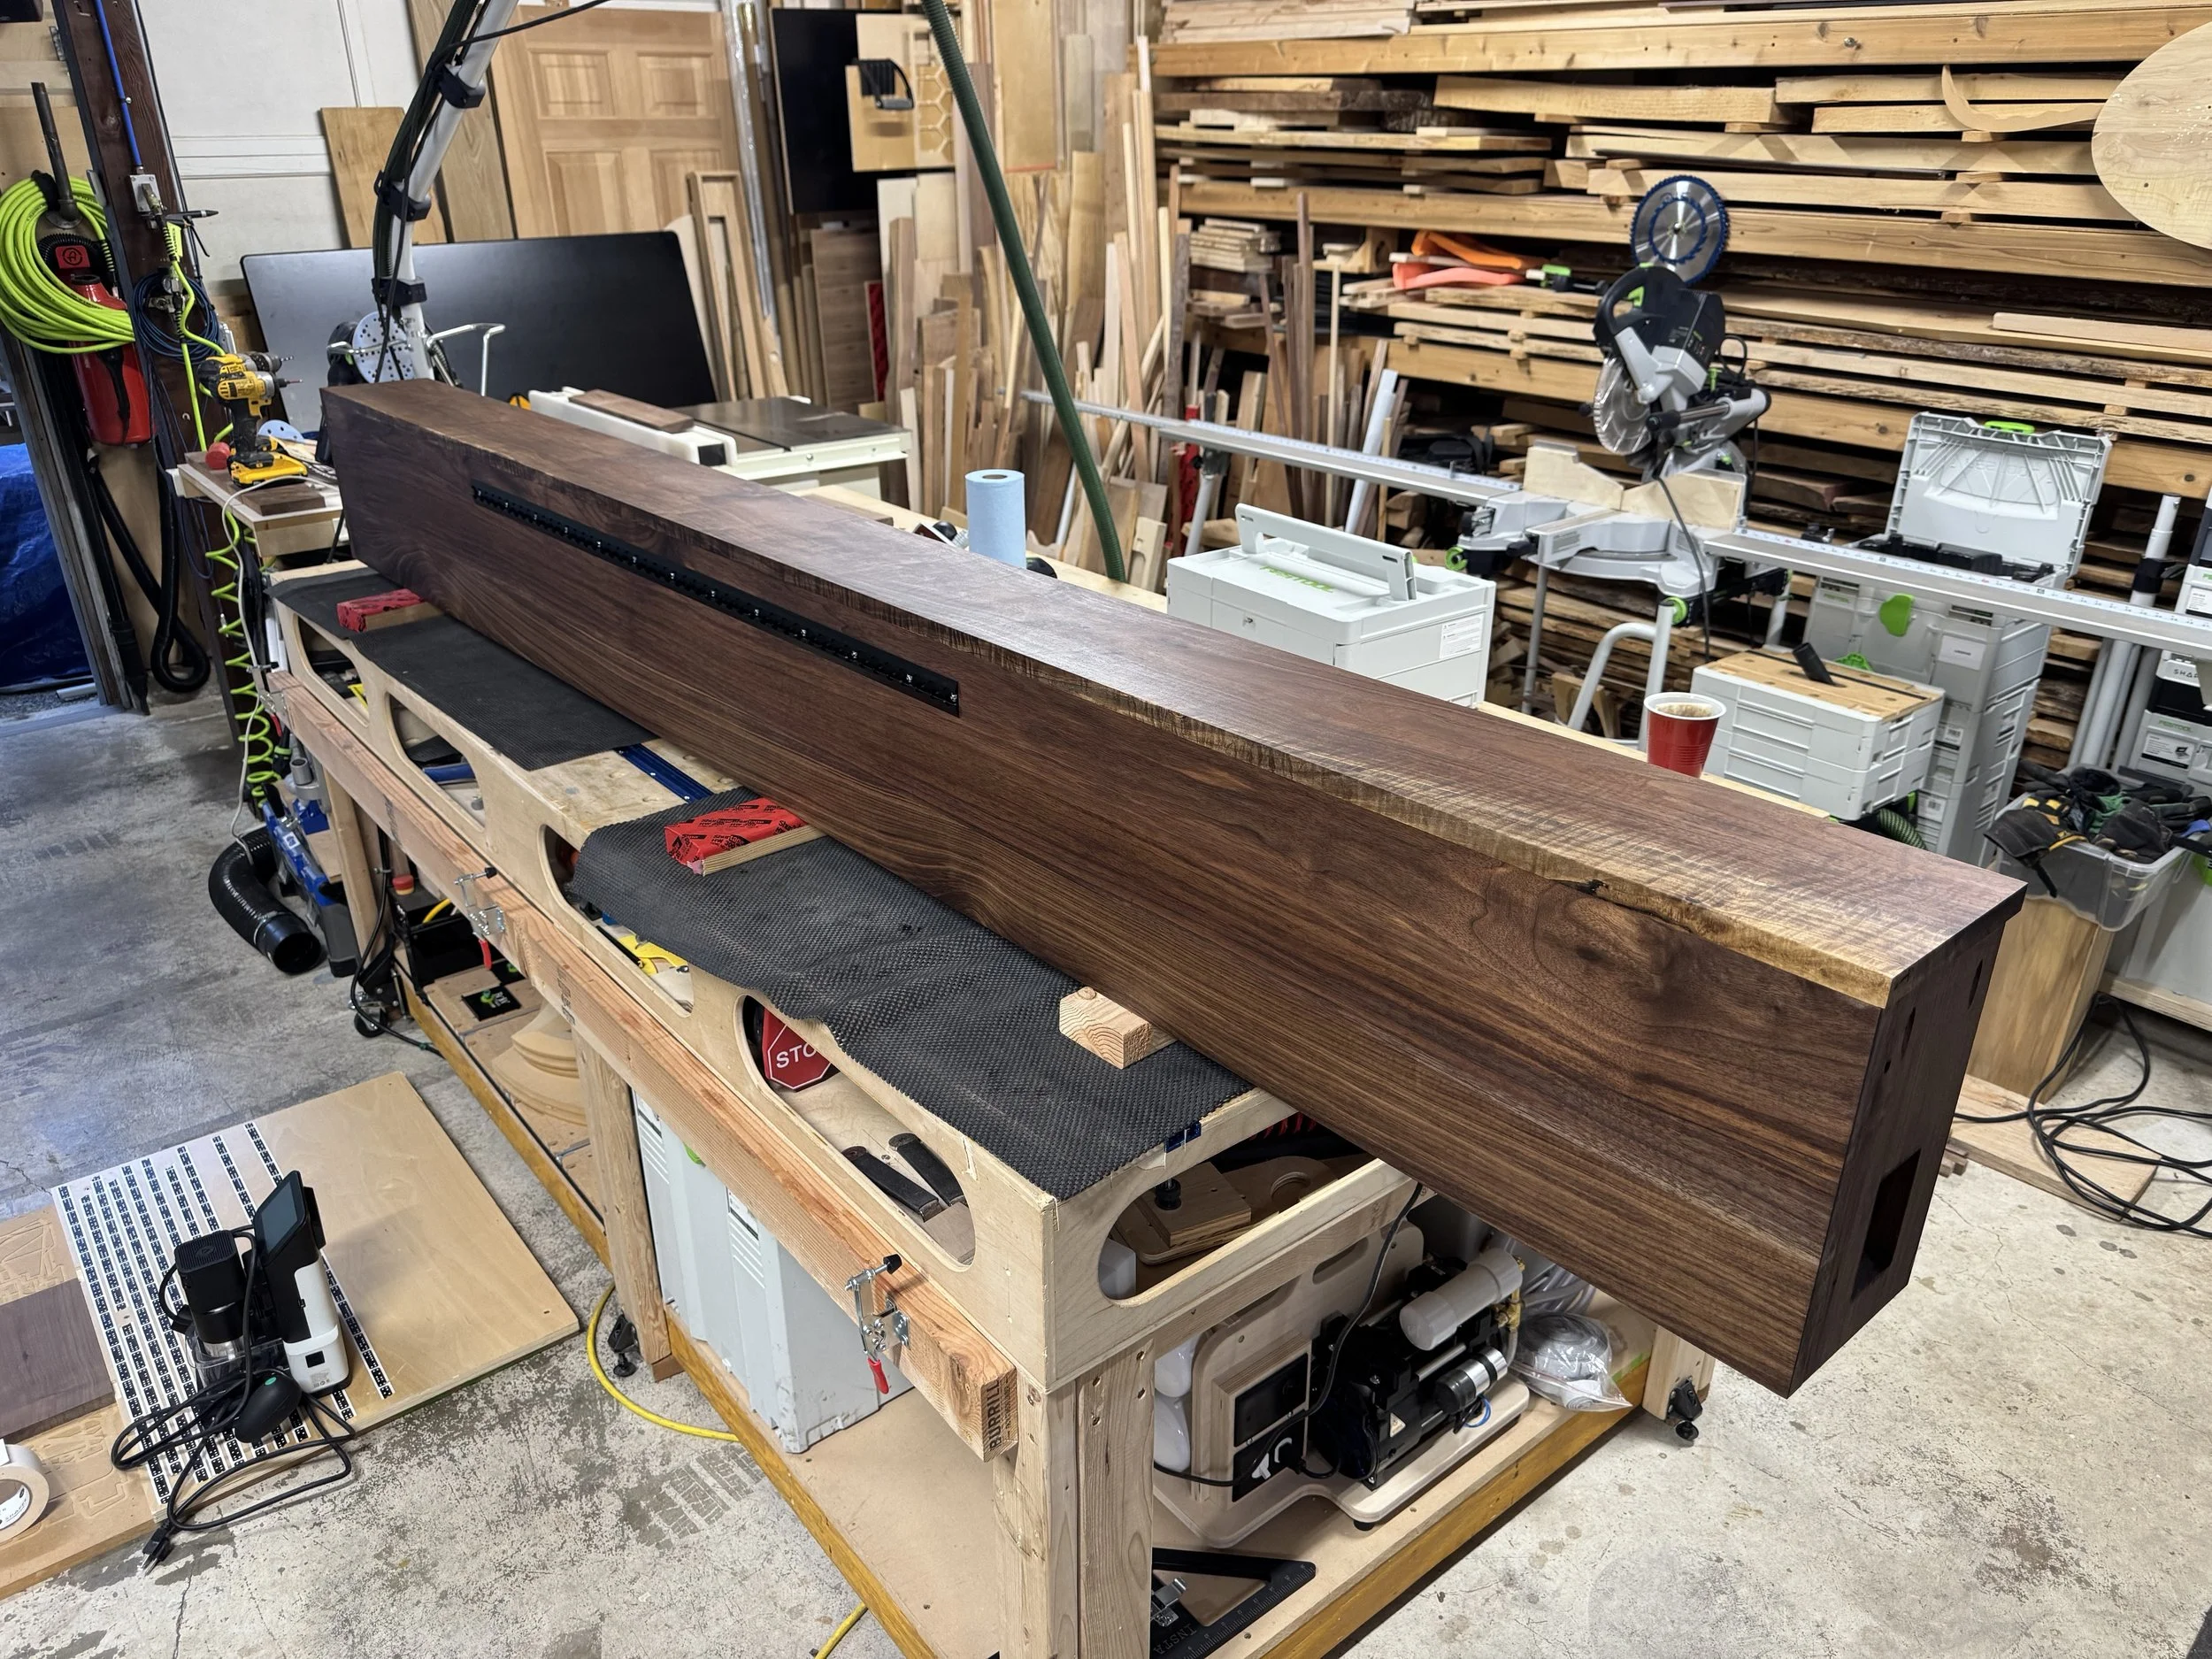
At first glance, the mantel looks like a substantial piece of walnut, but there's quite a bit happening inside it. It's constructed as a combination of solid walnut and plywood, forming a hollow enclosure that houses electrical outlets, LED power supplies, and wiring. The intent was to have a place to power the built-in lighting as well as seasonal decorations or other electrical items displayed on top of the mantel, without a bunch of visible cords.
My initial design had the entire front face of the mantel opening on concealed hinges, giving access to the electrical components. I liked the idea because it would provide easy access without disturbing any of the items on display on the top of the mantle while also keeping all the hardware hidden. But there was a problem. The face was a large piece of solid walnut. Wood naturally expands and contracts with changes in moisture and temperature, and its movement needed to be considered, especially given the proximity to the fireplace. Without an appropriate way to control that movement, I couldn't rely on such a large, hinged solid-wood face remaining flat and properly aligned over time. So I changed the design.
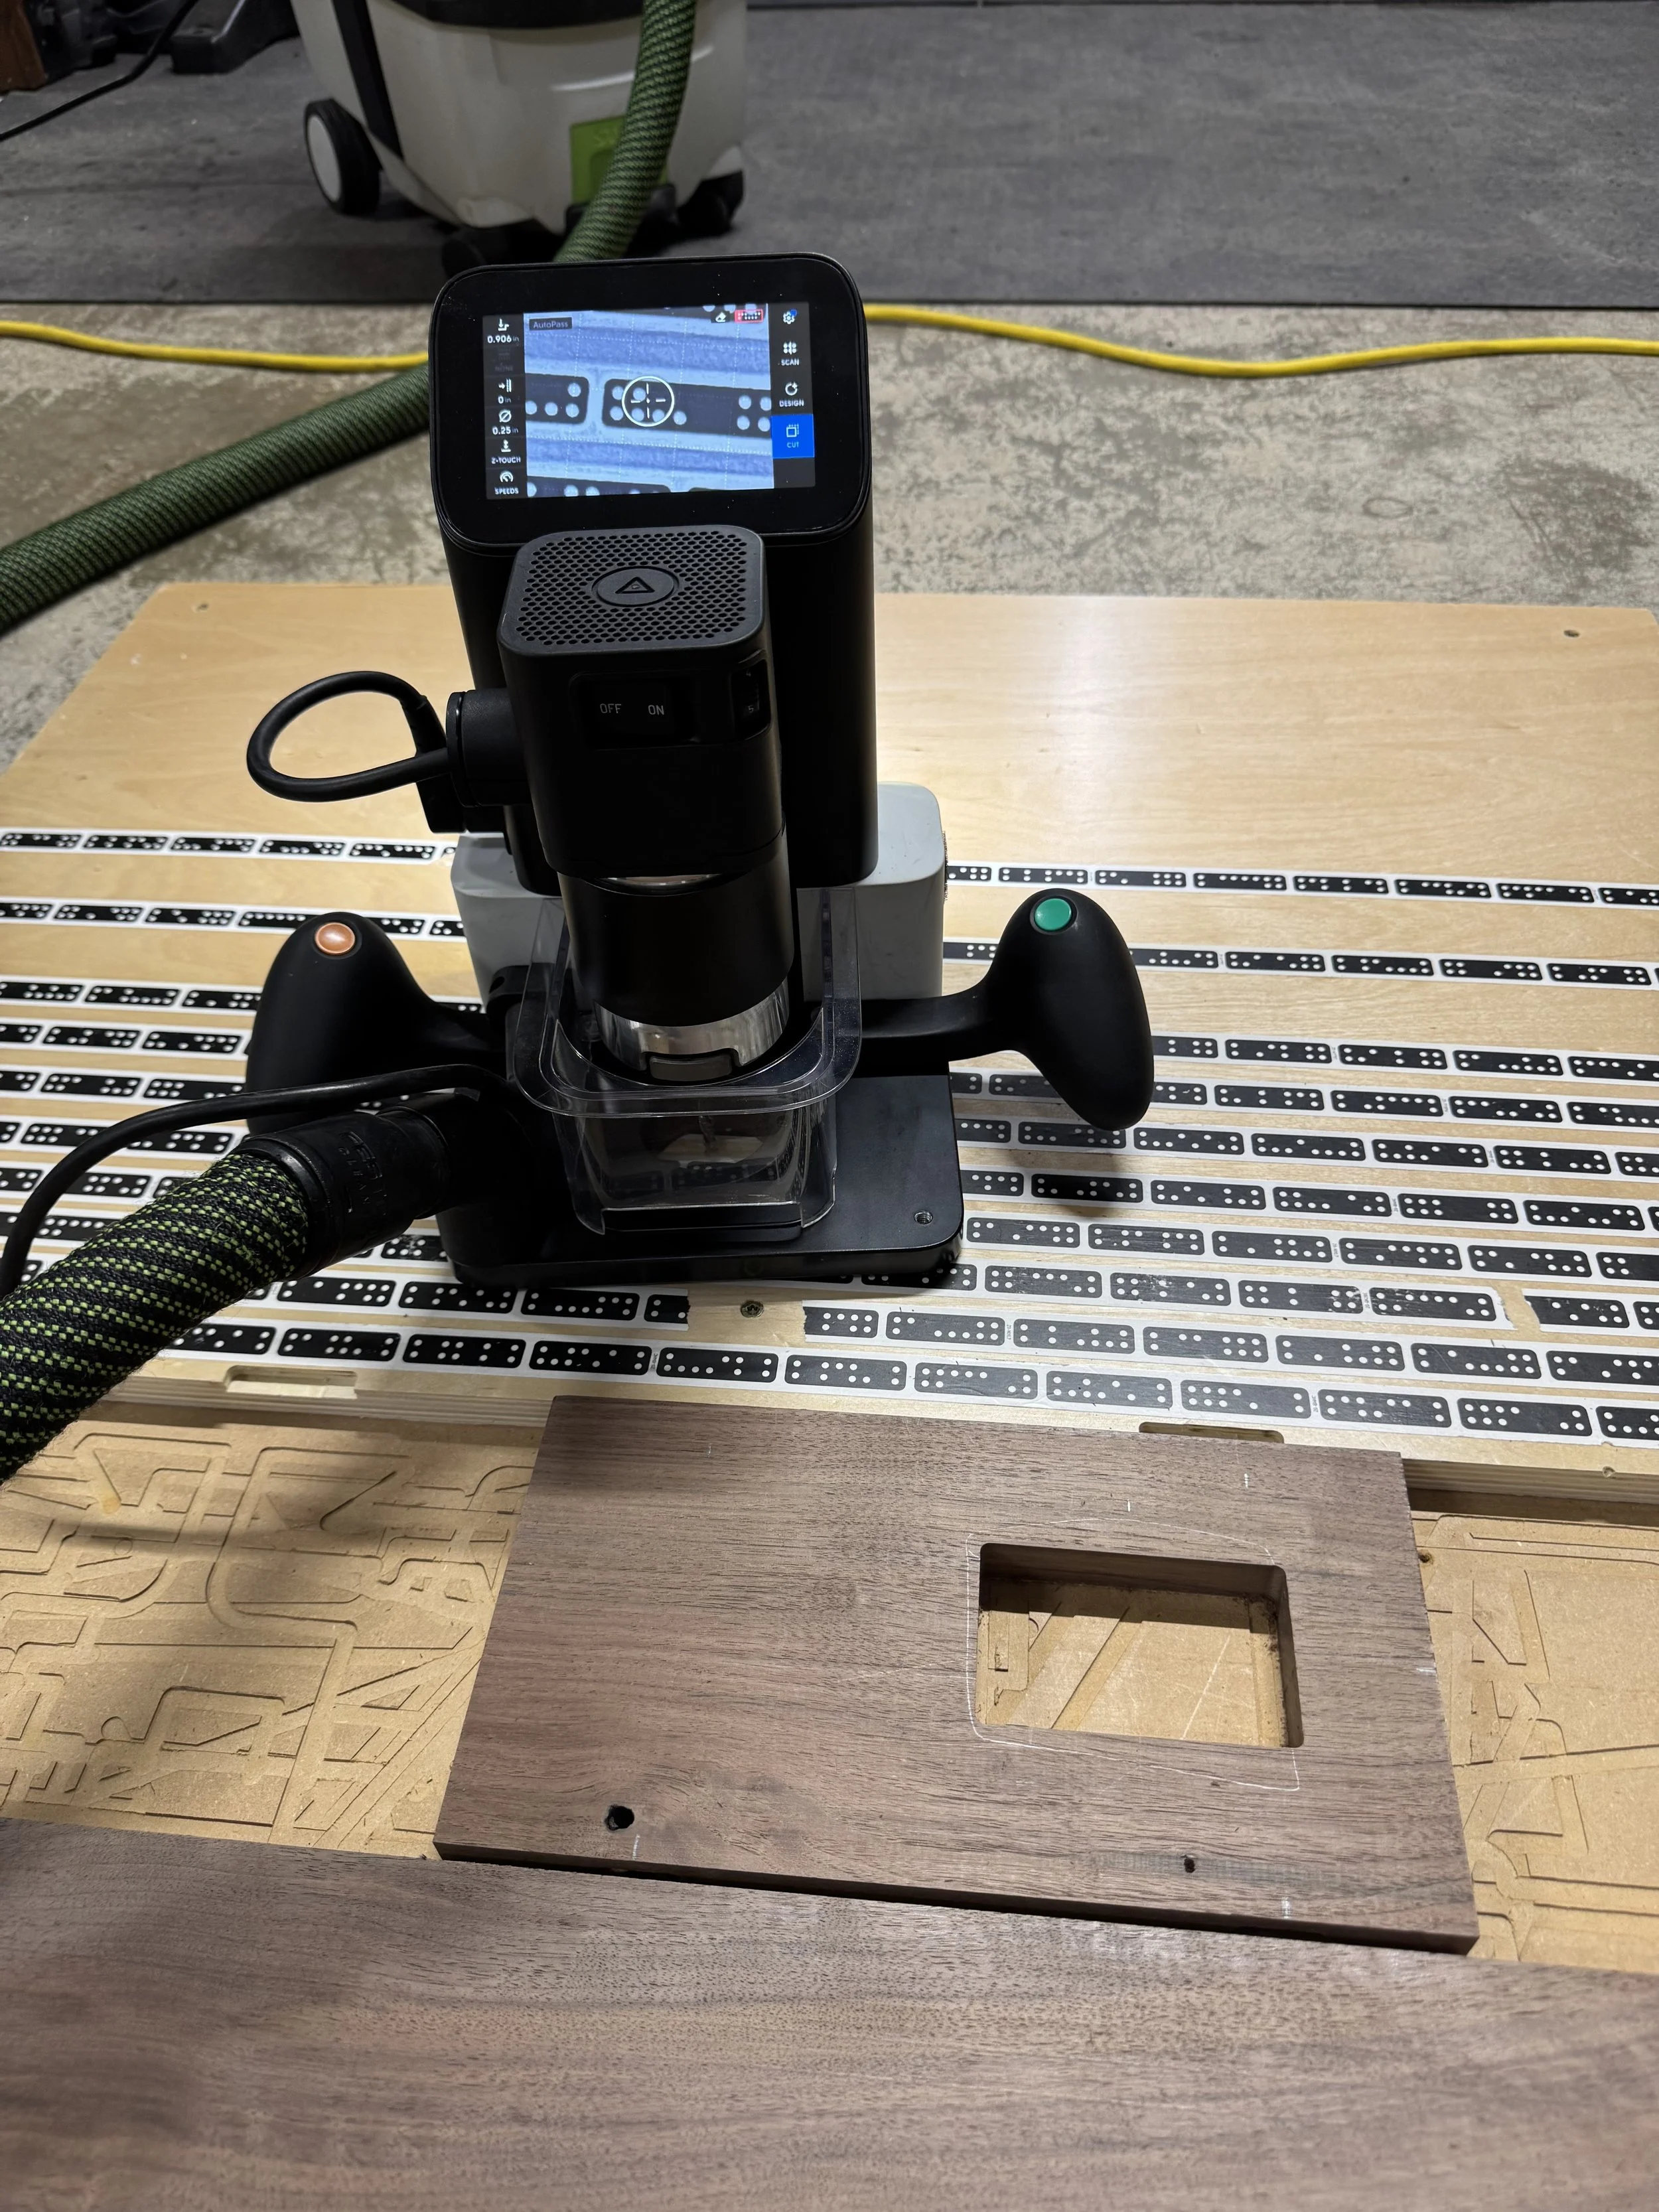
Instead of making the front open, I incorporated access hatches into both ends of the mantel's top surface. These provide access to the outlets and electrical components while allowing the front of the mantel to remain fixed.
I also designed a narrow opening for wires to pass through discreetly, along with an internal wire chase that allows wiring to run from one end of the mantel to the other. The result is a mantel that looks relatively simple from the outside but provides accessible power and a tidy place to manage cables.
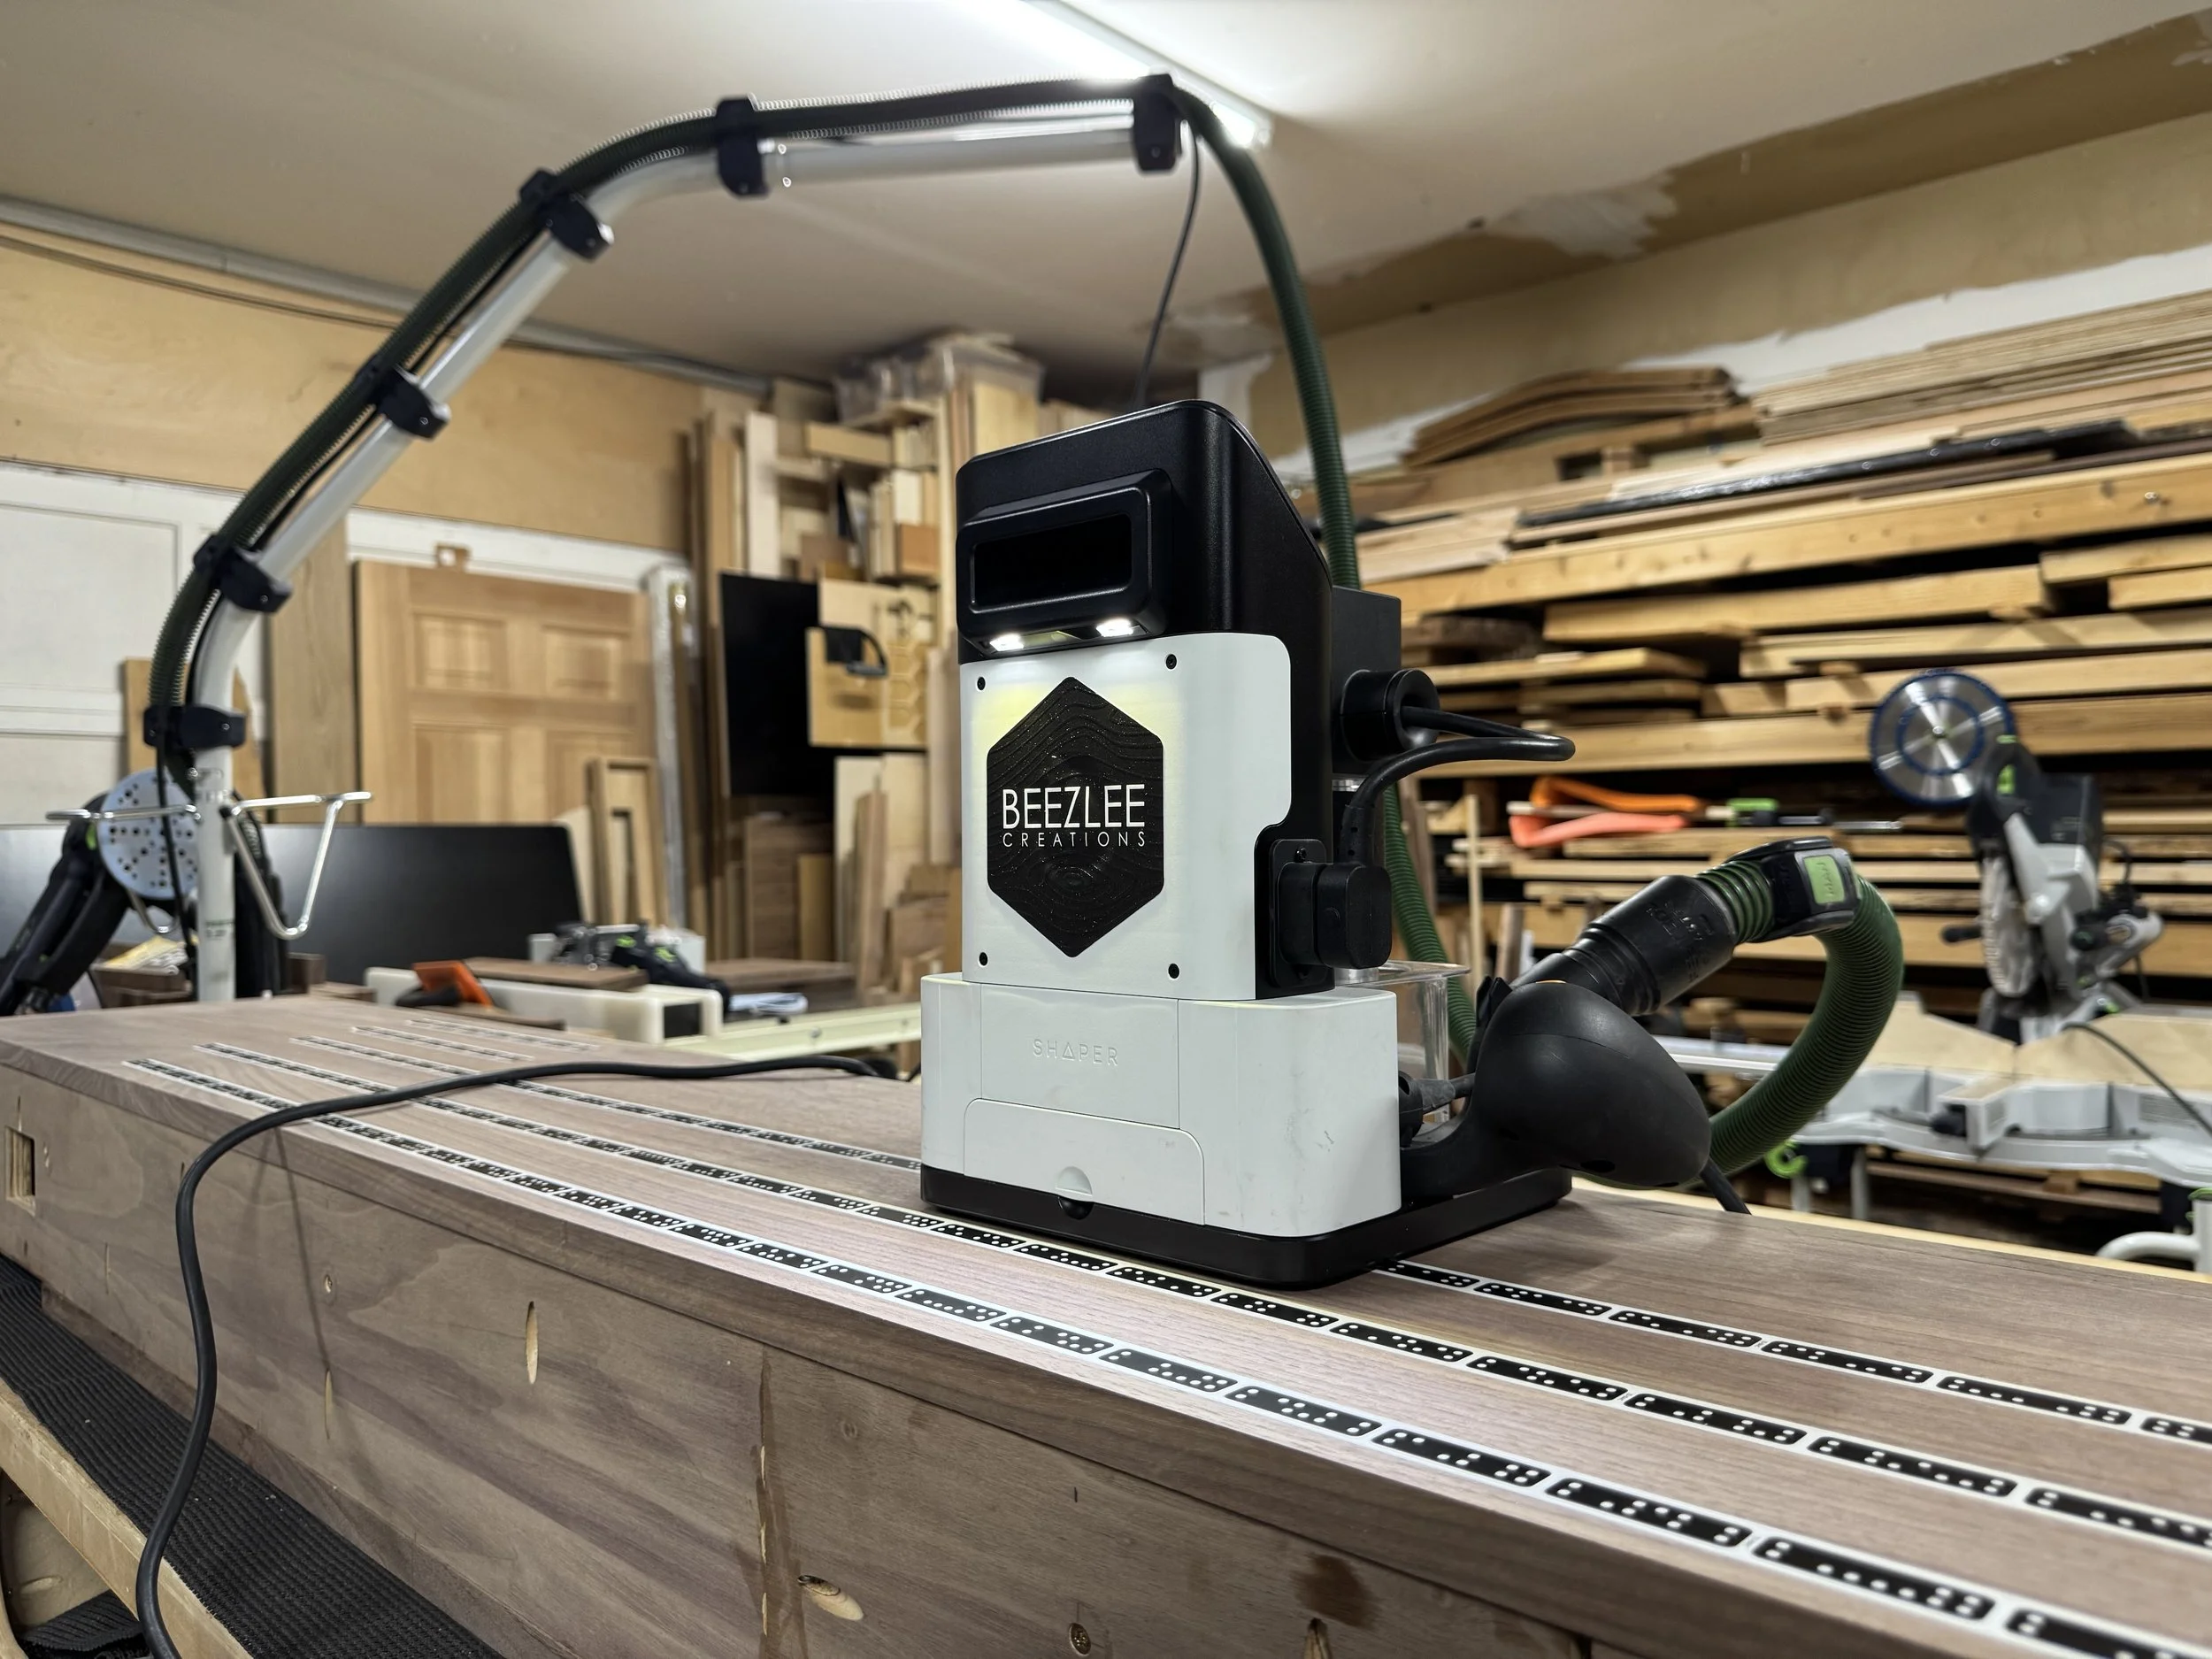
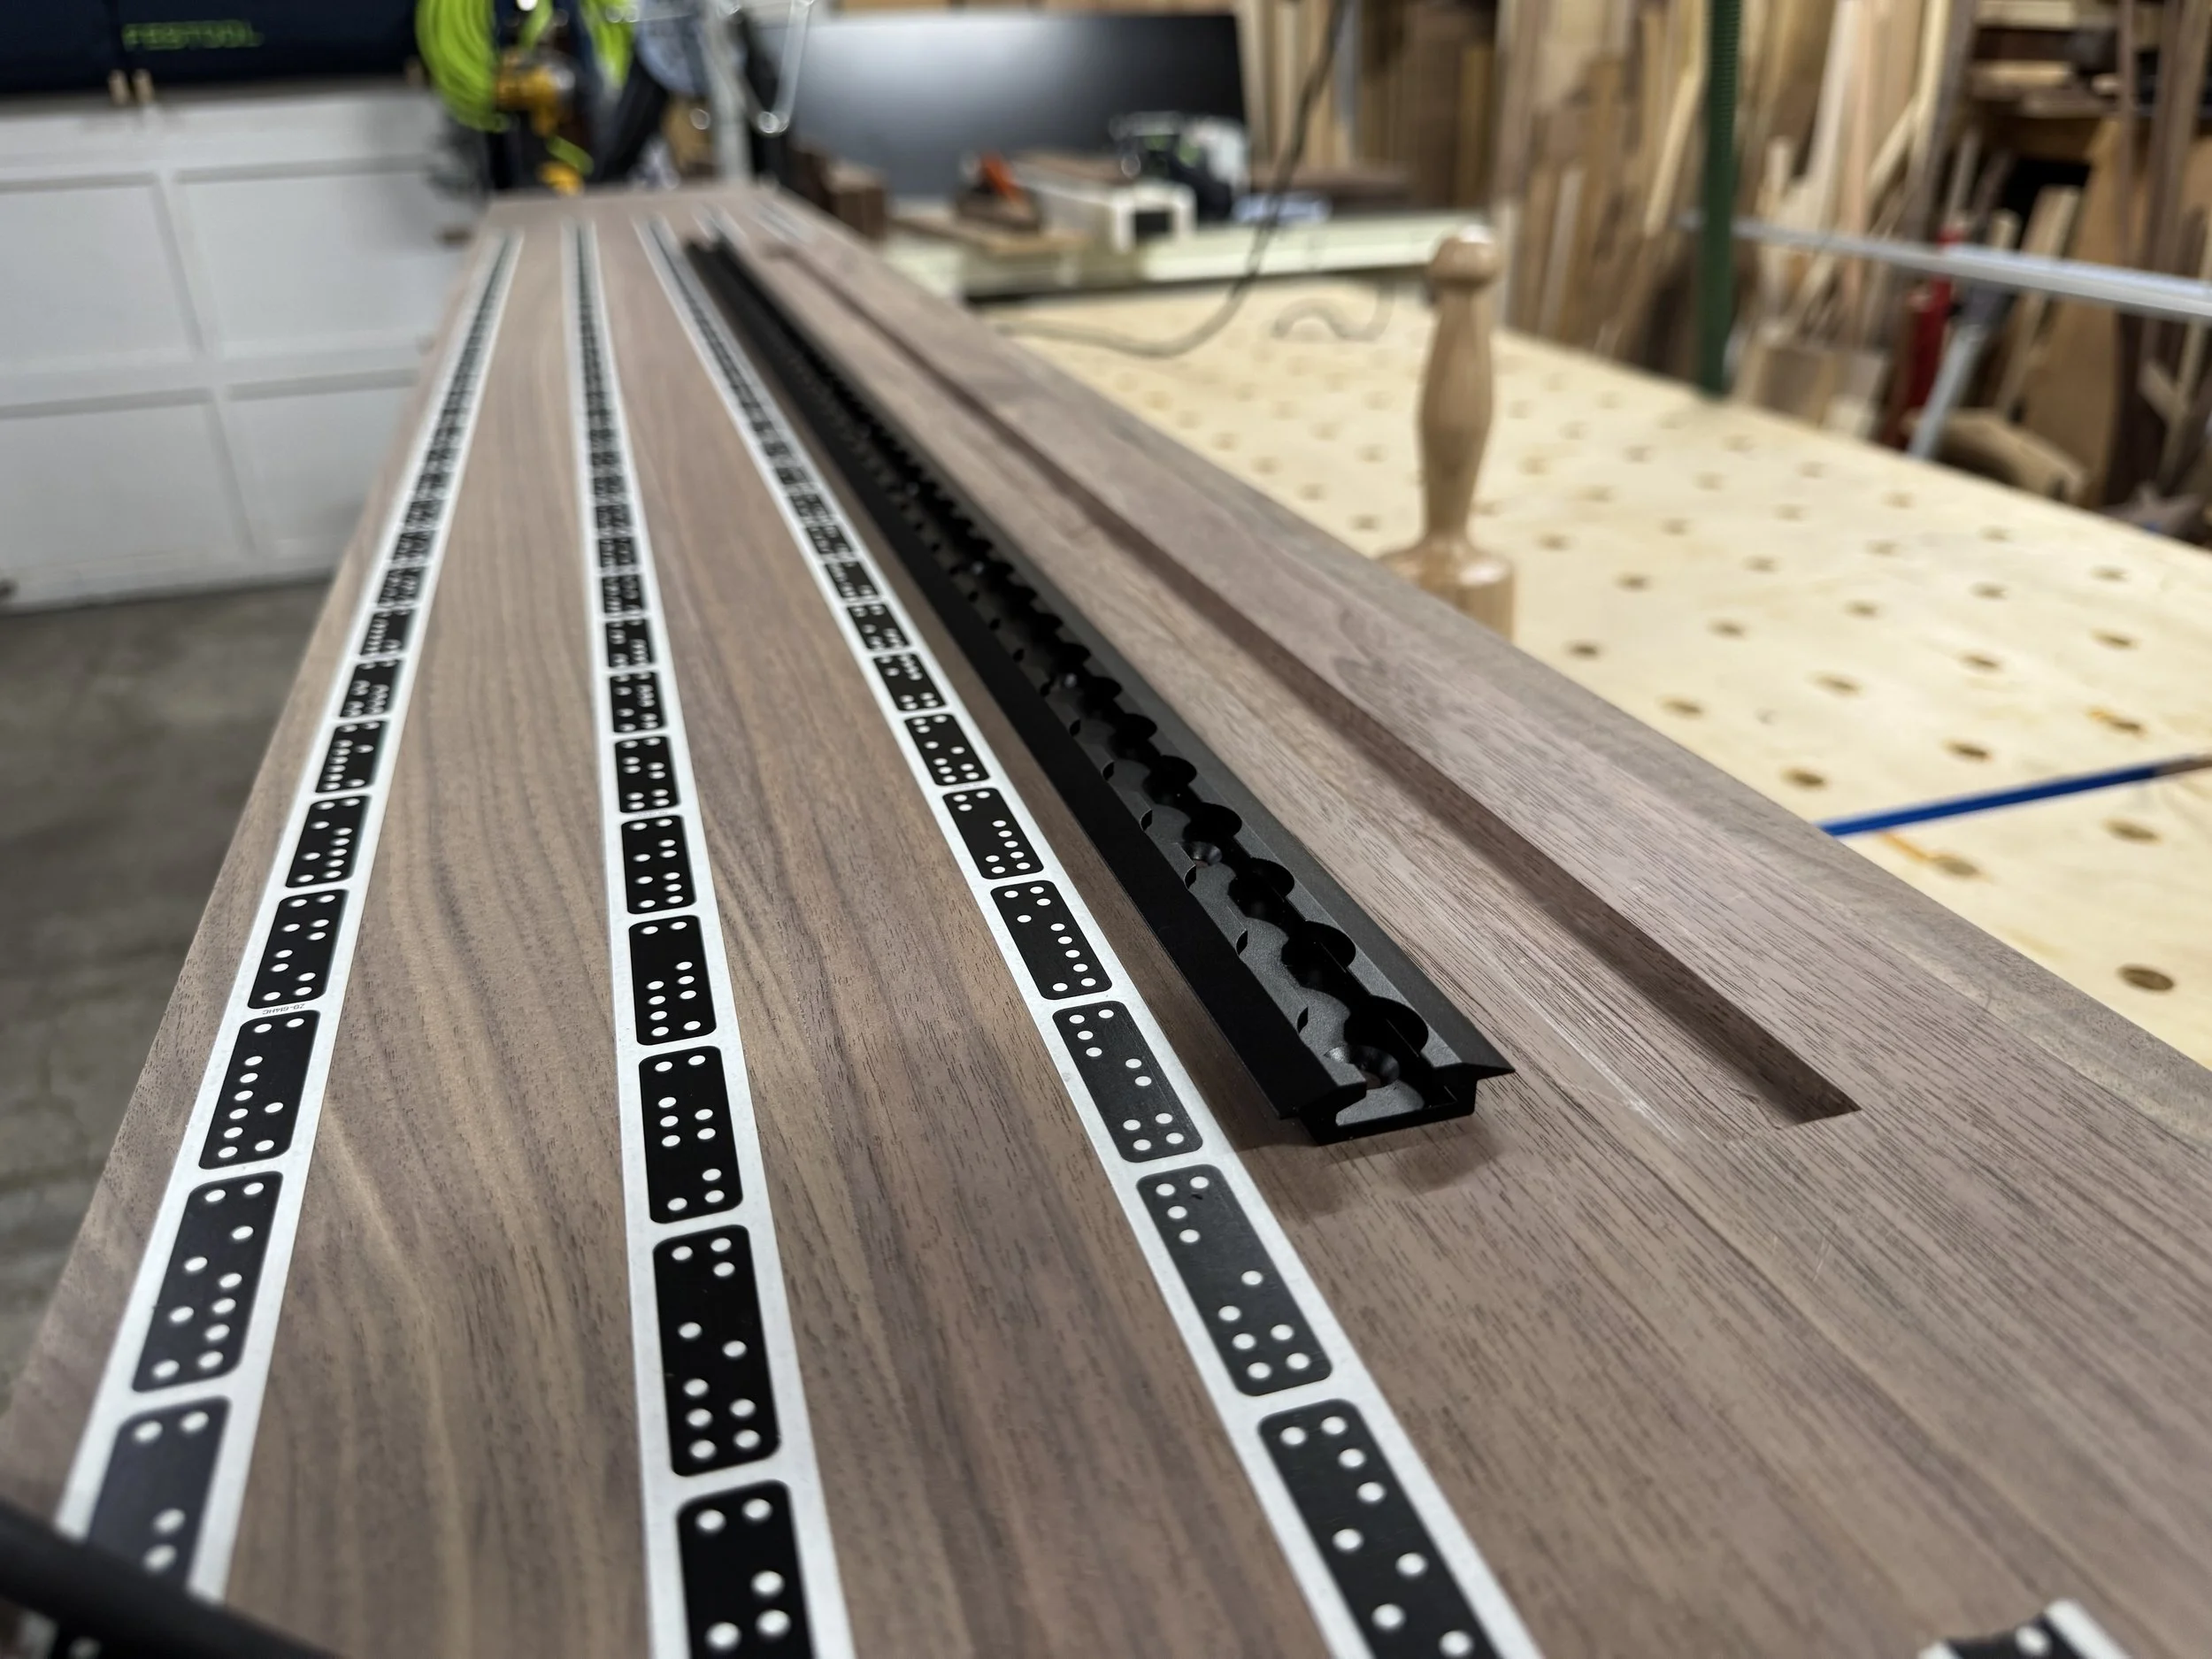
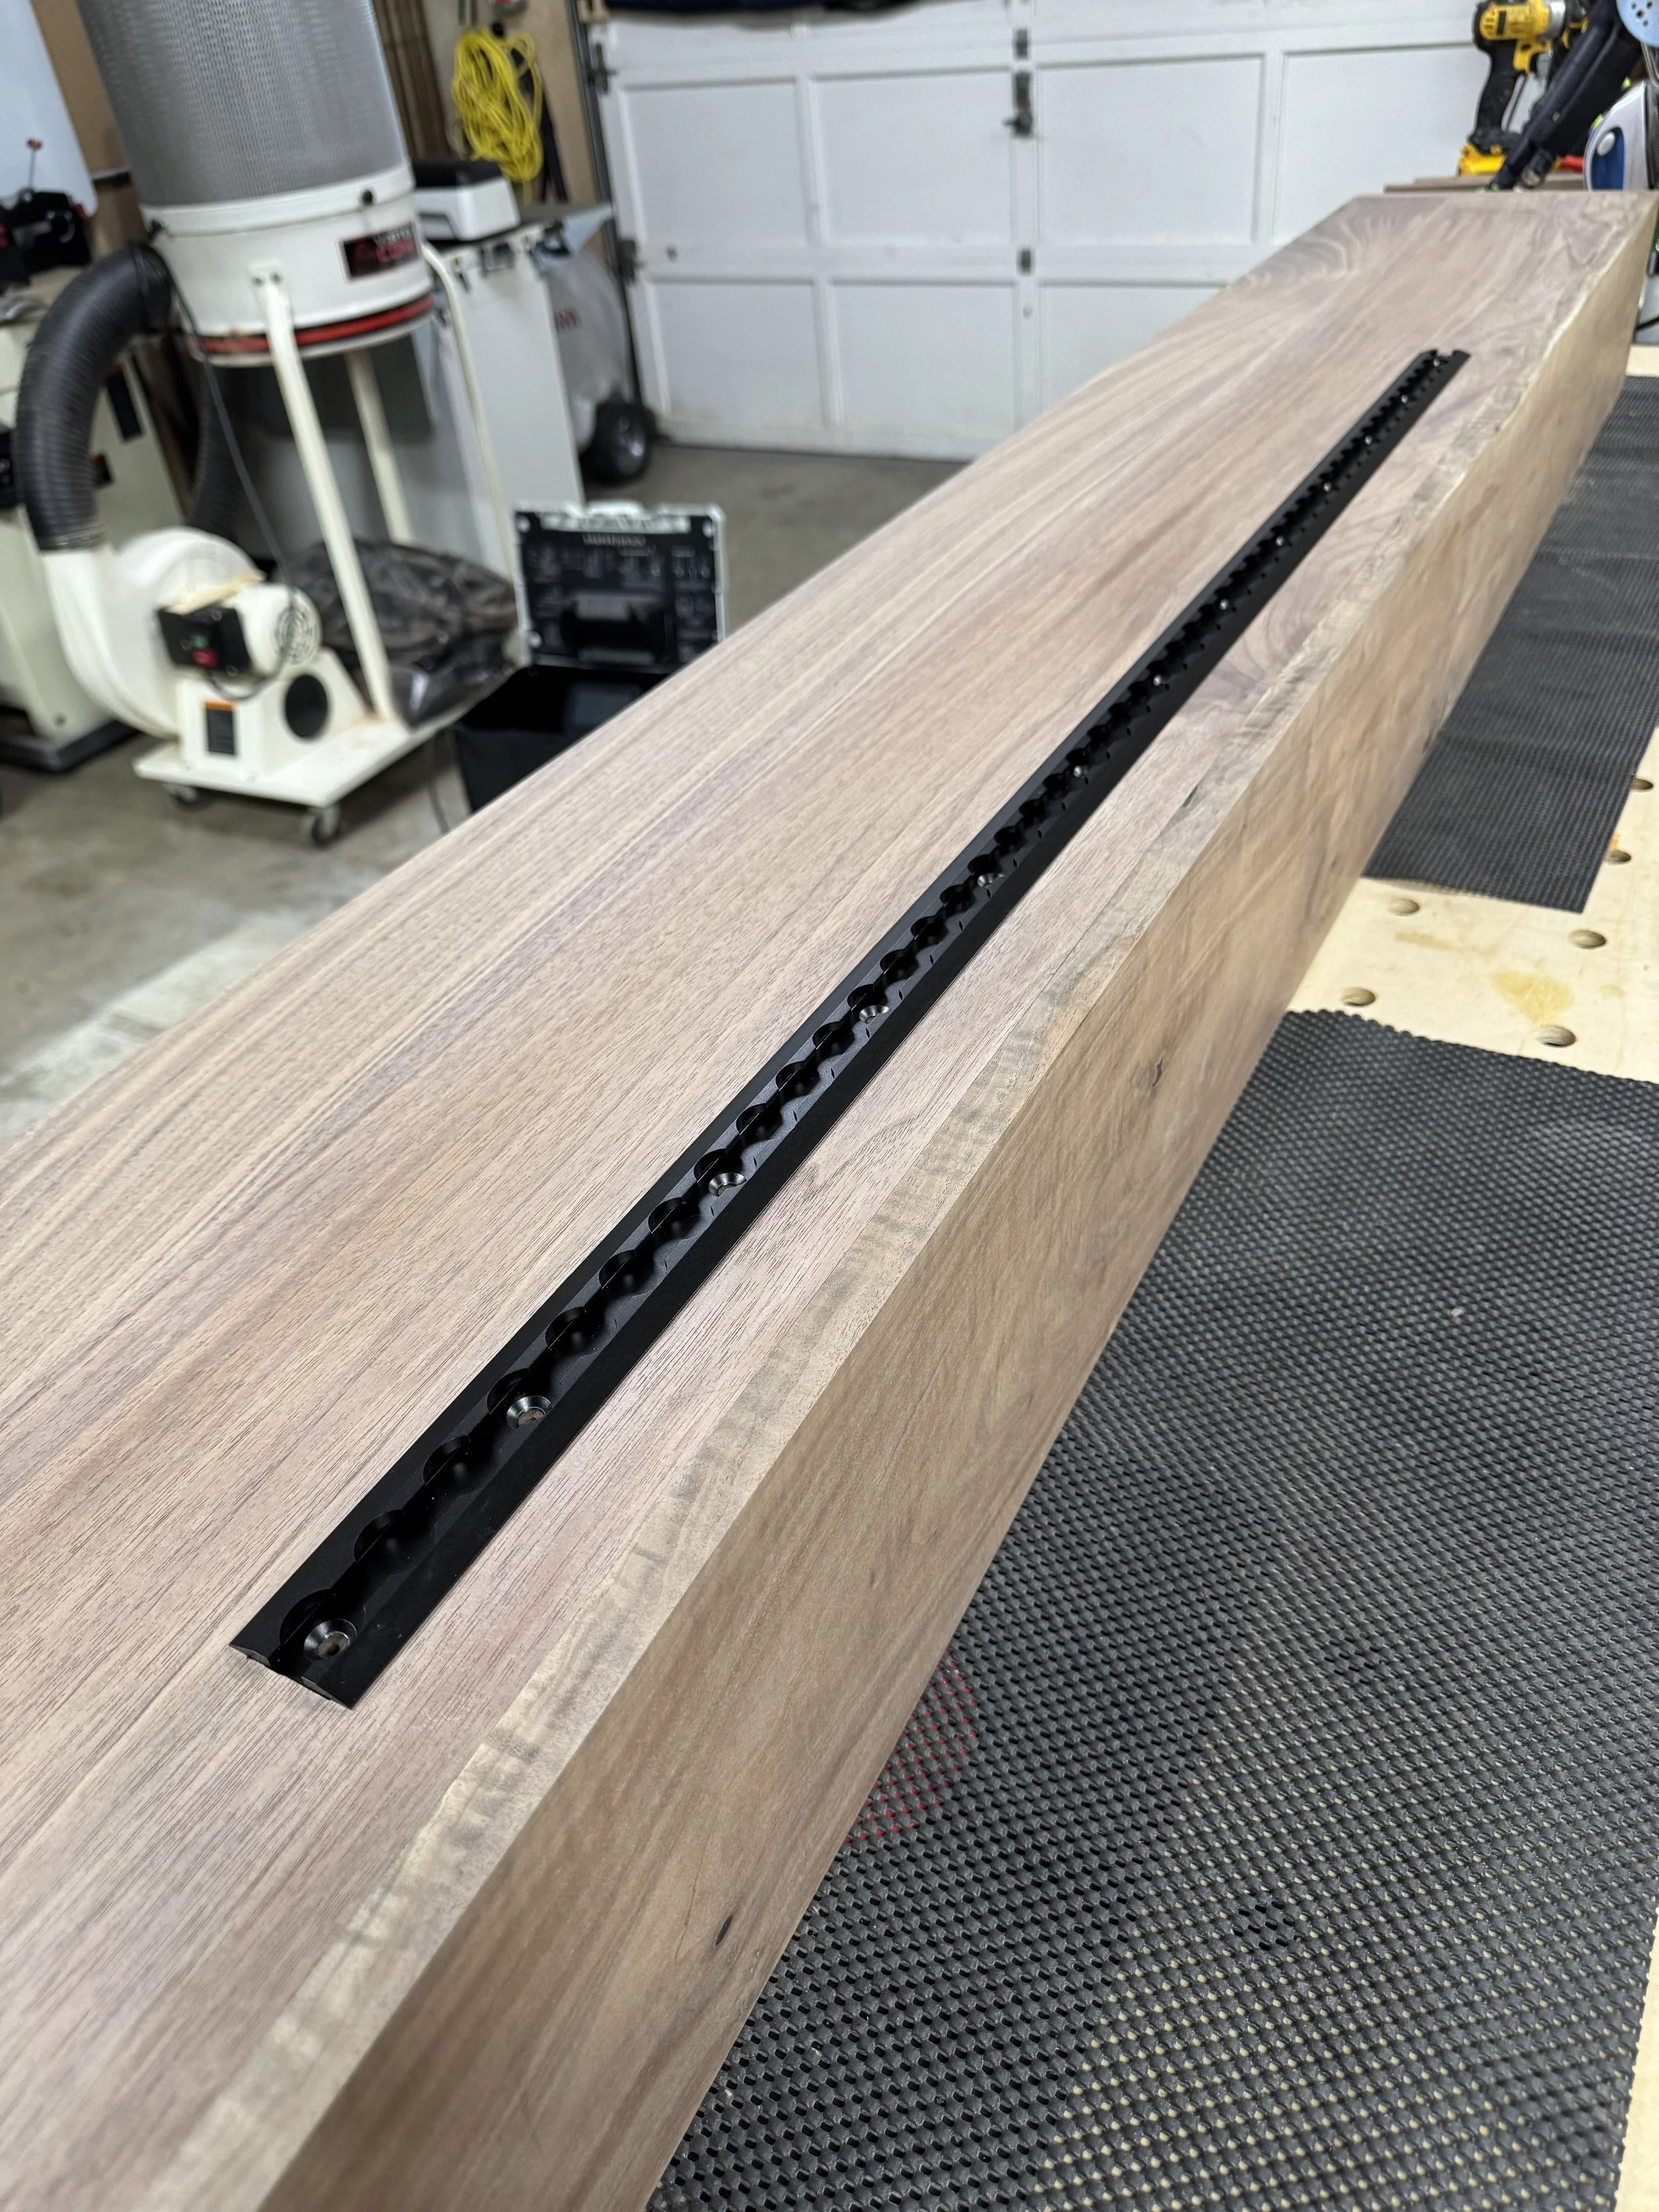
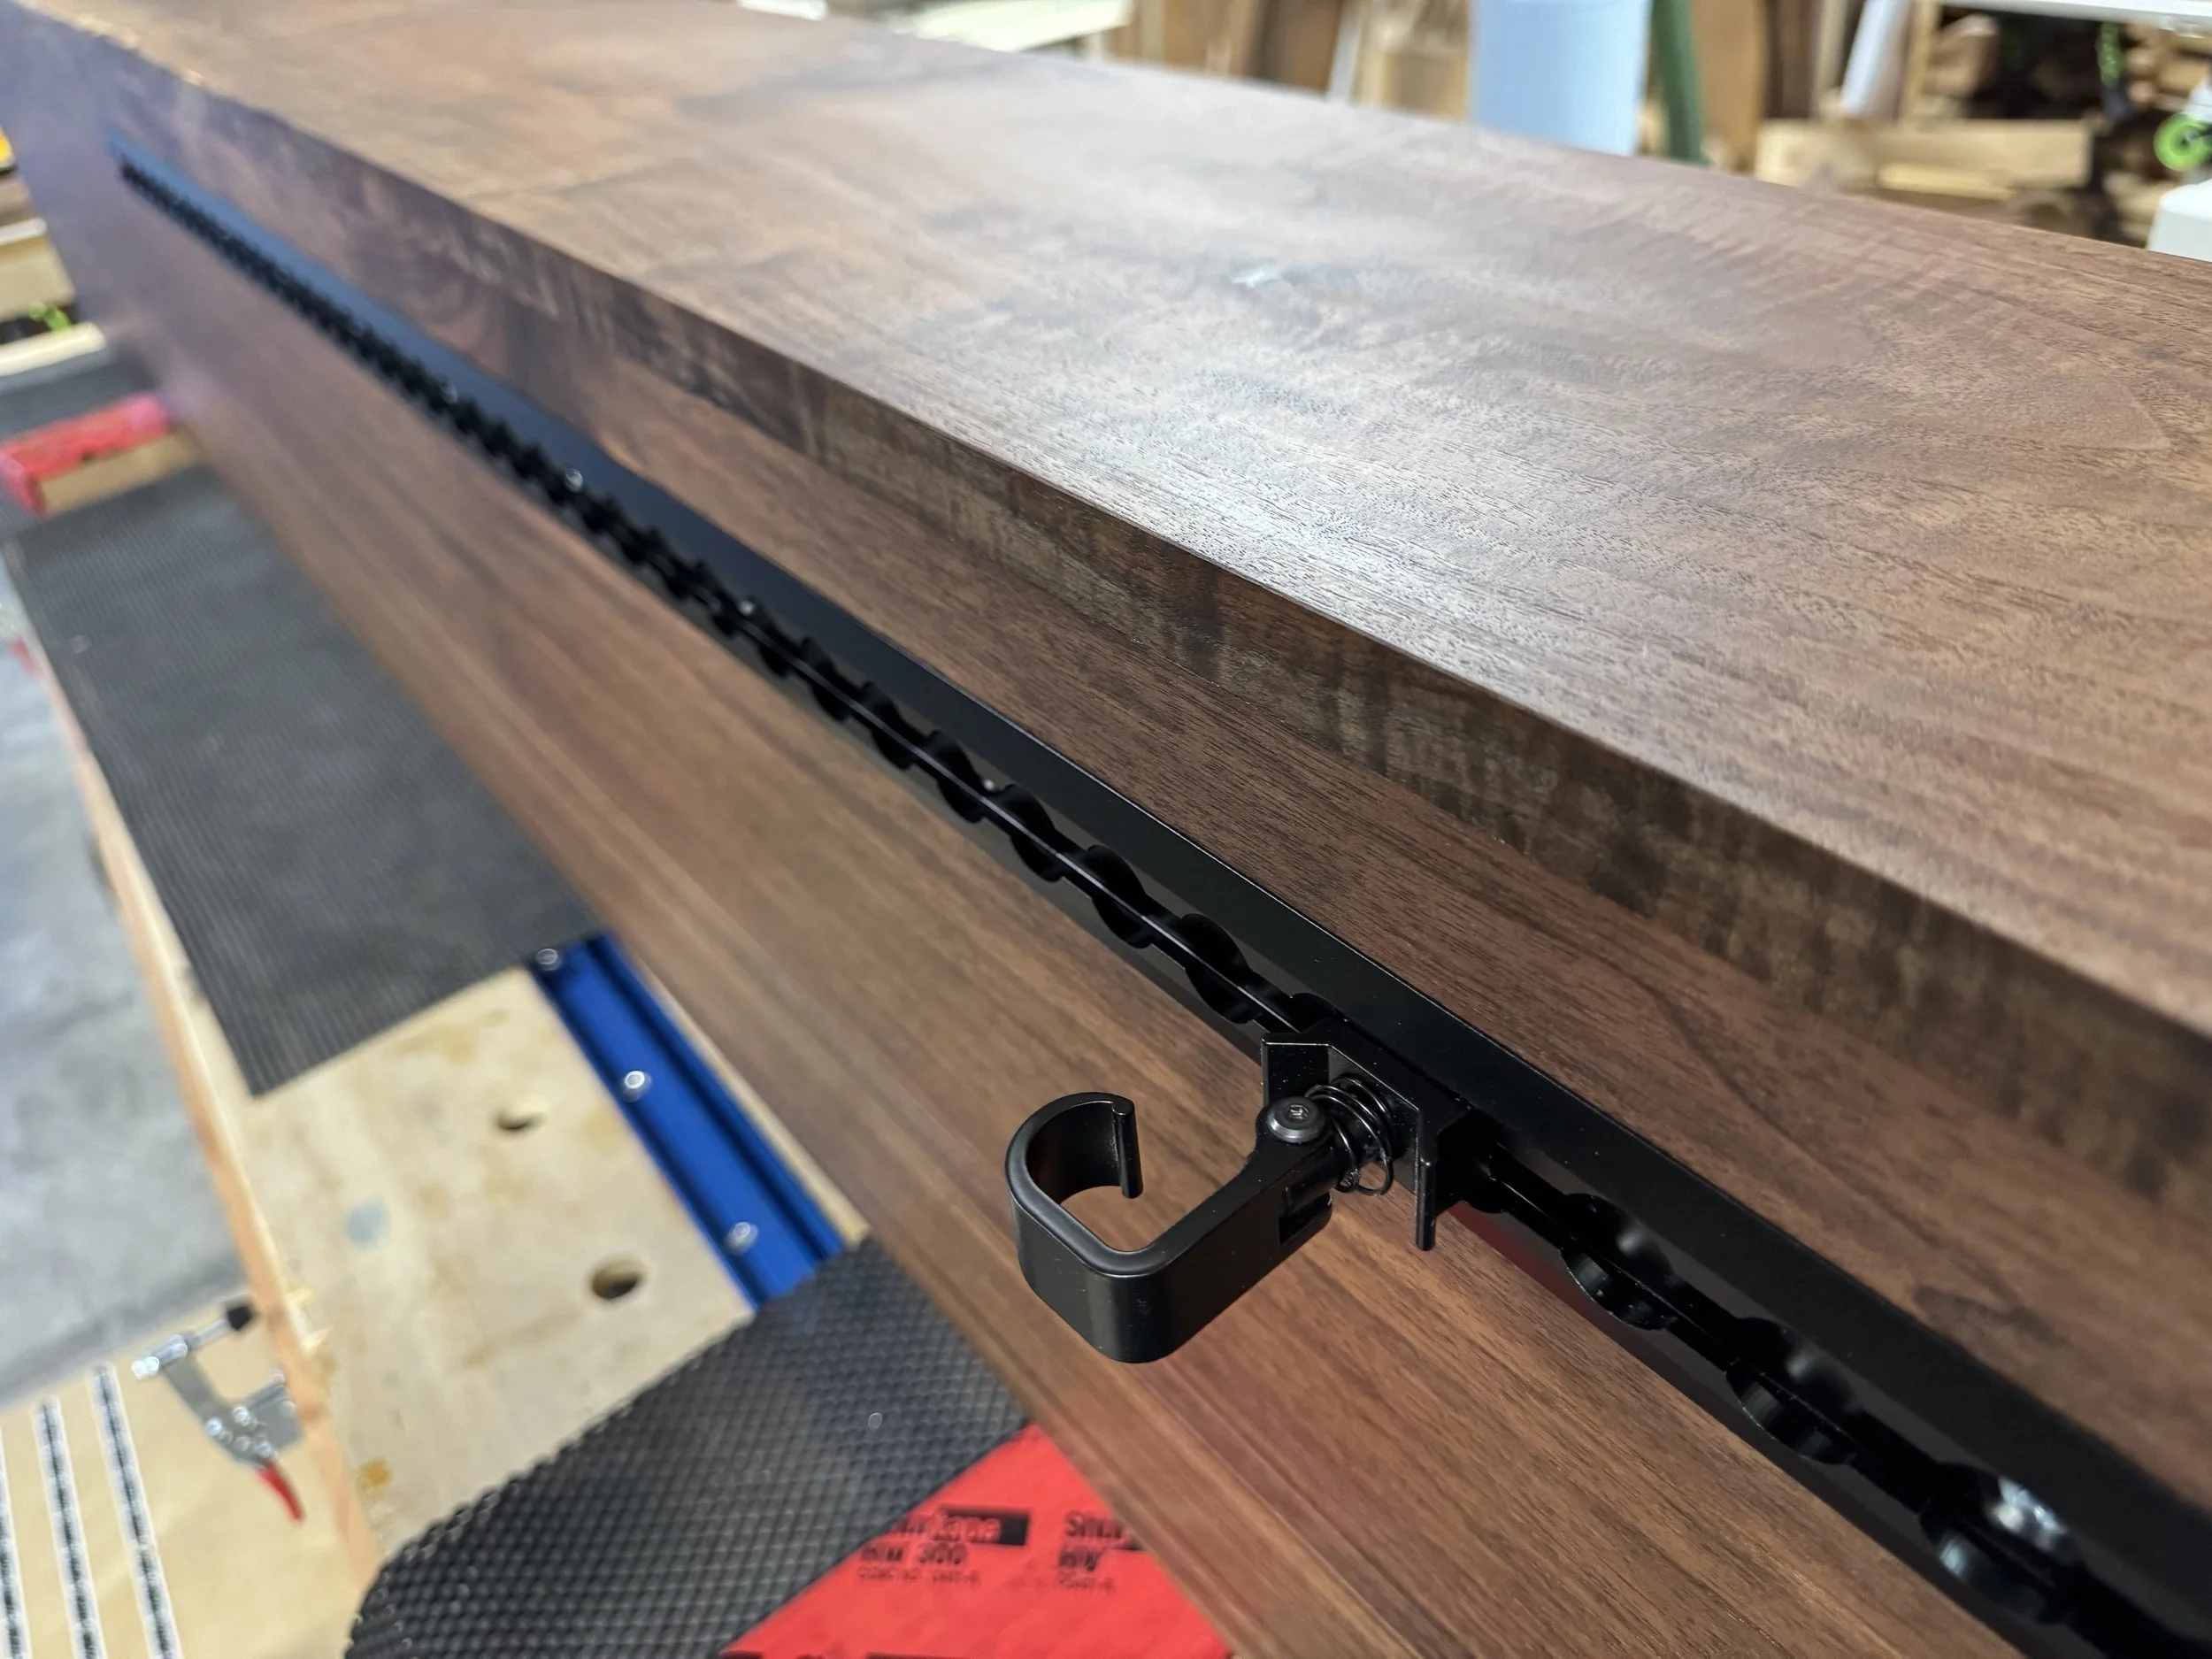
Another fun detail I came up with was to install a recessed L-track into the underside of the mantle for hooks to be attached for Christmas stockings. They provide solid attachment points that can be moved around or added without worrying about heavy bricks with hooks falling off the mantle.
These details that took additional design and build time, but they make the mantel much more useful without compromising its appearance.
Finishing with Rubio Monocoat
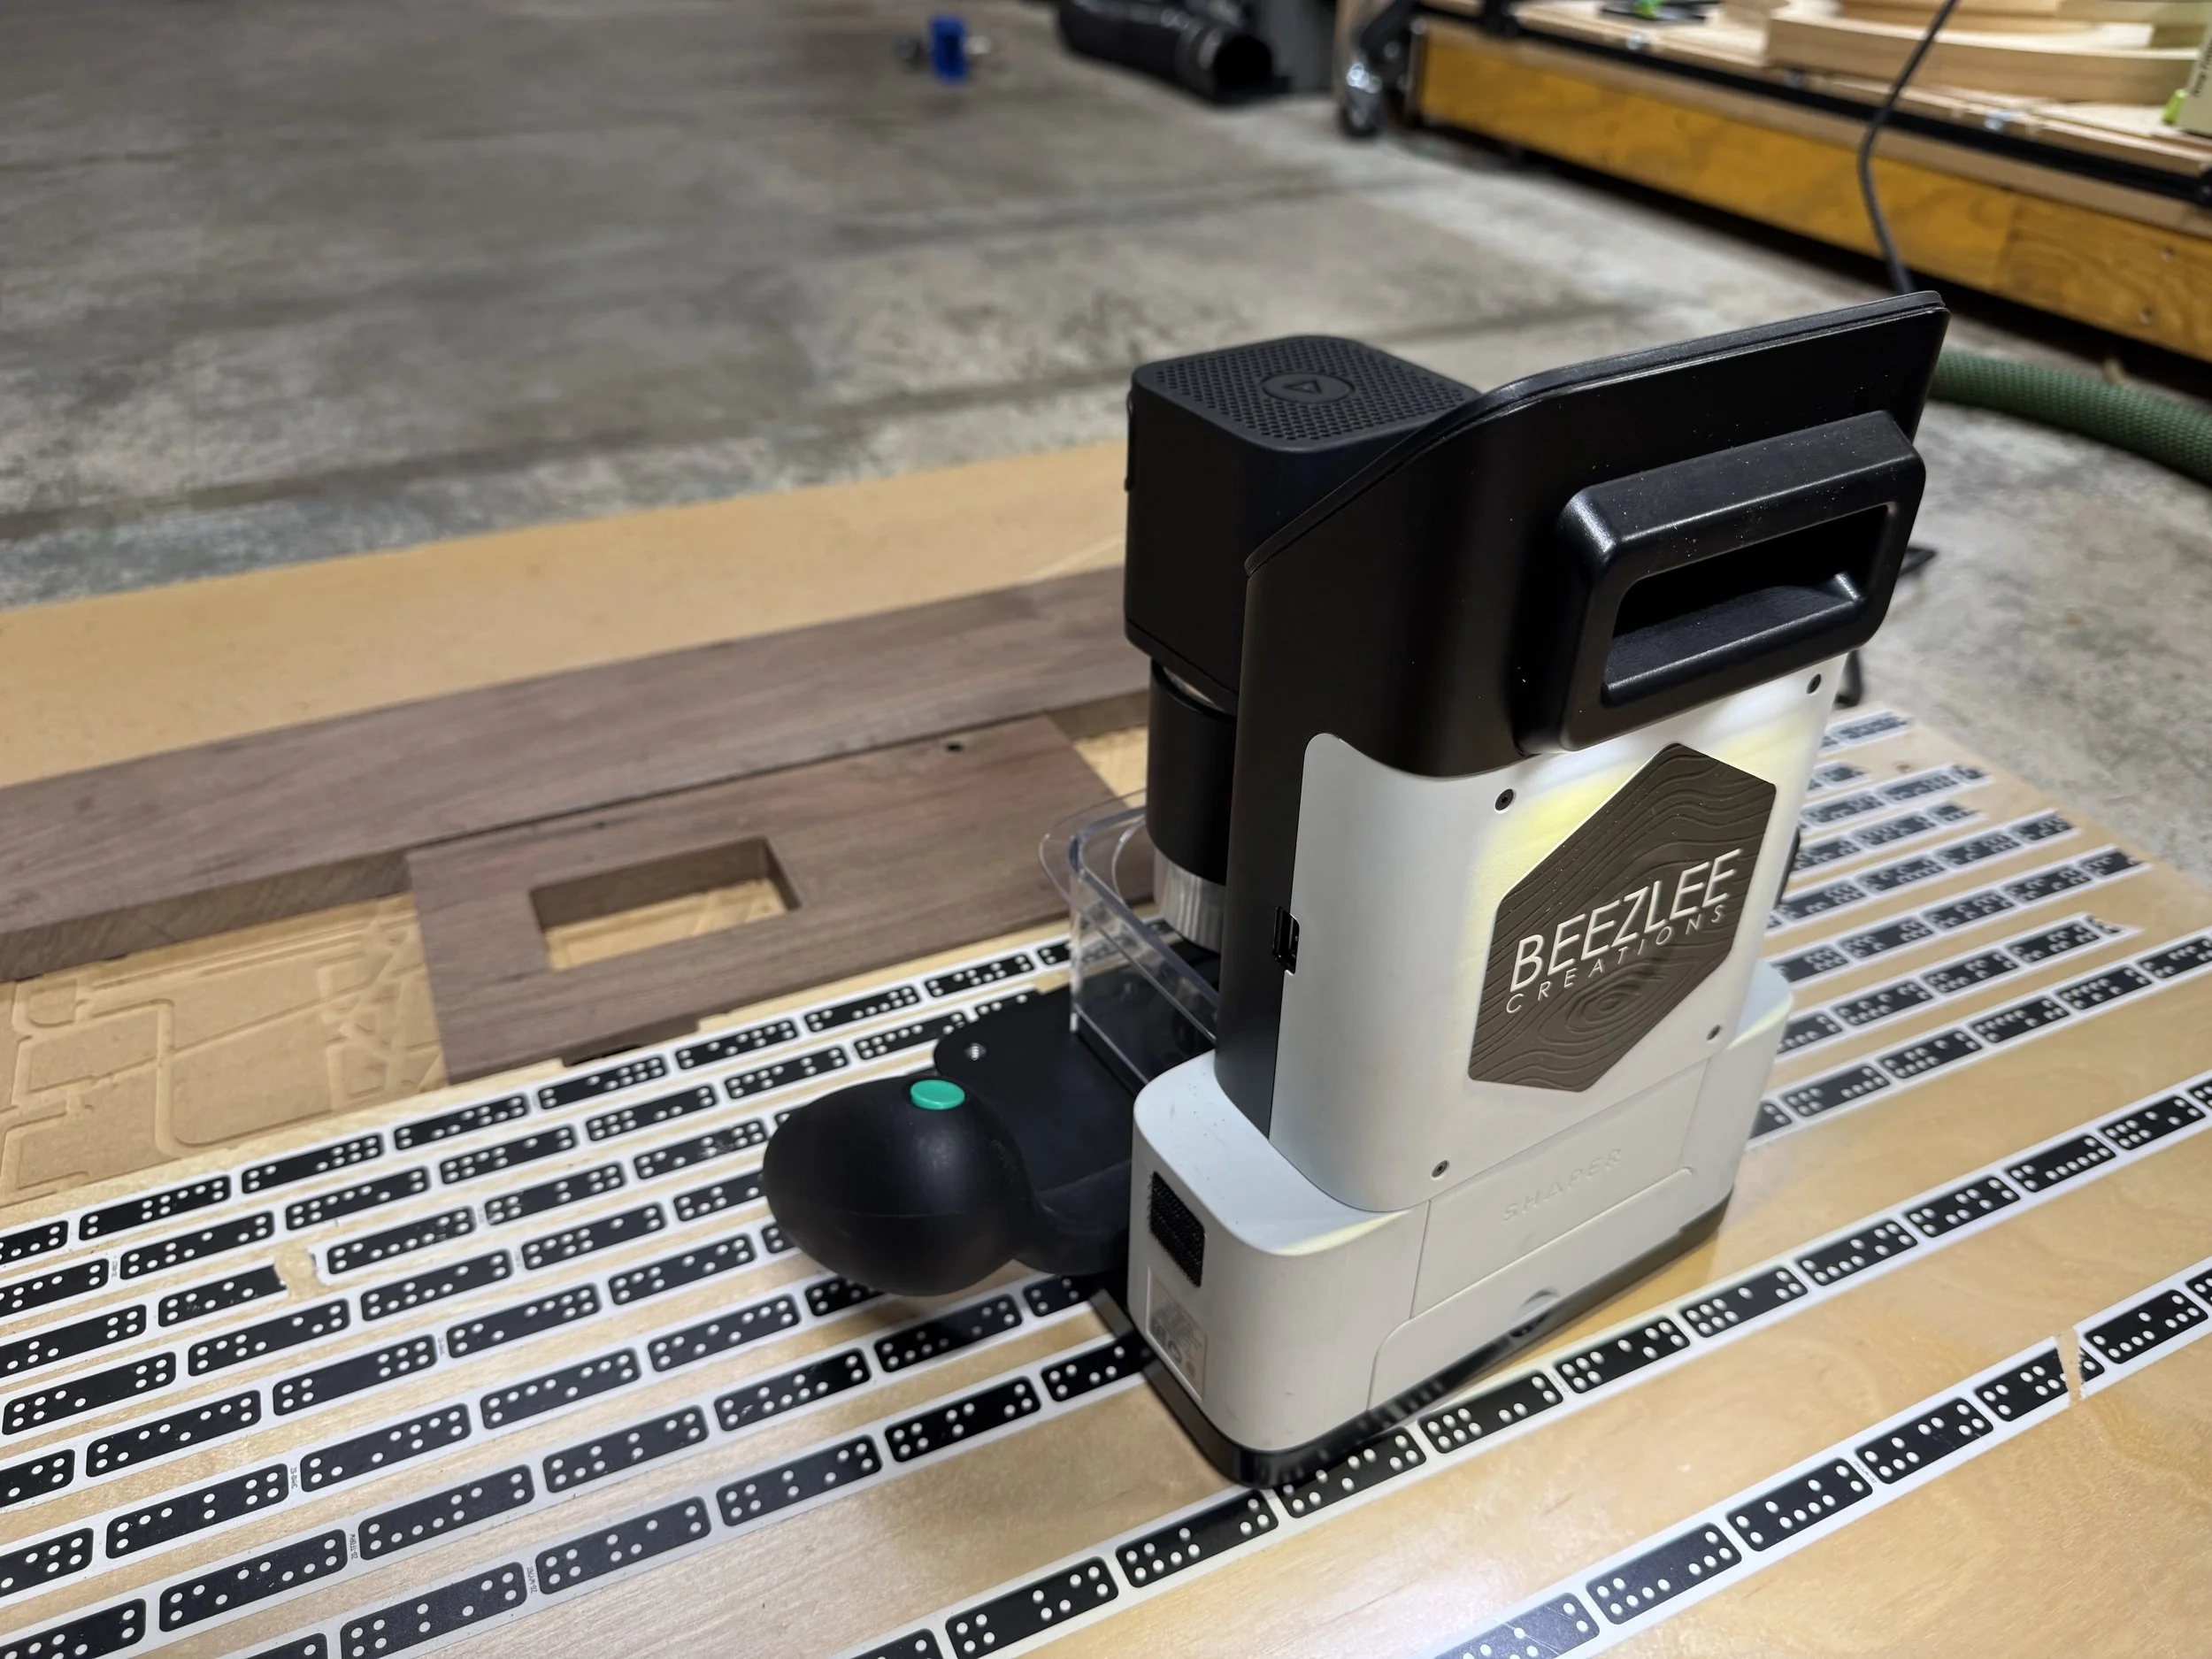
For the finish, I used Rubio Monocoat. I like how it allows the natural character of the walnut to remain visible without creating the appearance of a thick film over the wood. The finish was also an important part of bringing together the different wood components, particularly after the effort involved in matching the plywood to the solid walnut. The combination of the grain, the color, and the finish helped create the warm, cohesive appearance I was after.
The Finished Project
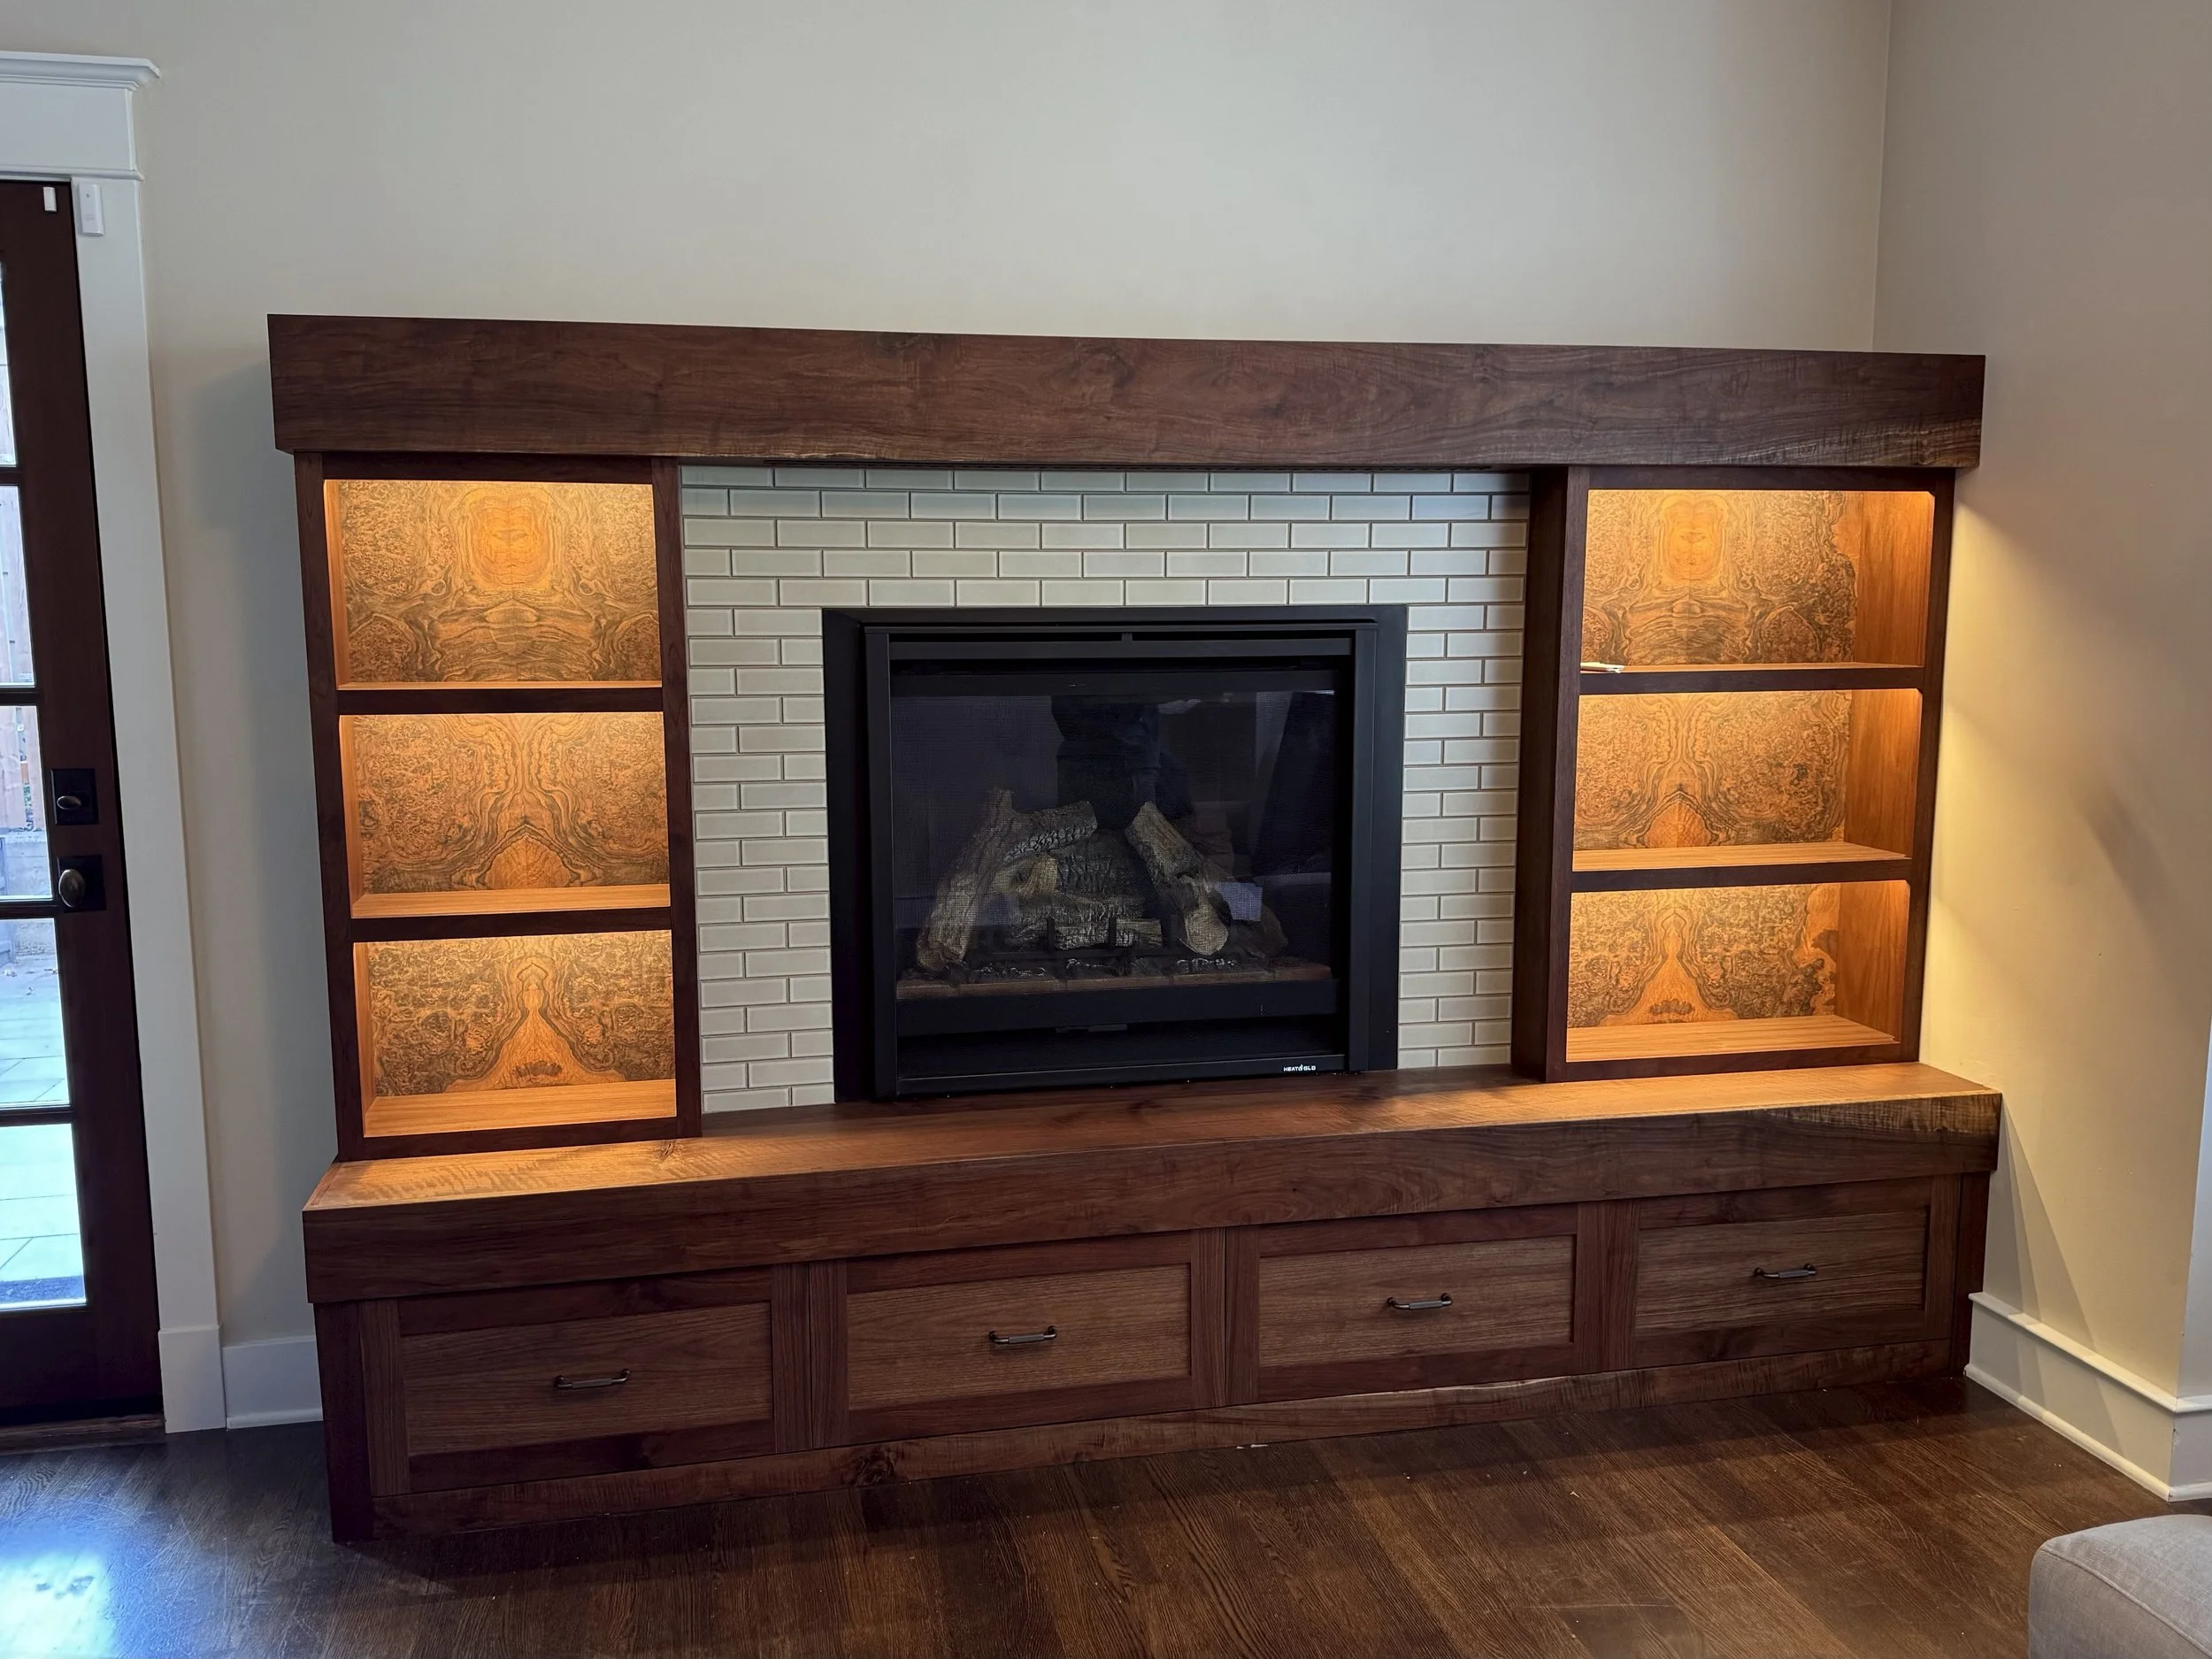
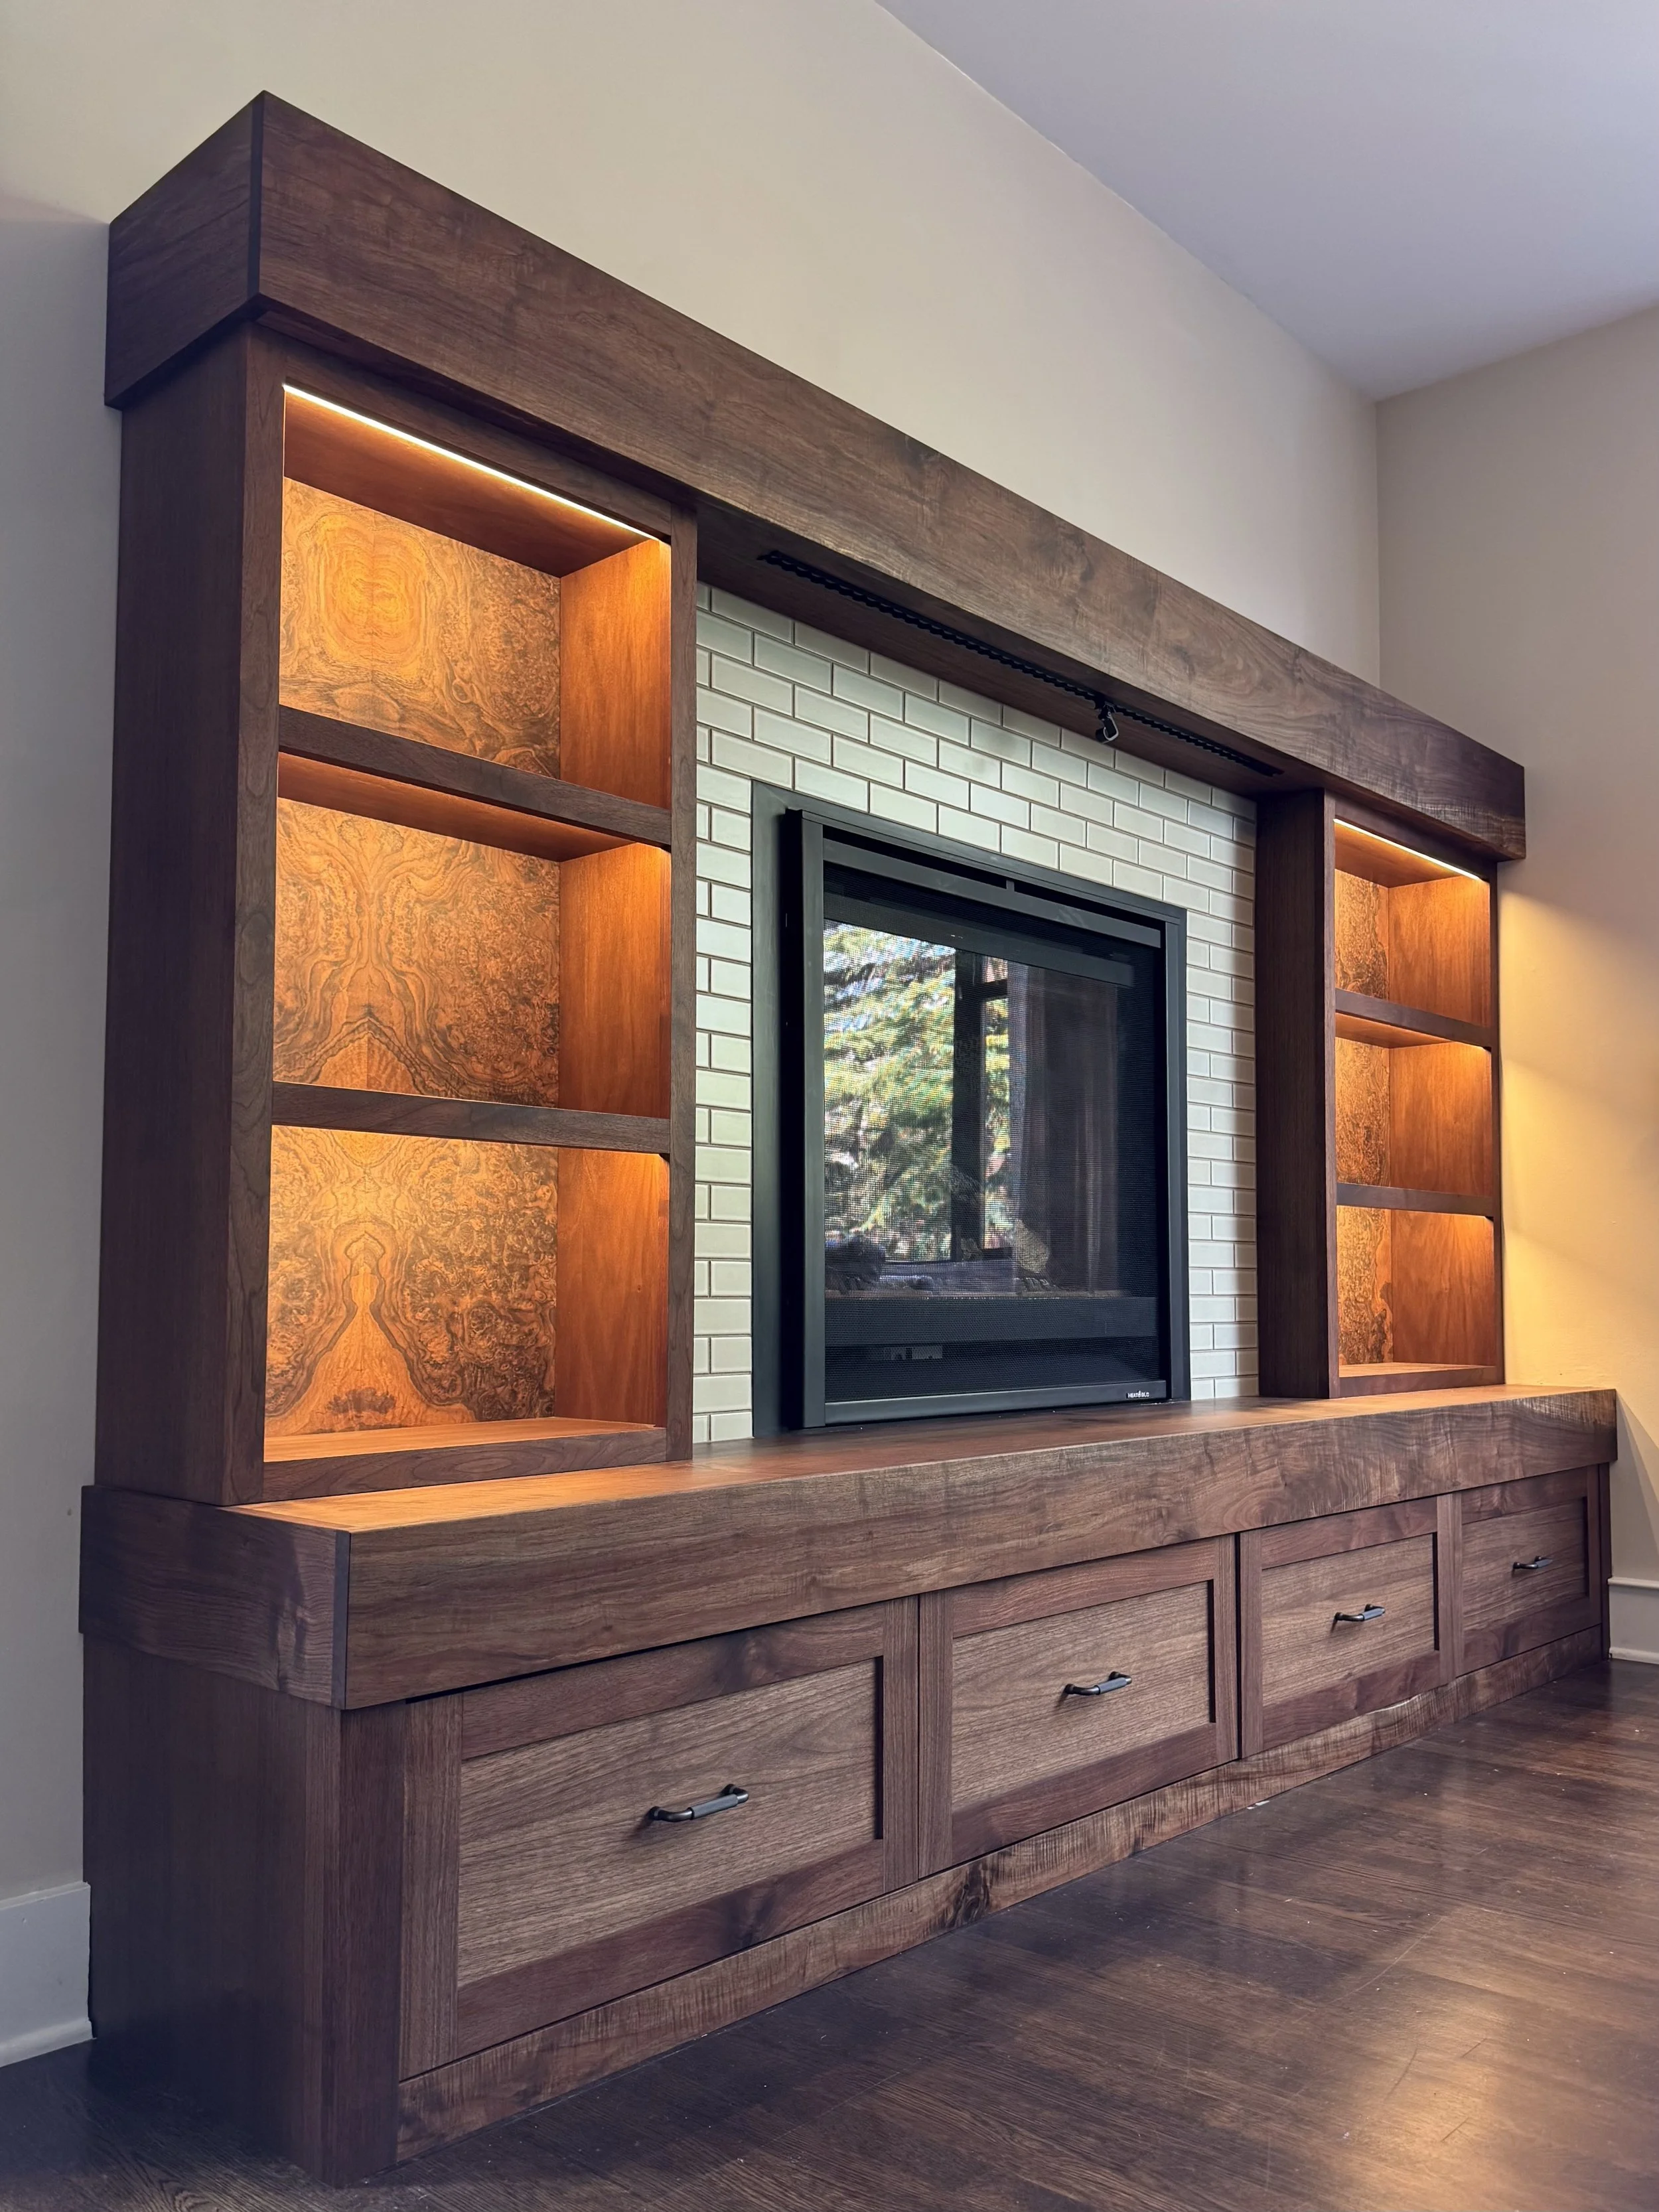
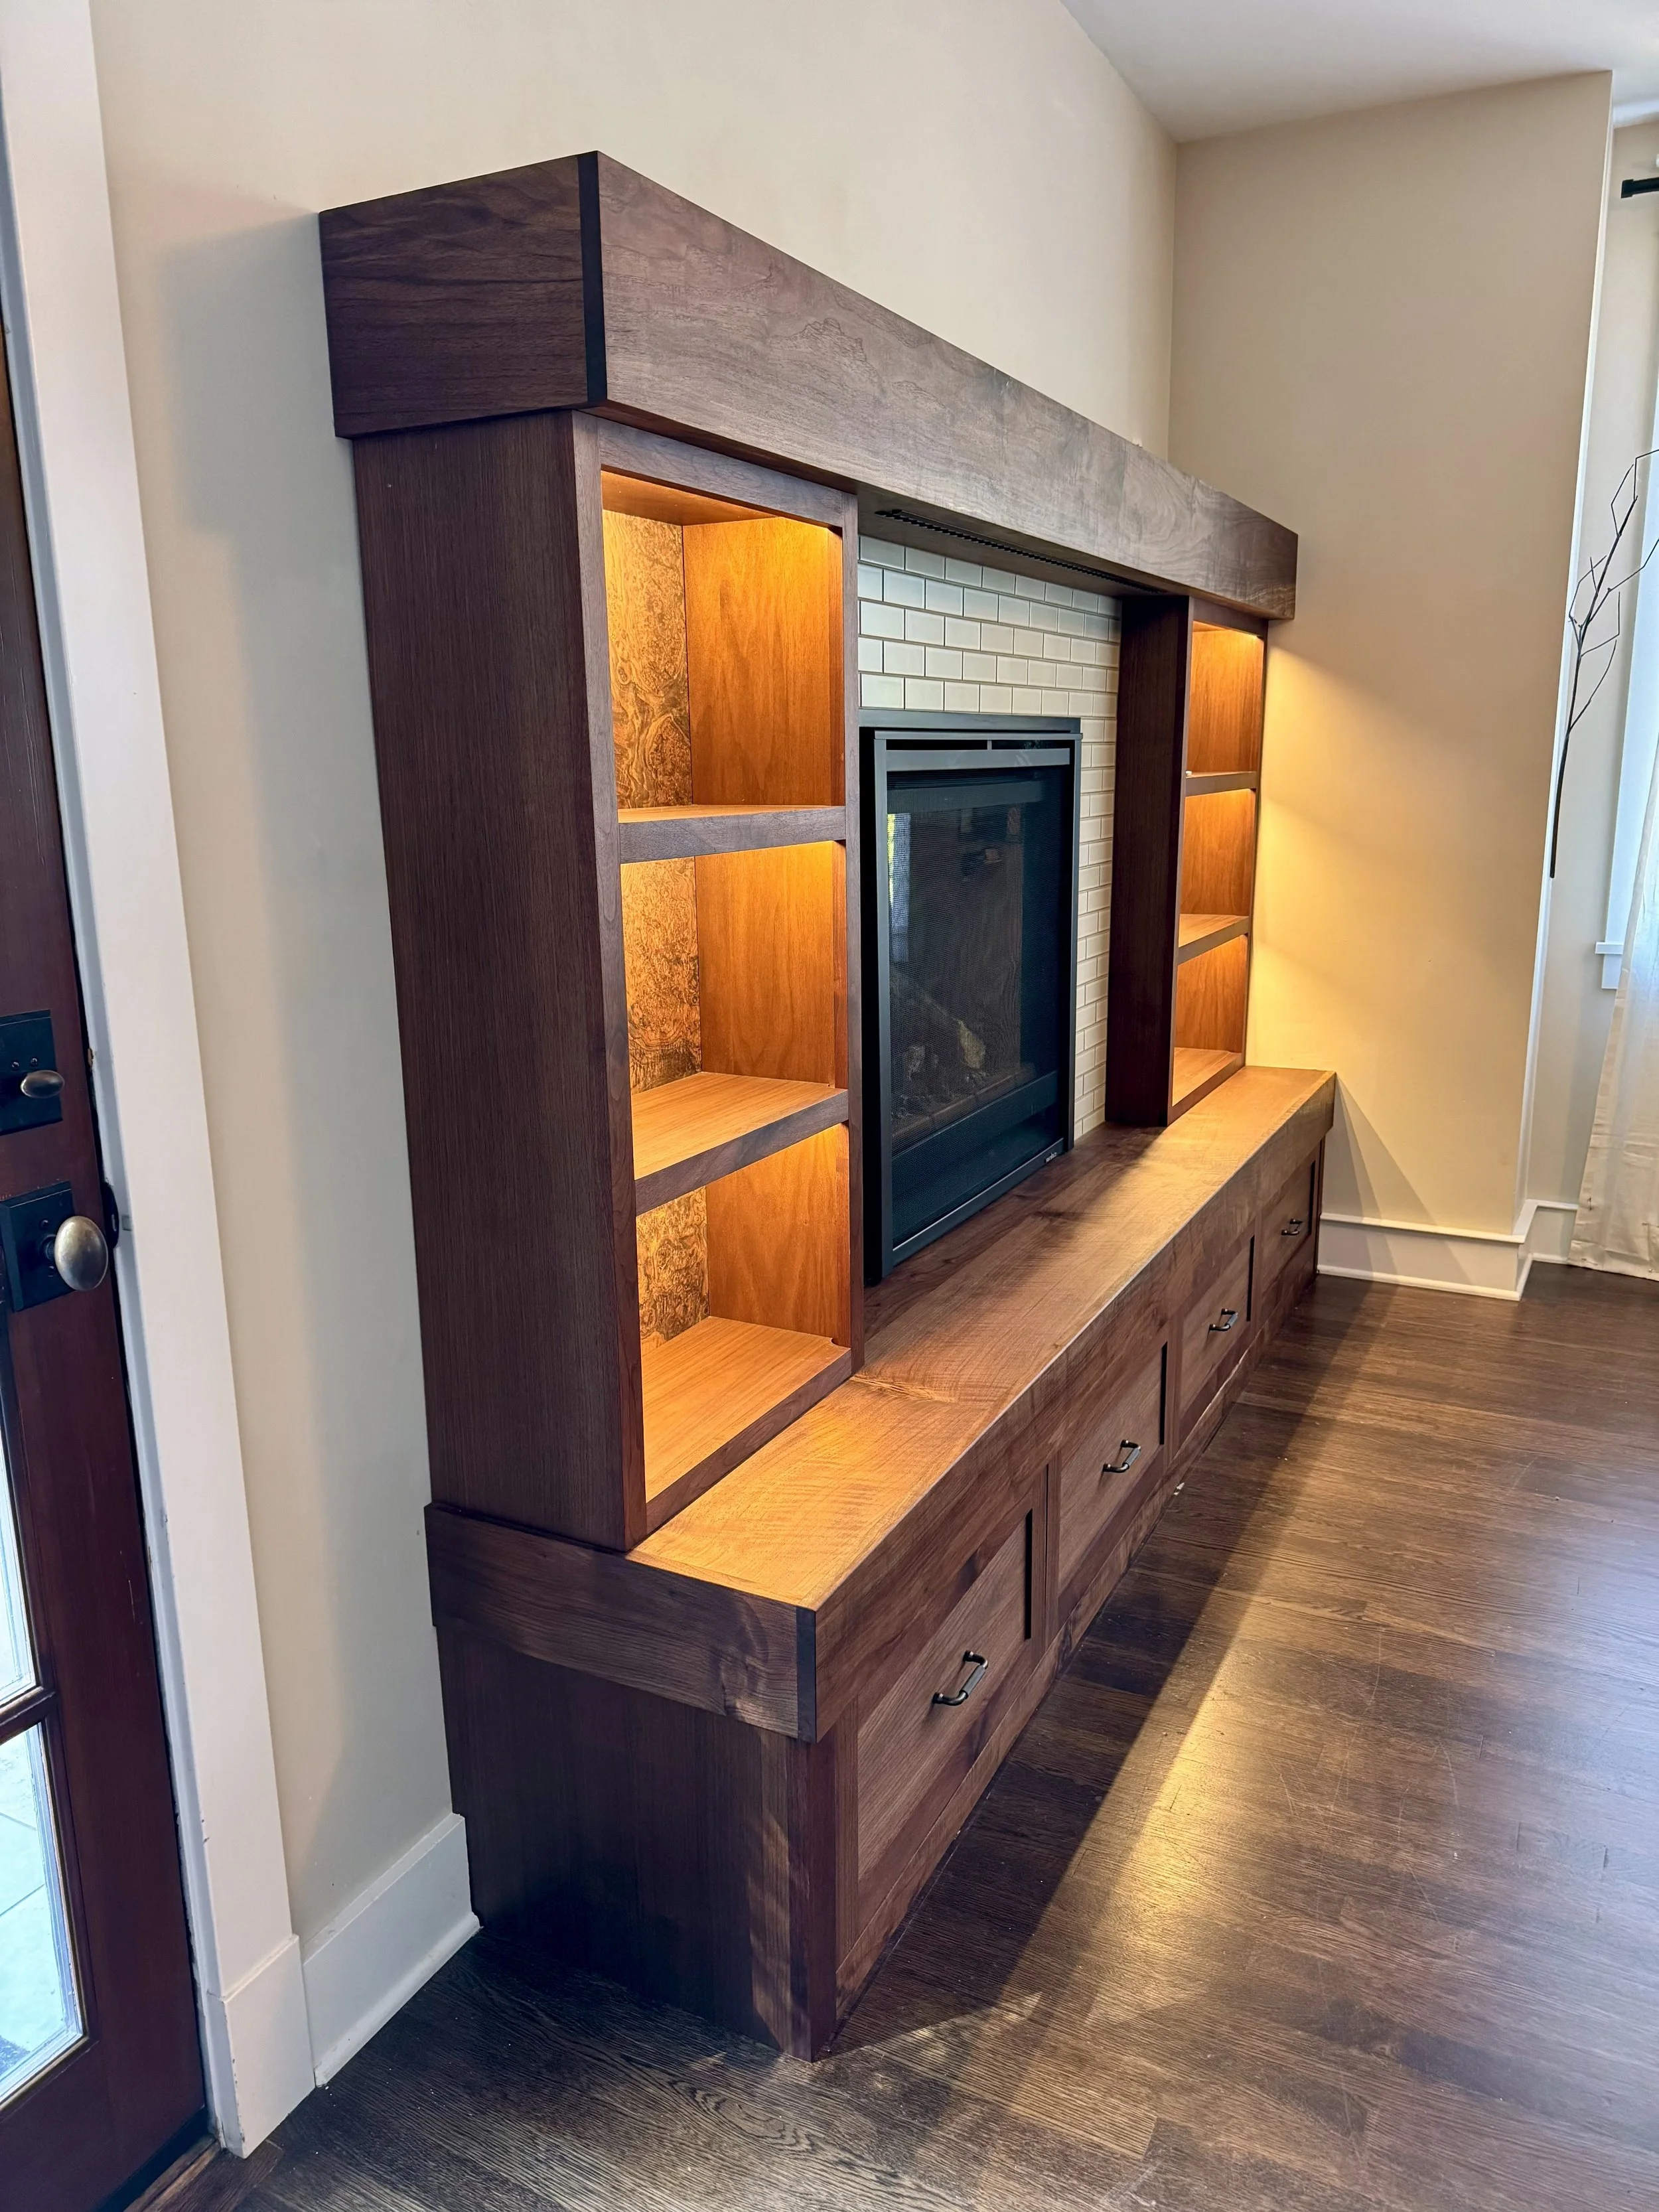
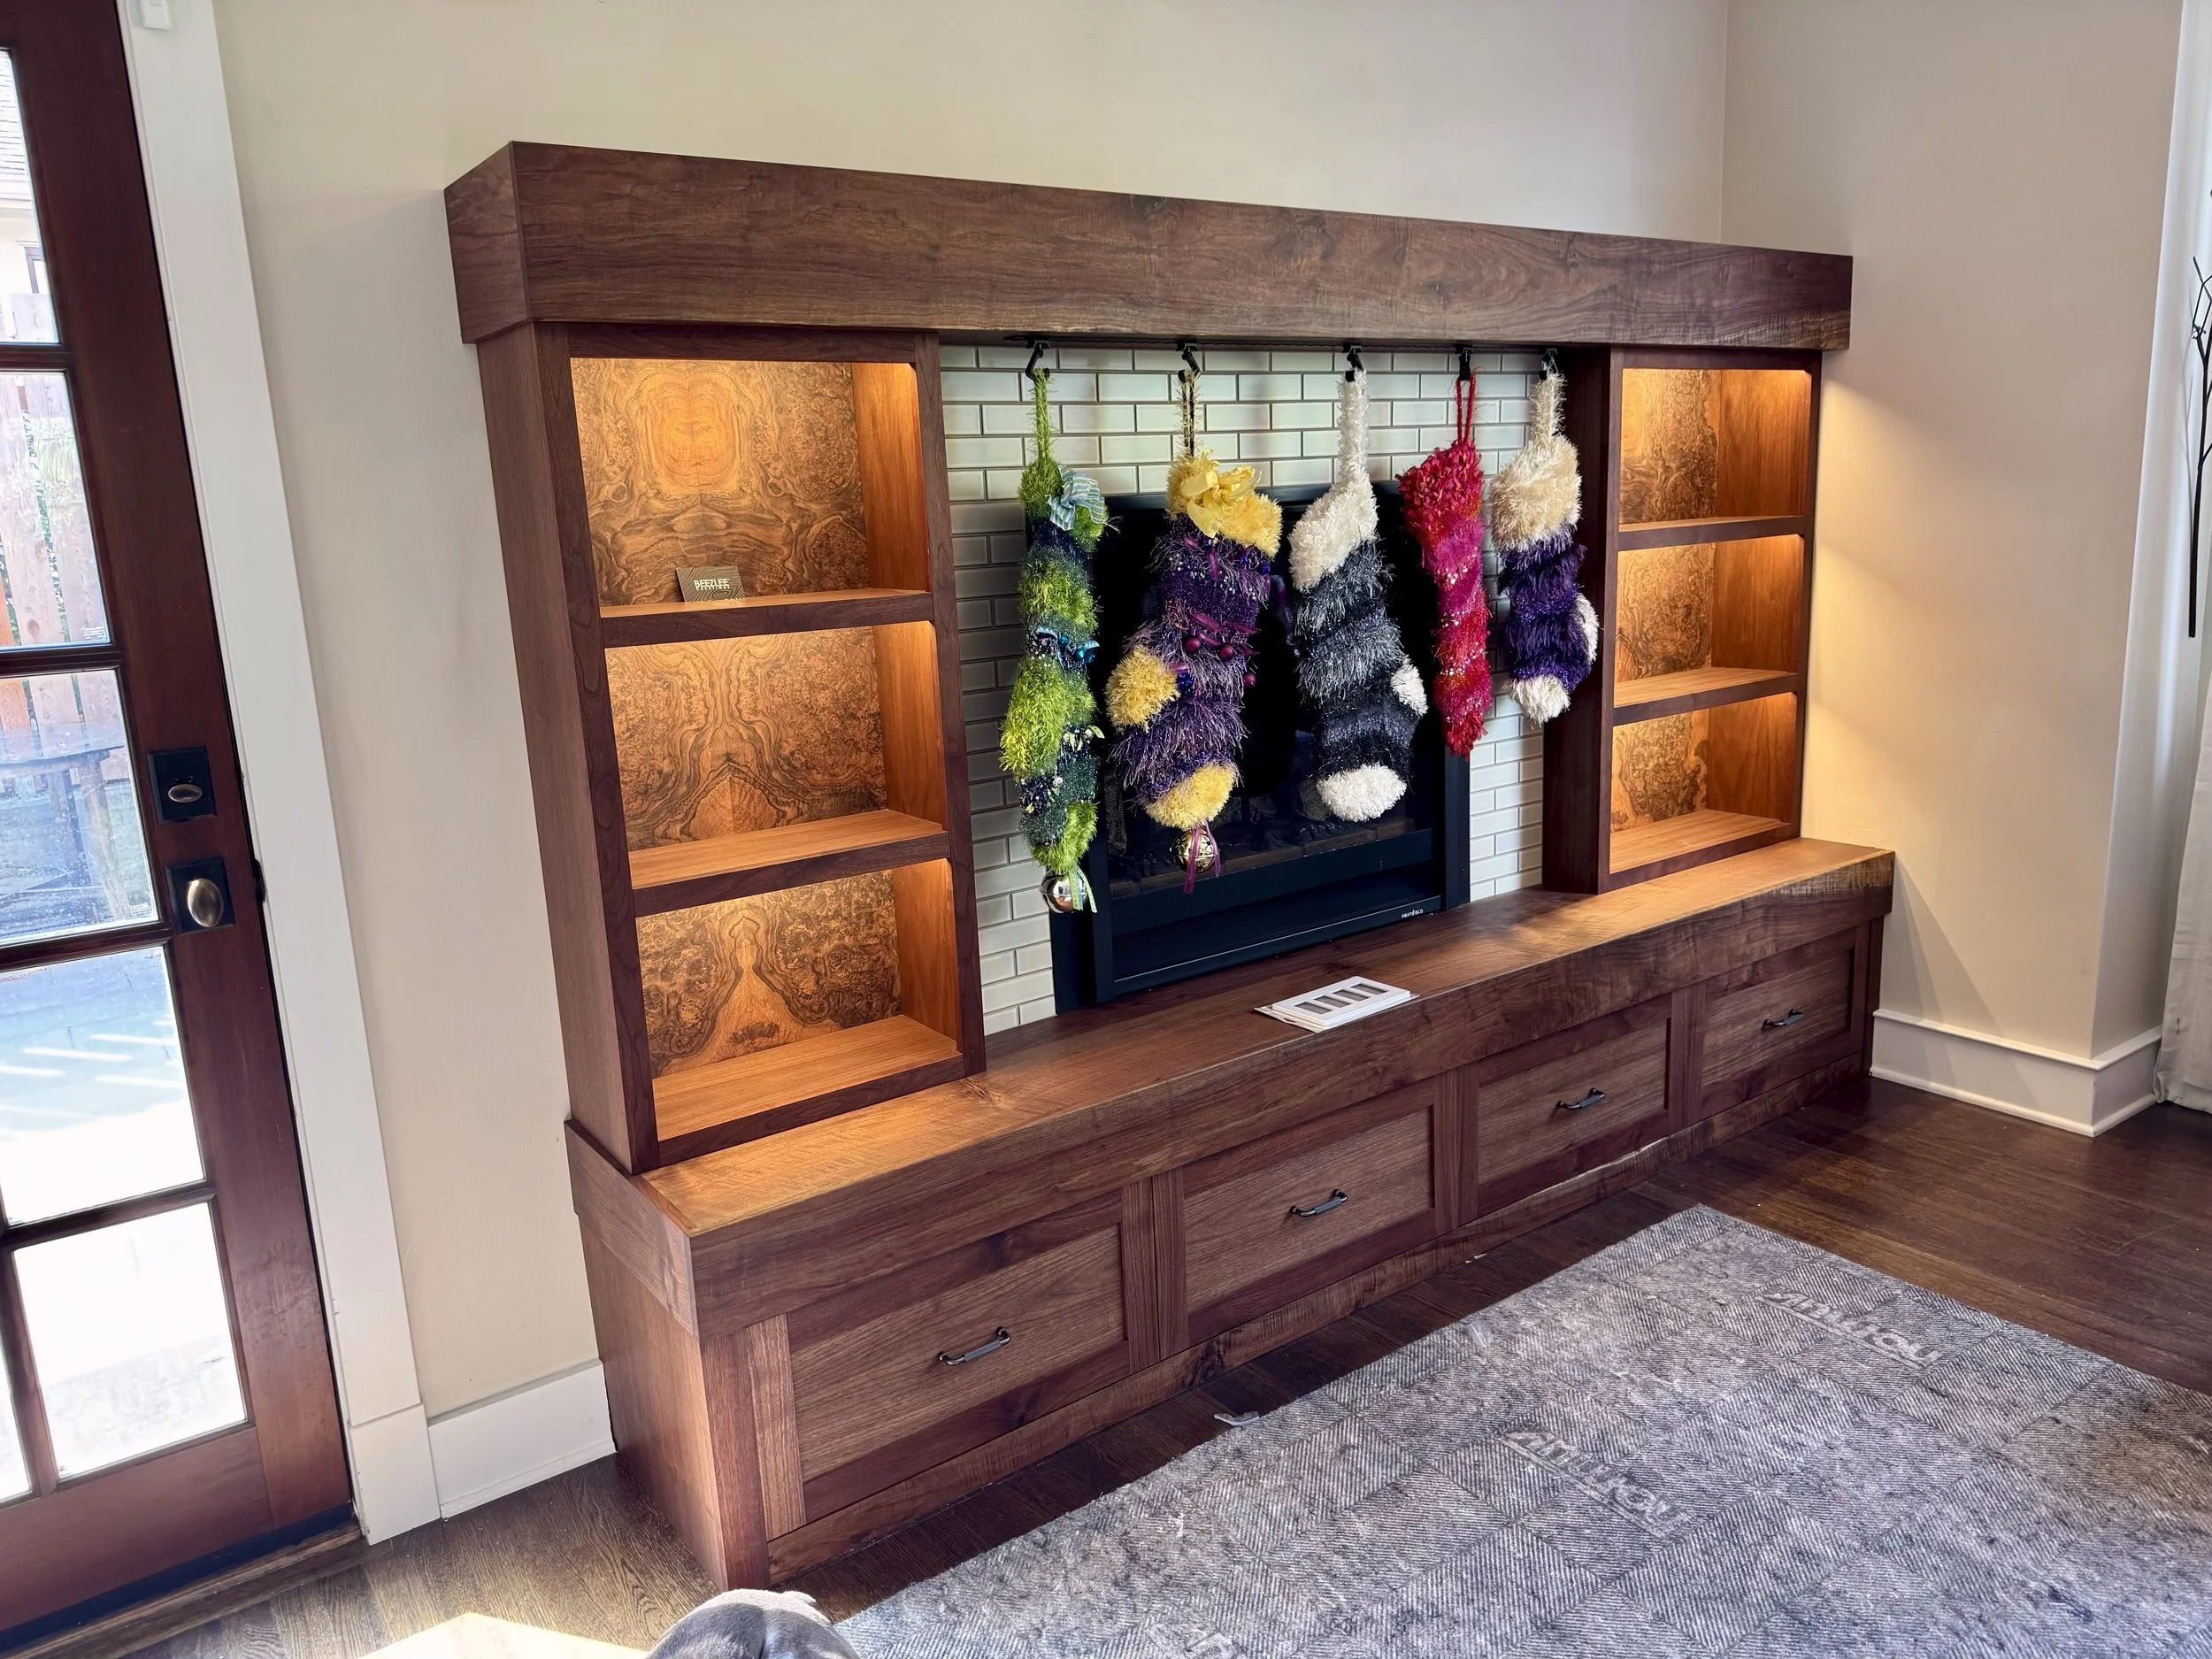
Looking back, there were quite a few different challenges wrapped up in this project. Finding suitable long walnut boards, matching materials with different color tones, working with delicate burl veneer, maintaining grain continuity, redesigning the mantel, and coordinating the installation all required their own solutions. But those challenges are also what made the project interesting.
It's a good example of what I enjoy about custom woodworking. The design, the material, and the way something gets built are all connected. Sometimes the smallest details require the most thought, but they're often the ones that make the finished project feel special.
A special thanks to Cassie Johnson for the collaboration, and to the homeowners for their trust, patience, and generosity throughout the project. Having clients who are open to ideas and genuinely excited about the process makes projects like this especially rewarding. I can’t wait to see it with their art on display and decorated for the holidays.
If you have an idea for something unique? I'd love to hear about it. Head over to the Contact Us page to start the conversation.
