Turning a Wood Mallet and Engraving End with Shaper Origin
I've always admired people who can make something from virtually nothing and loved the process of harvesting a raw material all the way through to making something useful out of it.
Well I had a go at it this weekend. I felled one of the trunks from a Maple tree in the yard last year (most of which is still laying in the yard) which was about 24" in diameter at the base. I cut off a couple 3" thick rounds and tucked it away in the shop along with another larger, wedge shaped piece.
As anyone who follows me on Instagram would know, I recently received a few Lie-Nielsen bevel chisels from my wife and kids for Father's Day. To say they are beautiful is an understatement (yes, my family is too but in this instance I'm talking about the chisels, lol) and I couldn't image hitting the wooden handles with my metal hammer. I've been wanting to make a round wooden mallet anyway so now was the time.
I did a little research online to find some dimensions of a round mallet and found some plans on Fine-Woodworking.
Next, I measured the moisture content of the wood and it was down to about 13% so I thought it was good enough without worrying too much about the wood splitting any more than it already had. I threw a larger resaw blade into the bandsaw and started cutting it up. Since this is such an aggressive blade (and it has jammed up in a log on me in the past) this was a great opportunity to use a new bandsaw feather-board I recently purchased from Bow Products. It worked well and helped me keep the cuts straight while keeping my hands away from the blade, which is always a good thing.
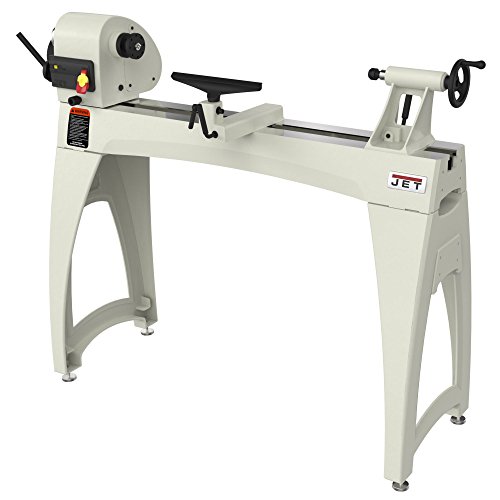
Once I got the blocks down to the 5" width I then squared up the ends on the Festool Kapex saw. I marked the center point of each end and then mounted it into the lathe.
Now I'll admit I'm no Frank Howarth or Ashley Harwood when it comes to wood turning. I find it a bit intimidating having the rough edges of a large chunk of wood spinning at great speed hitting the end of the turning chisel but once it gets to a cylinder it's actually really fun and exhilarating to shape and carve it into something that was an image in your head just a few moments before.
After I sanded and cut it loose I wanted to try engraving my logo into the end of it and then using epoxy to fill it, neither of which I had done before. Since the head of the mallet is tapered I thought the best way to hold it for engraving would be to cut a precise hole into a piece of MDF that I could then snuggly fit it into. What better tool for the job than the Shaper Origin! I was originally thinking I would make some sort of 90 deg bracket with the hole in the top that I could mount to the side of my bench. Then I could easily adjust the height while positioning the Origin on a board that extended out from the bench top with a cutout so I could align the top of the mallet with the board the Origin was on. But since I was able to cut a very precise hole I just cut the hole in the board that extended out from the bench top.
Two key Shaper Origin tips I learned from doing this.
1. Start with a smaller hole then make minor "offset" cuts to zero in on the exact size you need. Before scanning the surface of the work piece to cut out the hole, draw a mark where you want the center of the cutout to be. (This tip comes into play during Tip 2). Making minor offset cuts is something I would have never been able to do with traditional hole-saws. Especially since the cutout is gone and I would have had no place to put the center drill bit for making the second cut!
2. Don't rescan when placing the engraving image so you can reuse the same center mark as the cutout circle. Since I hadn't rescanned the work surface the same center mark was still available when placing the logo even though the circle had been cut out. I changed the anchor point to the center of the logo and placed it in the exact same center position as the circle ensuring the logo would be centered on the mallet.
This was also the first time I tried using epoxy so that was fun as well.
Overall it was a great learning experience and I'm happy with the result. I now need to figure out the best durable finish to put on the mallets but I'm looking forward to using them with my new chisels. If you have any suggestions on a good finish or anything else please leave a comment below.
Cheers!
Lee


