Back to the Drawing Board
Christmas has come and gone and it was a good one. I really enjoy making gifts for people because I can make something unique and personalized that they could not normally get. Plus, it’s just another reason to do something that I love doing.
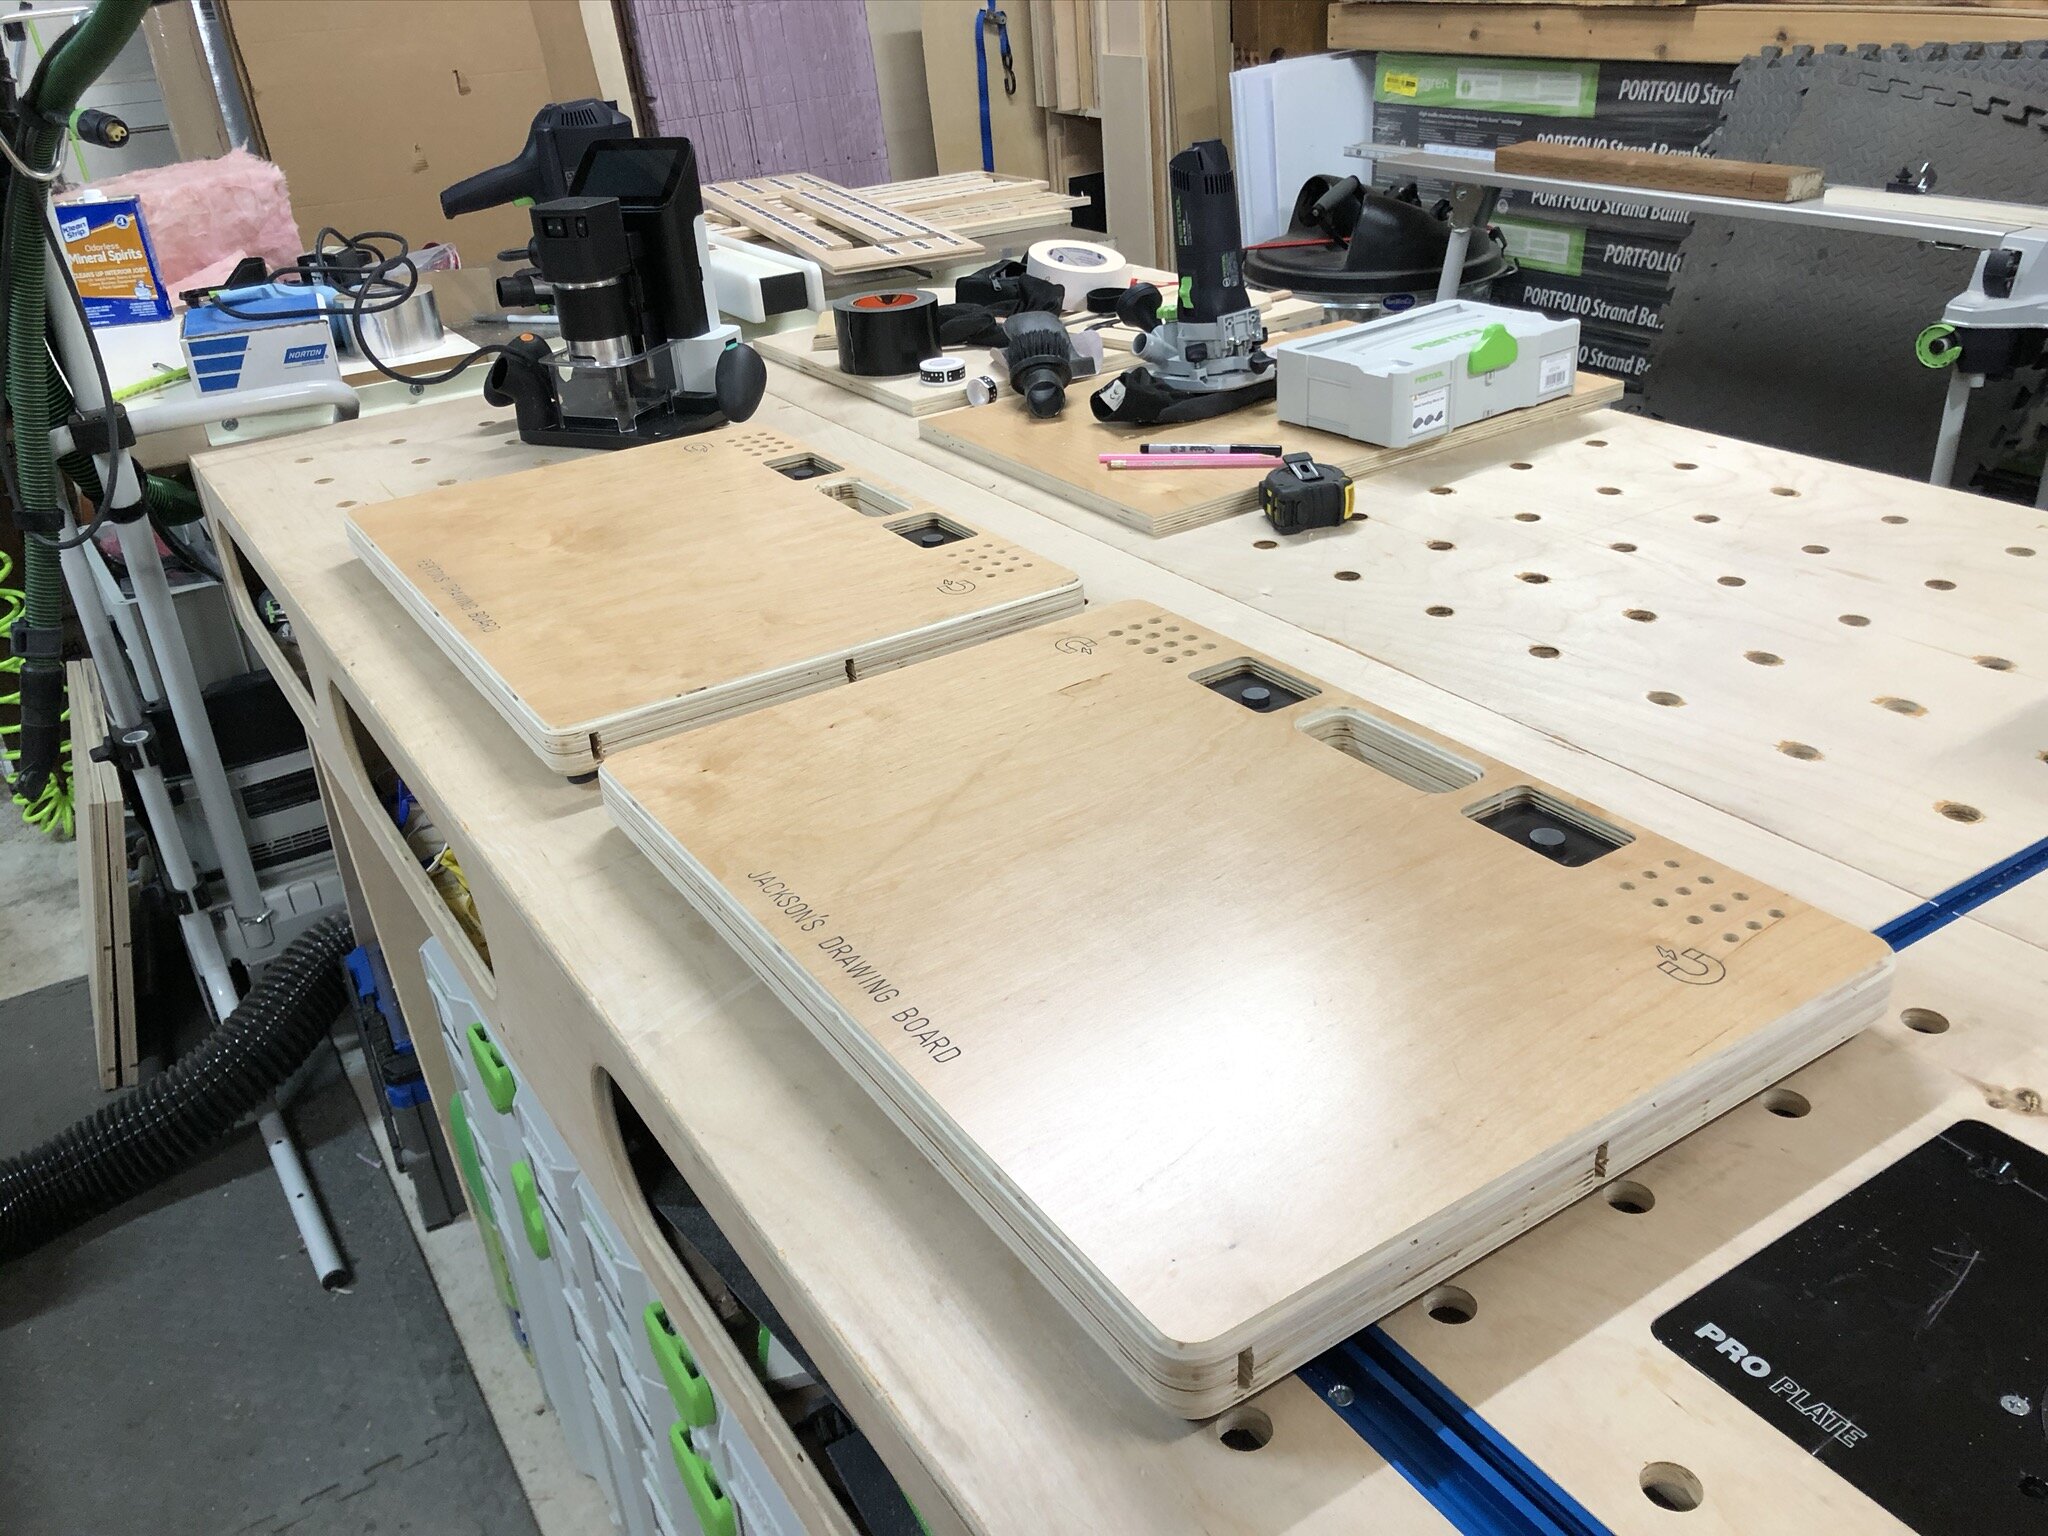
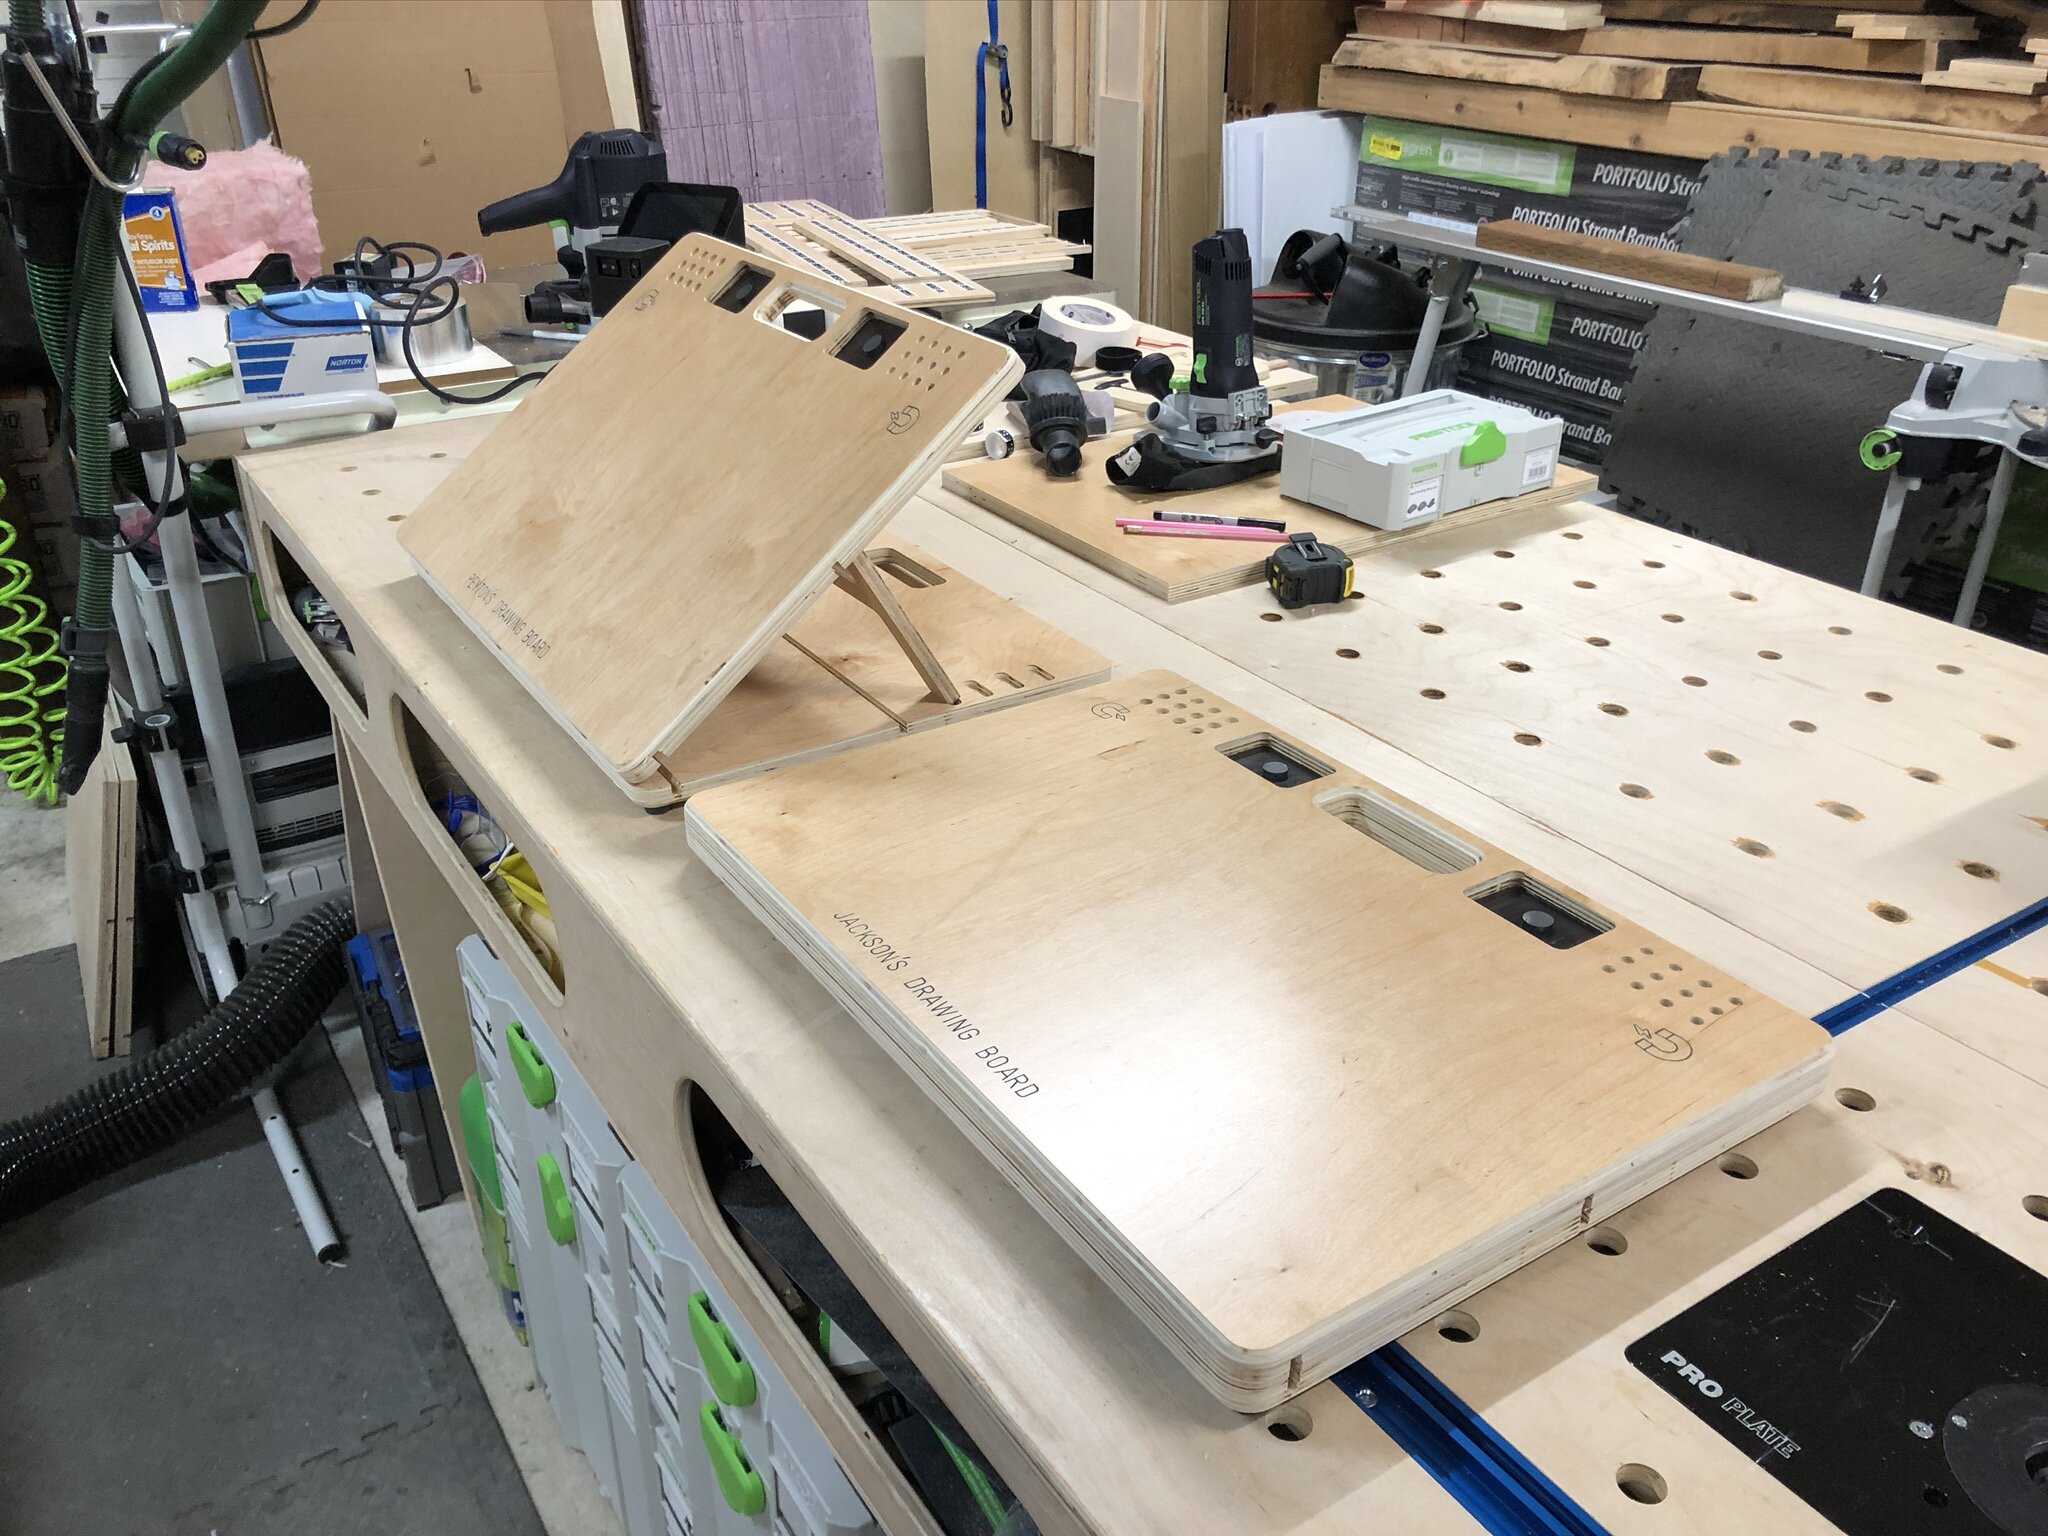
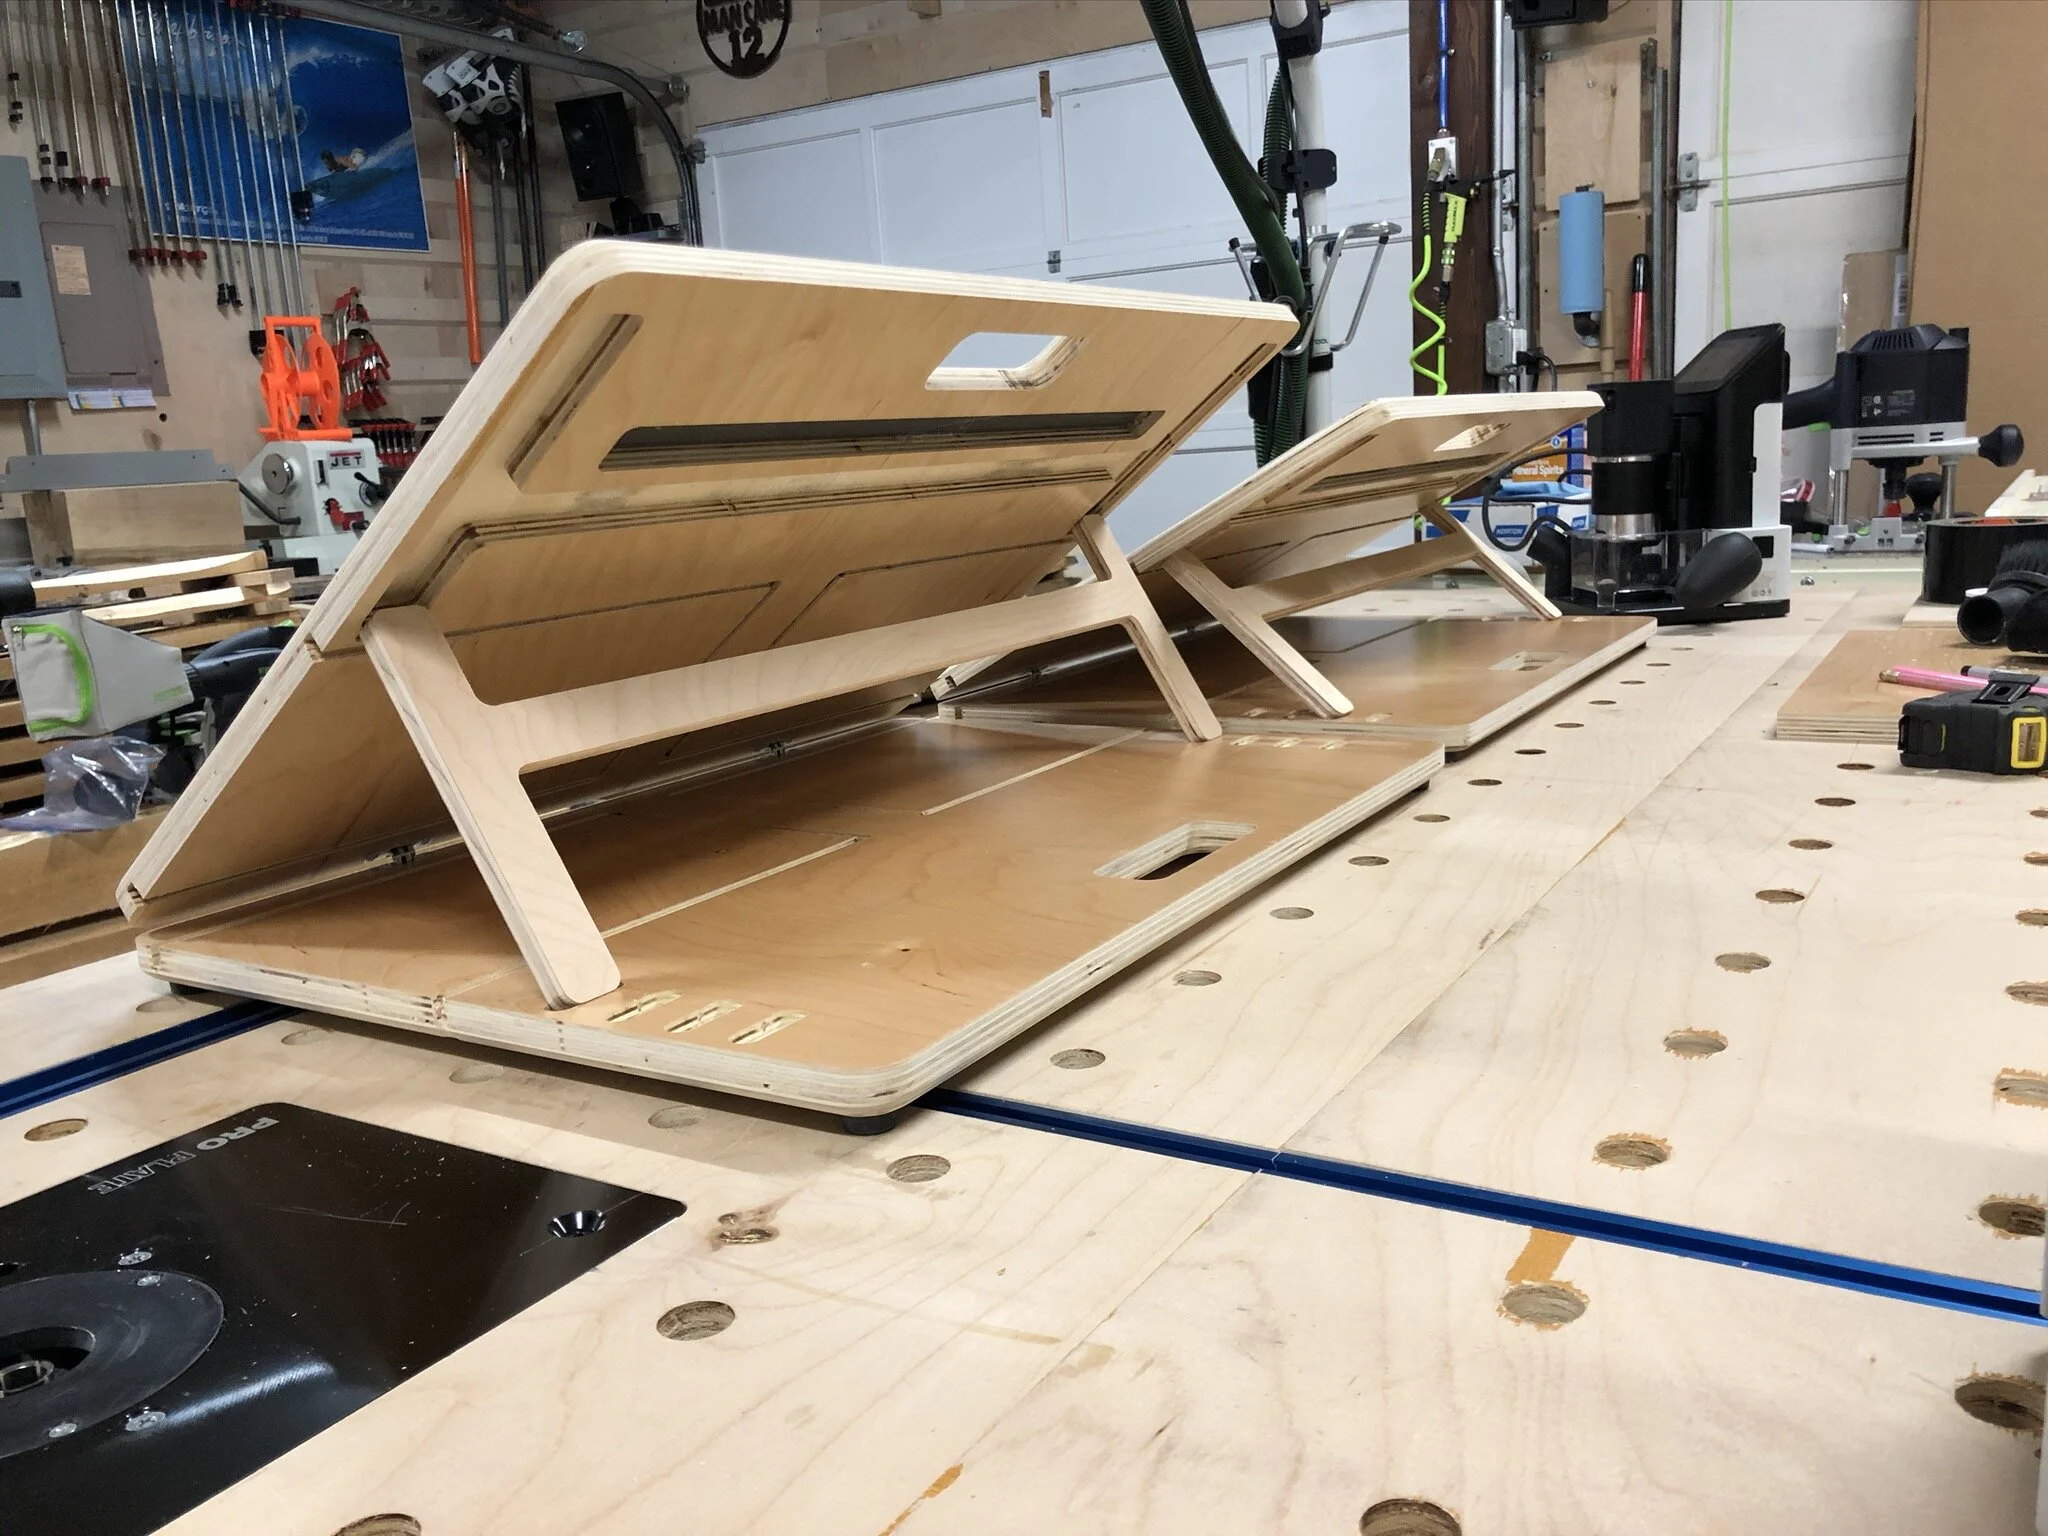
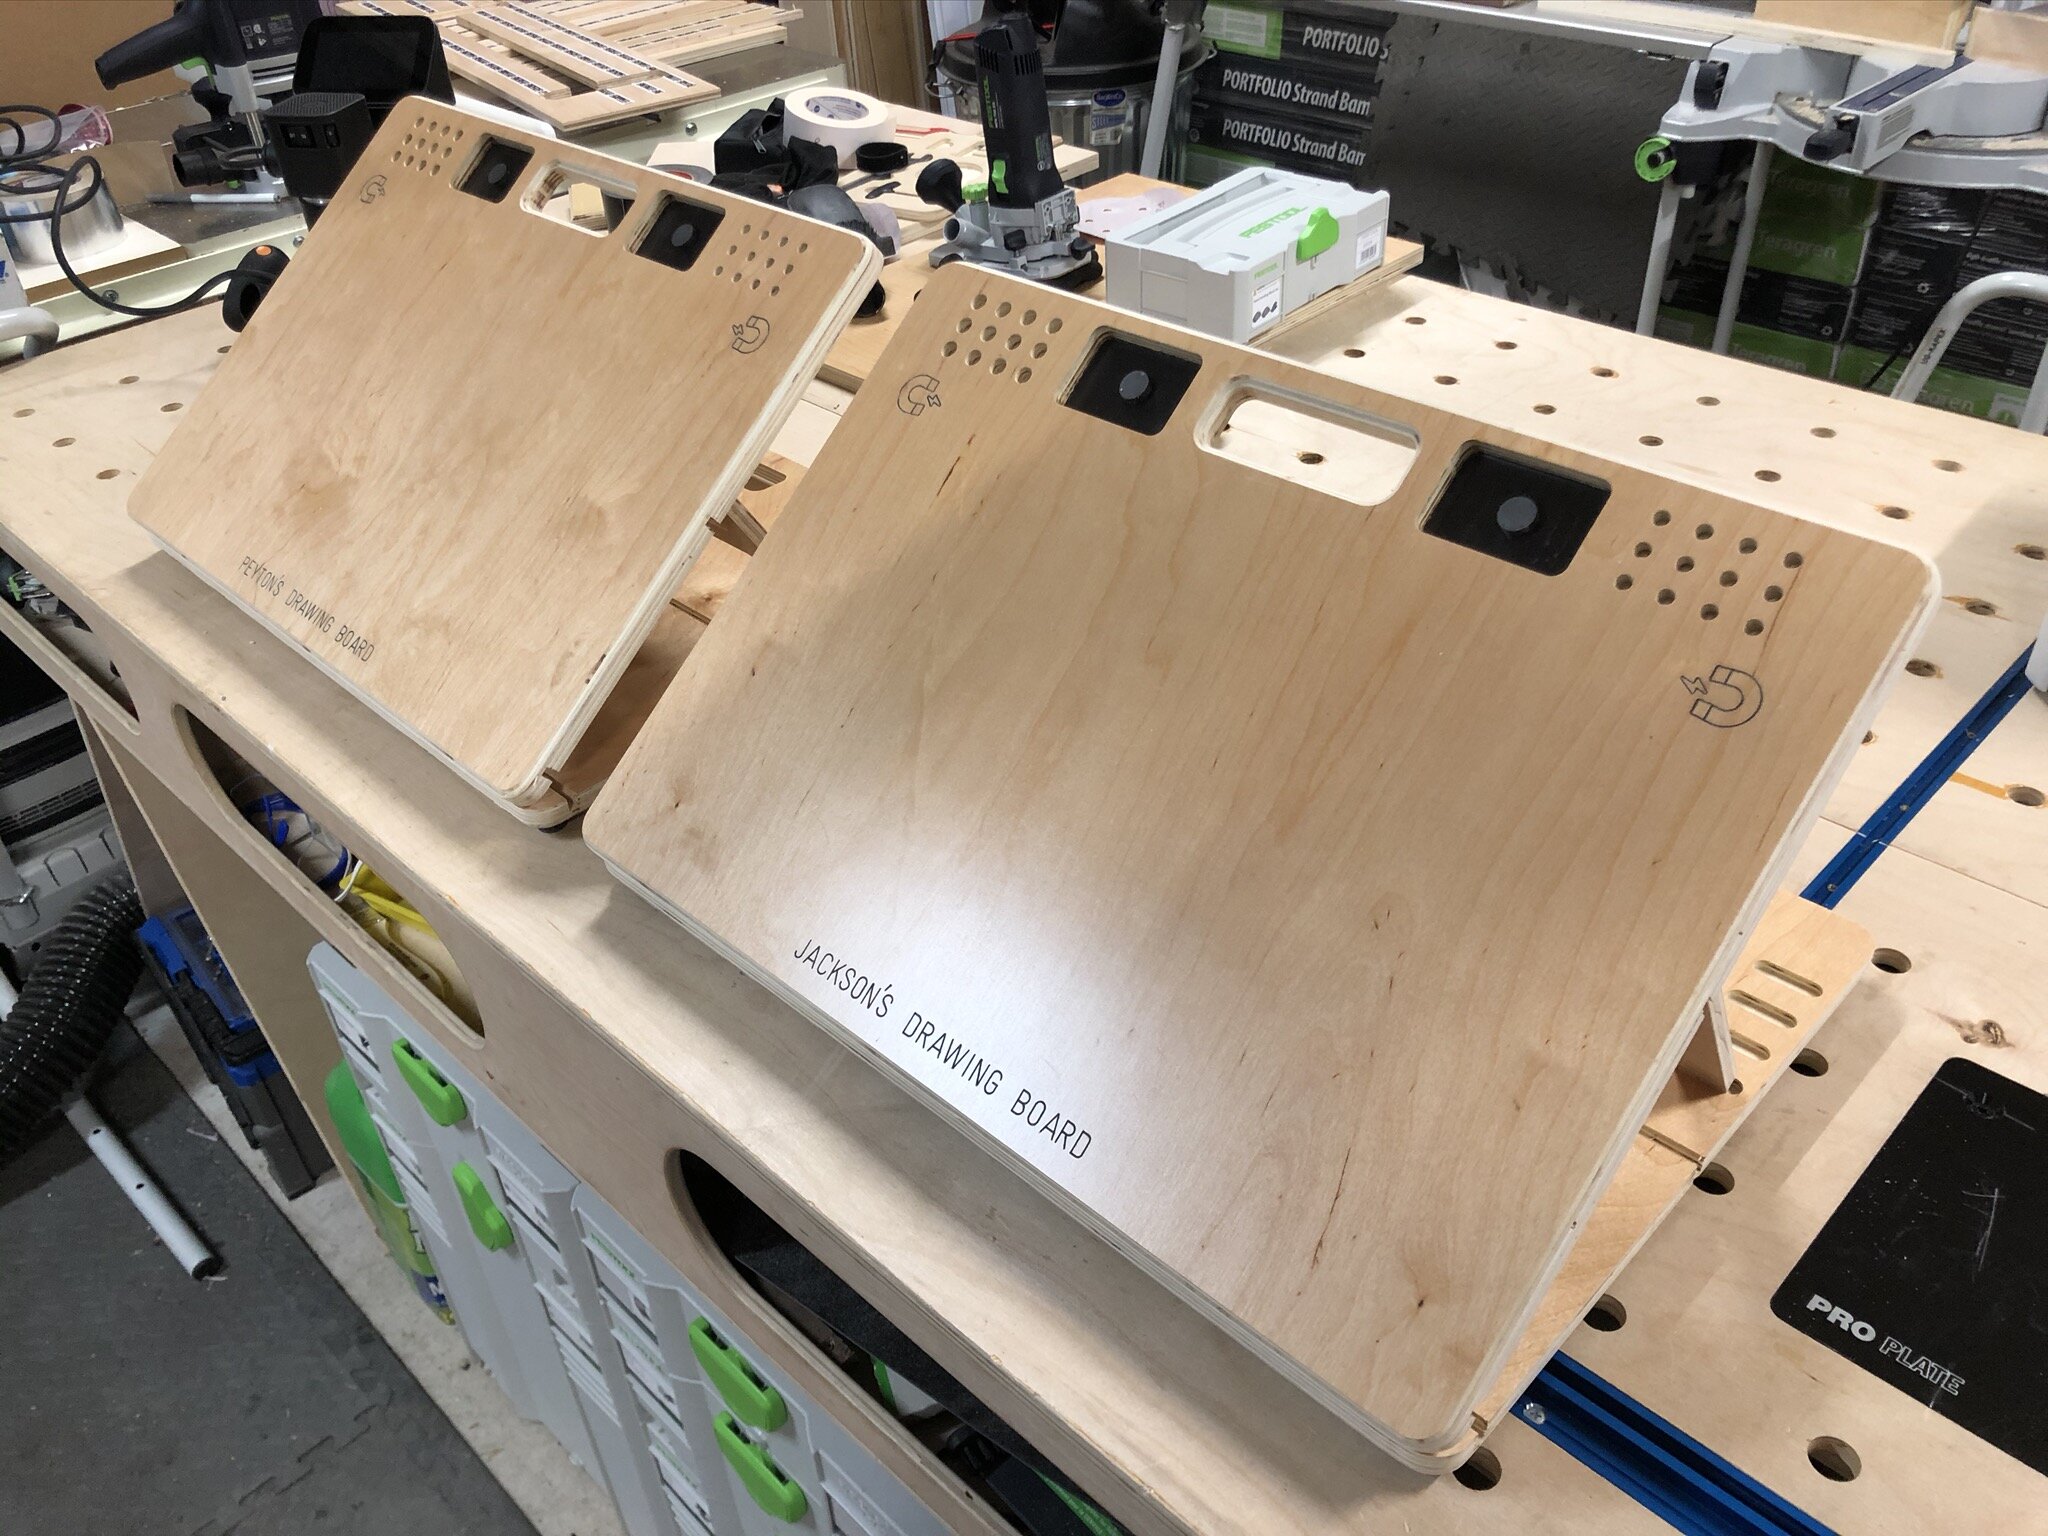
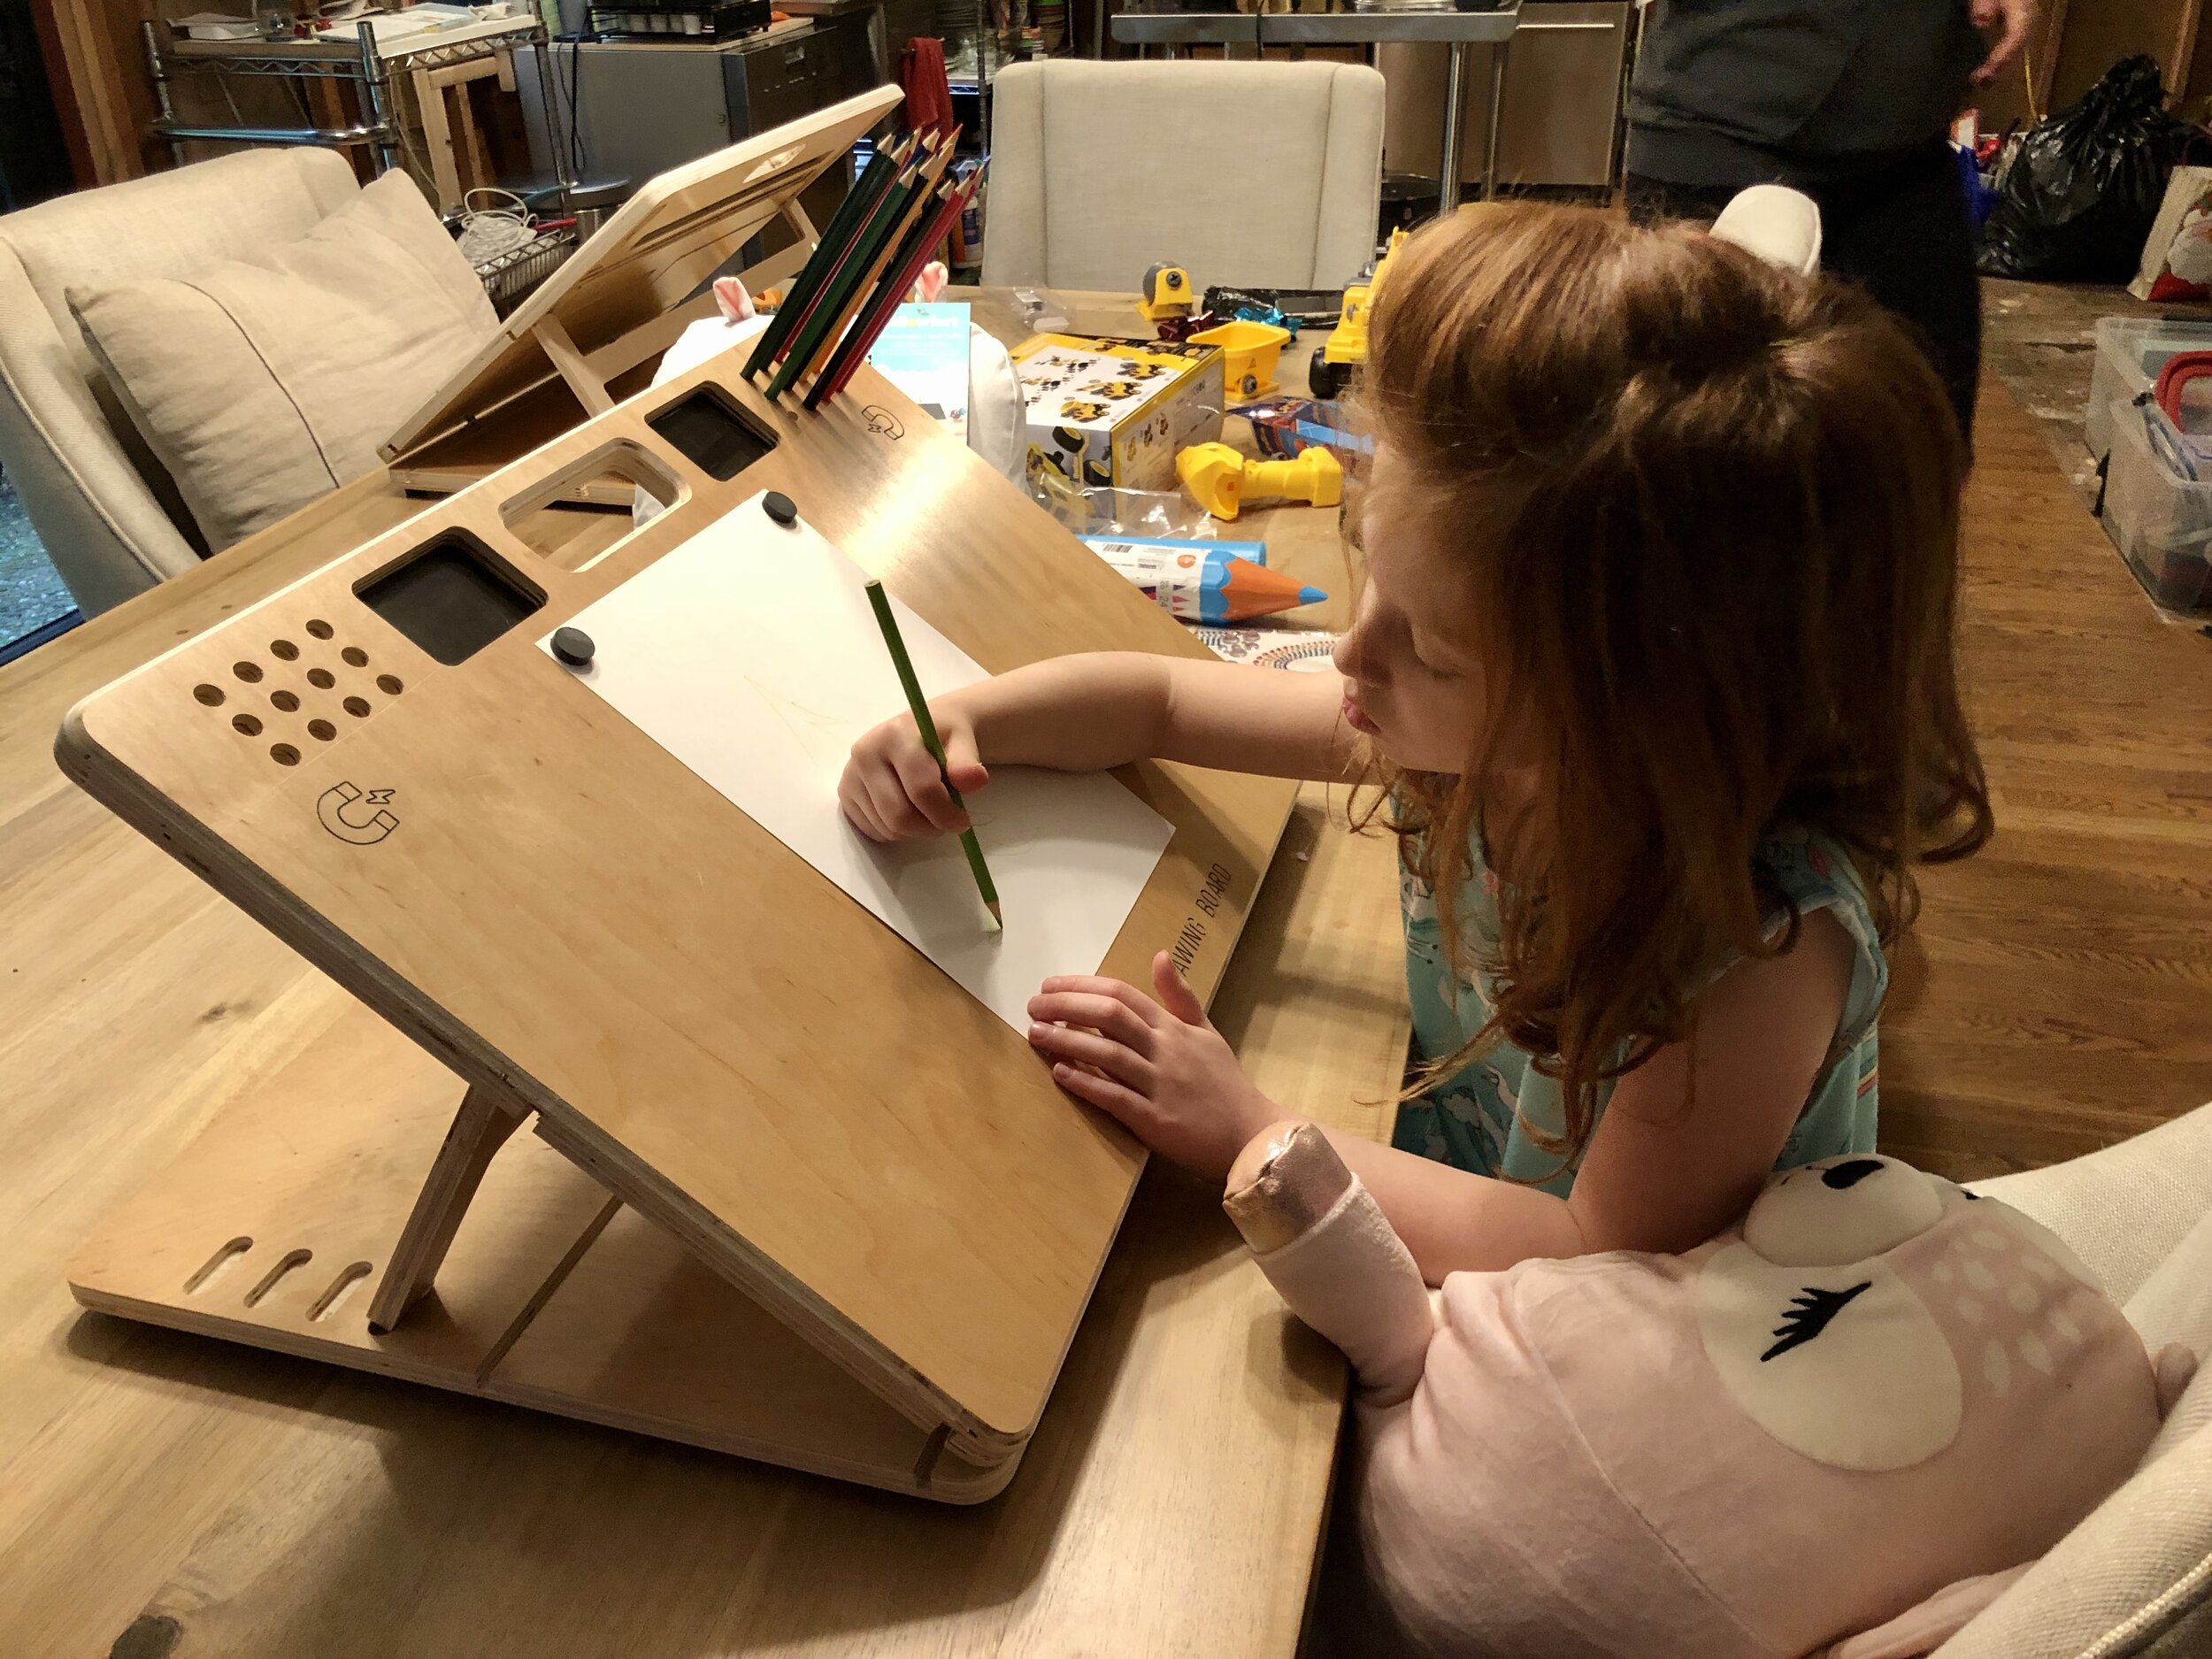
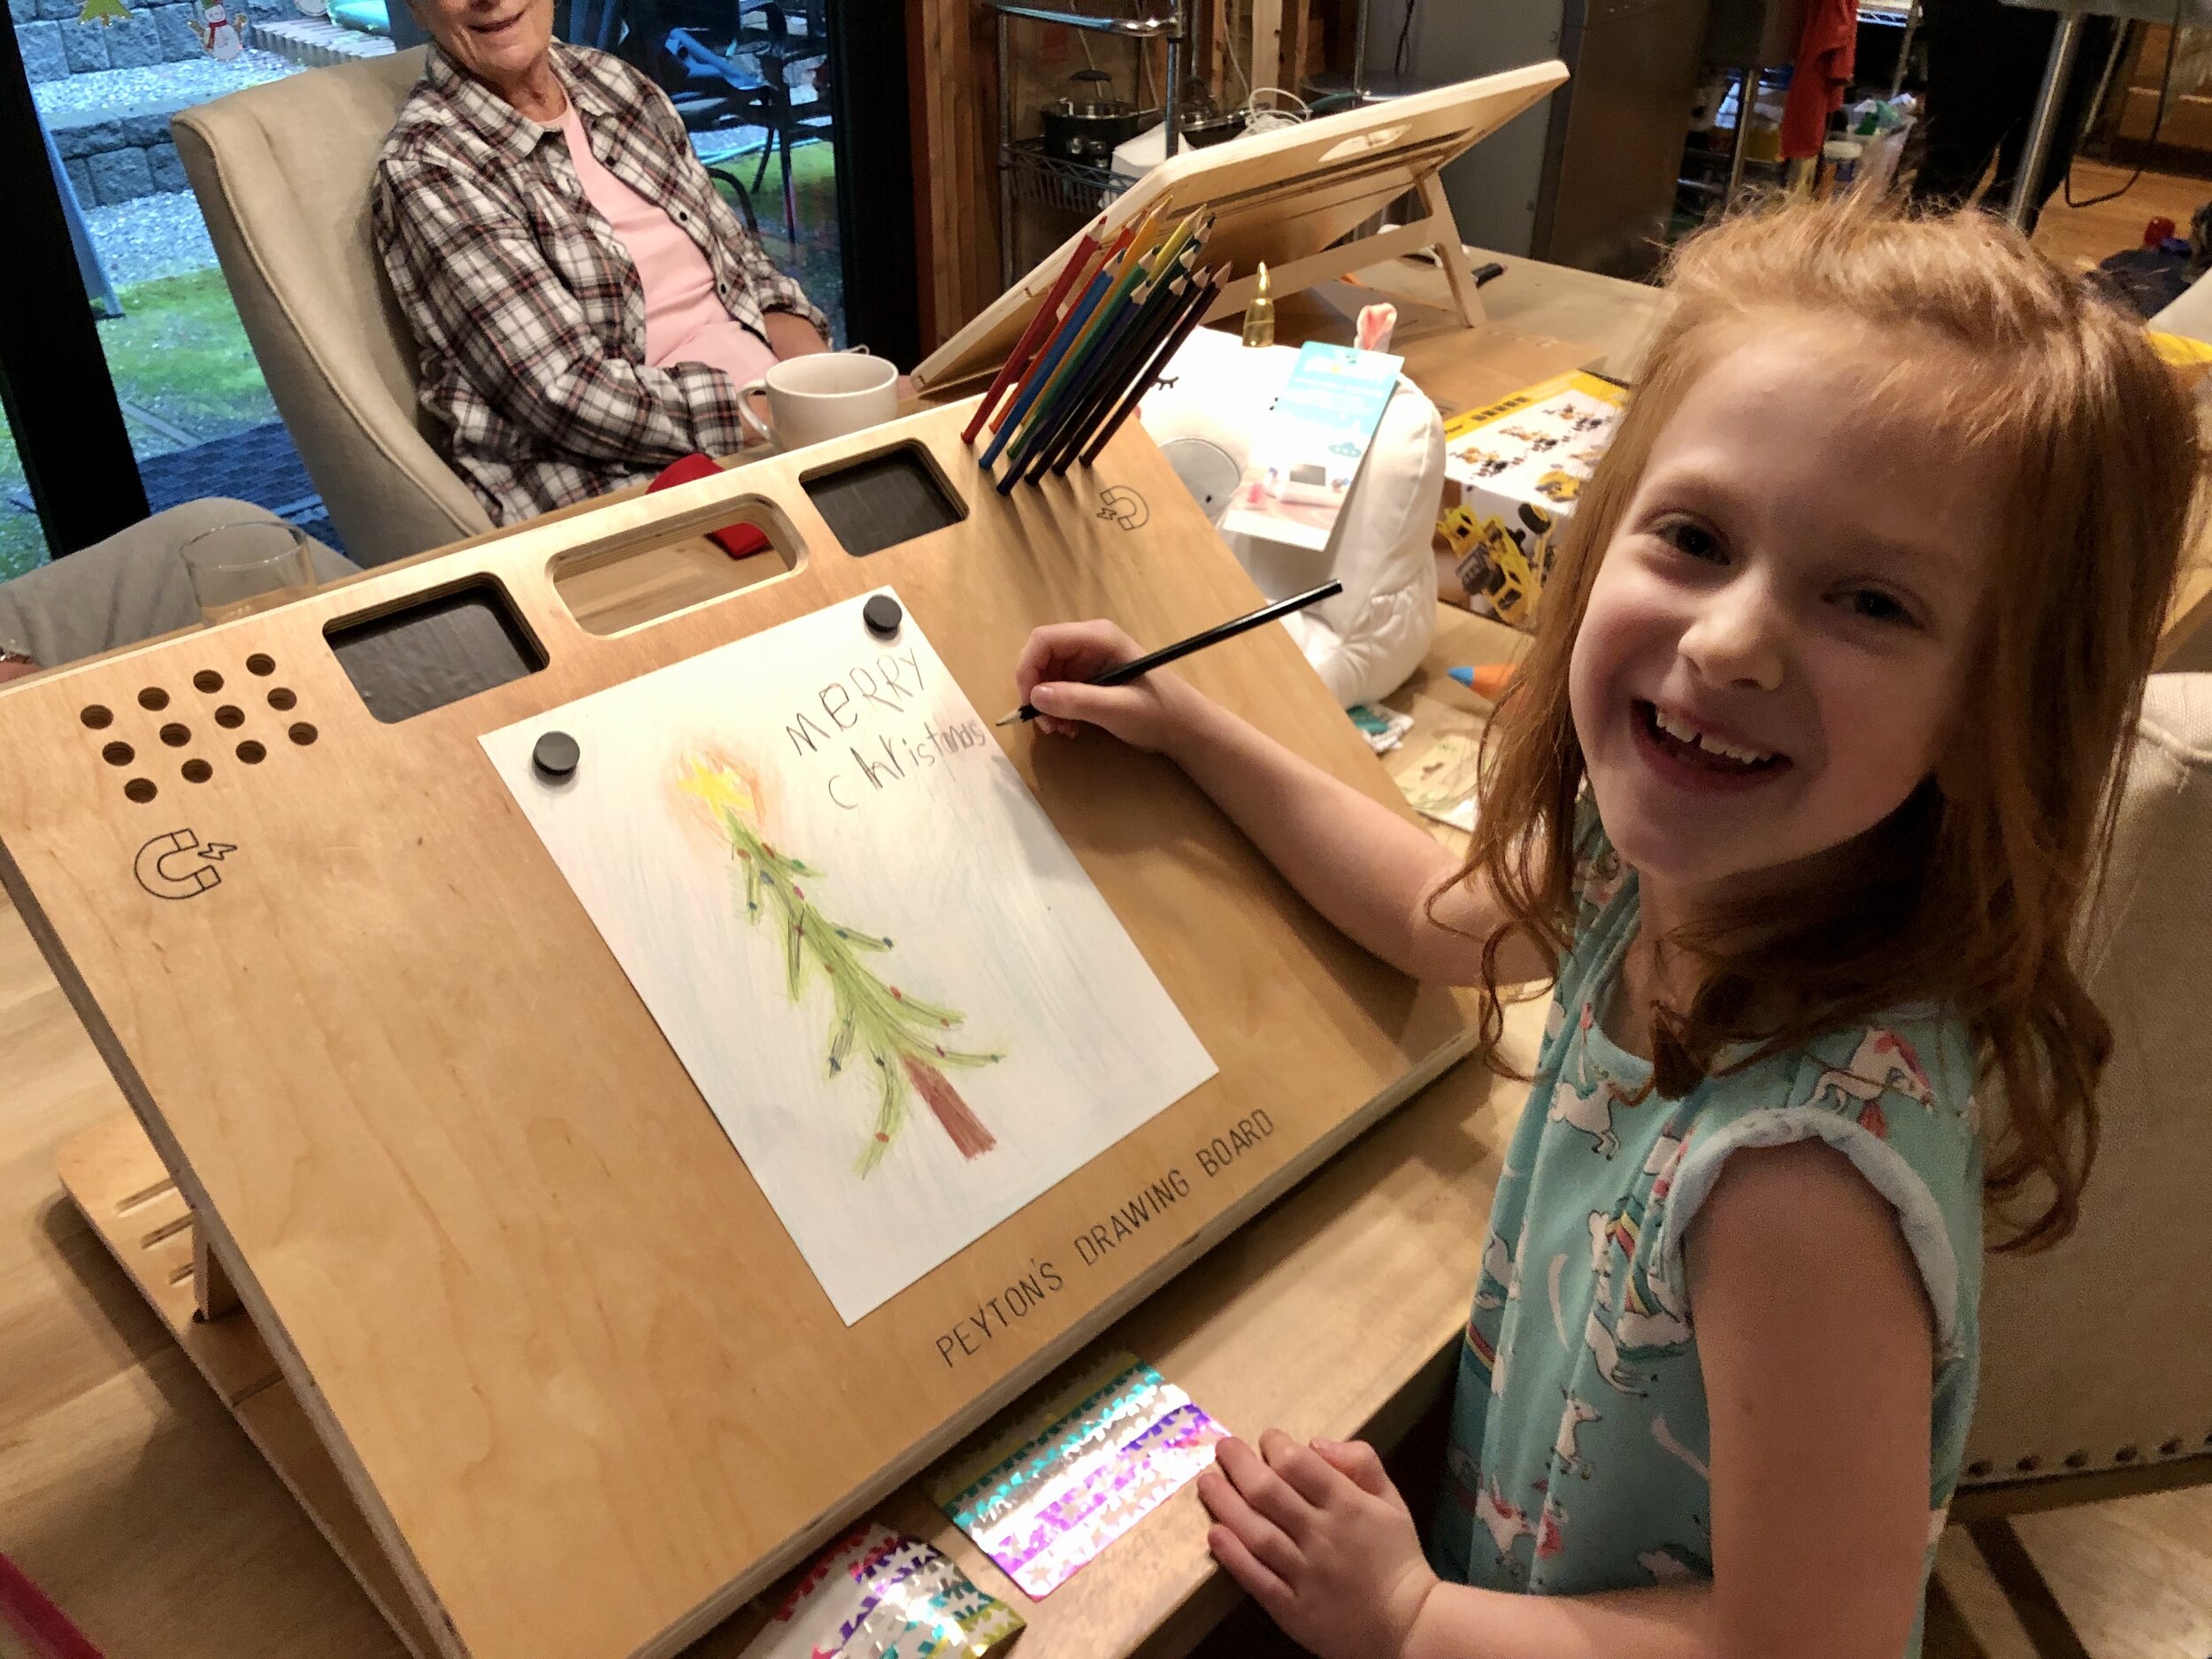
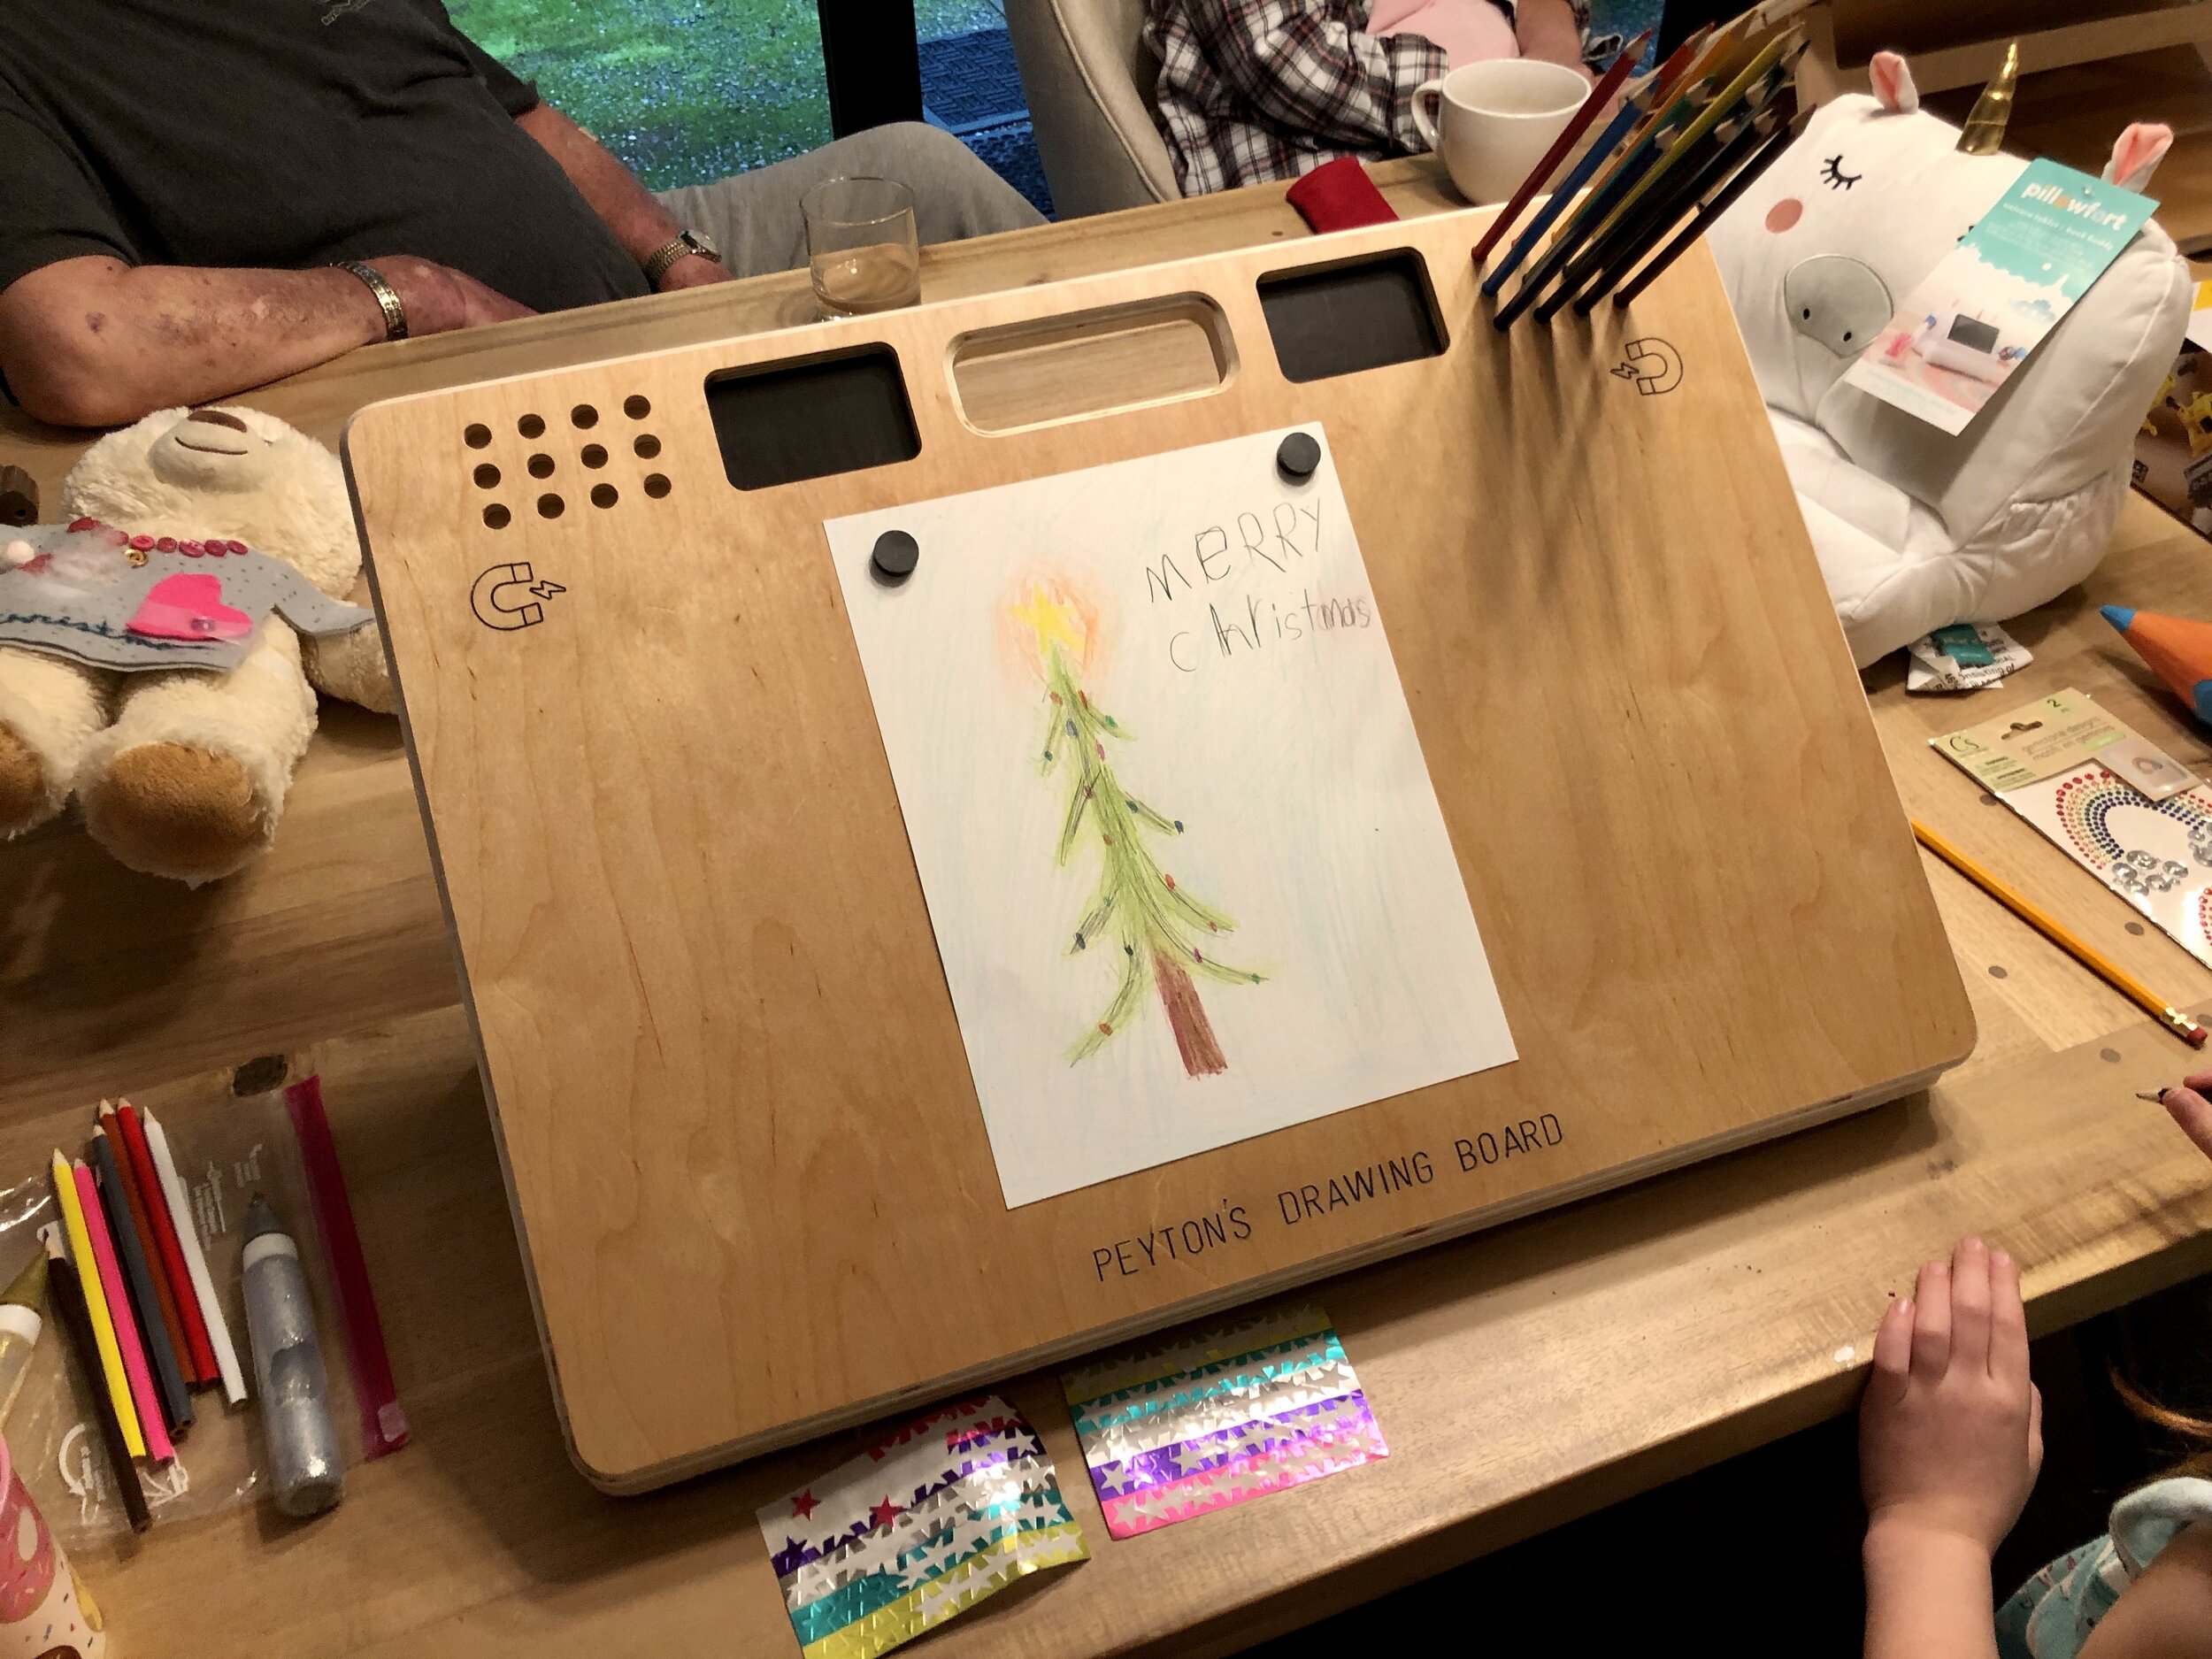
My kids (ages 5 and 7) are very into drawing so this year I decided to make them custom drawing boards.
This project was not only rewarding for them but I also learned quite a few things that I would like to share with you…
File Management

I had collected some ideas from Pinterest and Google searches and then designed the drawing boards in Adobe Illustrator. Because it consists of two boards with CNC work on three of the surfaces I tried to stay organized with the layers in the .ai file. I created a layer for each surface and one for the basic outline of the board with handle cutout. This was critical for maintaining alignment of the shapes between the layers. Had I done this in separate files I would have undoubtedly messed something up.
Once I was finished all of the layers I did a Copy and Paste in Place of the objects within each layer and the basic outline layer into a separate file and then save that file as the .svg for each surface. In my experience hidden layers still expose themselves in the .svg file when making cuts so saving the layers into separate files eliminates the clutter when trying to cut.
Cut Management using Shaper Origin
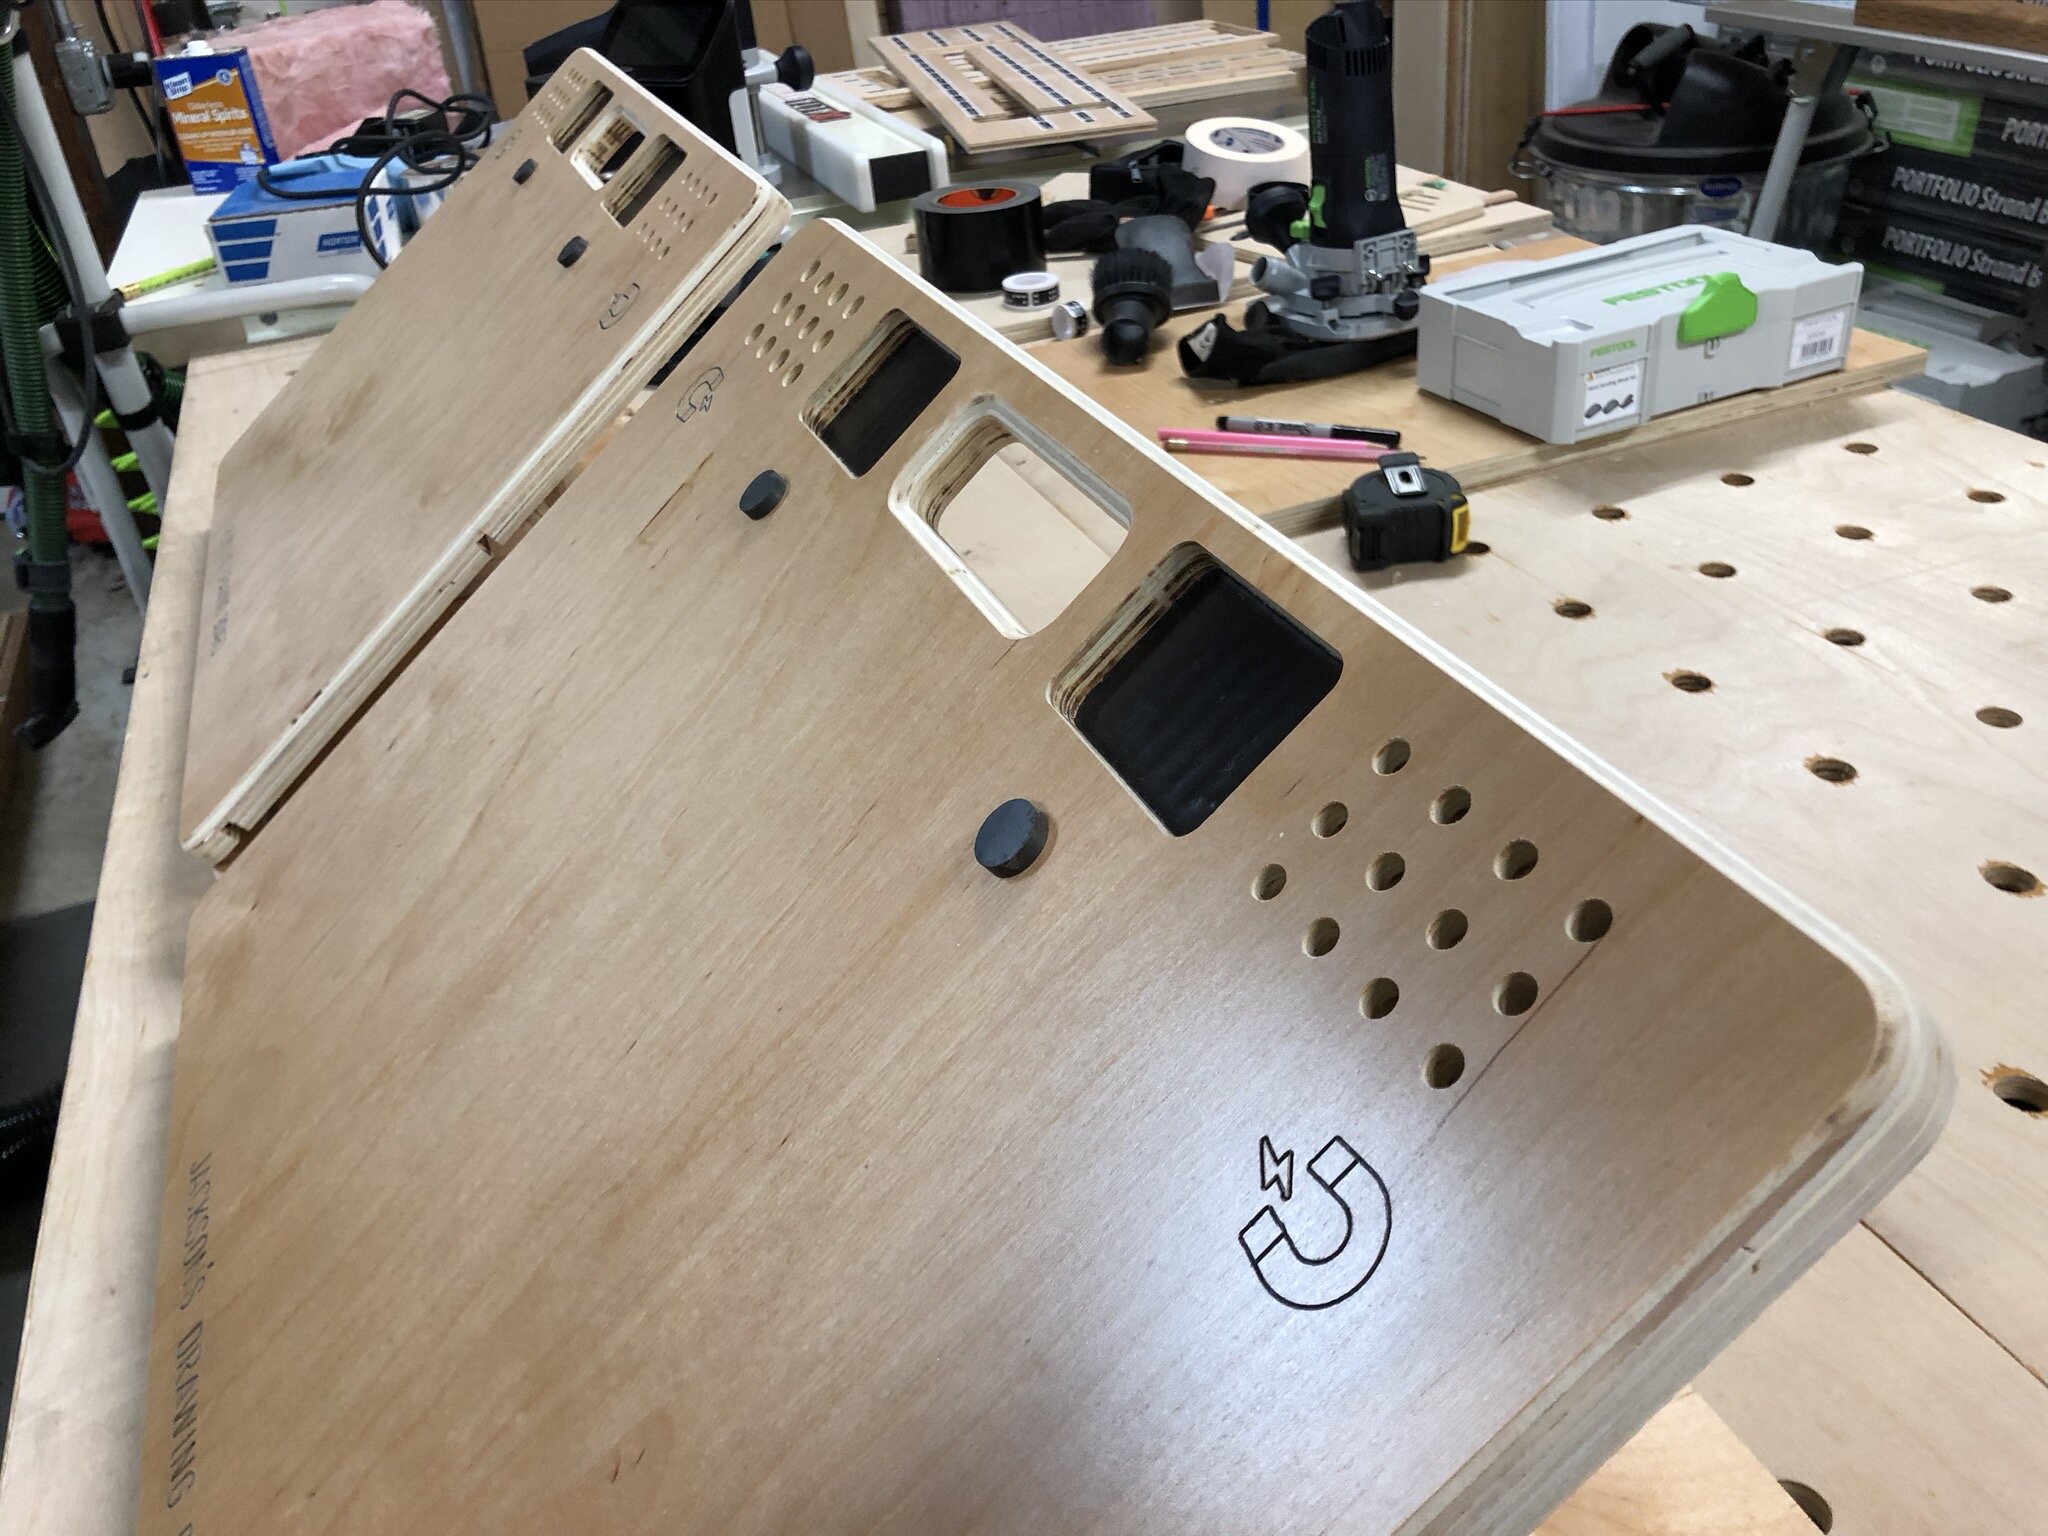
Save time by cutting all of the main boards with the track saw (or table saw). Obviously, I could have cut the outline of the main board with the Shaper Origin (SO) but it would have taken a lot of time and as I’ve mentioned in past posts, cutting long straight cuts can be challenging. I also got a chance to use my new Corner Jigs for rounding the corners.
Set up a template to hold the pieces in the same position. Since the three surfaces I had to cut on the two boards were all being cut from the same size piece it made sense to set up a template to hold the pieces in the same place every time. That way I could set up the Grid on the SO one time and place the various .svg file in the same location to make sure they all aligned. I kept two boards screwed down (in my case a top and left board) which never moved and had marker tape on them.
Add marker tape to each piece using “Add to Scan”. Since I did lesson learned #2 (above) I only needed to add marker tape to each new surface and “Add to Scan” to maintain the grid.
To cut through the outside edge of the piece create lines and shapes that extend past the main object outline.
Use black outline with white fill for small hole pockets. Even though the pencil and marker holes are not through holes, in order to use the "Helical” function on the SO you’ll need to use and Inside cut. This wasn’t a big deal to change on the SO itself but since there were quite a few holes to cut it will save you time when cutting if the file is set up correctly.
Because of lesson learned in #4, set up a Grid on the SO that allows for center alignment. I couldn’t left align the .svg file since I have cuts that extended past the edge of the work-piece. To center align, divide the work-piece in half and then sub-divide that into equal units. In my example the boards are 600mm wide so I created a grid in 10mm increments so I could find center at 300mm.

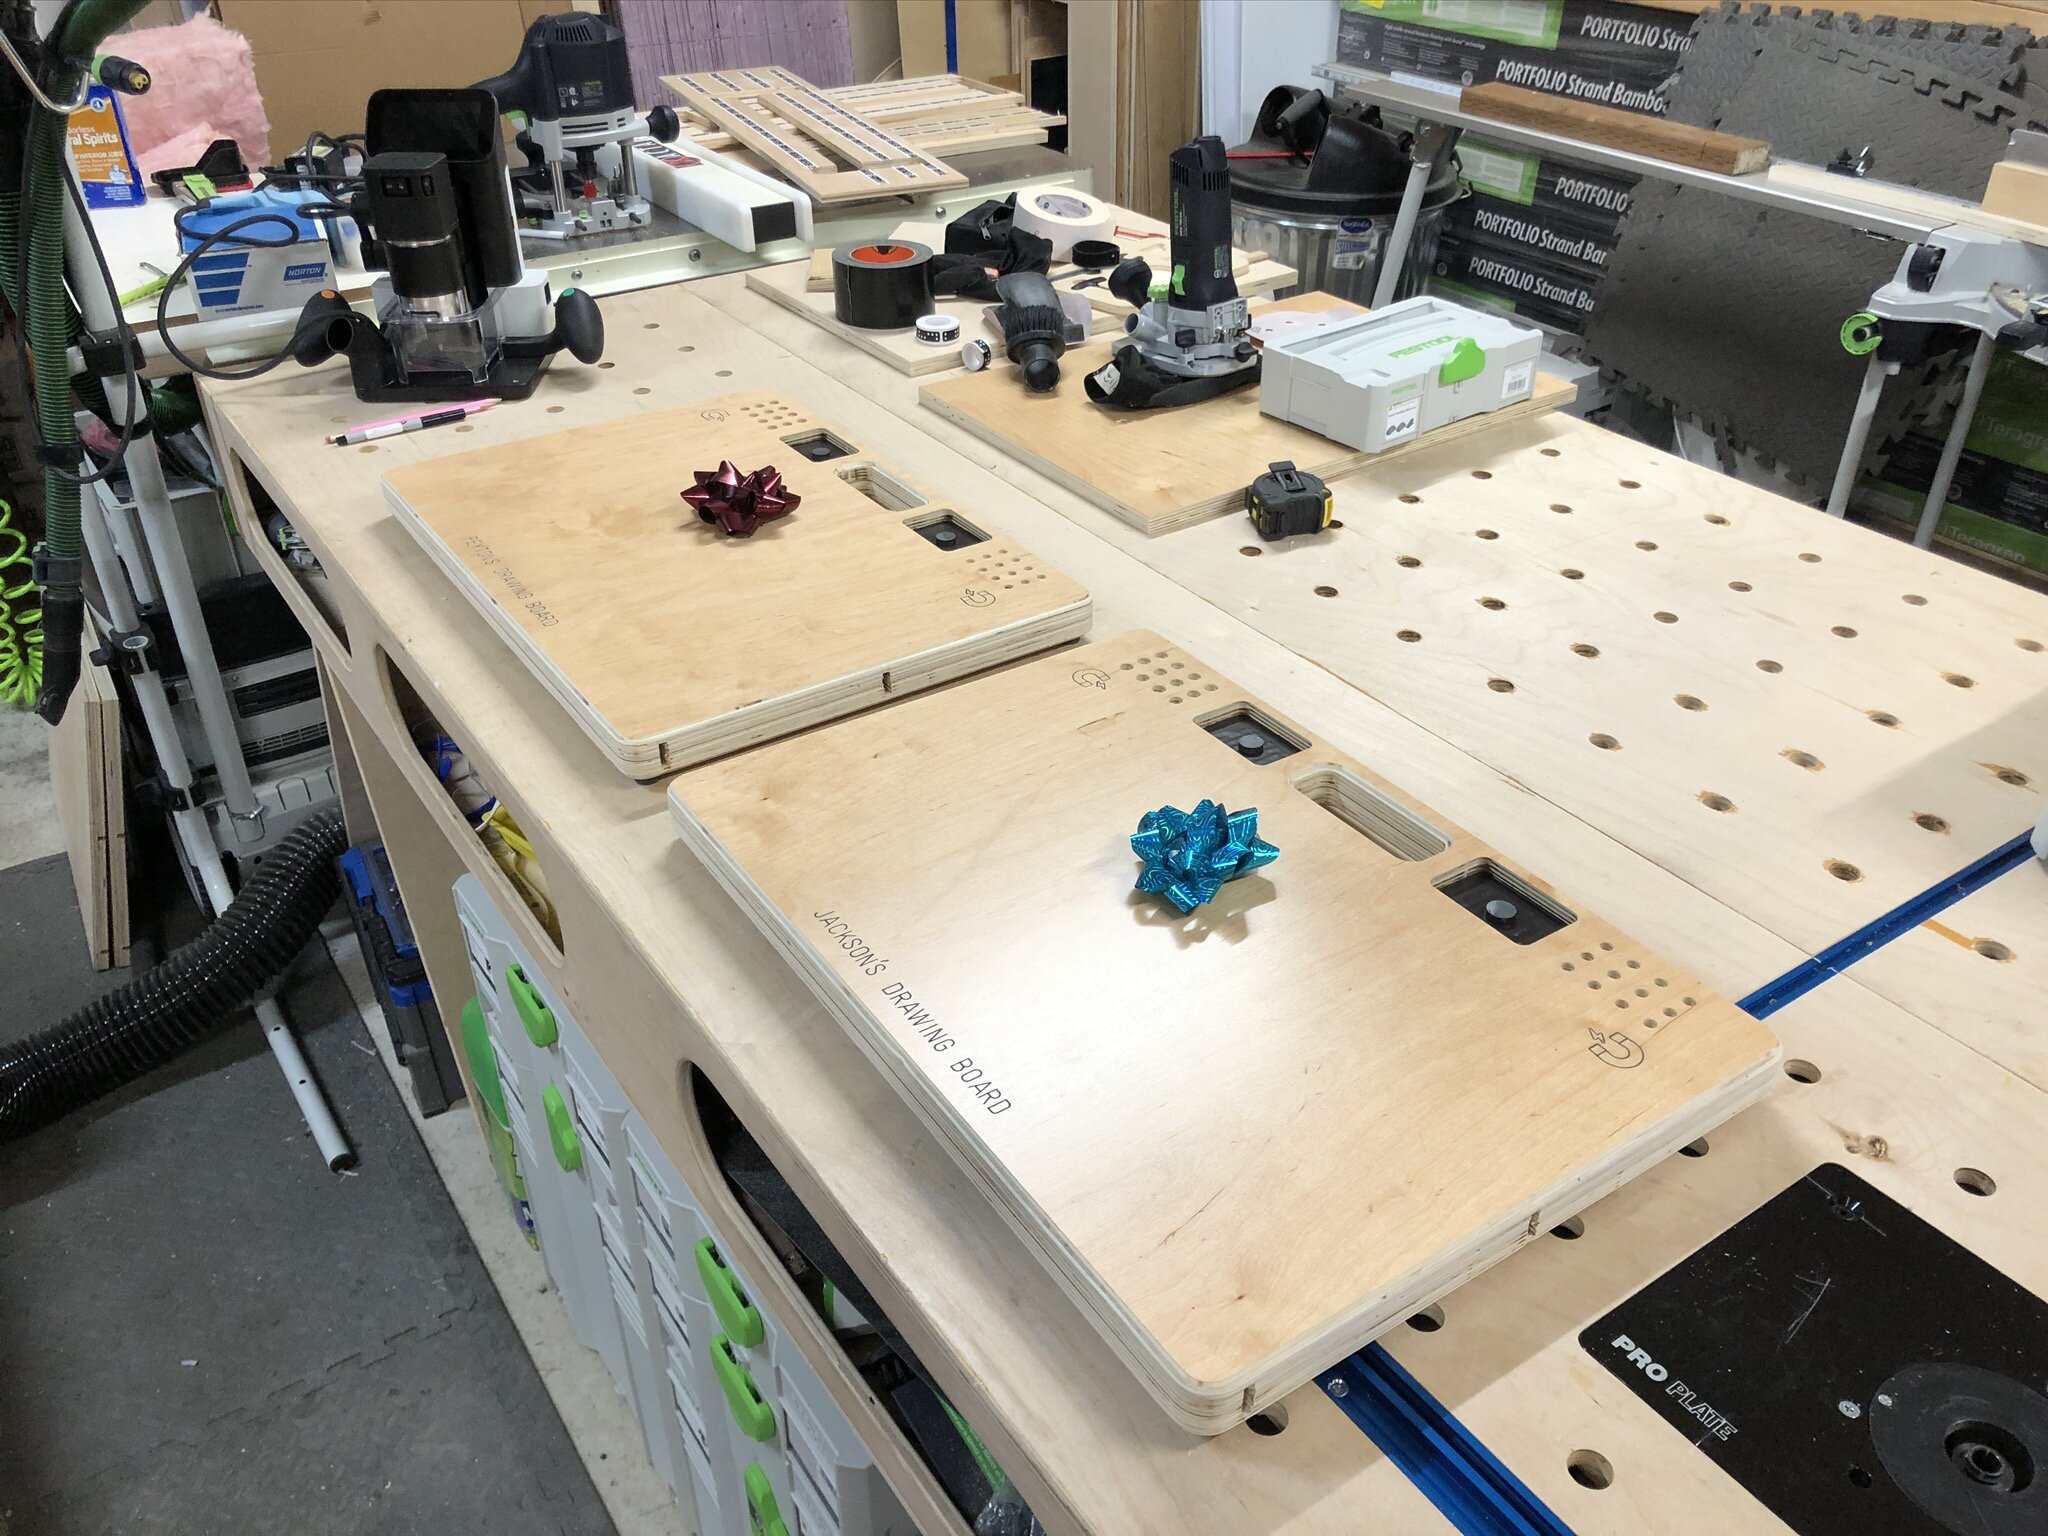
Overall, this was a great learning experience. I’m please with the result and, of course, extremely happy with the kids reactions. There have already been a number of people on Instagram and Facebook asking if they can buy one so I think I may make a few of them to sell in my store so keep on eye out for that. ;-)
I hope everyone had a fantastic Christmas and will soon have a Happy New Year.
And as always, I hope this was helpful. ;-)
Cheers,
Lee