The BEEZLEE Blog Tools Lee Bizek 1/12/19 Tools Lee Bizek 1/12/19 Sharpening Station Read More Tools Lee Bizek 11/9/18 Tools Lee Bizek 11/9/18 Horizontal Support for Shaper Origin "Ultimate" Vertical Workstation Read More Tools Lee Bizek 7/6/18 Tools Lee Bizek 7/6/18 "Ultimate" Vertical Workstation for Shaper Origin Read More Tools Lee Bizek 6/25/18 Tools Lee Bizek 6/25/18 Turning a Wood Mallet and Engraving End with Shaper Origin Read More Tools, Innovation Lee Bizek 2/24/18 Tools, Innovation Lee Bizek 2/24/18 My Shaper Origin is finally here!!! Read More Tools Lee Bizek 9/16/17 Tools Lee Bizek 9/16/17 Pre-order Shaper Origin and Save $$$ Read More
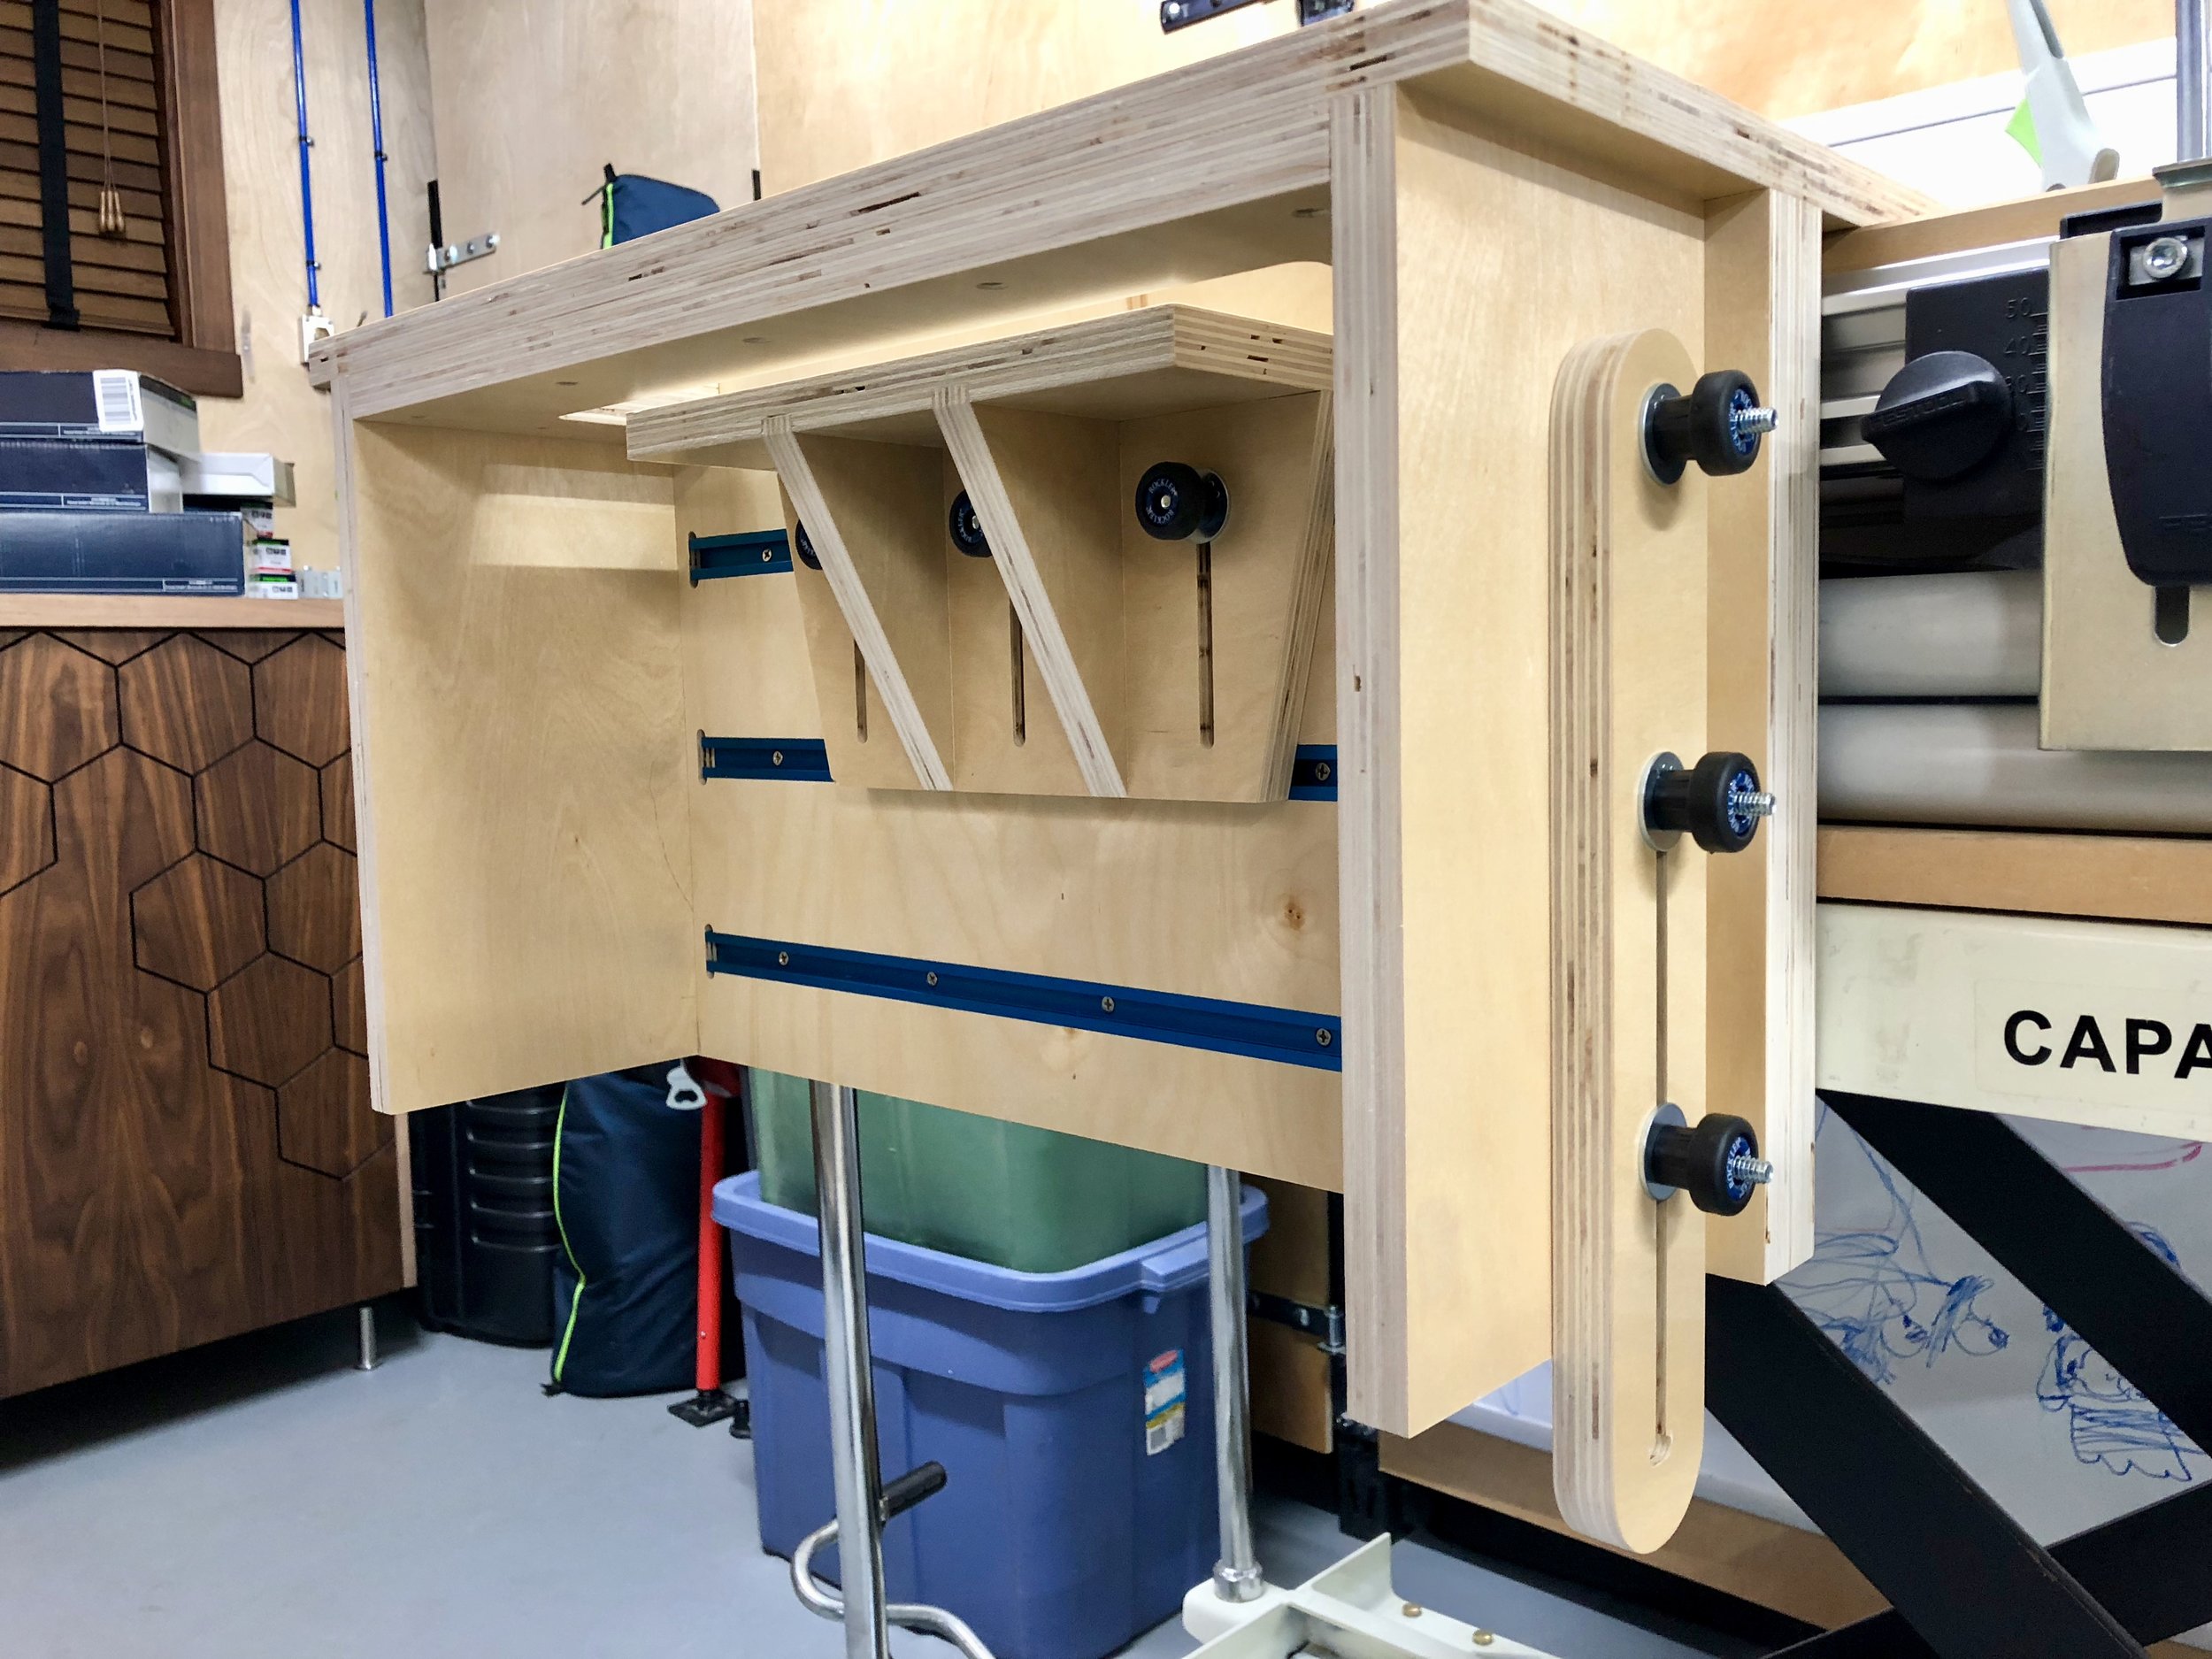
Tools Lee Bizek 11/9/18 Tools Lee Bizek 11/9/18 Horizontal Support for Shaper Origin "Ultimate" Vertical Workstation Read More
Tools Lee Bizek 7/6/18 Tools Lee Bizek 7/6/18 "Ultimate" Vertical Workstation for Shaper Origin Read More
Tools Lee Bizek 6/25/18 Tools Lee Bizek 6/25/18 Turning a Wood Mallet and Engraving End with Shaper Origin Read More
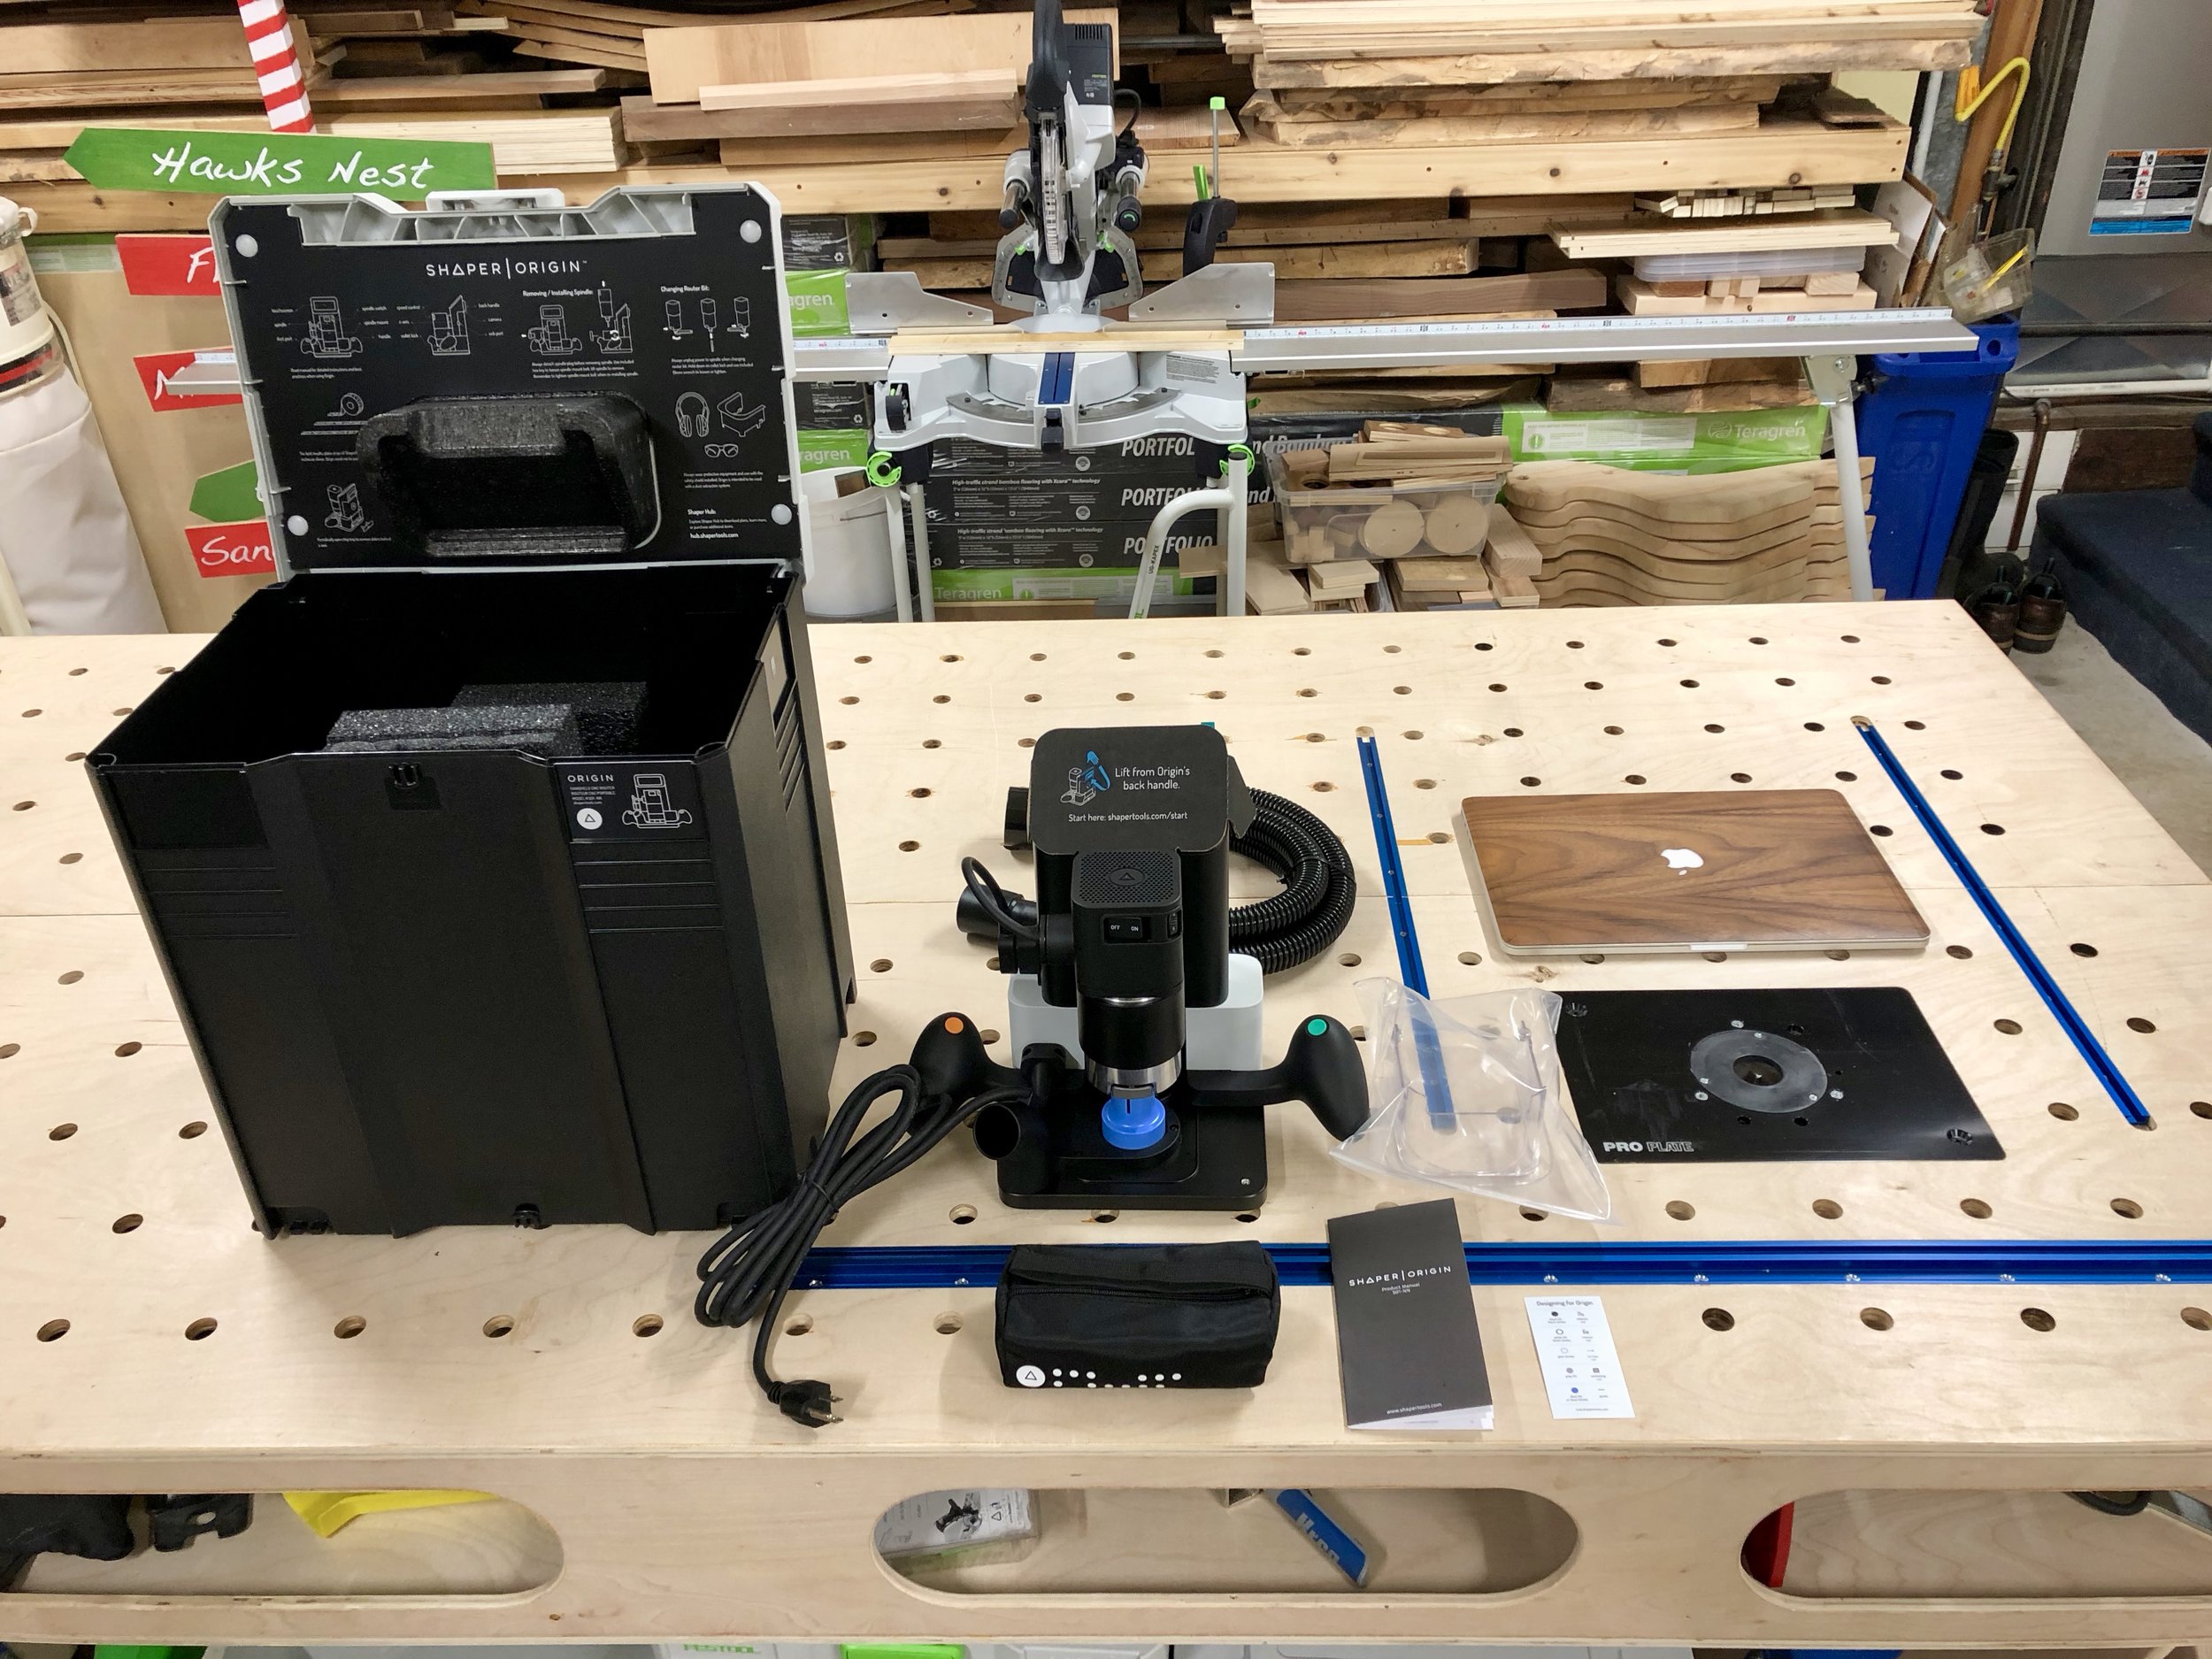
Tools, Innovation Lee Bizek 2/24/18 Tools, Innovation Lee Bizek 2/24/18 My Shaper Origin is finally here!!! Read More