"Ultimate" Vertical Workstation for Shaper Origin
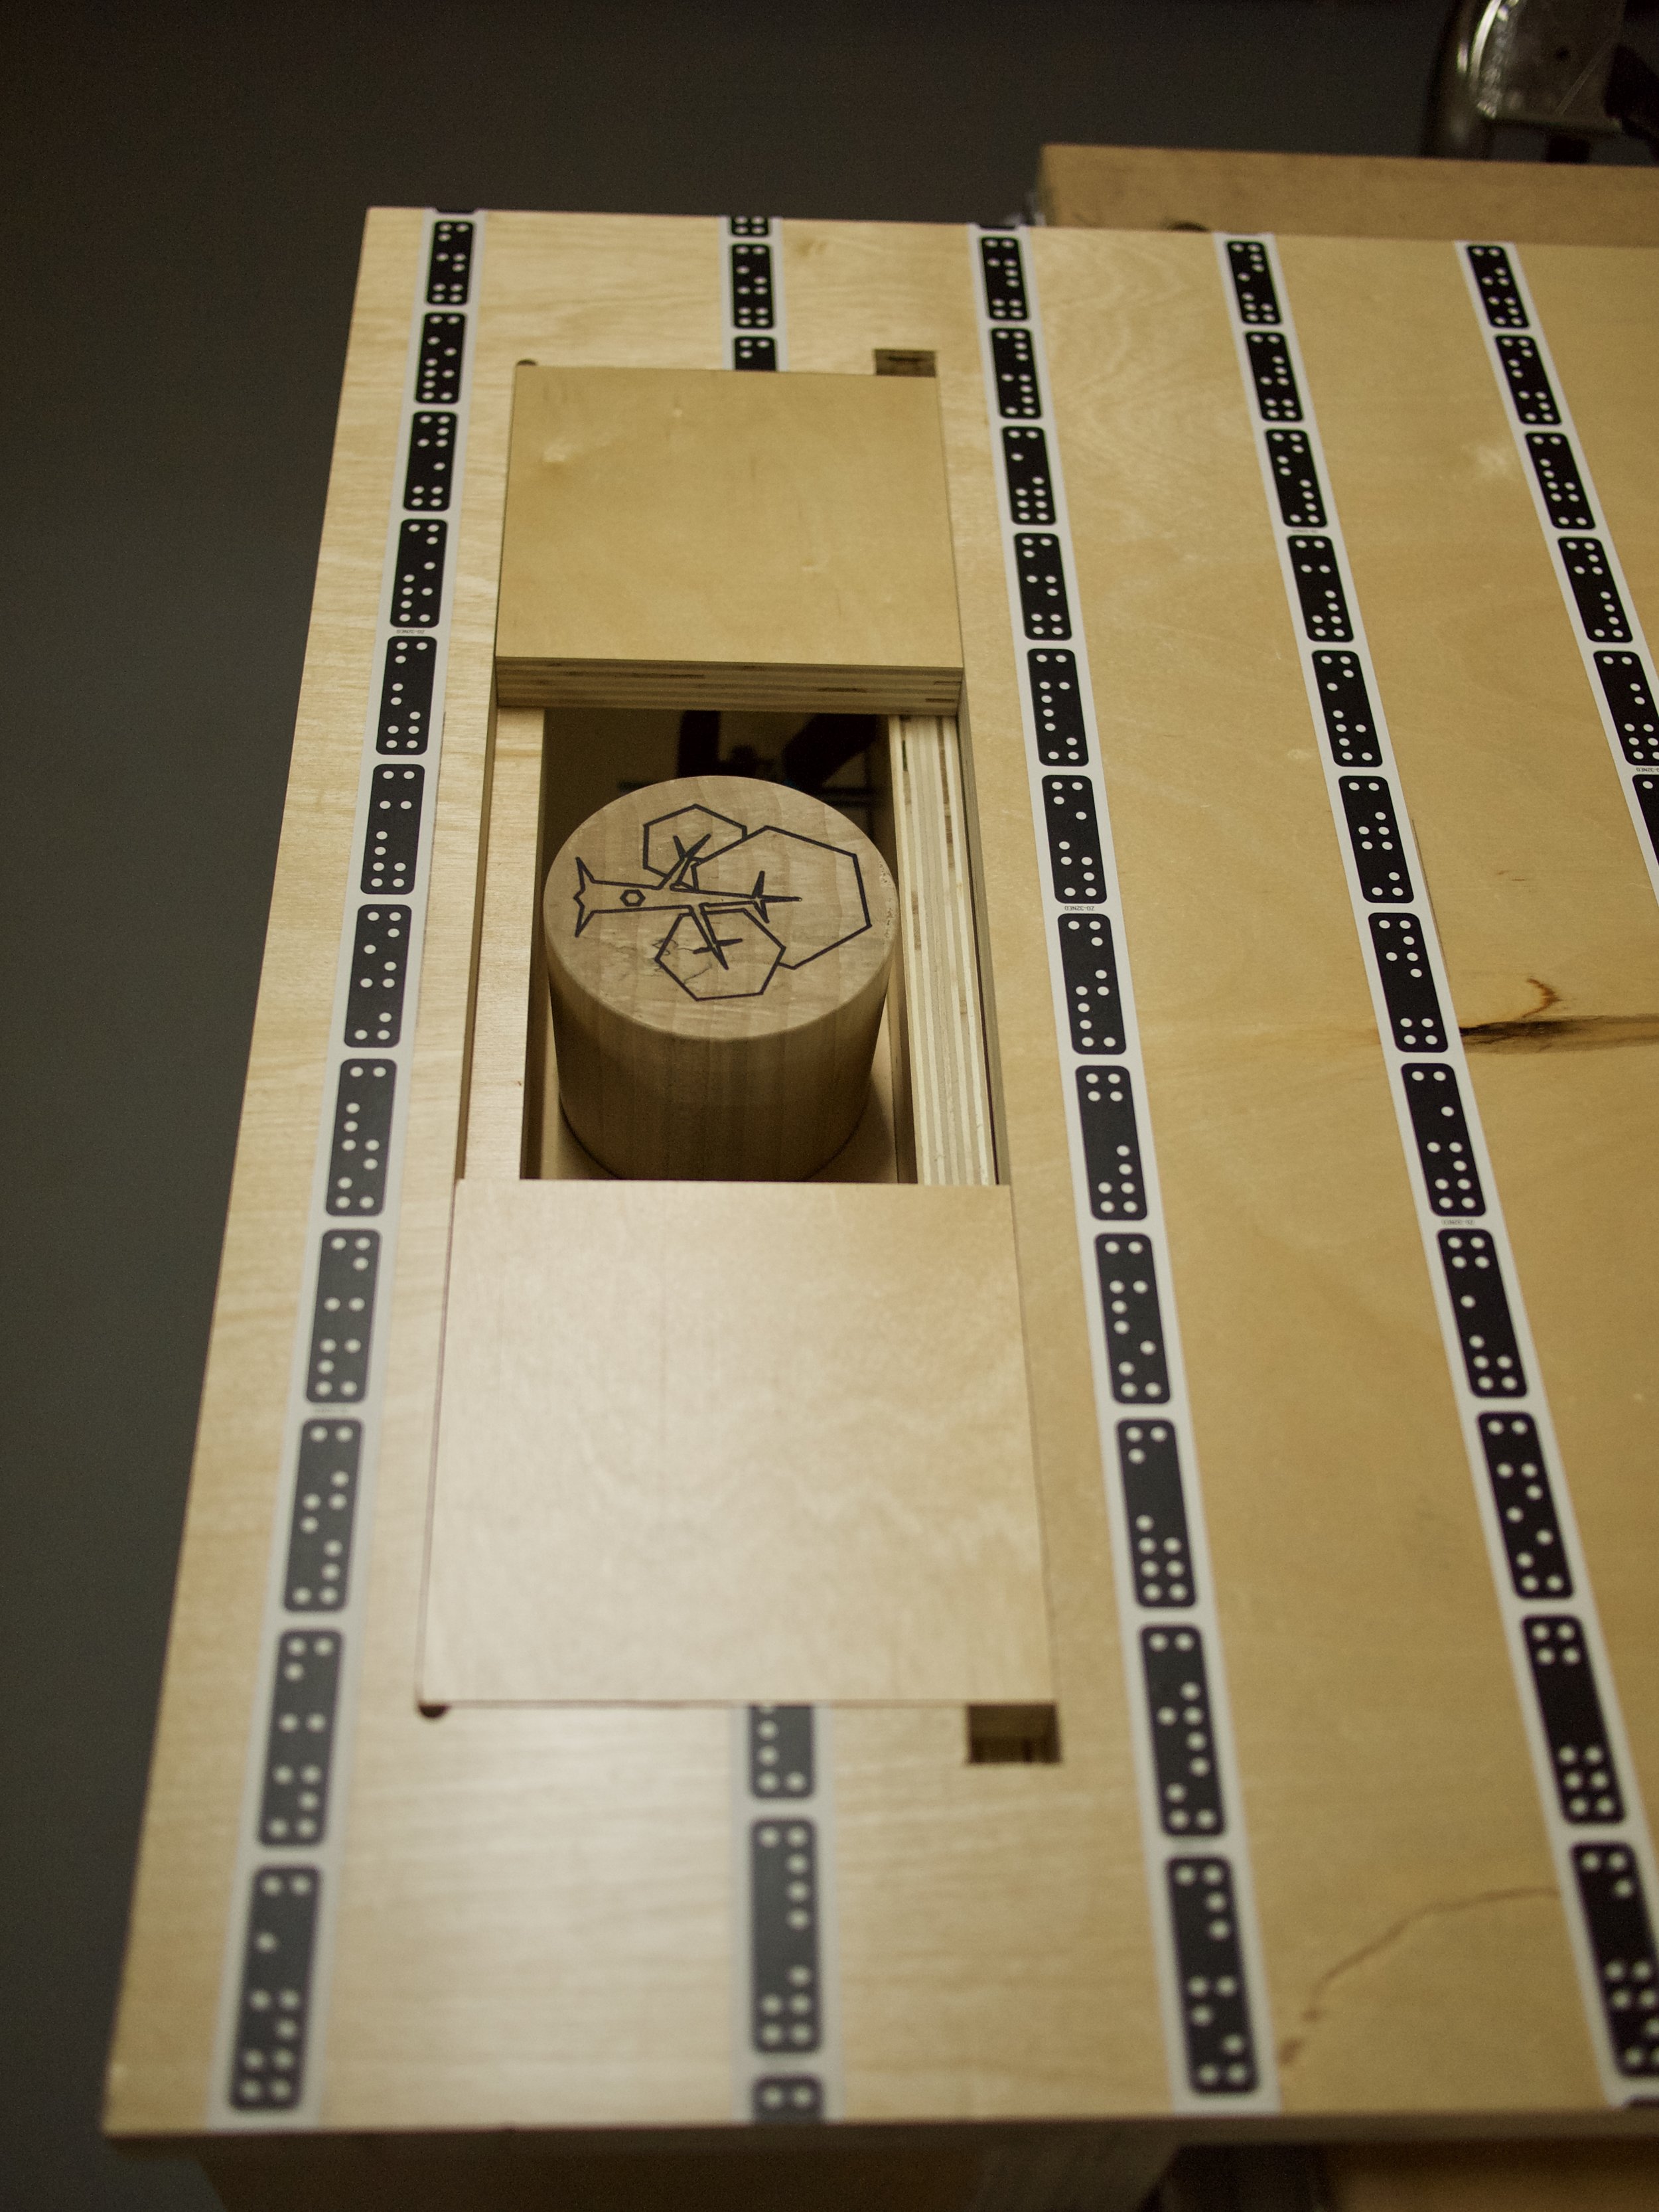
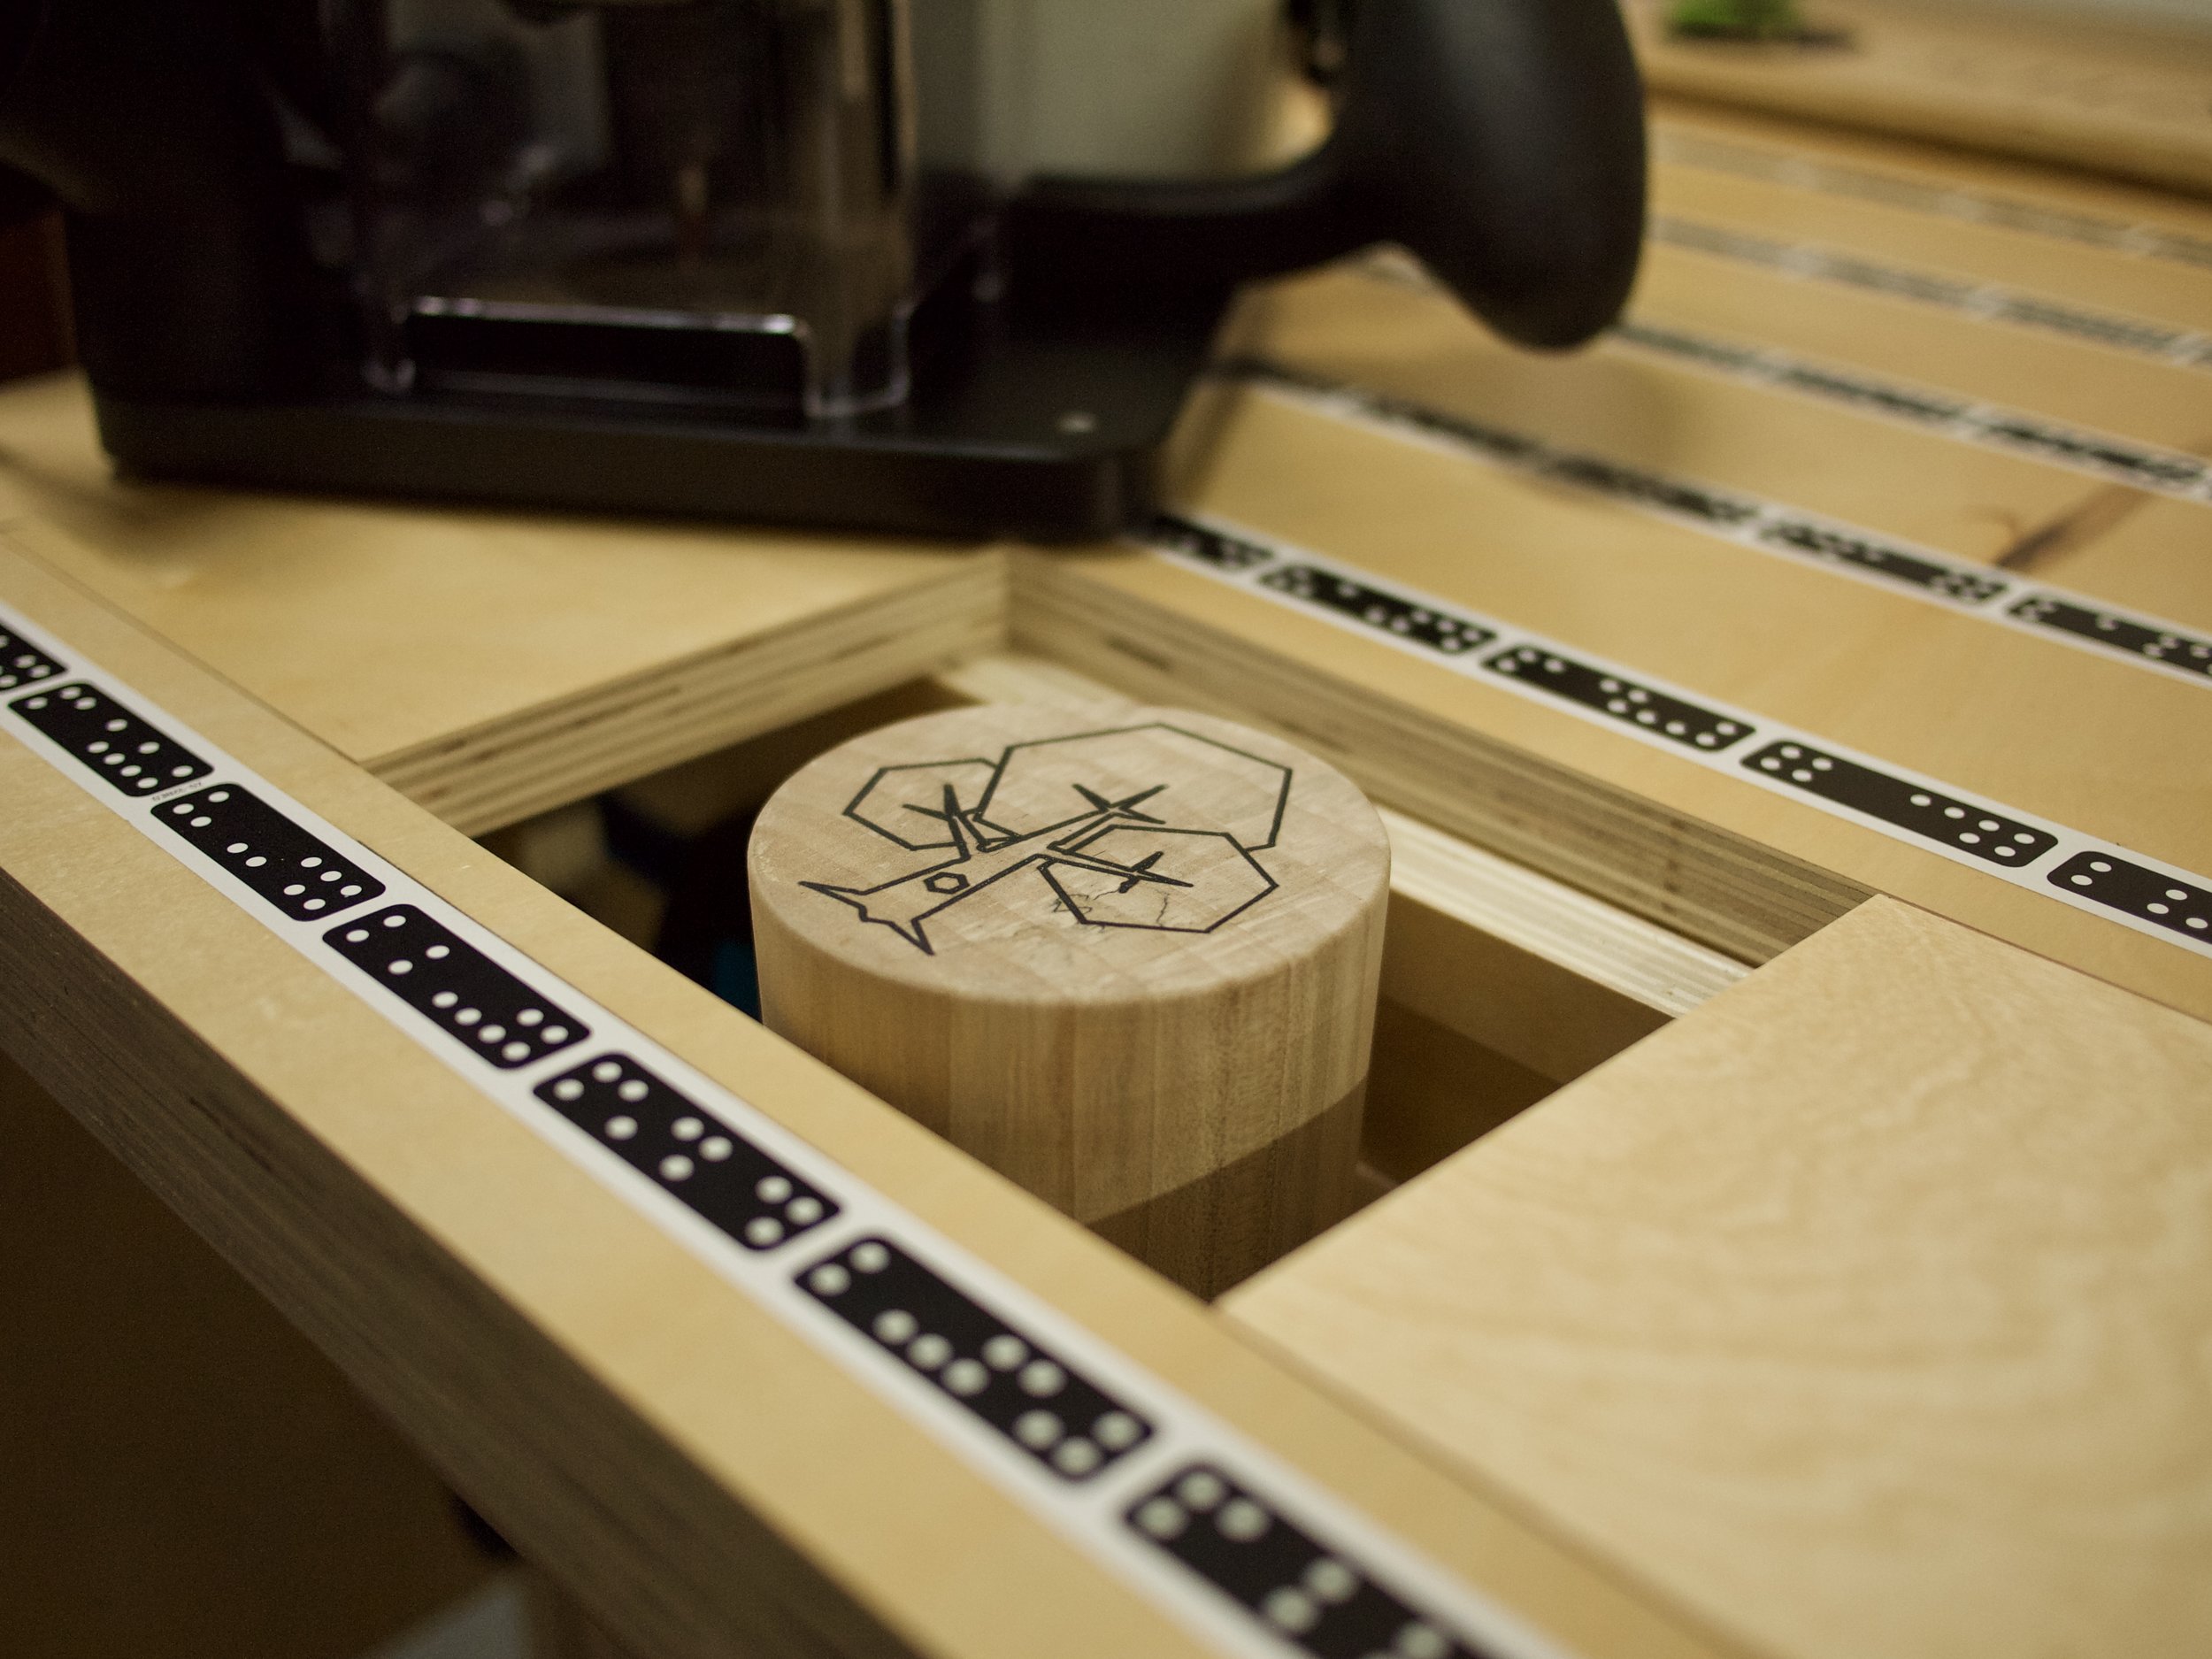
For those who have read my "Turning a Wood Mallet..." post last week, I used the Shaper Origin to engrave our logo into the end of the mallet. I did this by using the Origin to cut out a precise hole in MDF that could hold the mallet snugly and flush with the top surface. This worked great for a one-off but if I want to make more (hint, hint, keep an eye out in the Store sometime soon) it might be a bit difficult and time consuming to keep using that method since every mallet would be a slightly different diameter.
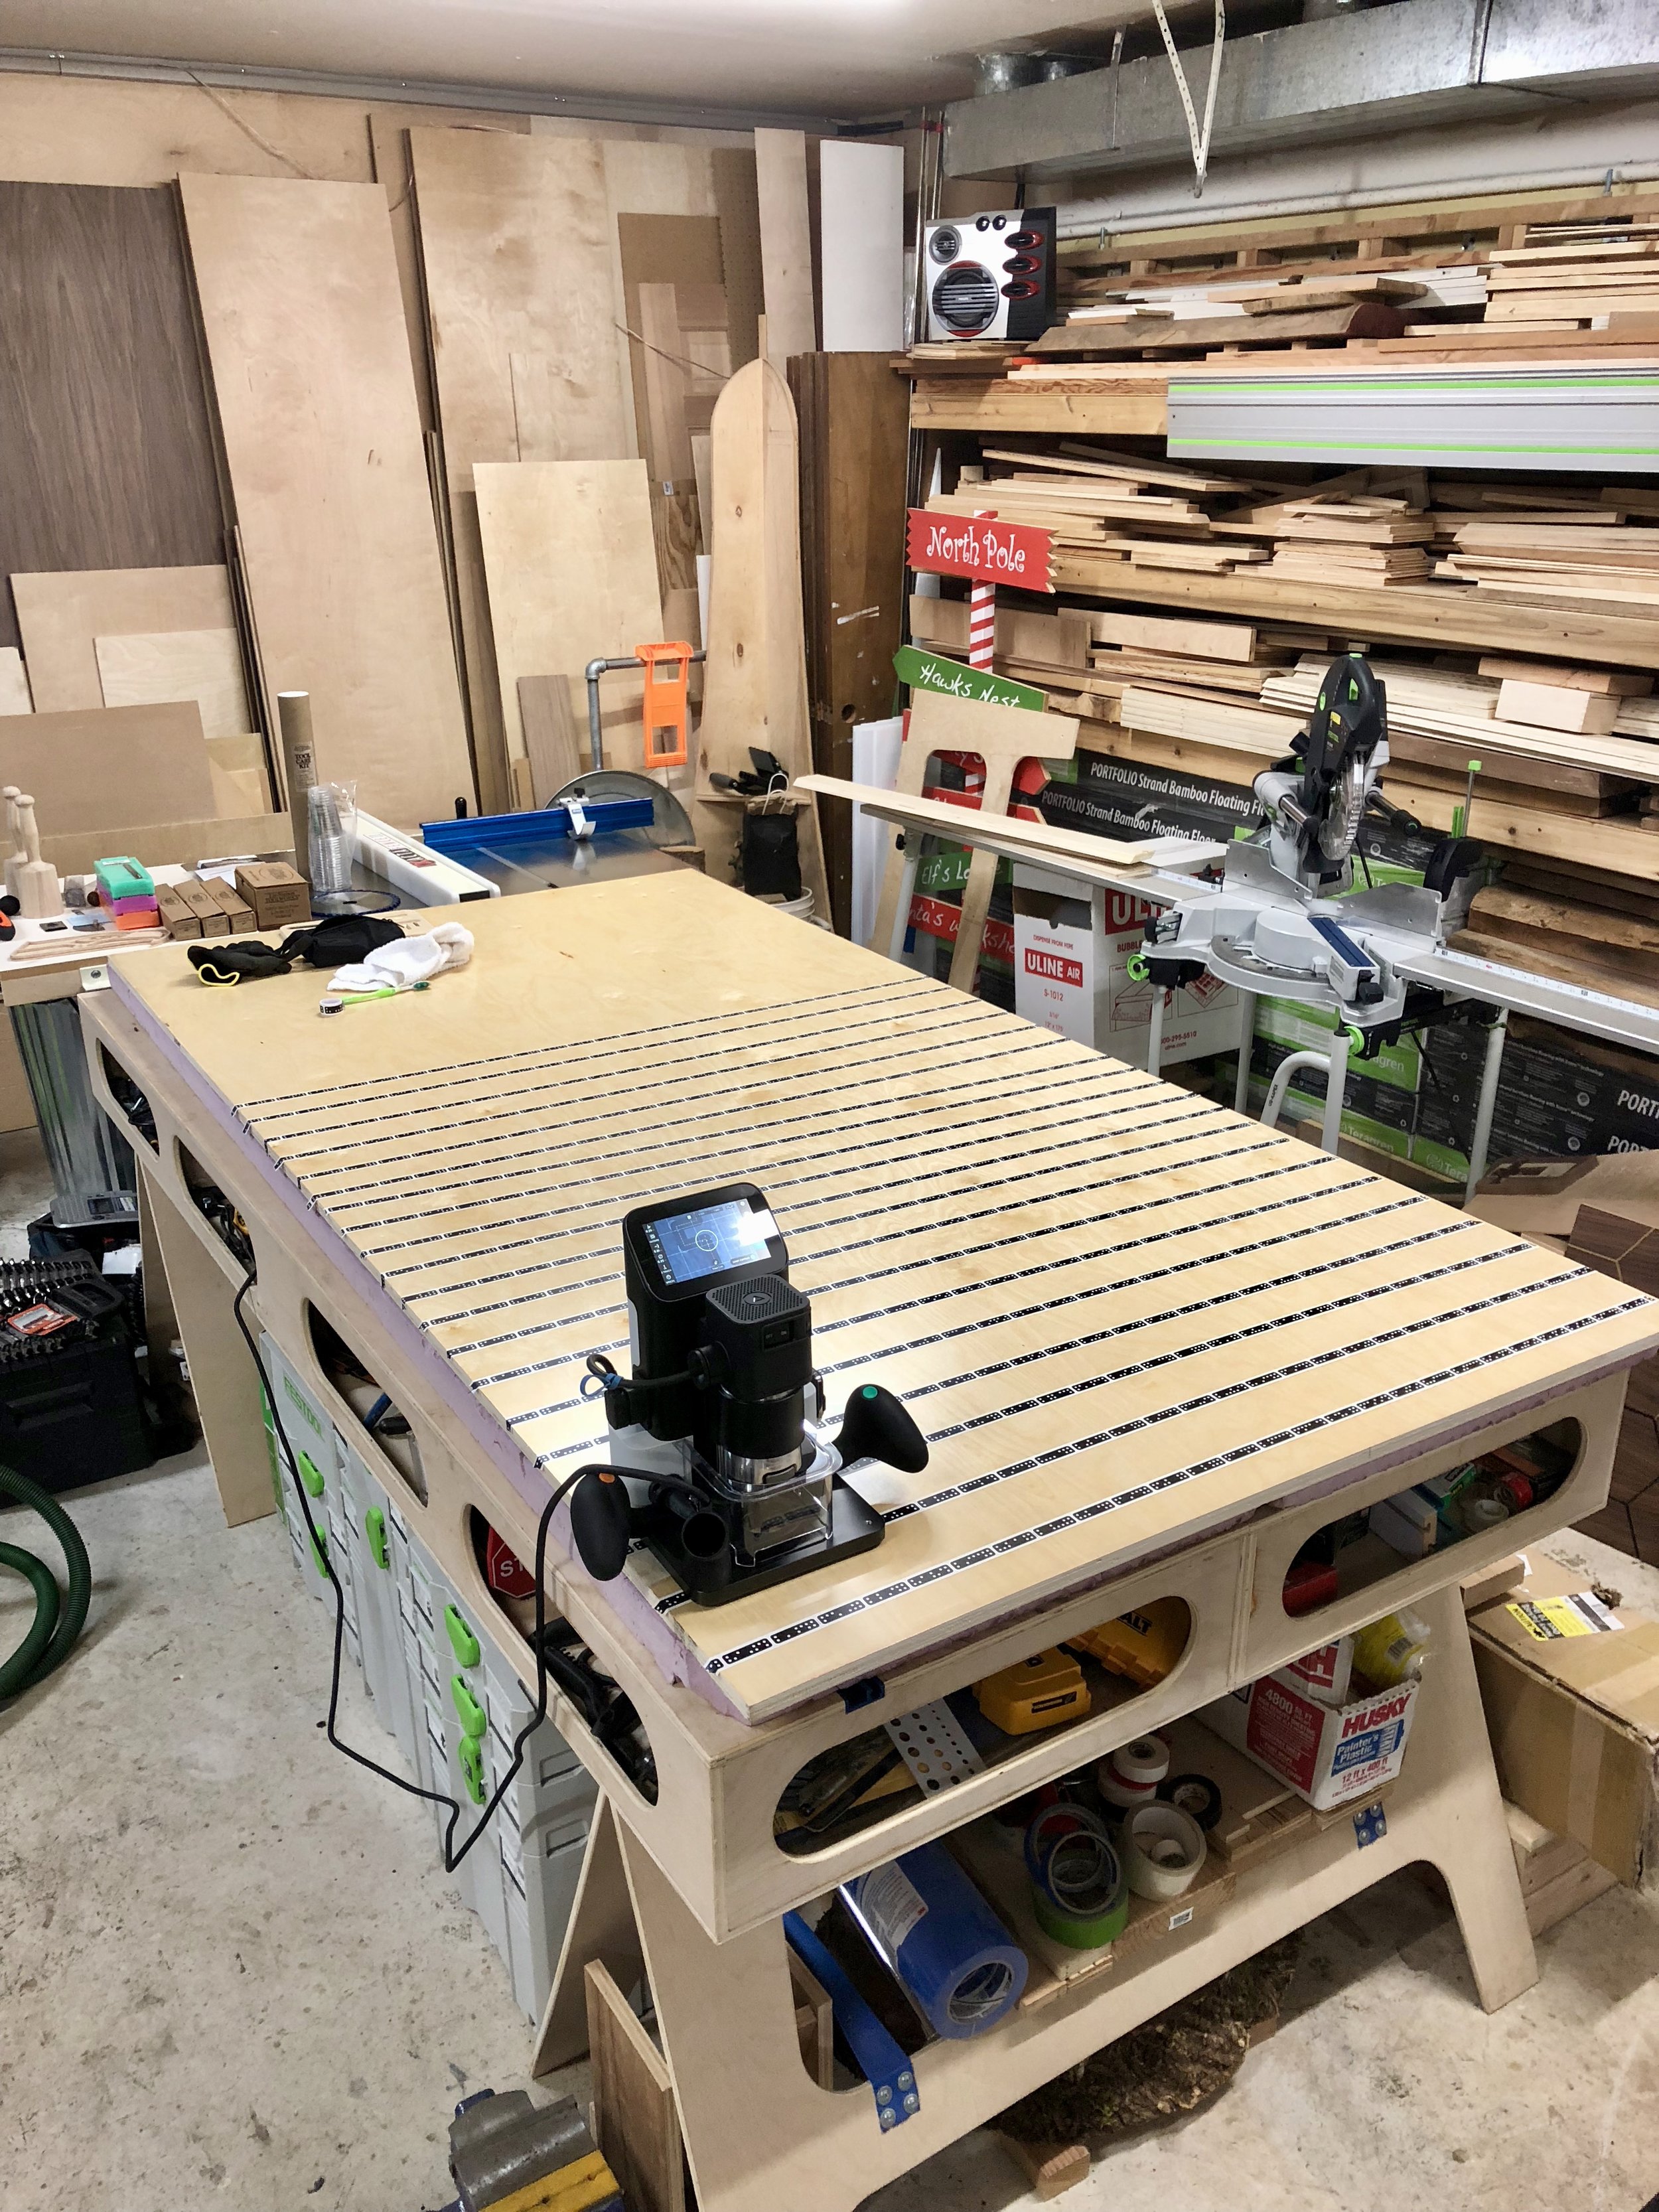
Which brings me to the project this post is about. I've been eyeing one of the Shaper projects on ShaperHub for a while now and the Vertical Workstation would be perfect for doing this sort of end-grain engraving work. I just needed to "tweak" a few measurements to make it work for this particular application.
Ideally it would have been great to simply open up Fusion360, make a 3D model of exactly what I wanted and then export the .svg files to cut the parts out. All the tolerances would have been tight and everything would have fit together snugly. However, I'm still ramping up on Fusion360 and finishing up an online training course so I didn't feel confident in doing that. So I decided to go the "quick" route by editing the .svg file Shaper provided with Adobe Illustrator. Unfortunately, things didn't go to plan.
Tabs in the Top
Tabs on the first build
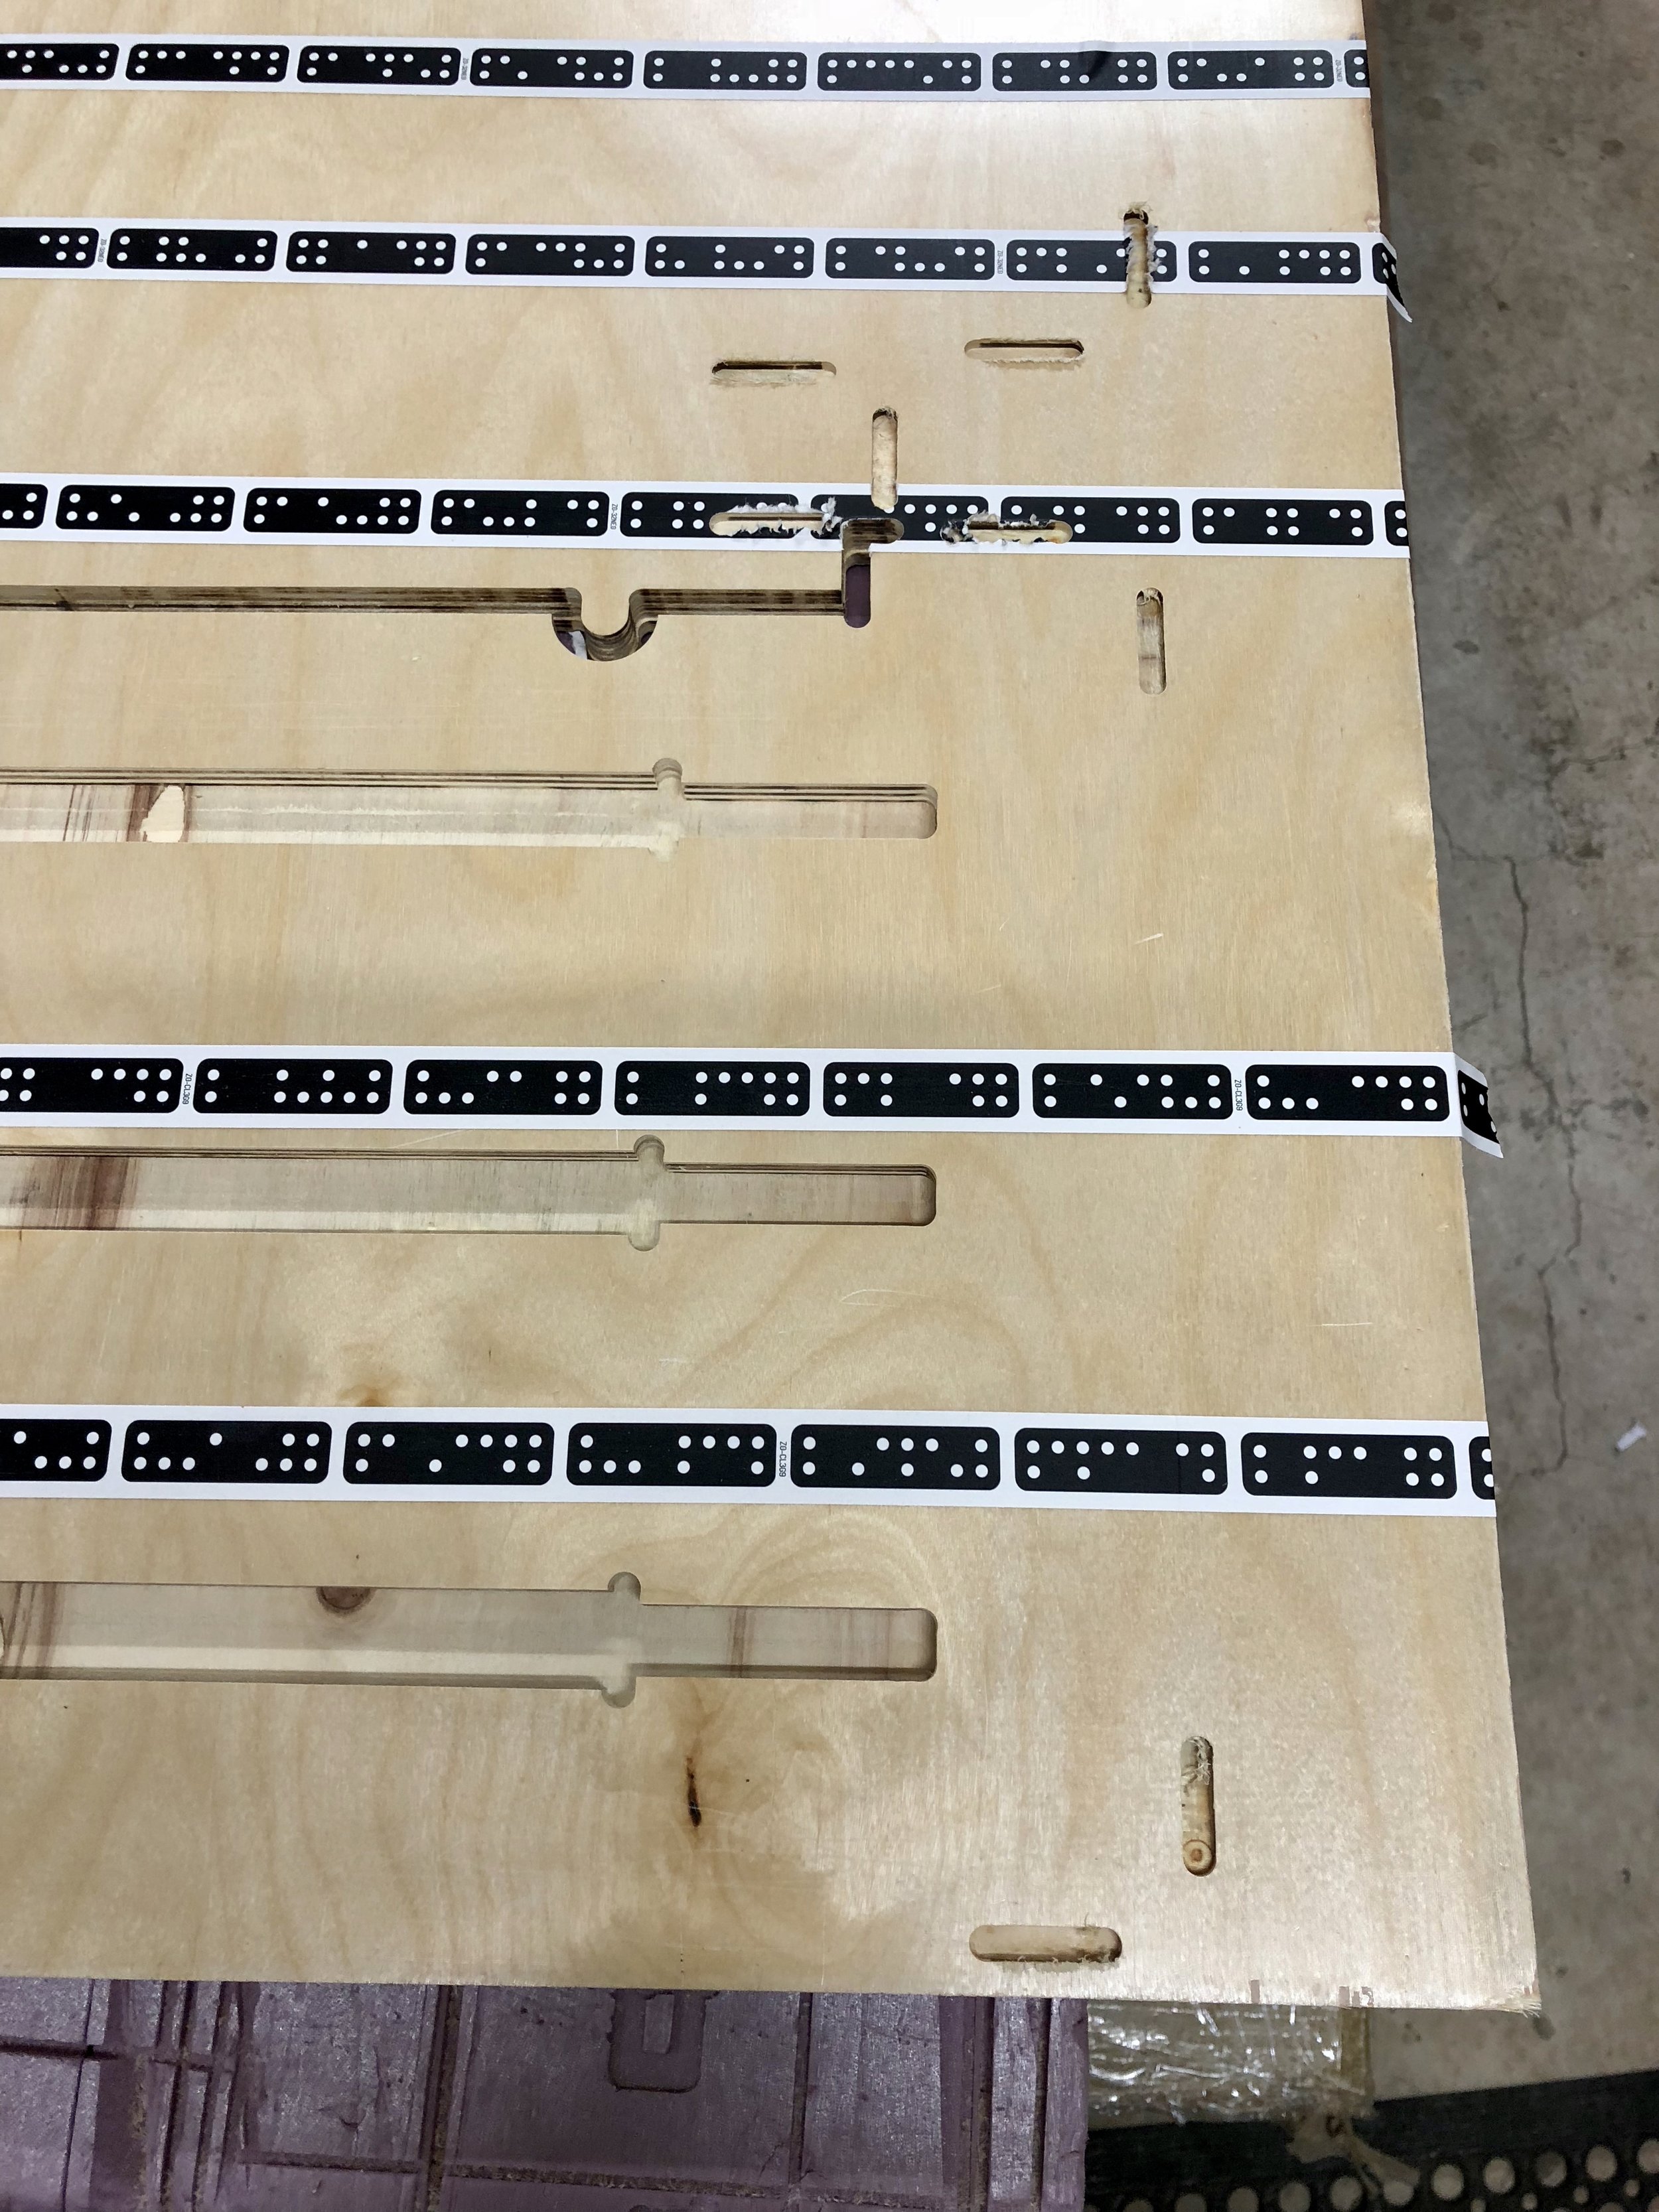
Shaper did say on the second page of their instructions that the 3/4" material thickness the project files were designed for was .73in (18.542mm). I did a test cut of one of the tab holes and my pre-finished birch ply (17.85mm) was pretty loose so I "offset" the cuts to compensate. Needless to say it was a botched job. Things were super tight in some places and sticking out in others. Which then made me evaluate the design a bit. Since the top of the workstation, where the Origin slides around, needs to be completely flat and smooth, I didn't understand why you would want tabs from other pieces sticking through it. I did try to block plane and hand chisel the tabs flat but since I was using pre-finished ply, it basically ruined the finish. (I was using pre-finished ply because I had a leftover sheet from some cabinets I made)
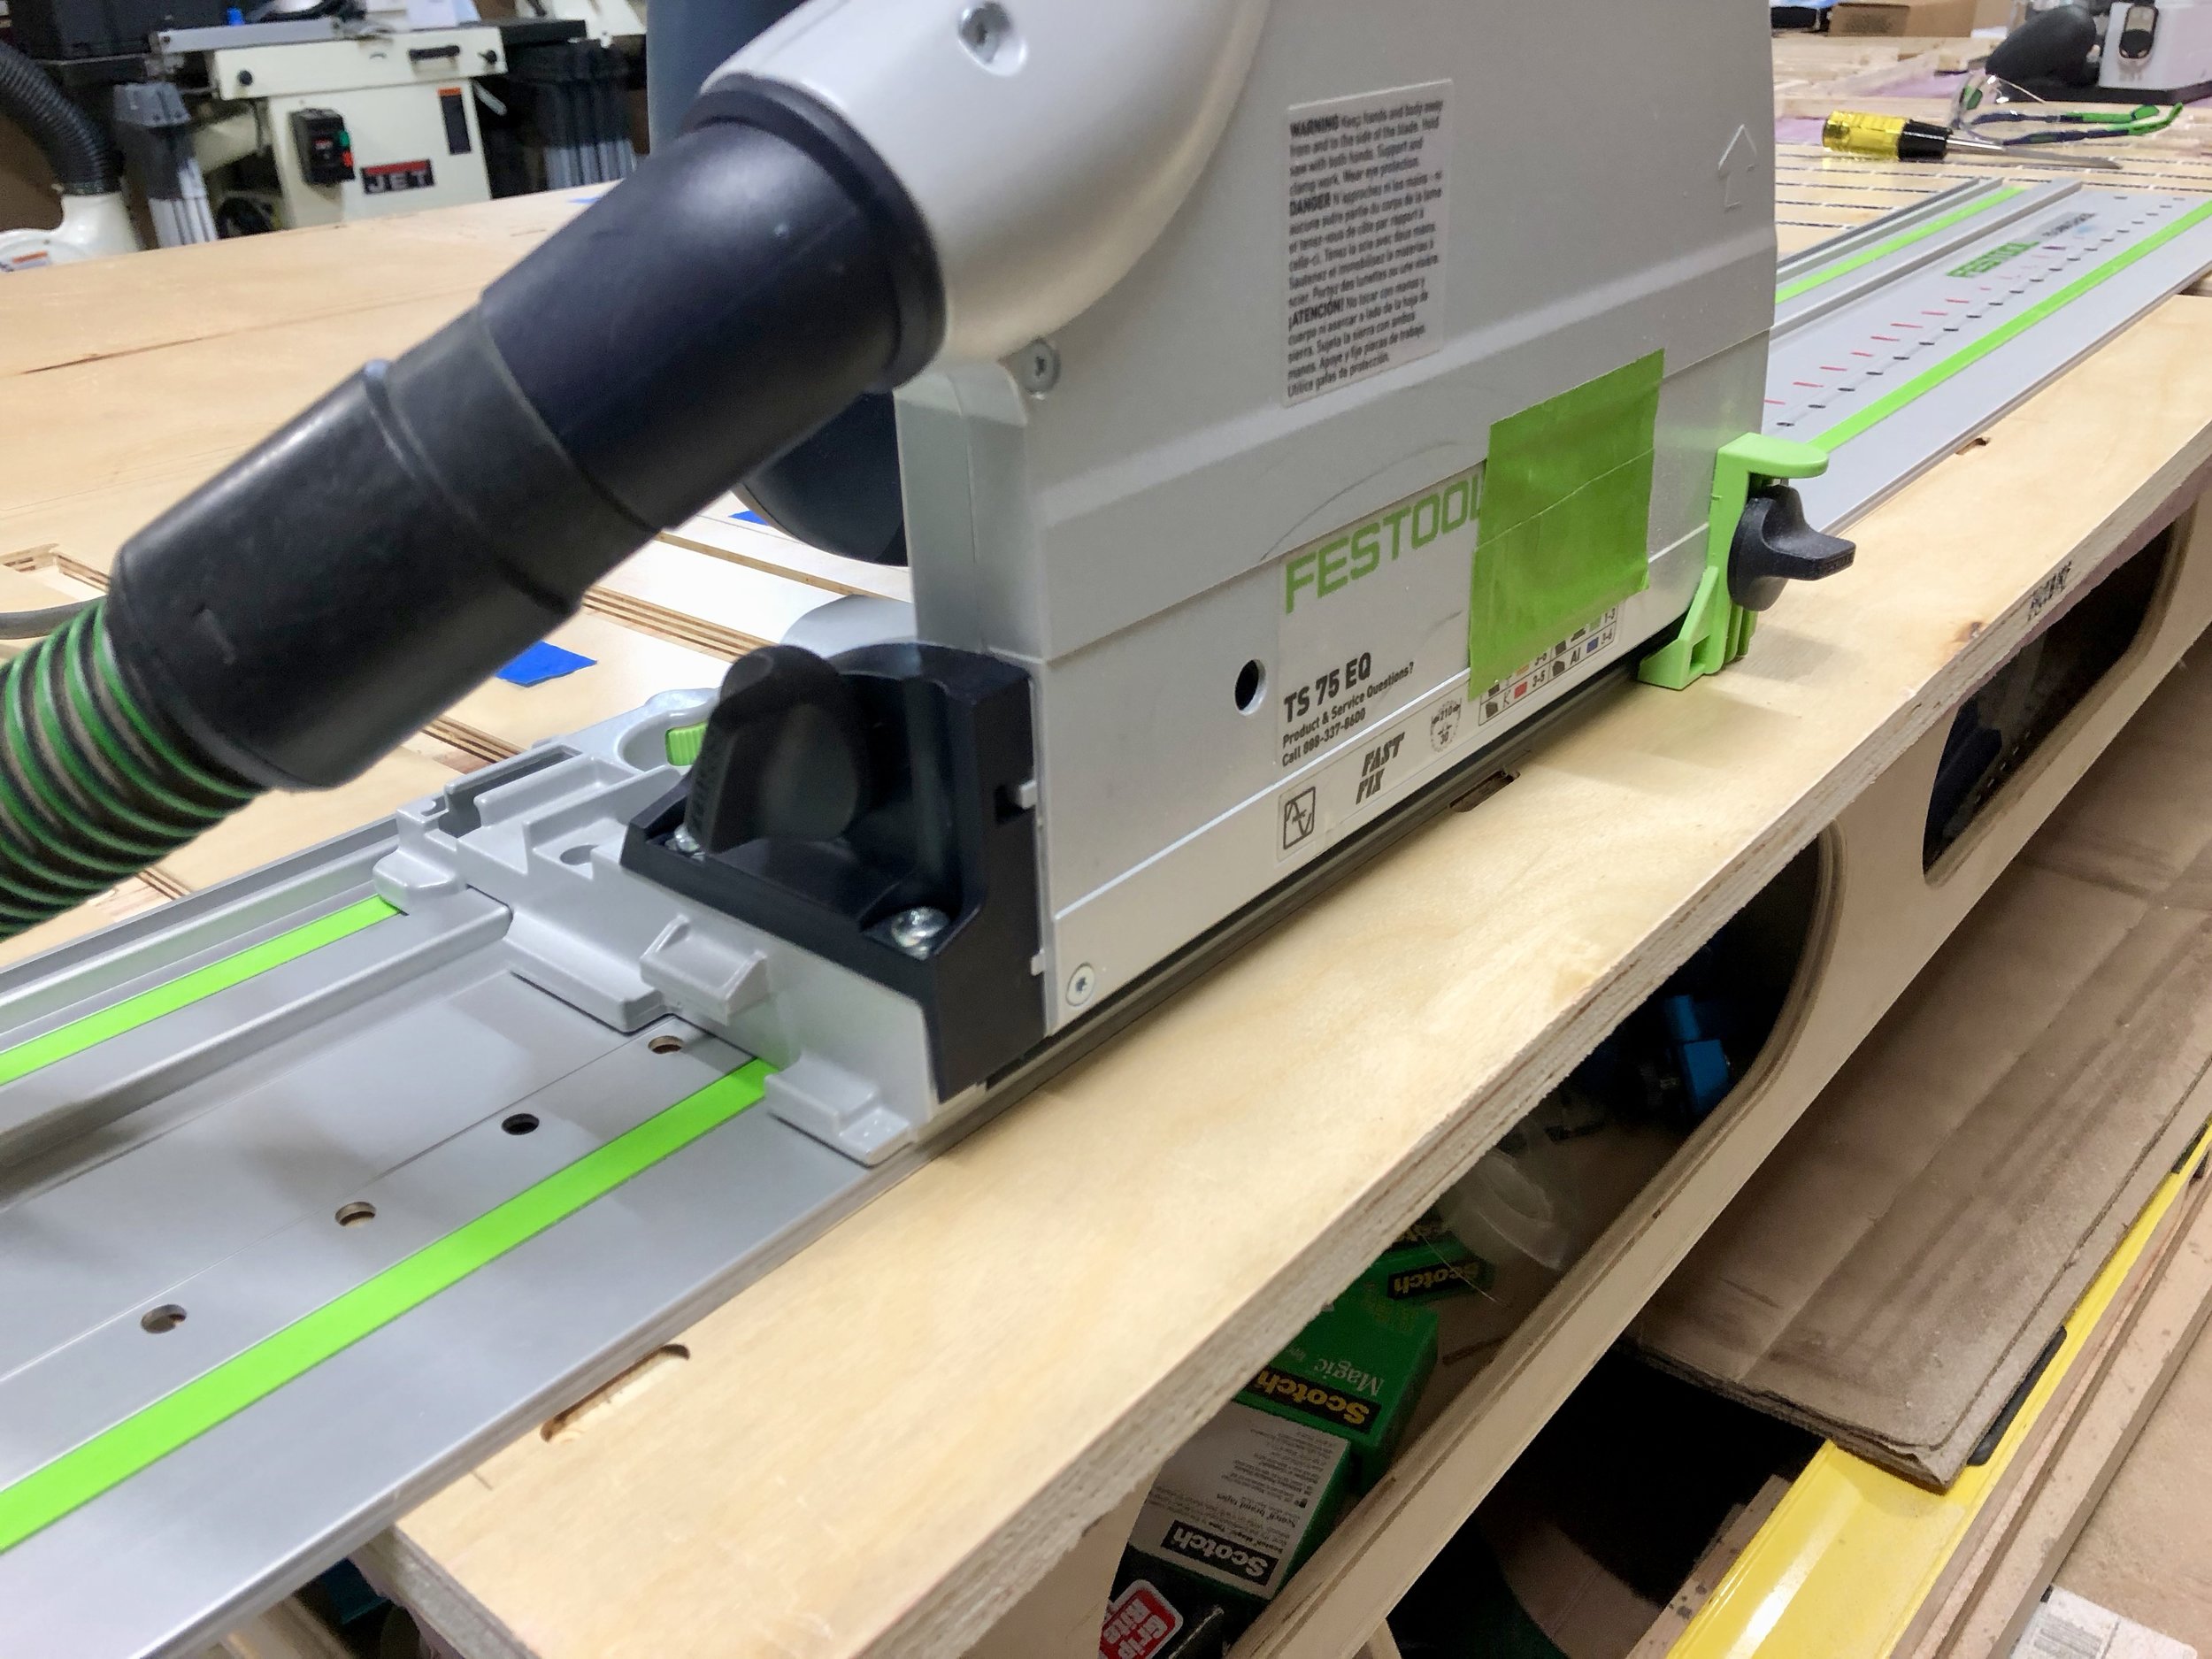
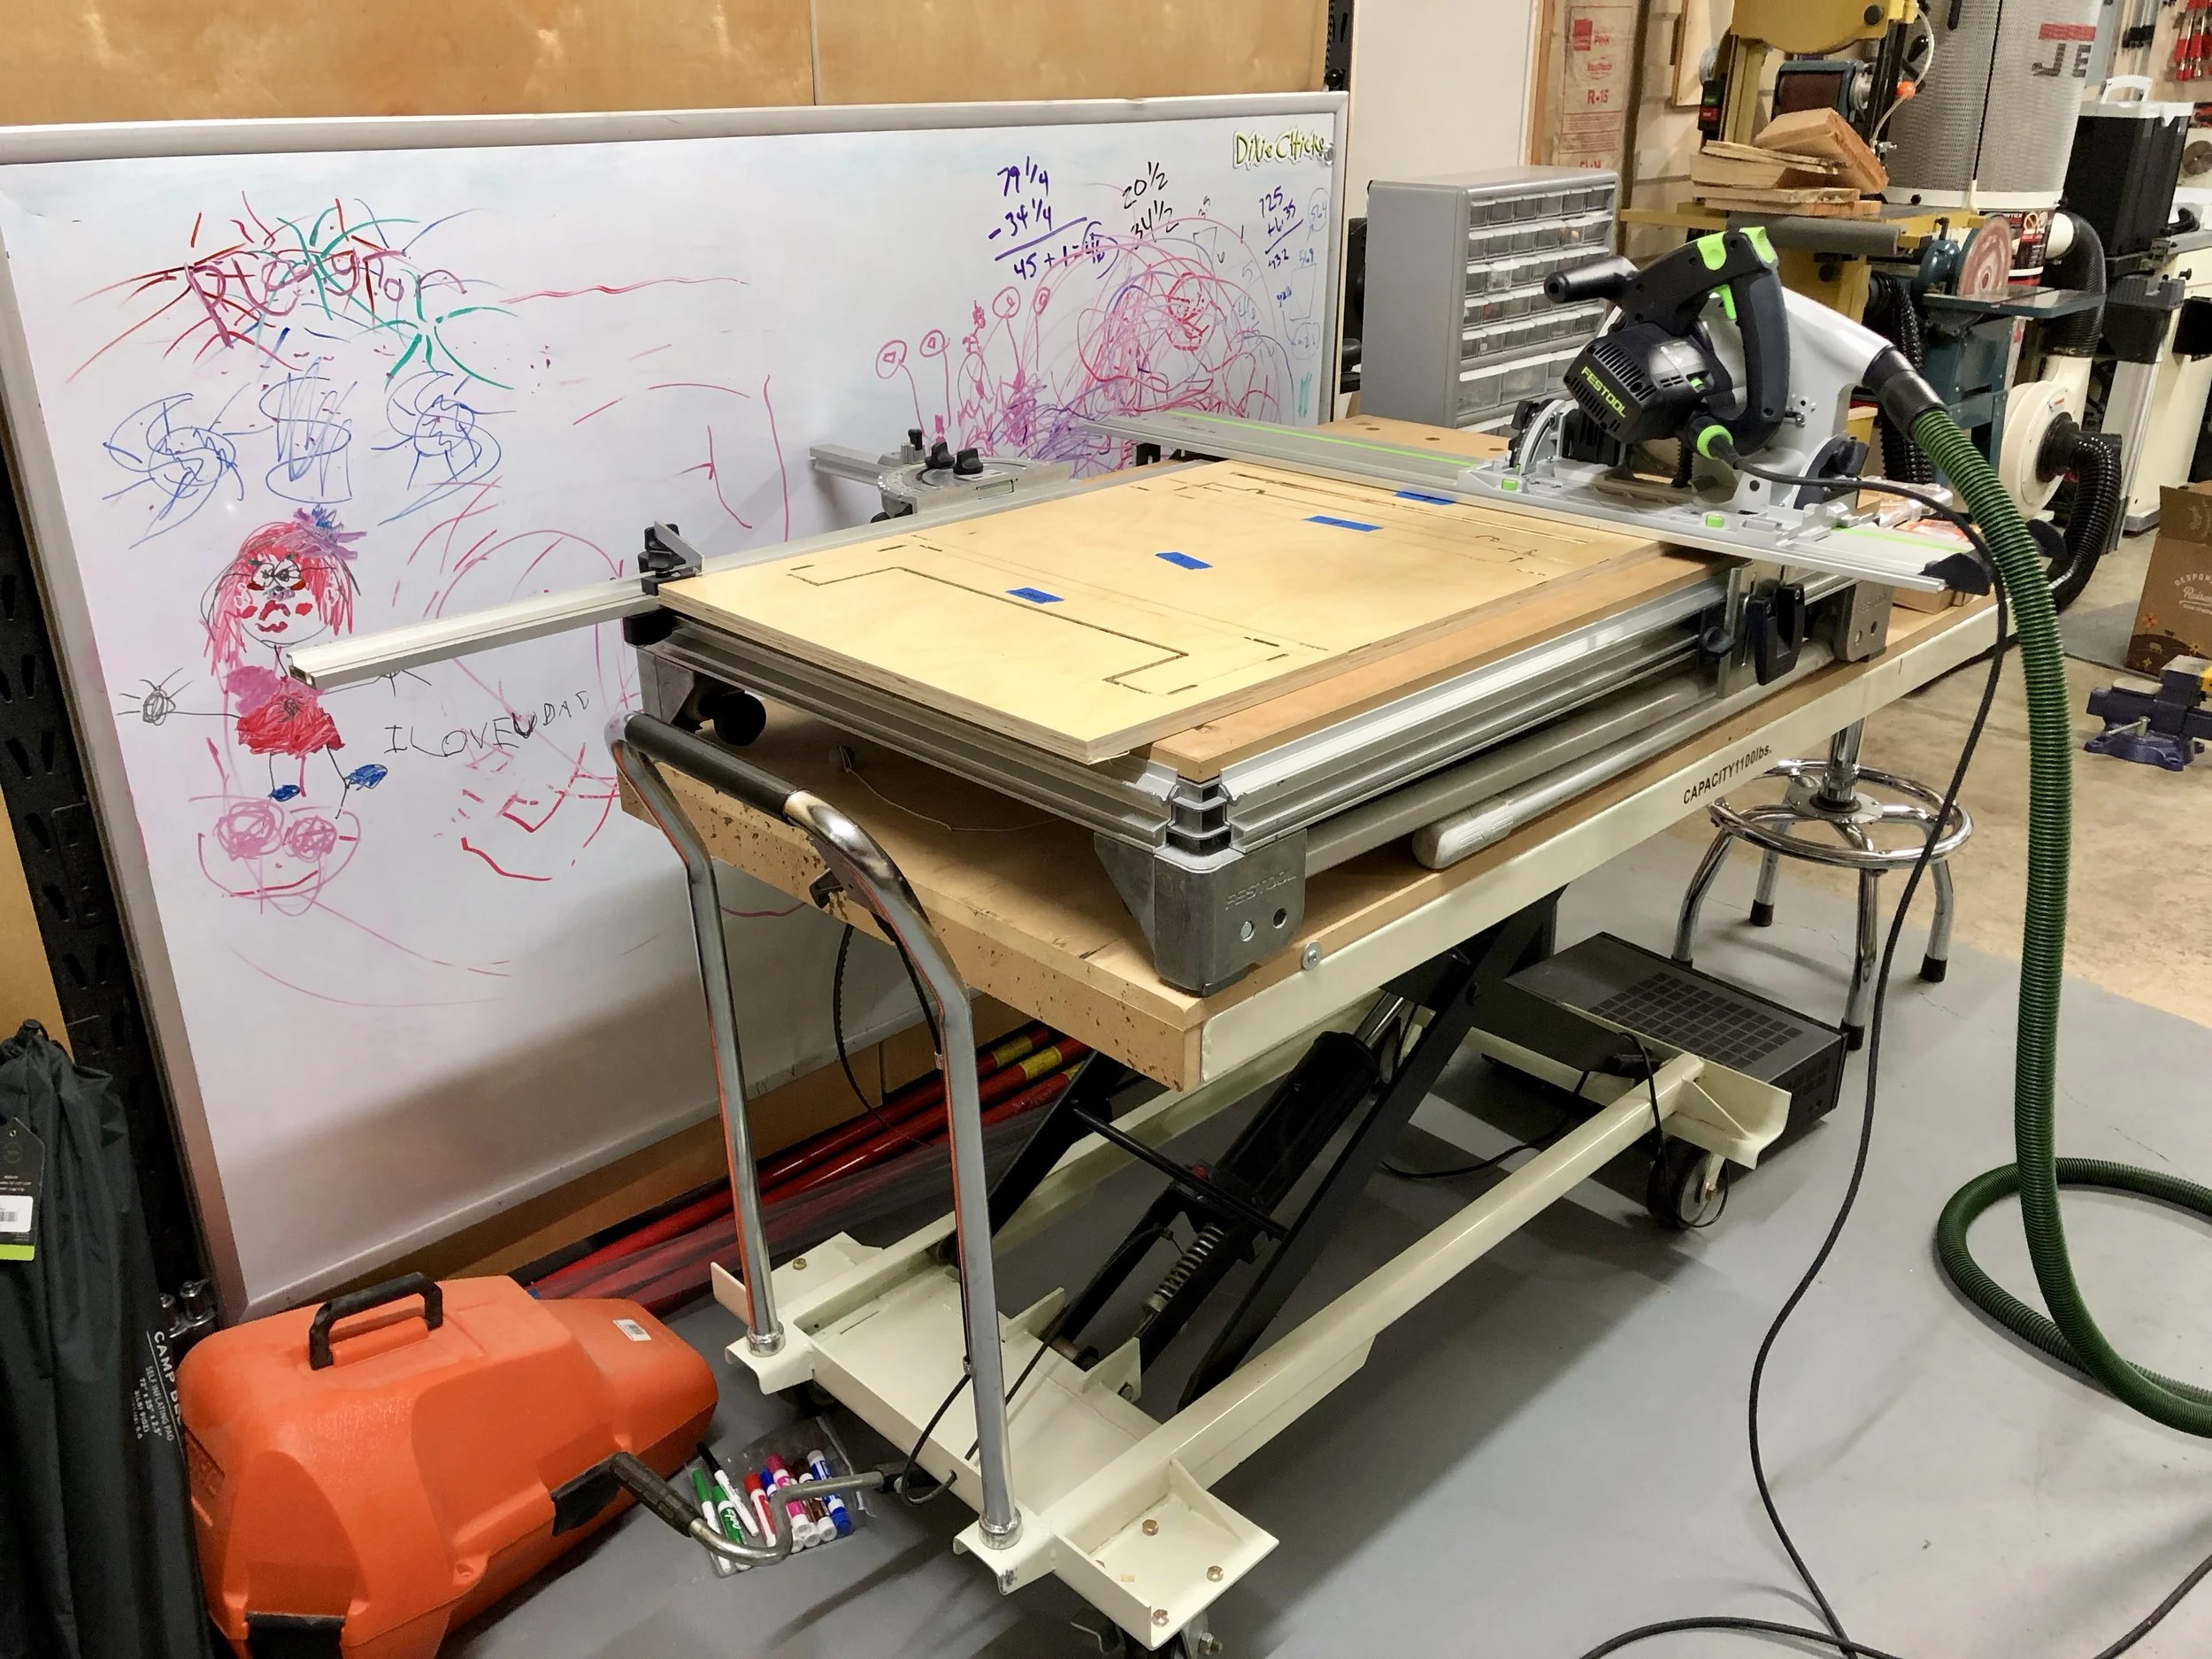
Long, Straight Cuts
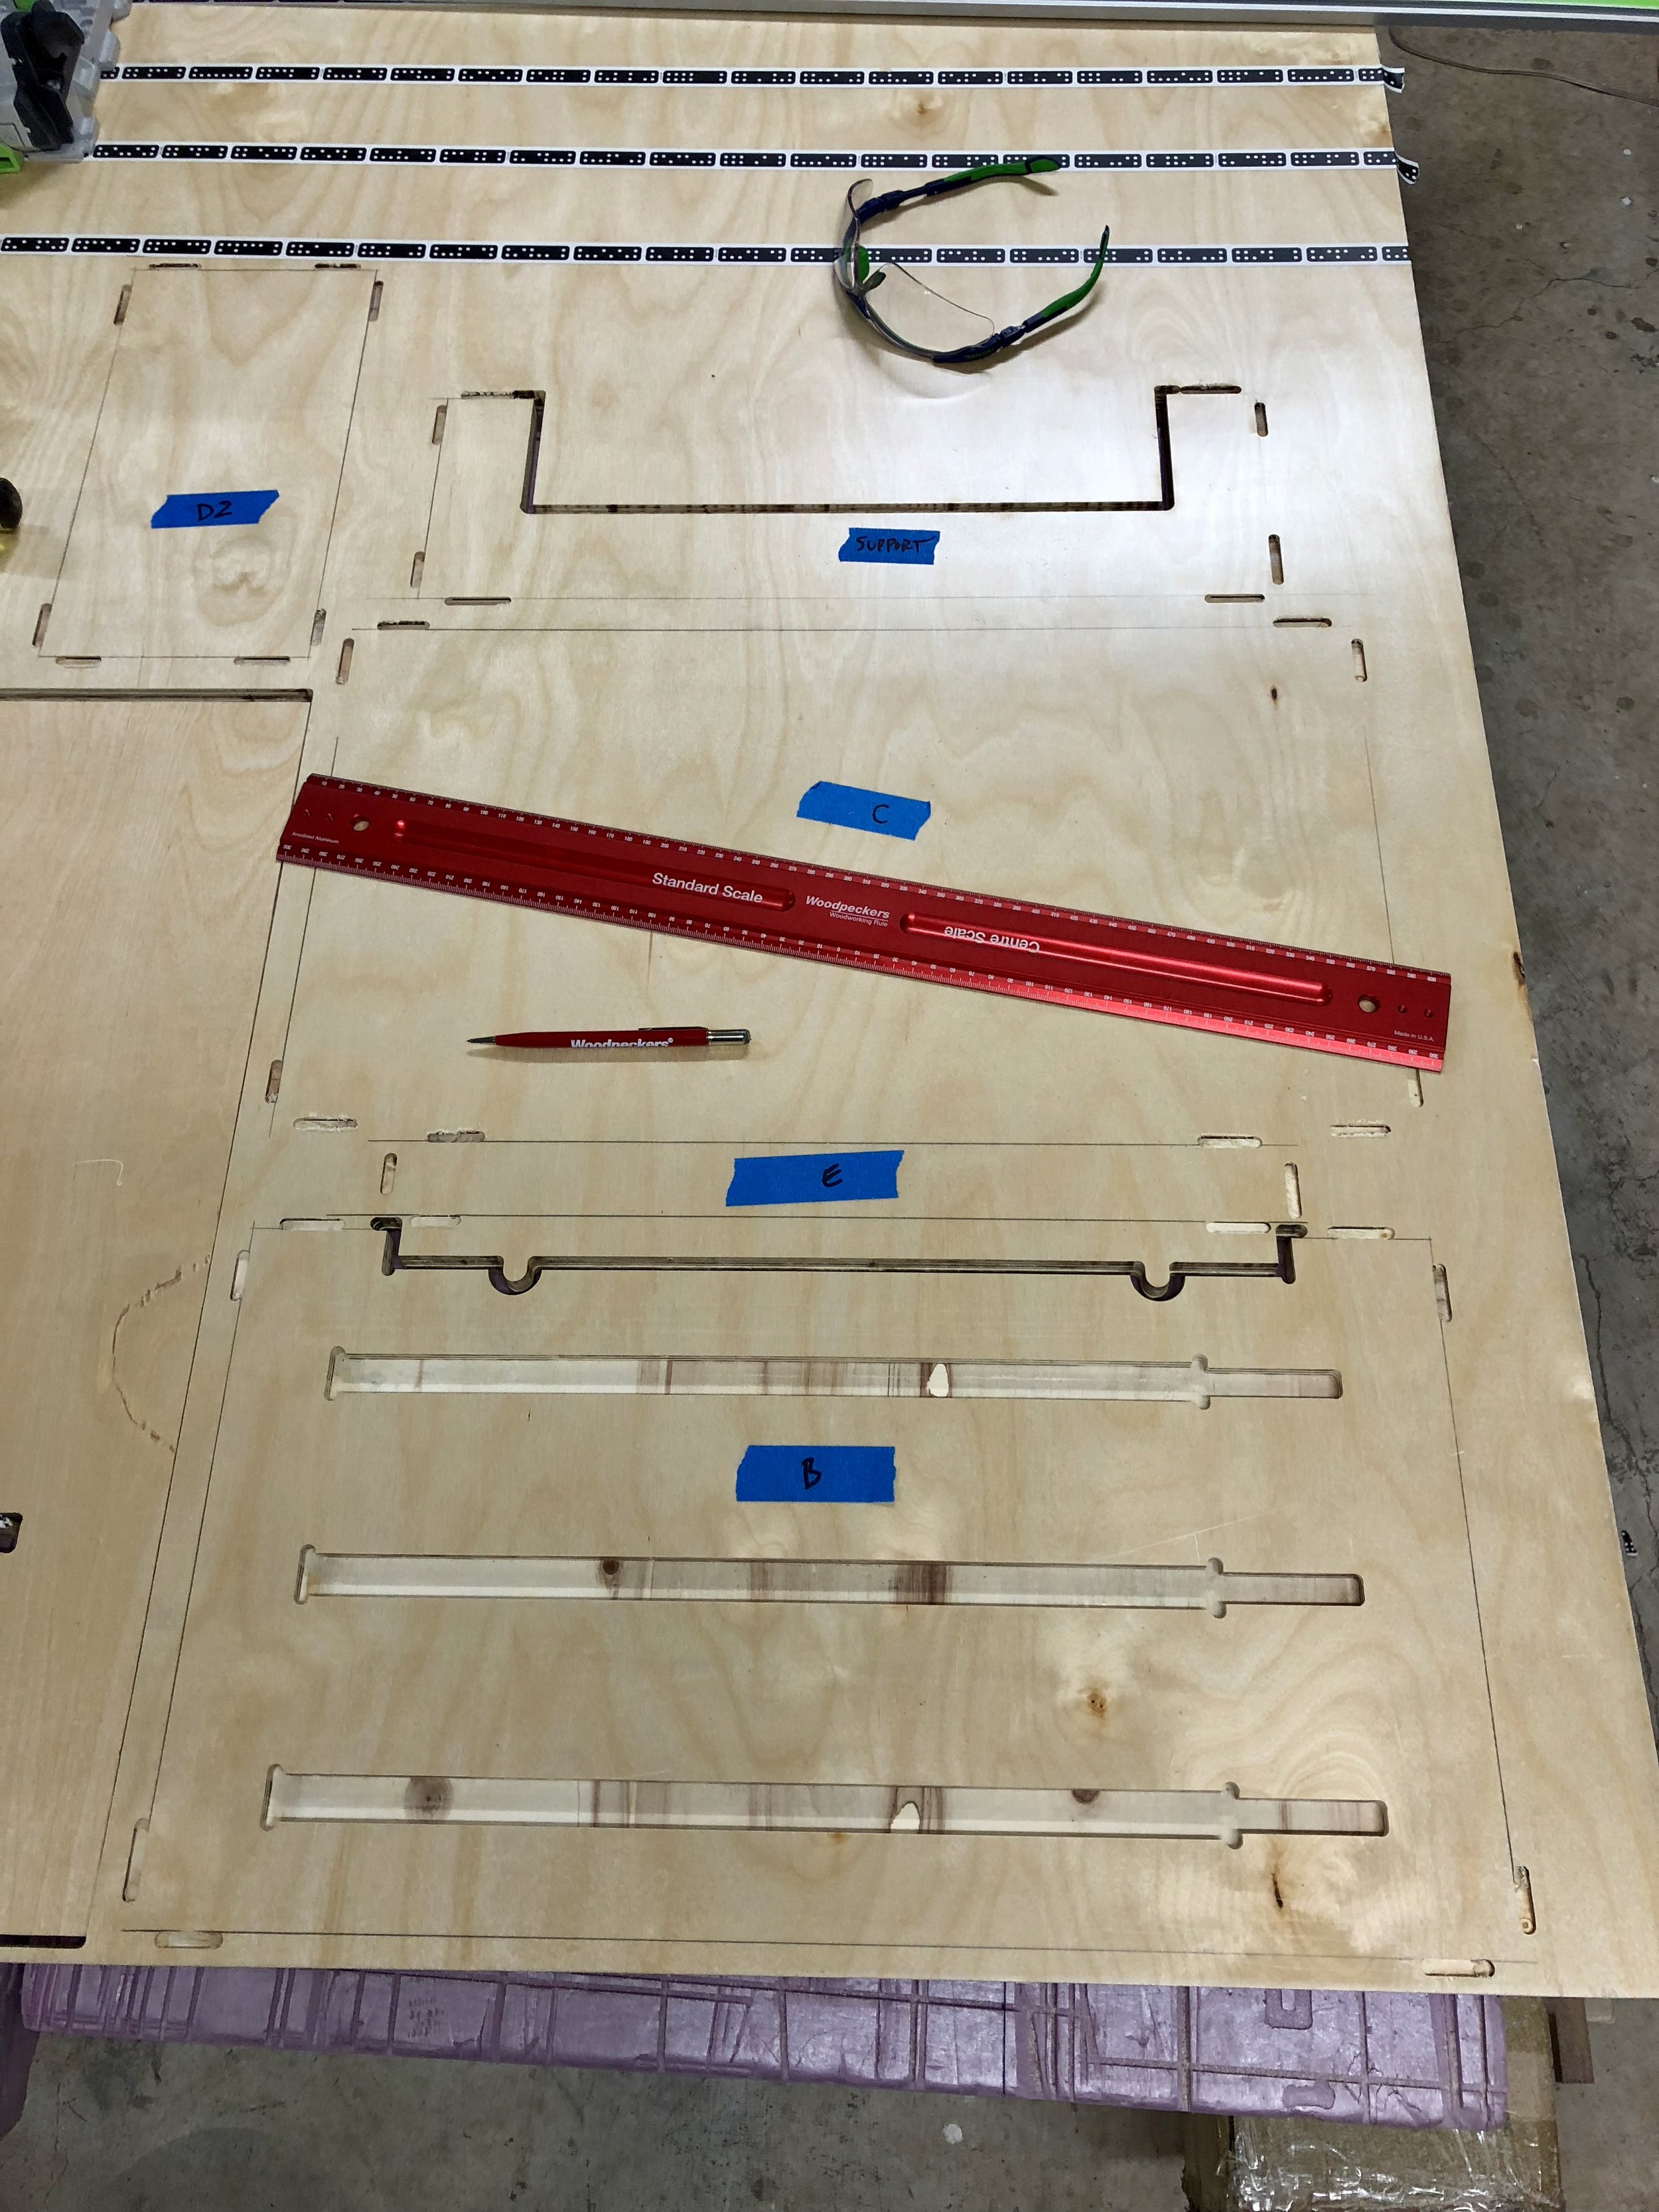
So the next thing I began to question was the method for cutting the long, straight edges of some of the panels. No offense, and I'm sure Shaper would agree that the Origin is not the tool of choice for a perfectly long straight cut. Of course it would be the Festool track saw! However, now I'm faced with a new problem: how to use Origin for the pocketing and curved cuts and then use the track saw for the straight cuts while still keeping everything precisely aligned. I decided to use the Origin first, make all of the pocket and curve cuts then use it to make 1/8" deep by 1" long cuts at the beginning and end of each straight cut that I would use as a reference with the track saw. I'll say it worked but the jury is still out on whether I'll do it that way again. I think next time I'll try cutting all of the straight pieces out, create a unique .svg file for each part and then use the grid functionality on the Origin to align the file to the edge of the work piece.
Tabs or Dominoes
Well since I'm not using tabs through the top piece and I'm going to use the track saw to make the straight cuts I might as well use Dominoes for joining the pieces together. It made the most sense and completely eliminated the issues with making a bunch of small modifications to the .svg file to compensate for the different thickness of material. Don't get me wrong, I still want to perfect the process of using tabs. I love the idea of having the parts just lock together right after being cut. But for now this was the better option.
Two for One
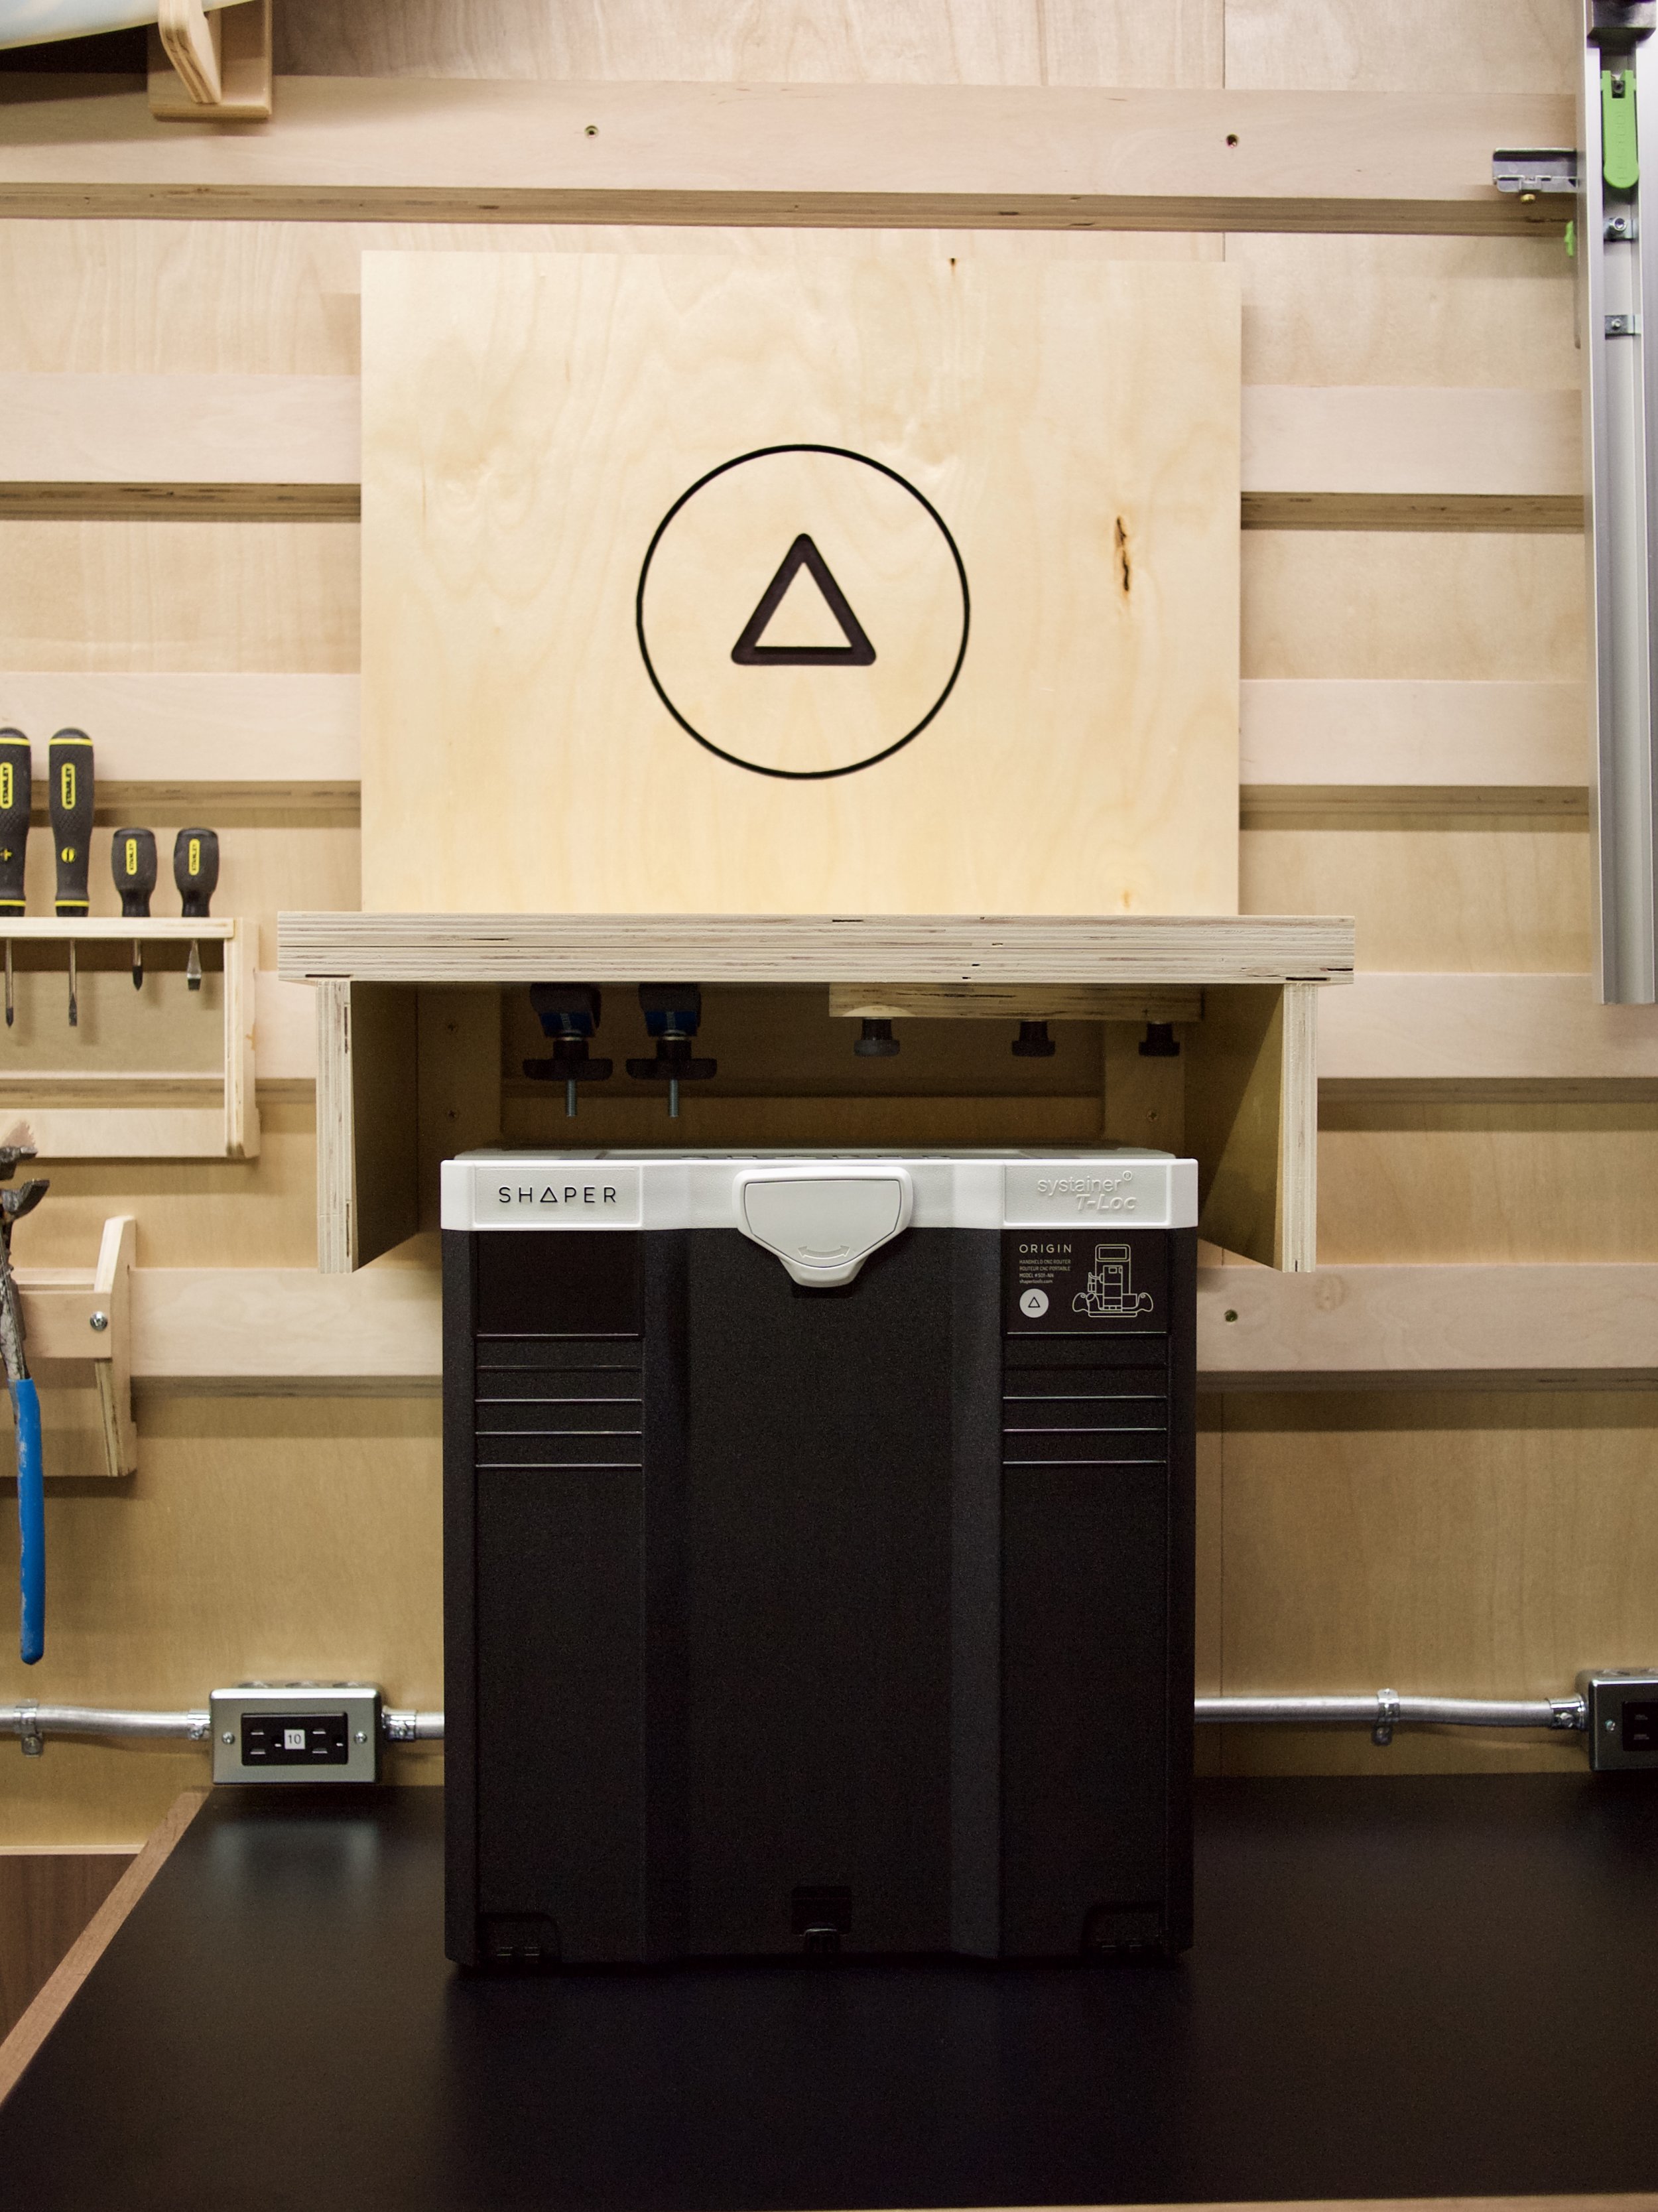
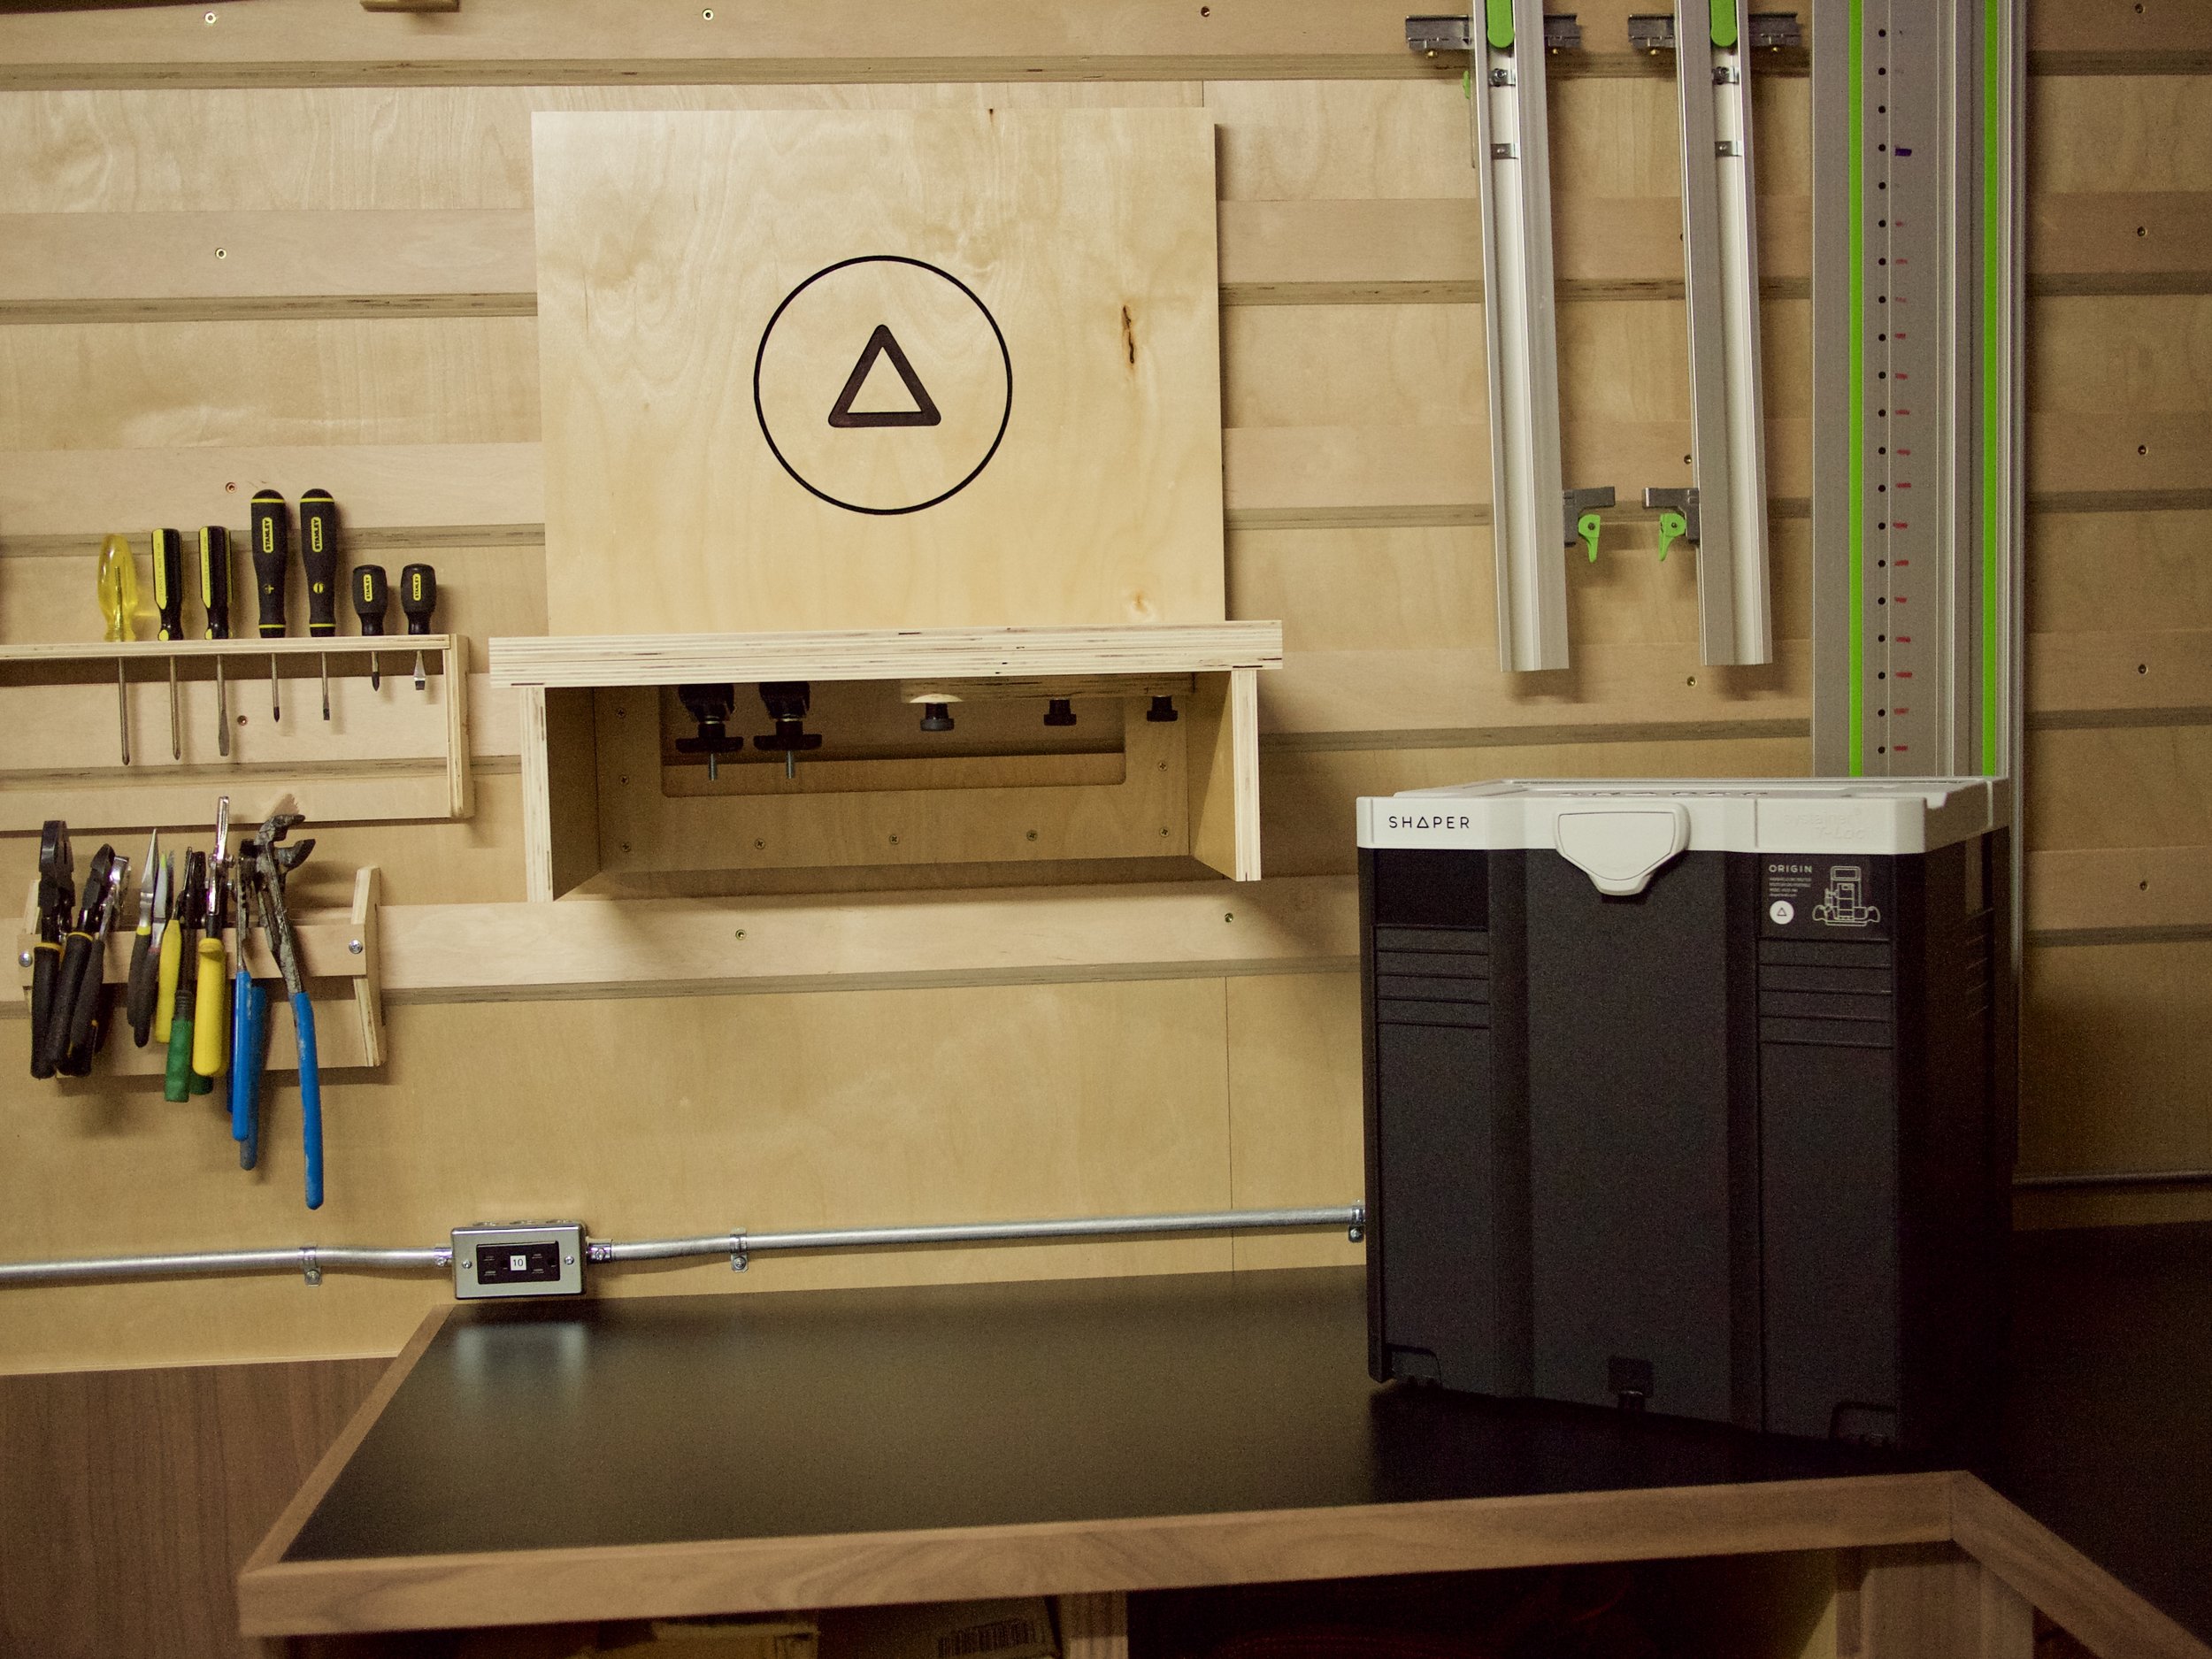
When I was playing around with the dimensions so that I could engrave on the mallets, I realized that I could also increase the depth of the top and the height of the vertical support piece (where the t-tracks are) so that I could use it as a shelf as well! Two functions in one project, bonus! I always wondered where I was going to keep the workstation when I wasn't using it so this solved that problem. It was also structurally perfect to be used as a shelf. All I needed to do was add a french cleat at the top. It doesn't interfere with the Origin or the marker tape either because of the increased depth of the top.

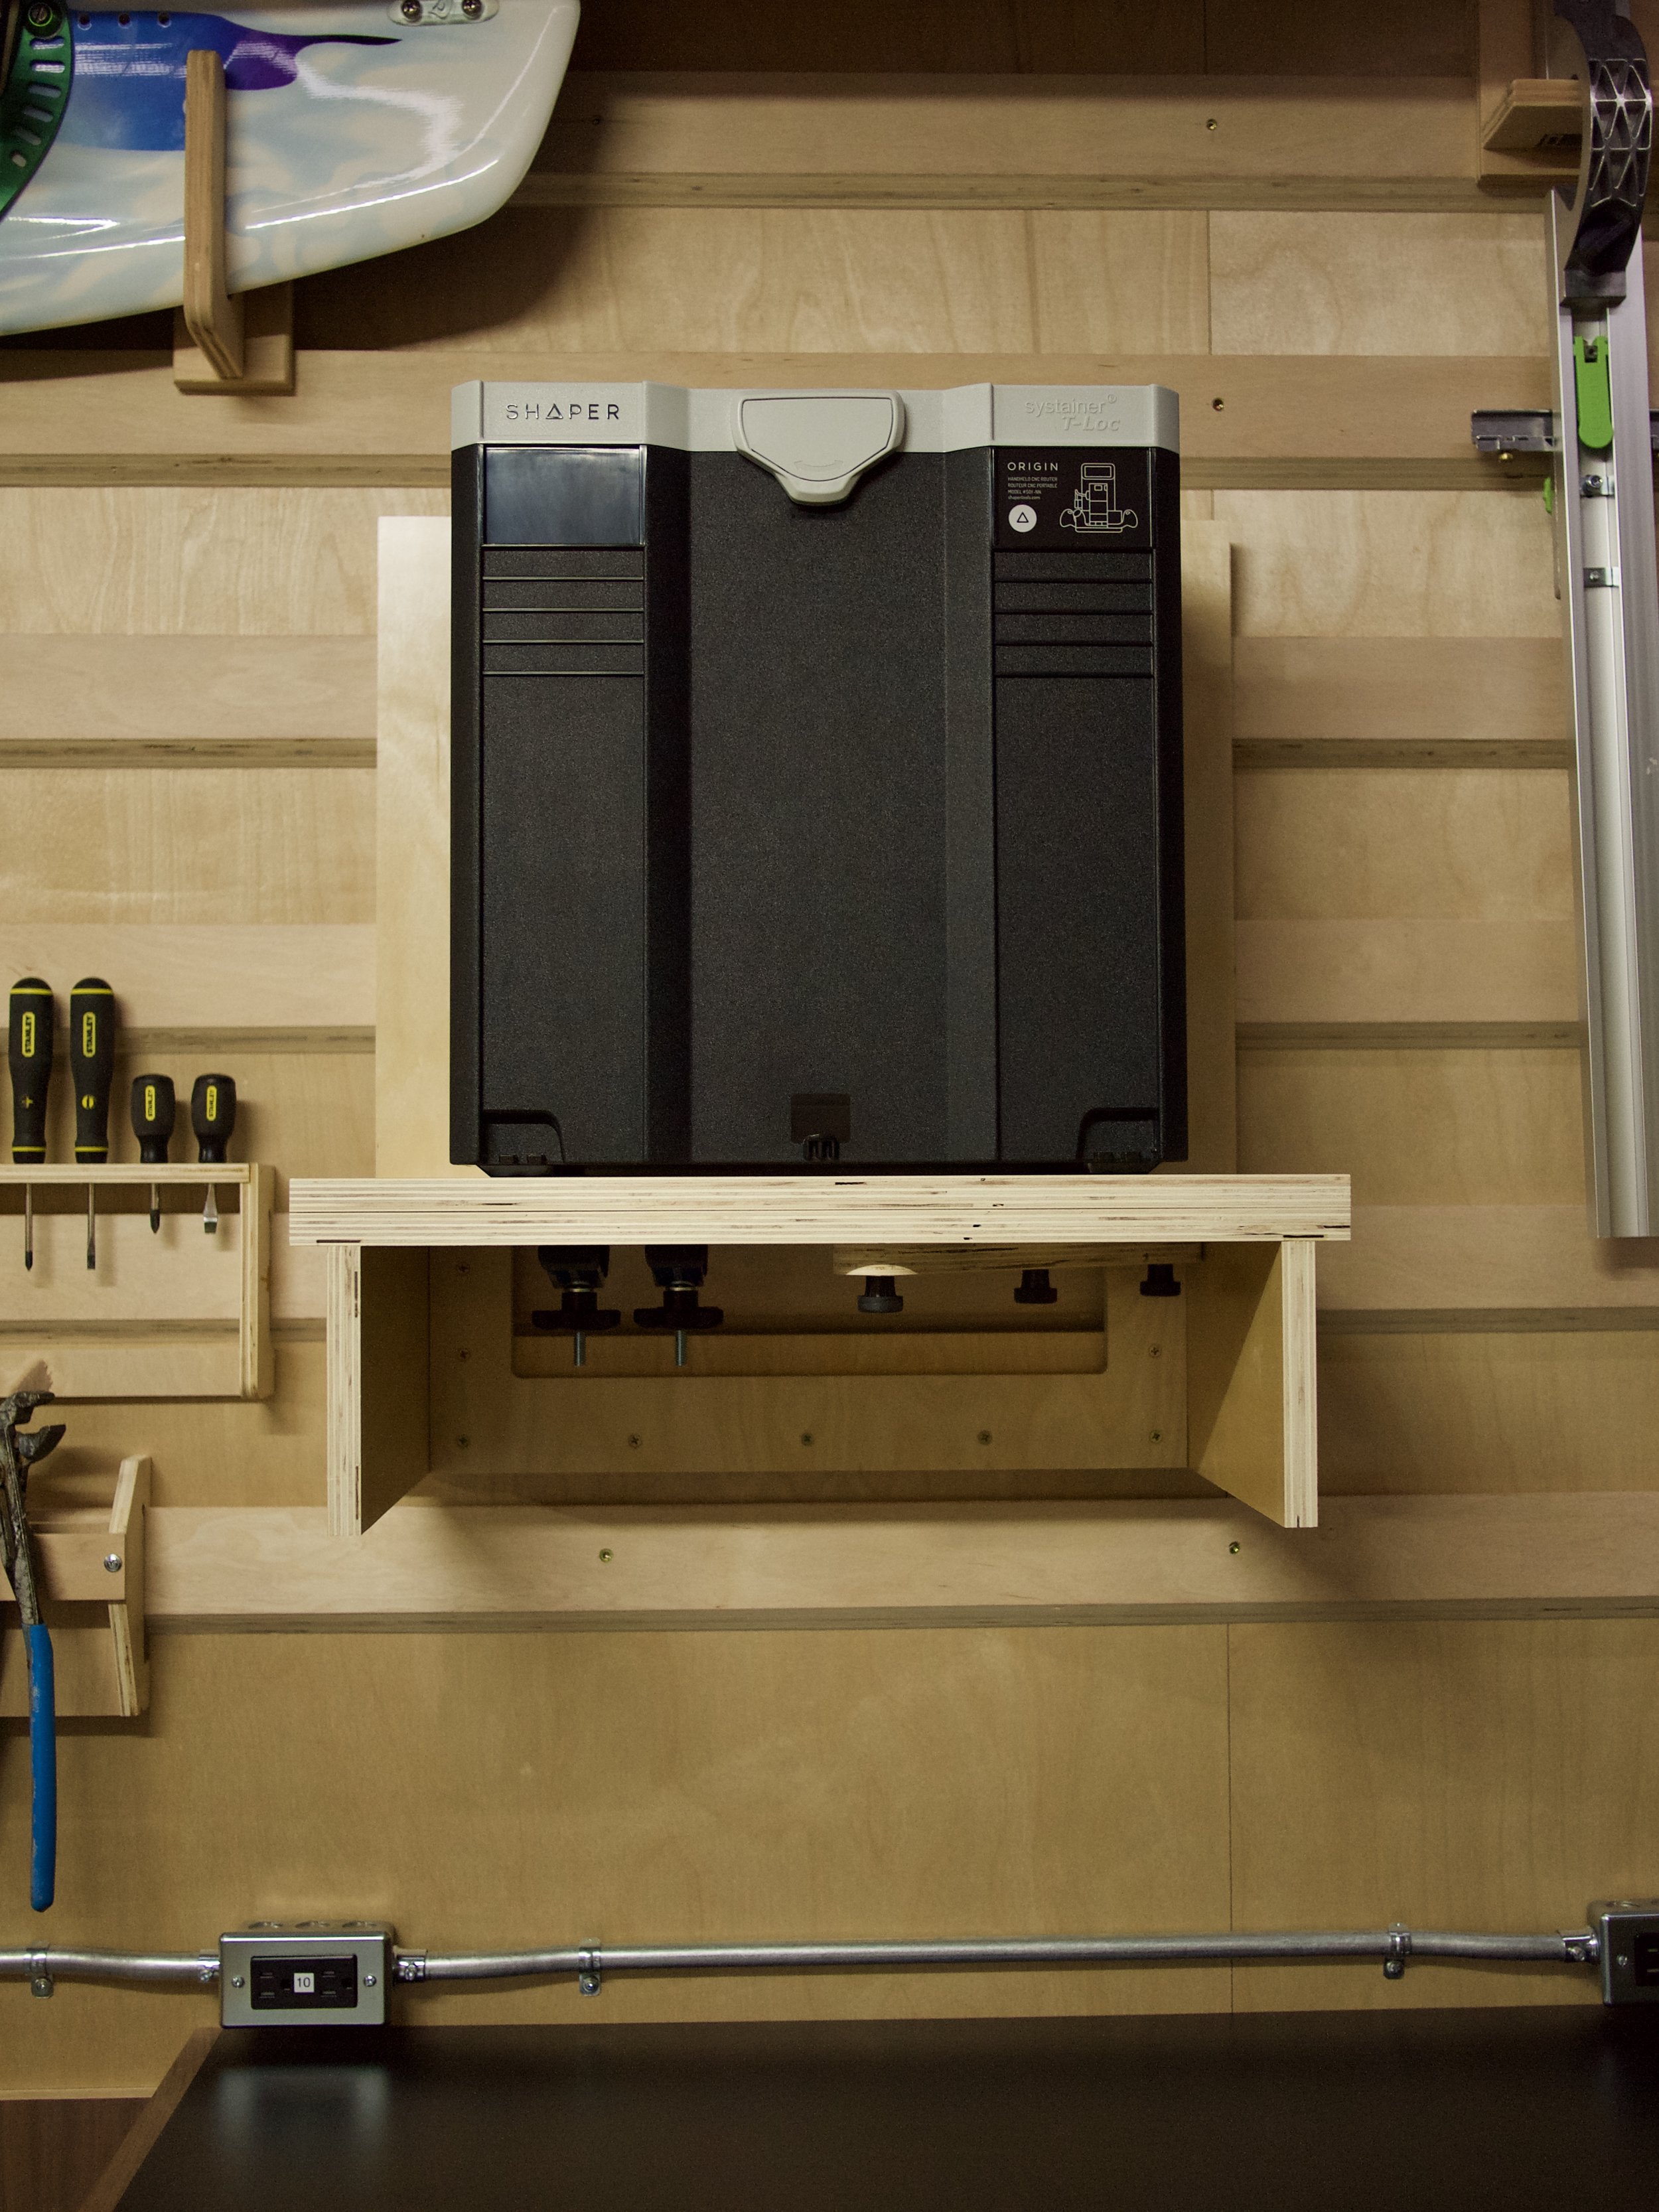
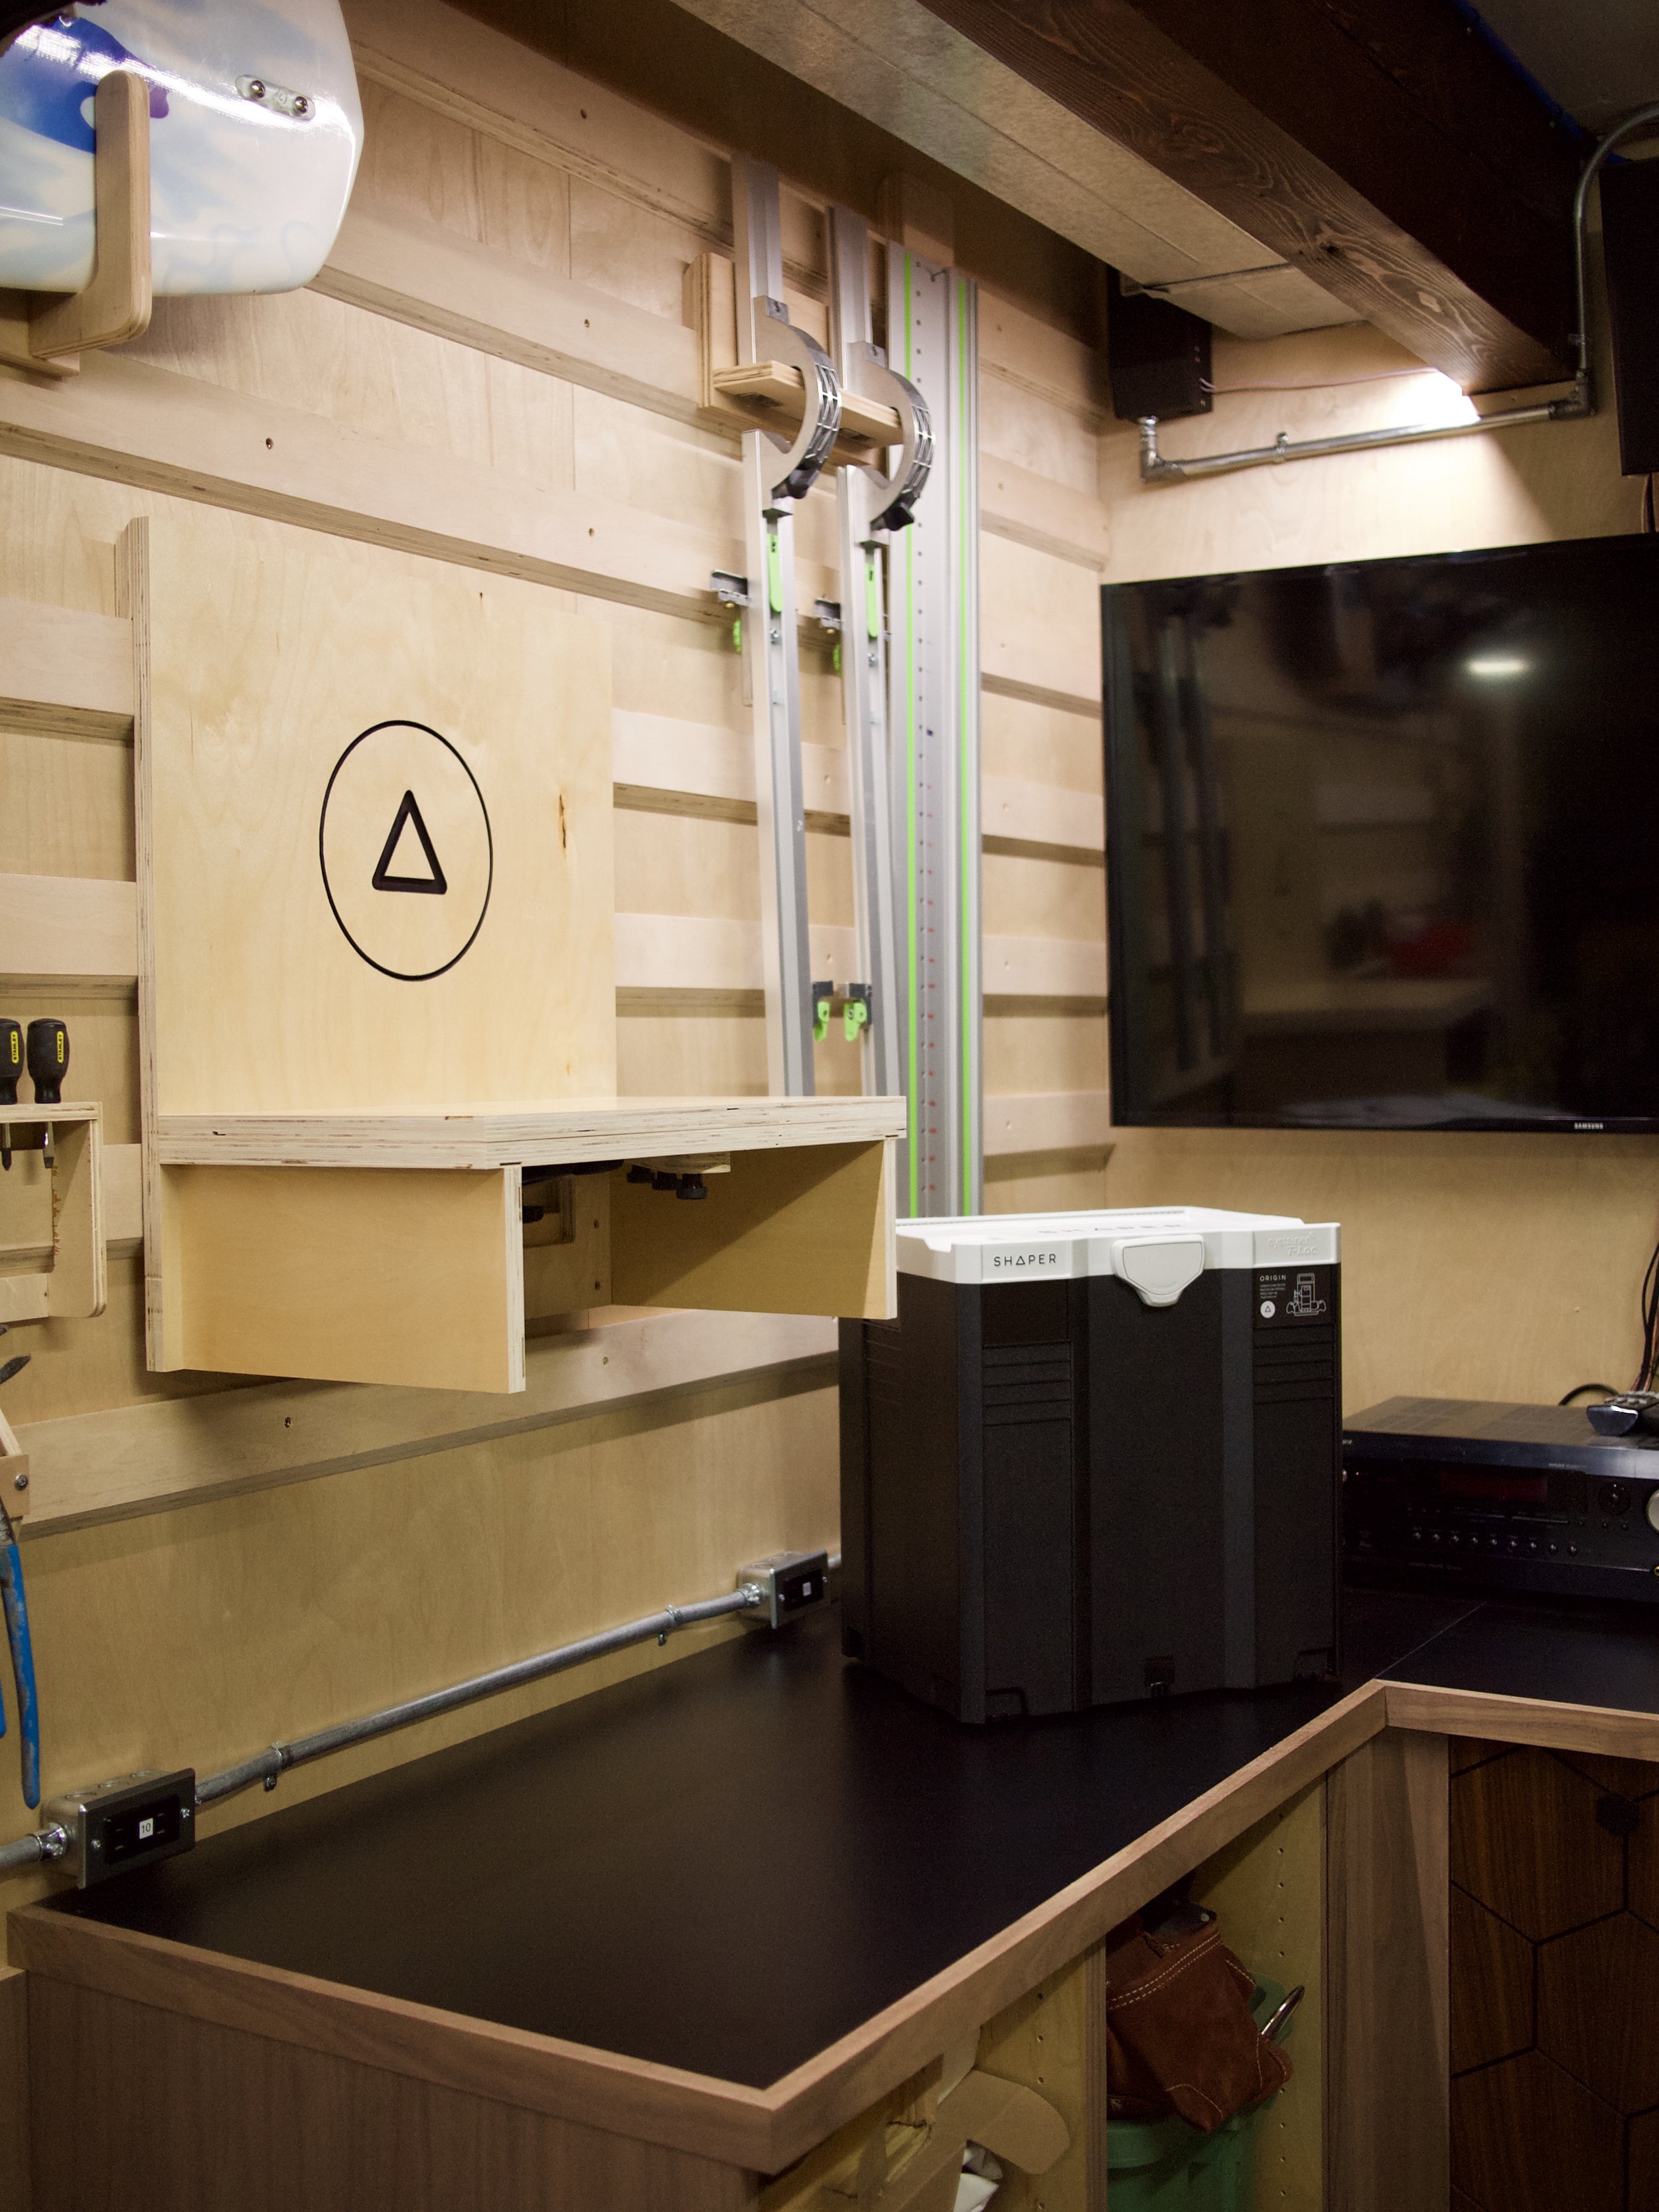
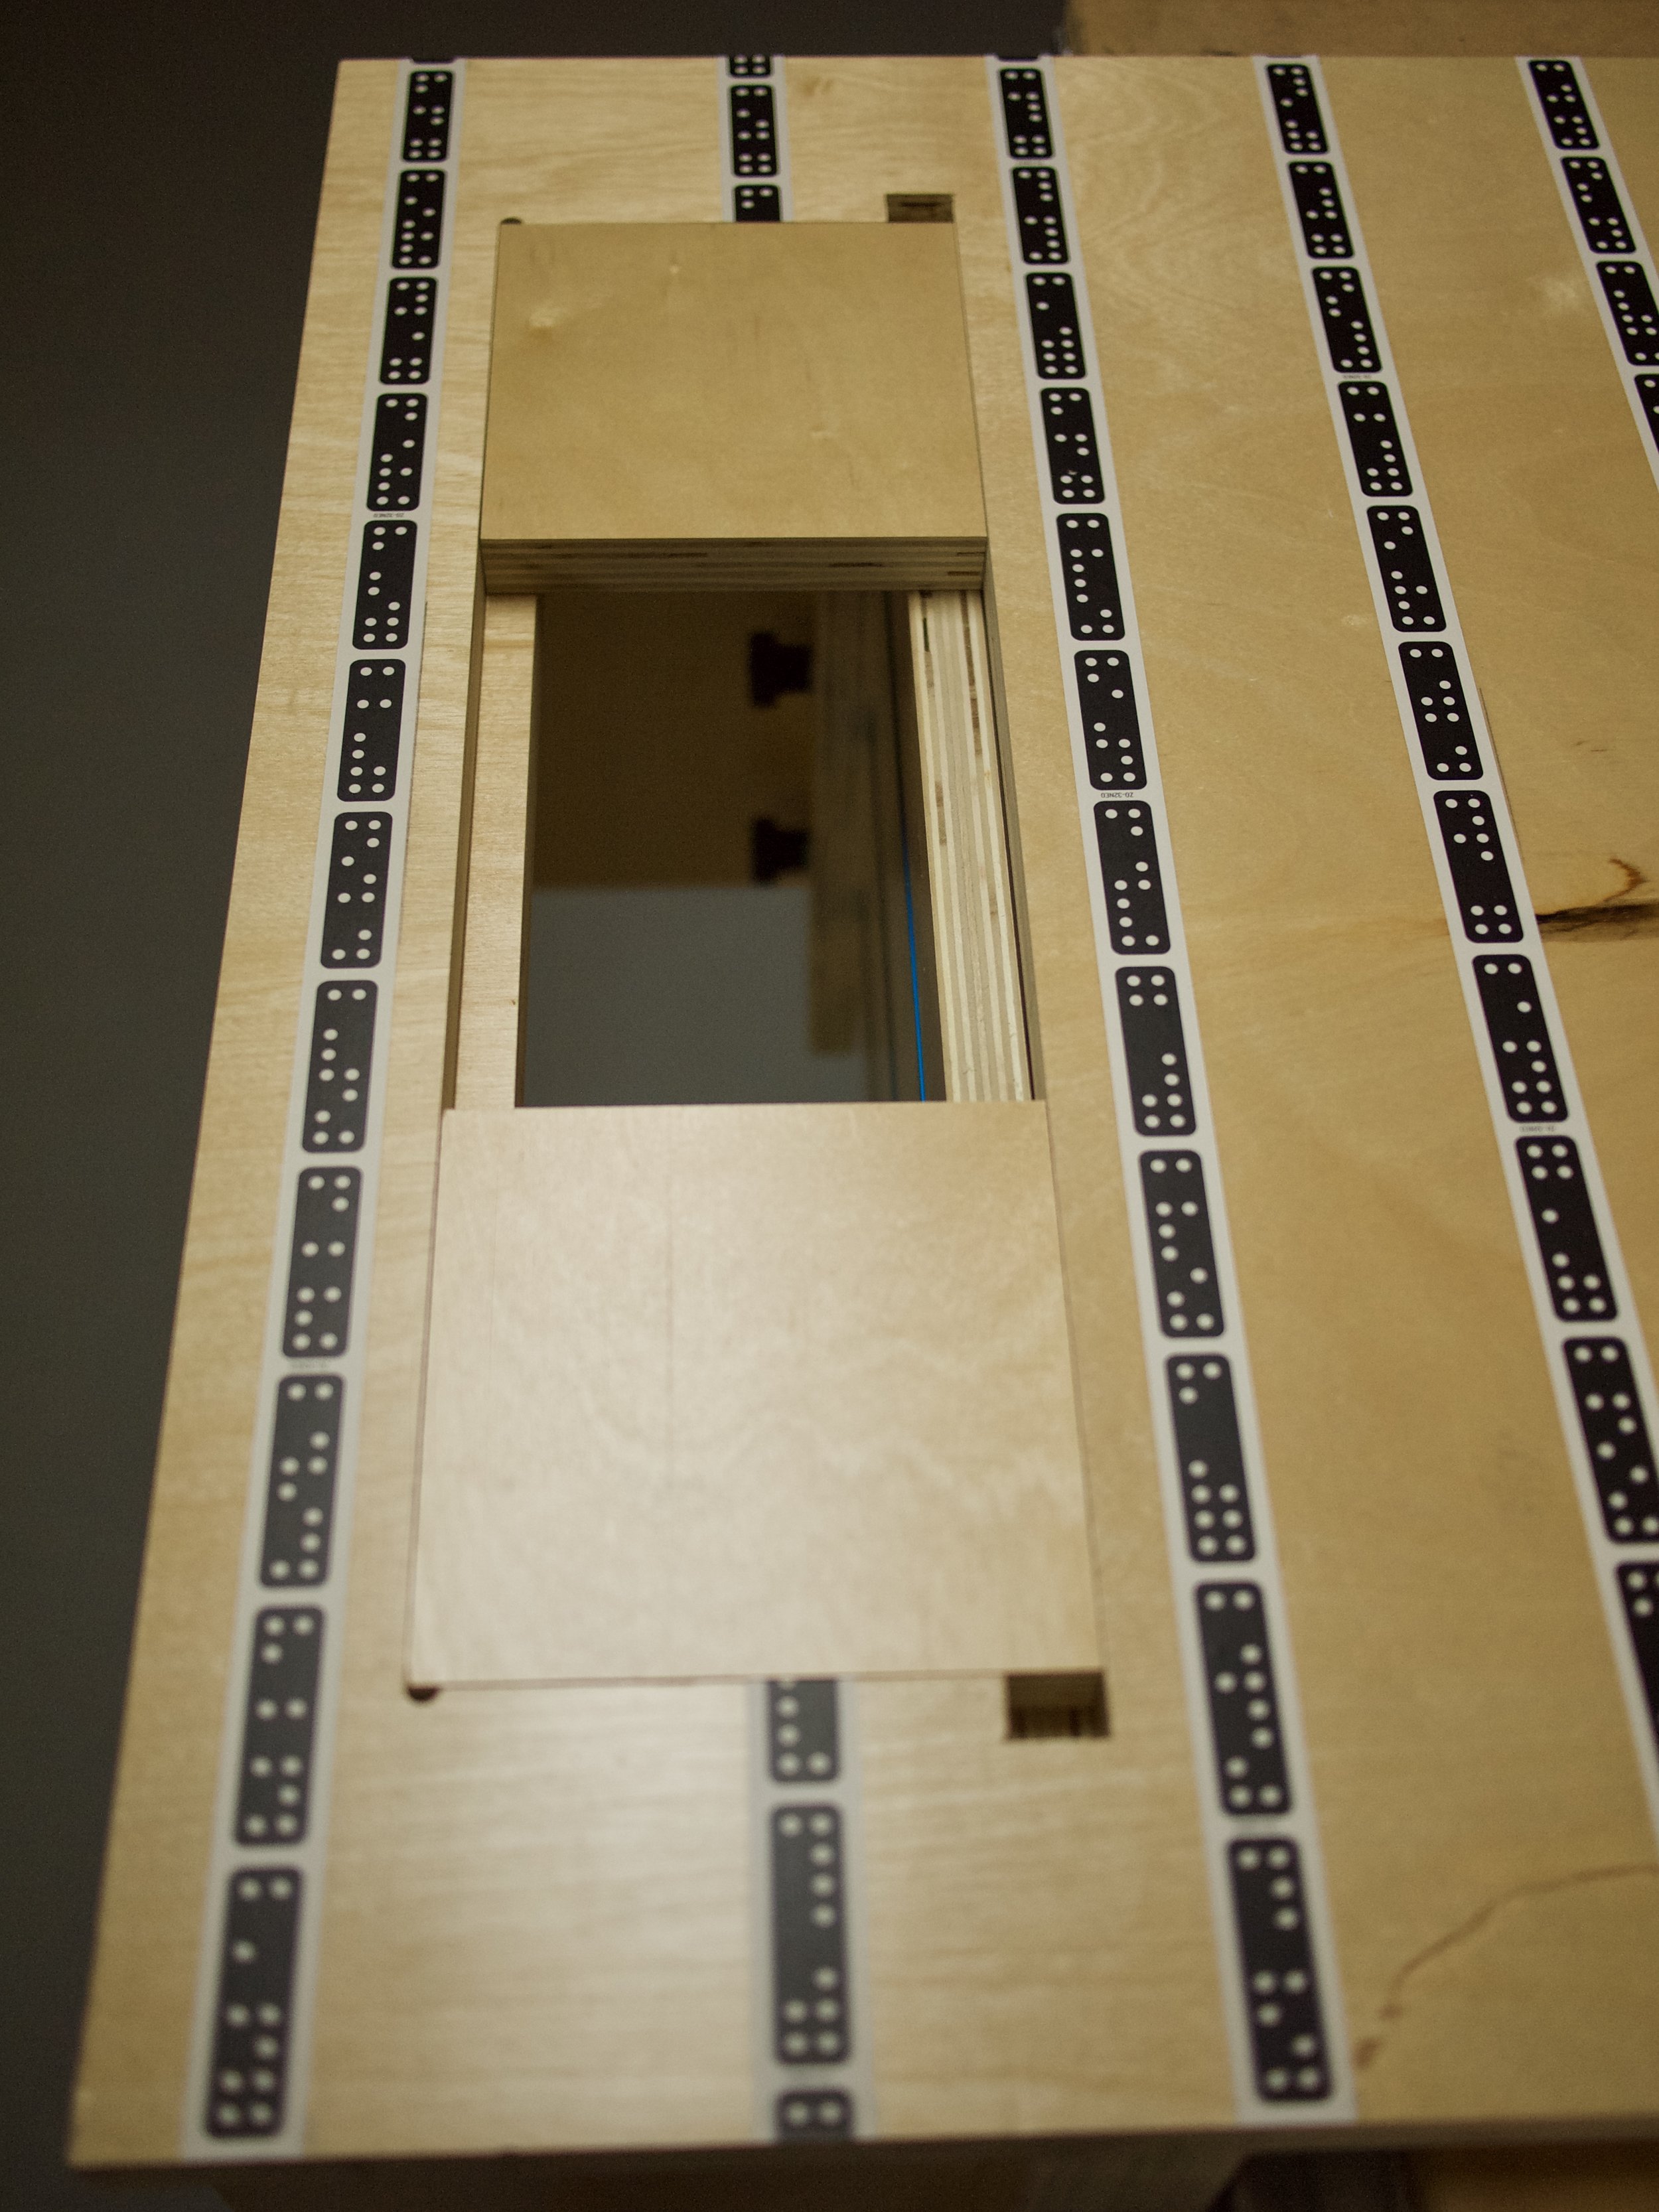
Mind the Gap
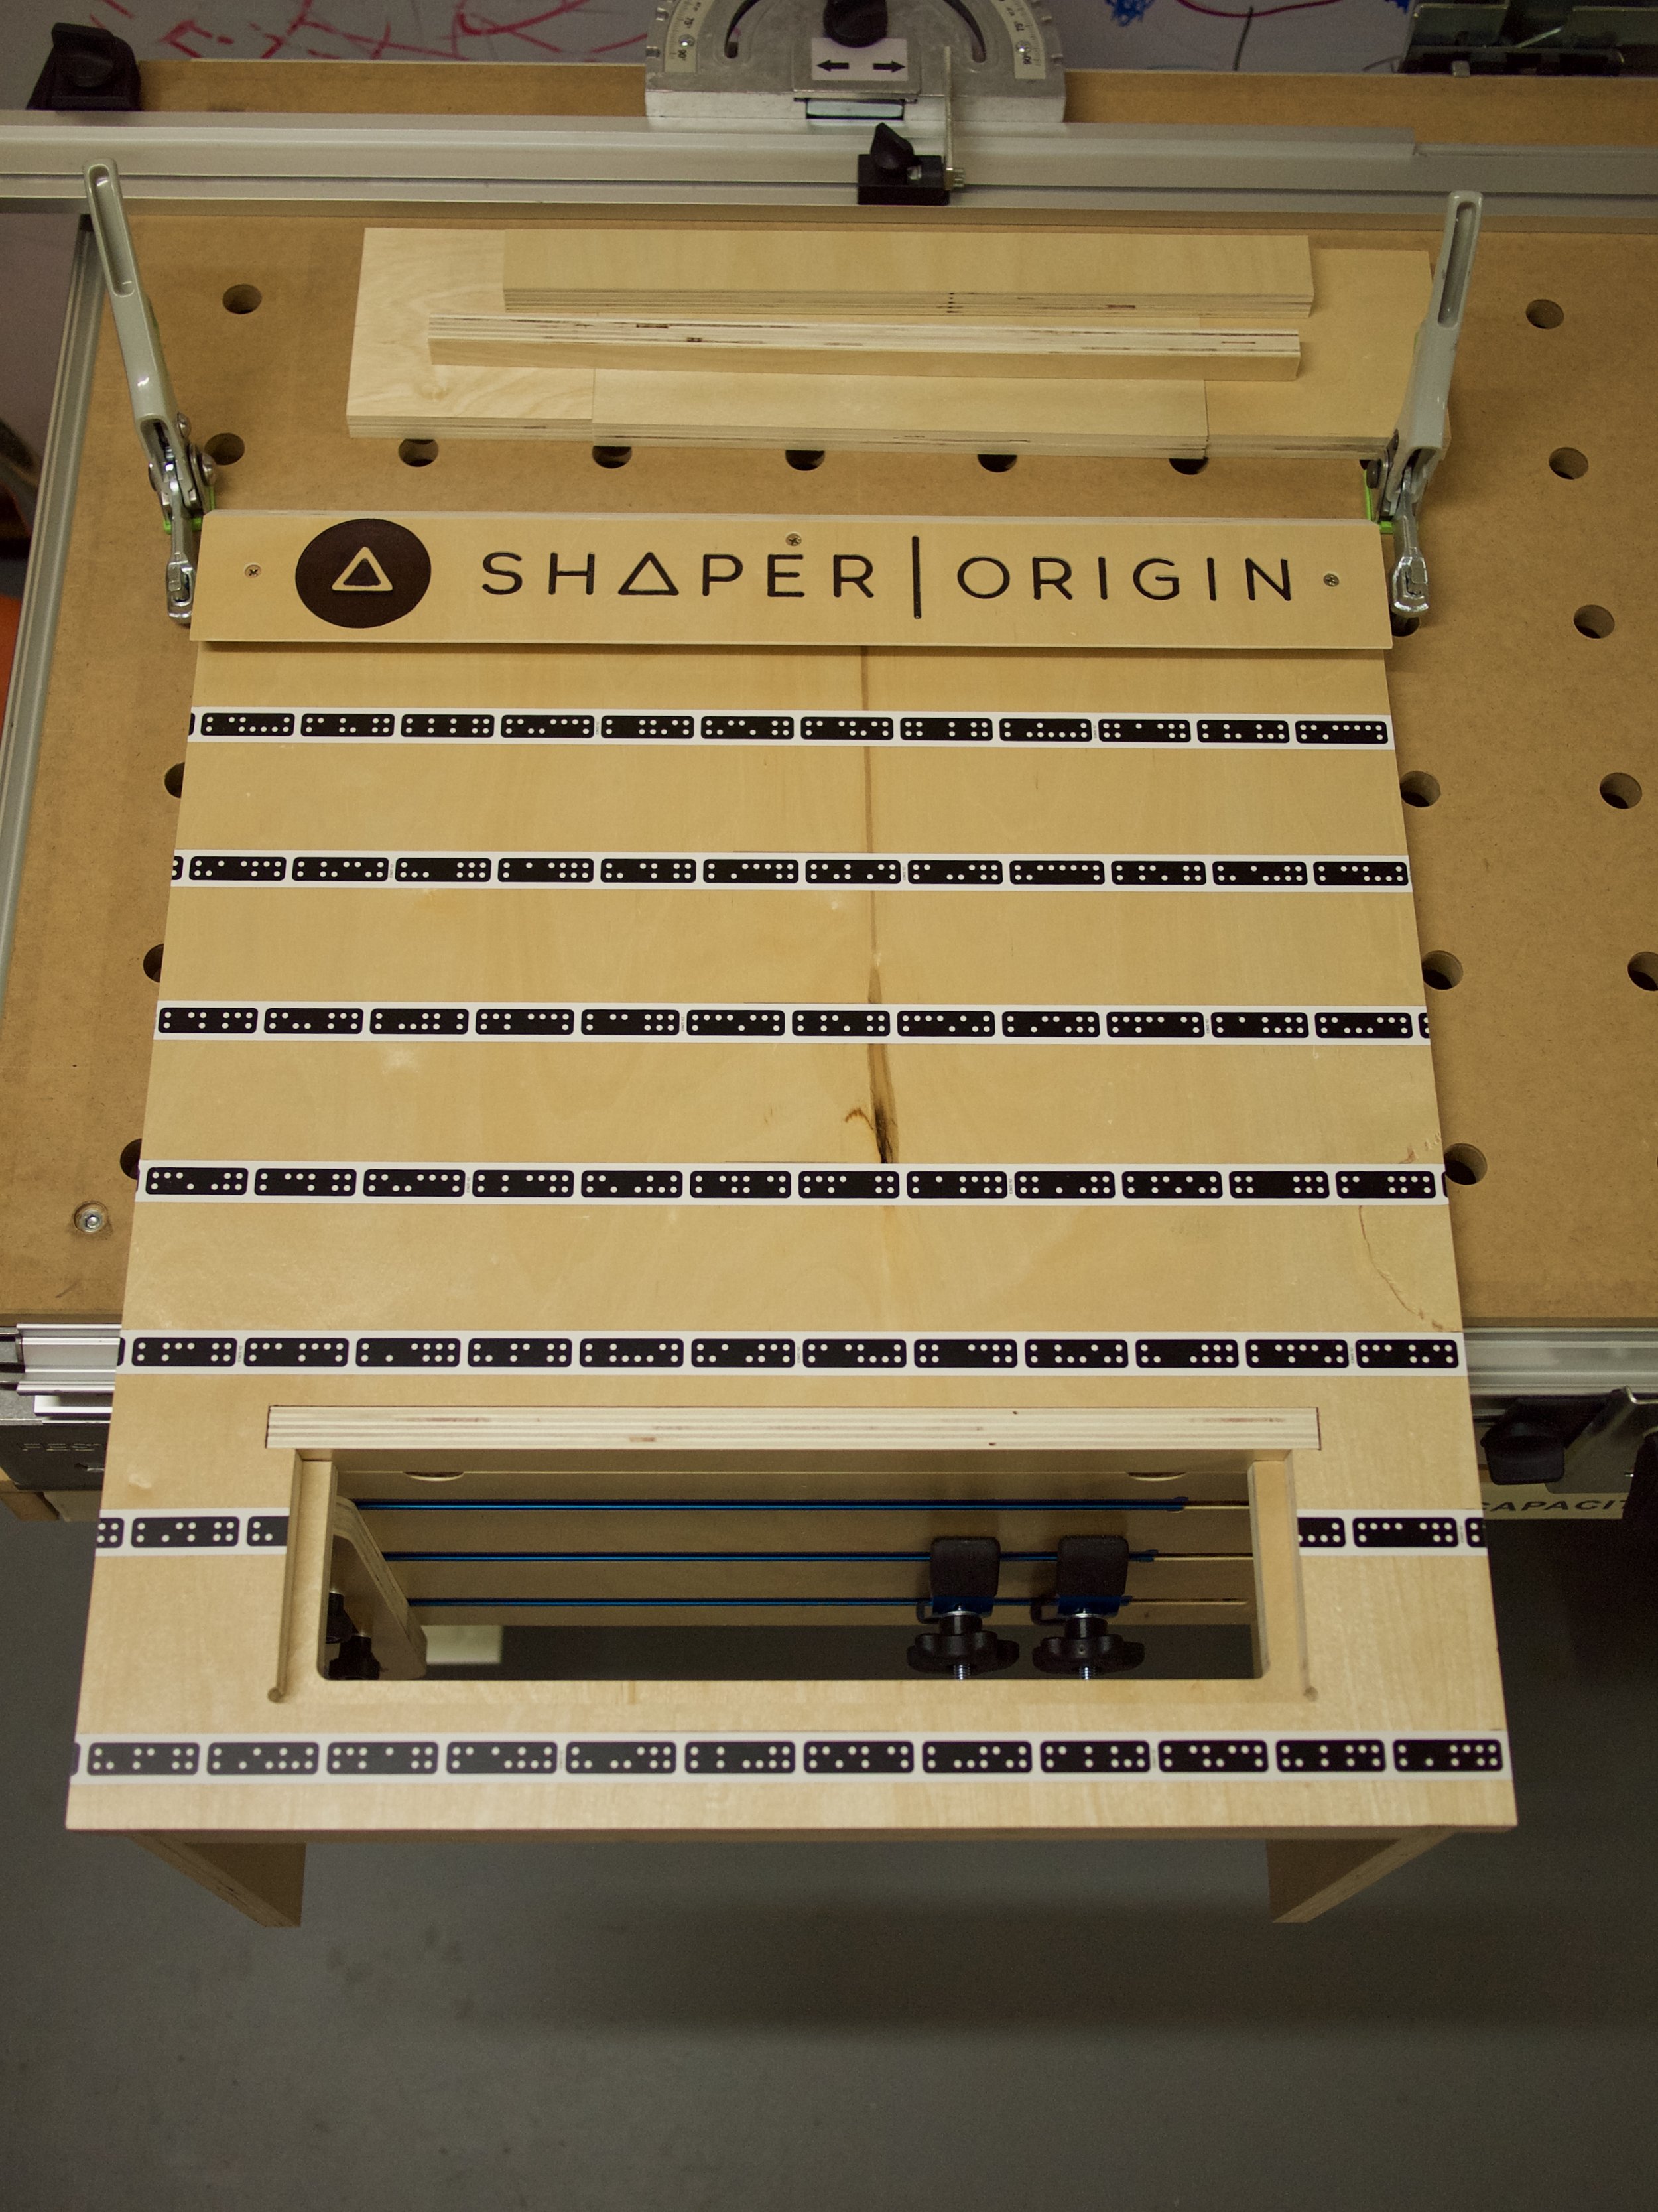
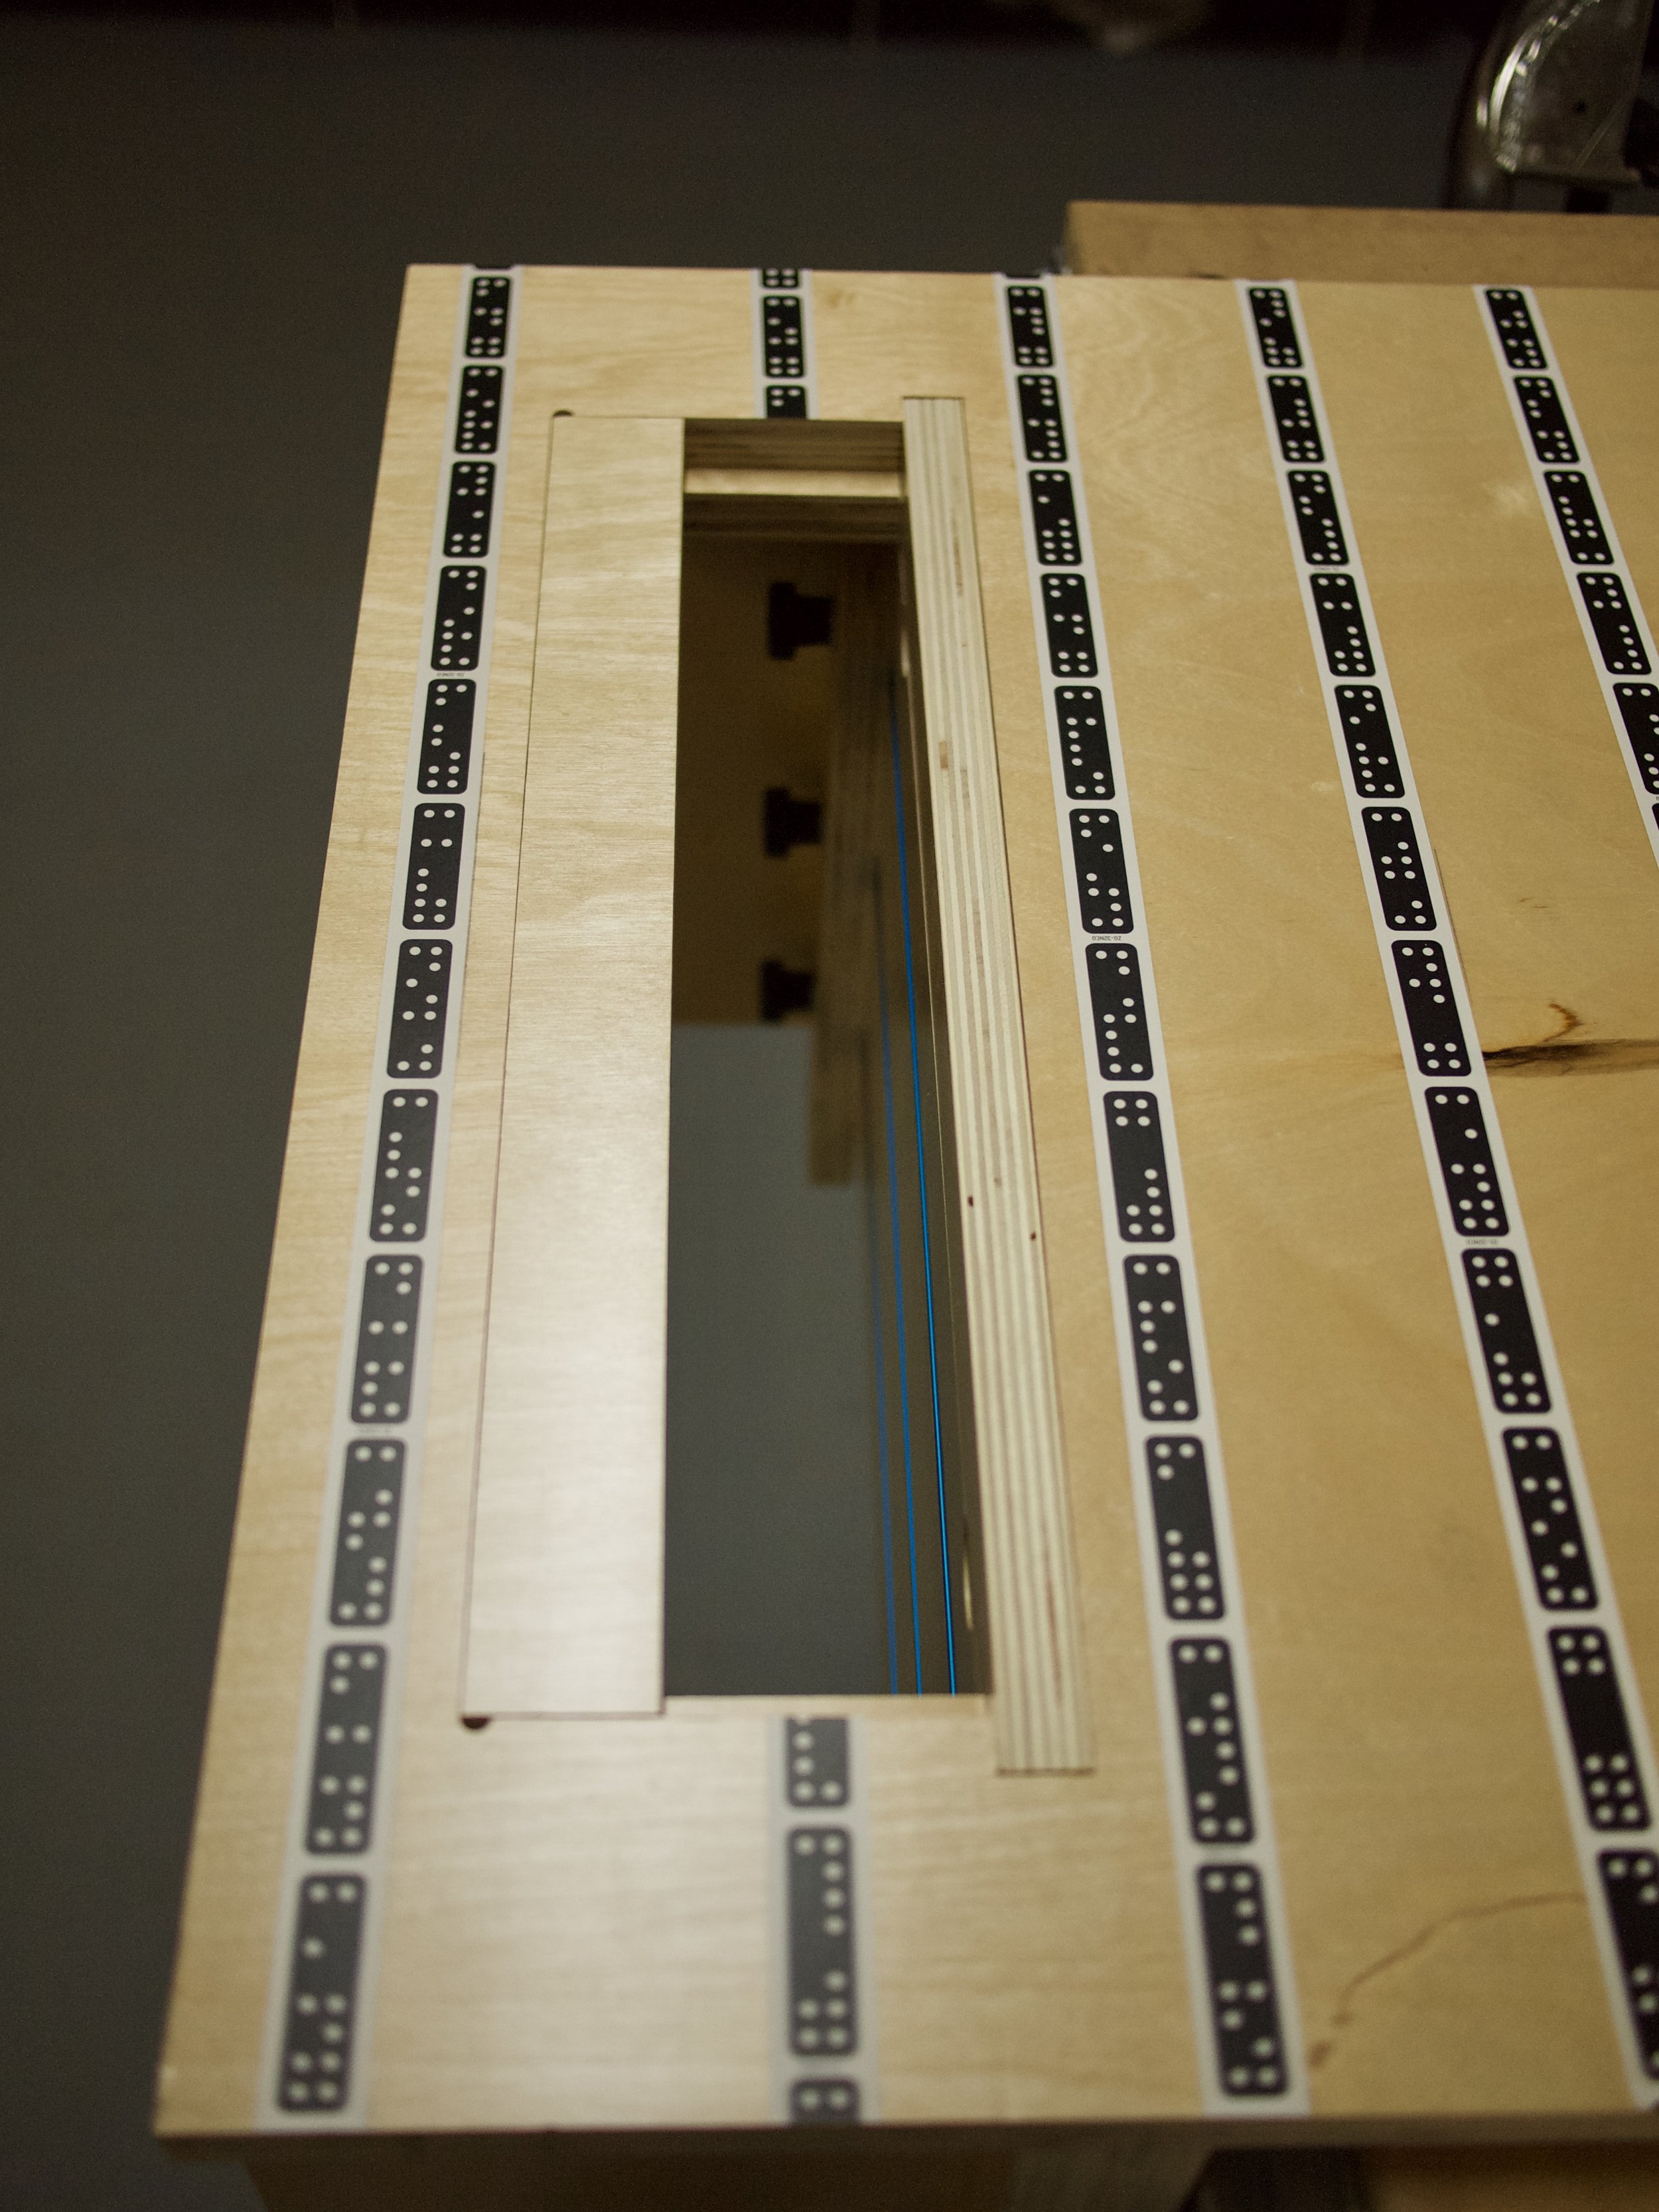
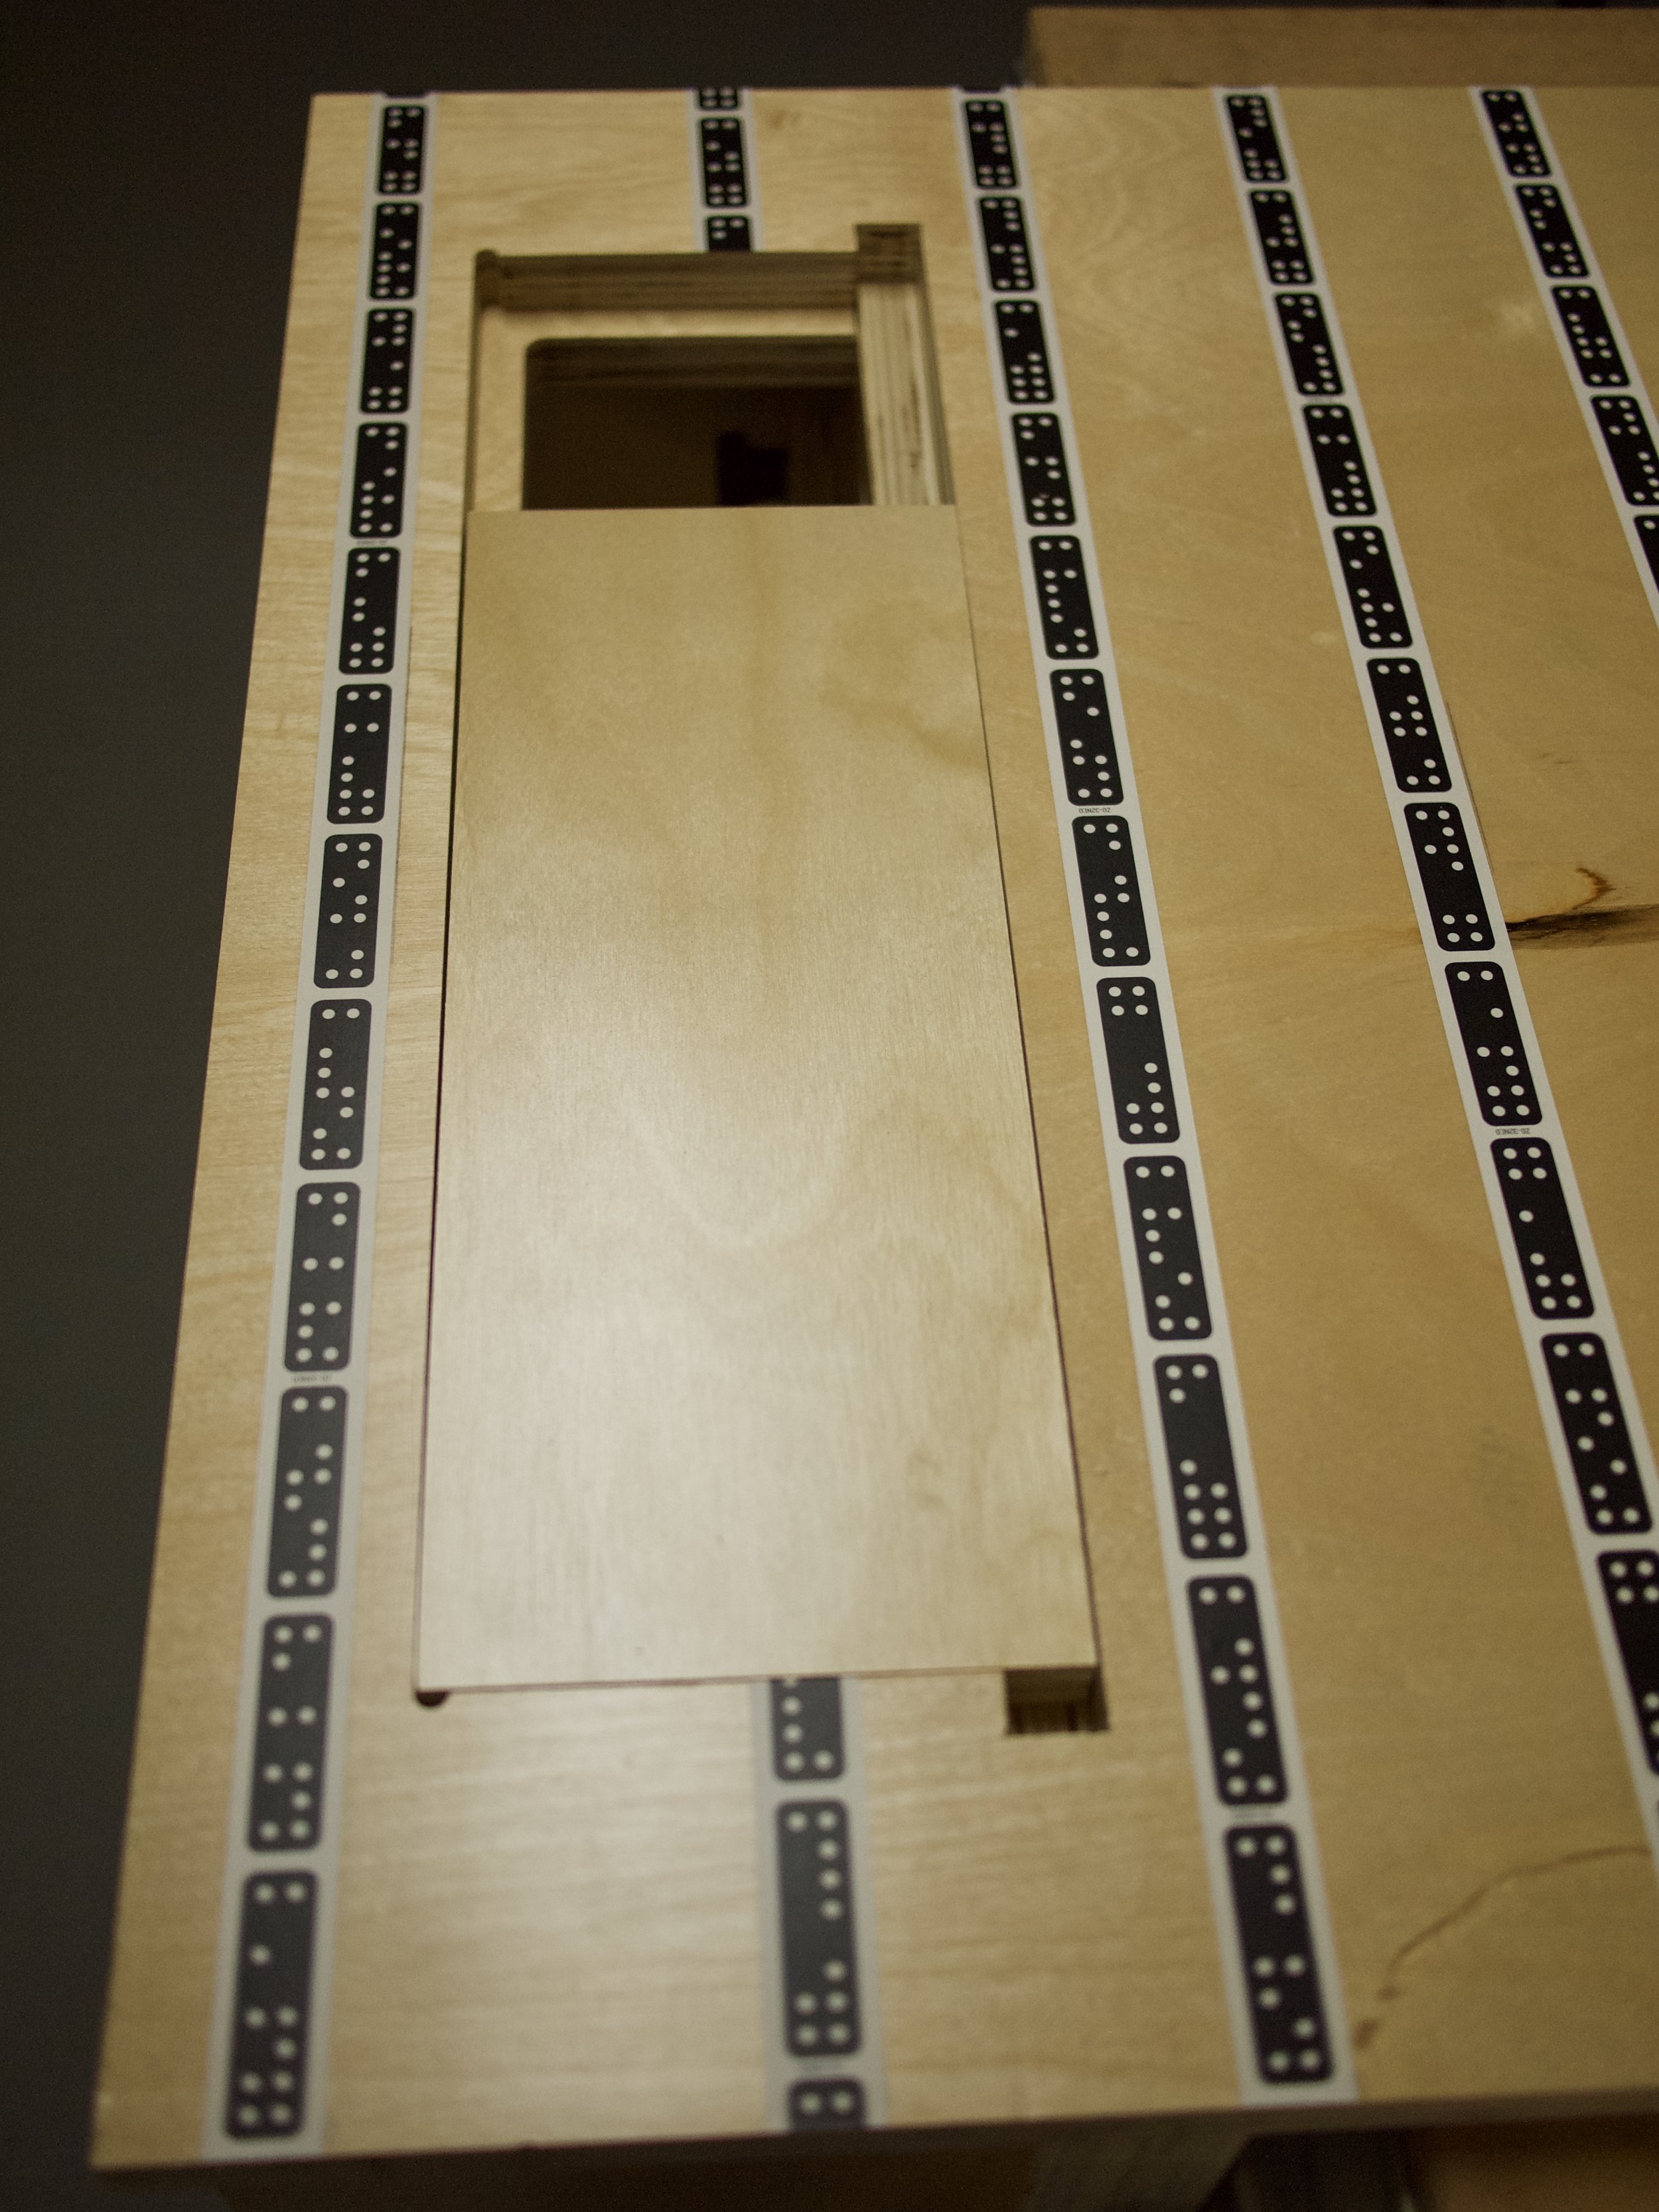
Another good thing that came from the first build is that I noticed that the Origin was unsupported in certain positions because of the size of the opening. I decided to add a 1/2" support underneath the opening so that I could use various filler pieces for additional support. I'm also thinking that I might add bolts or something to the outside of each side to store the filler pieces when they are not being used.

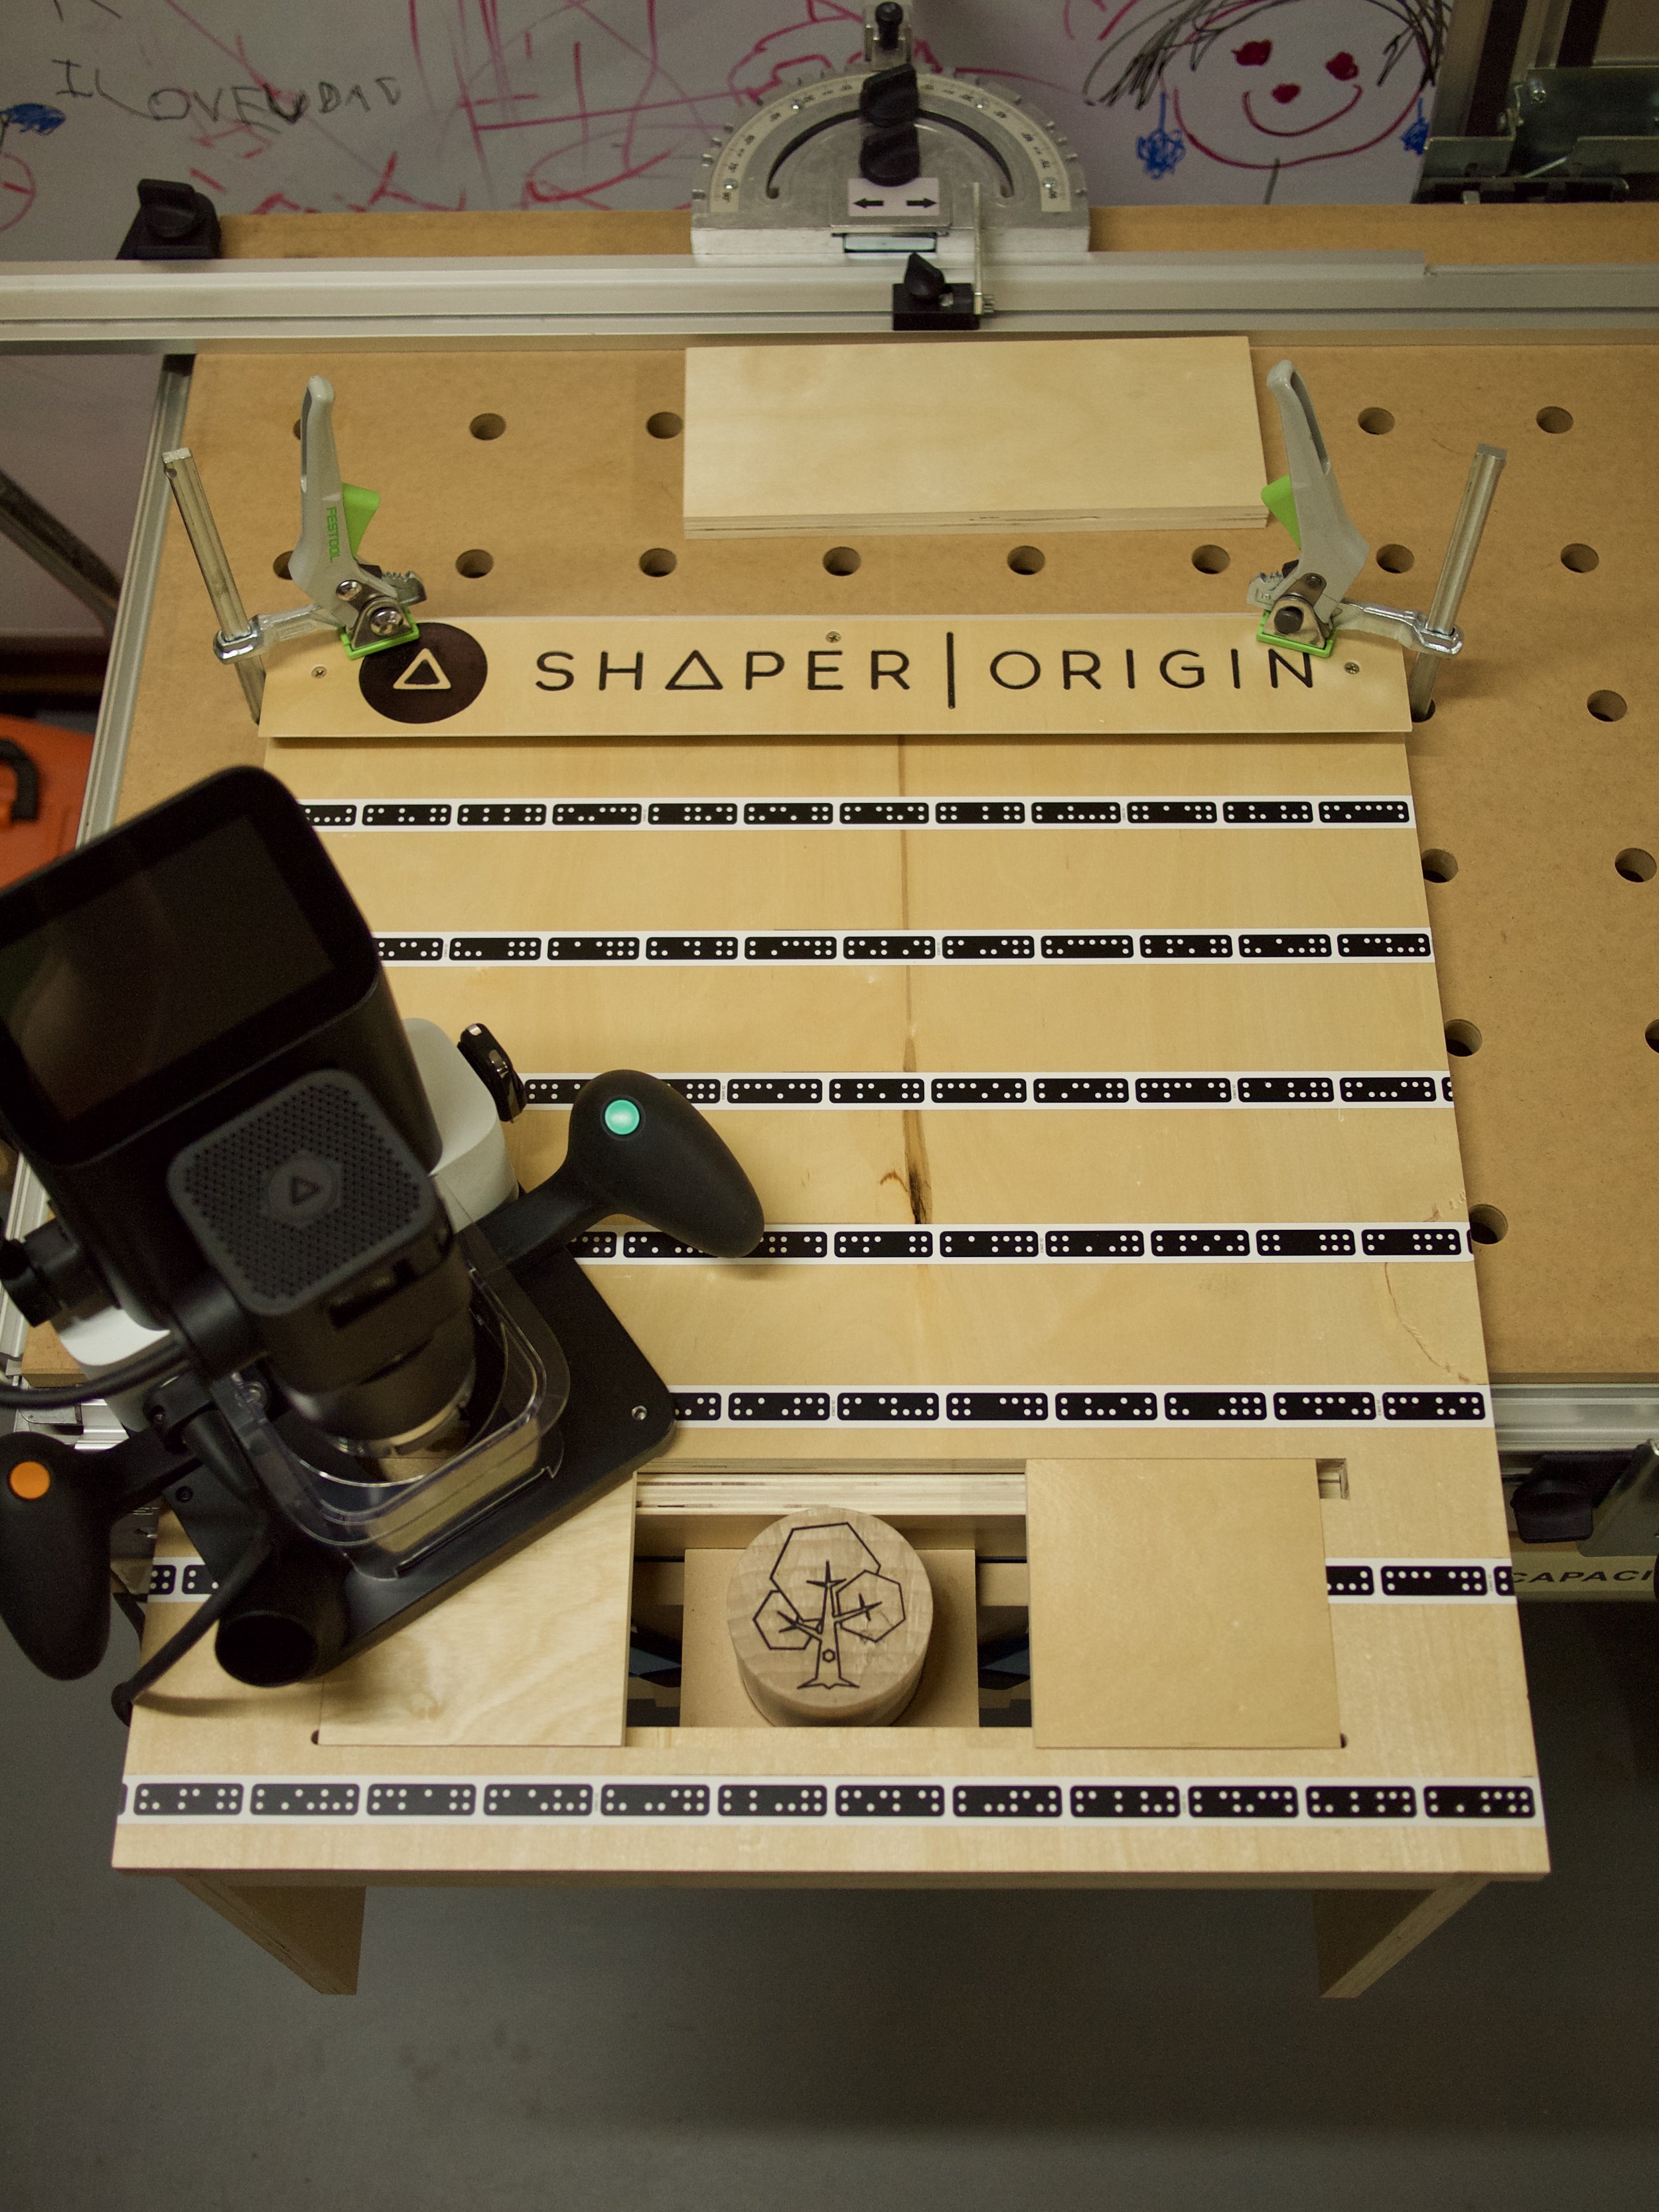
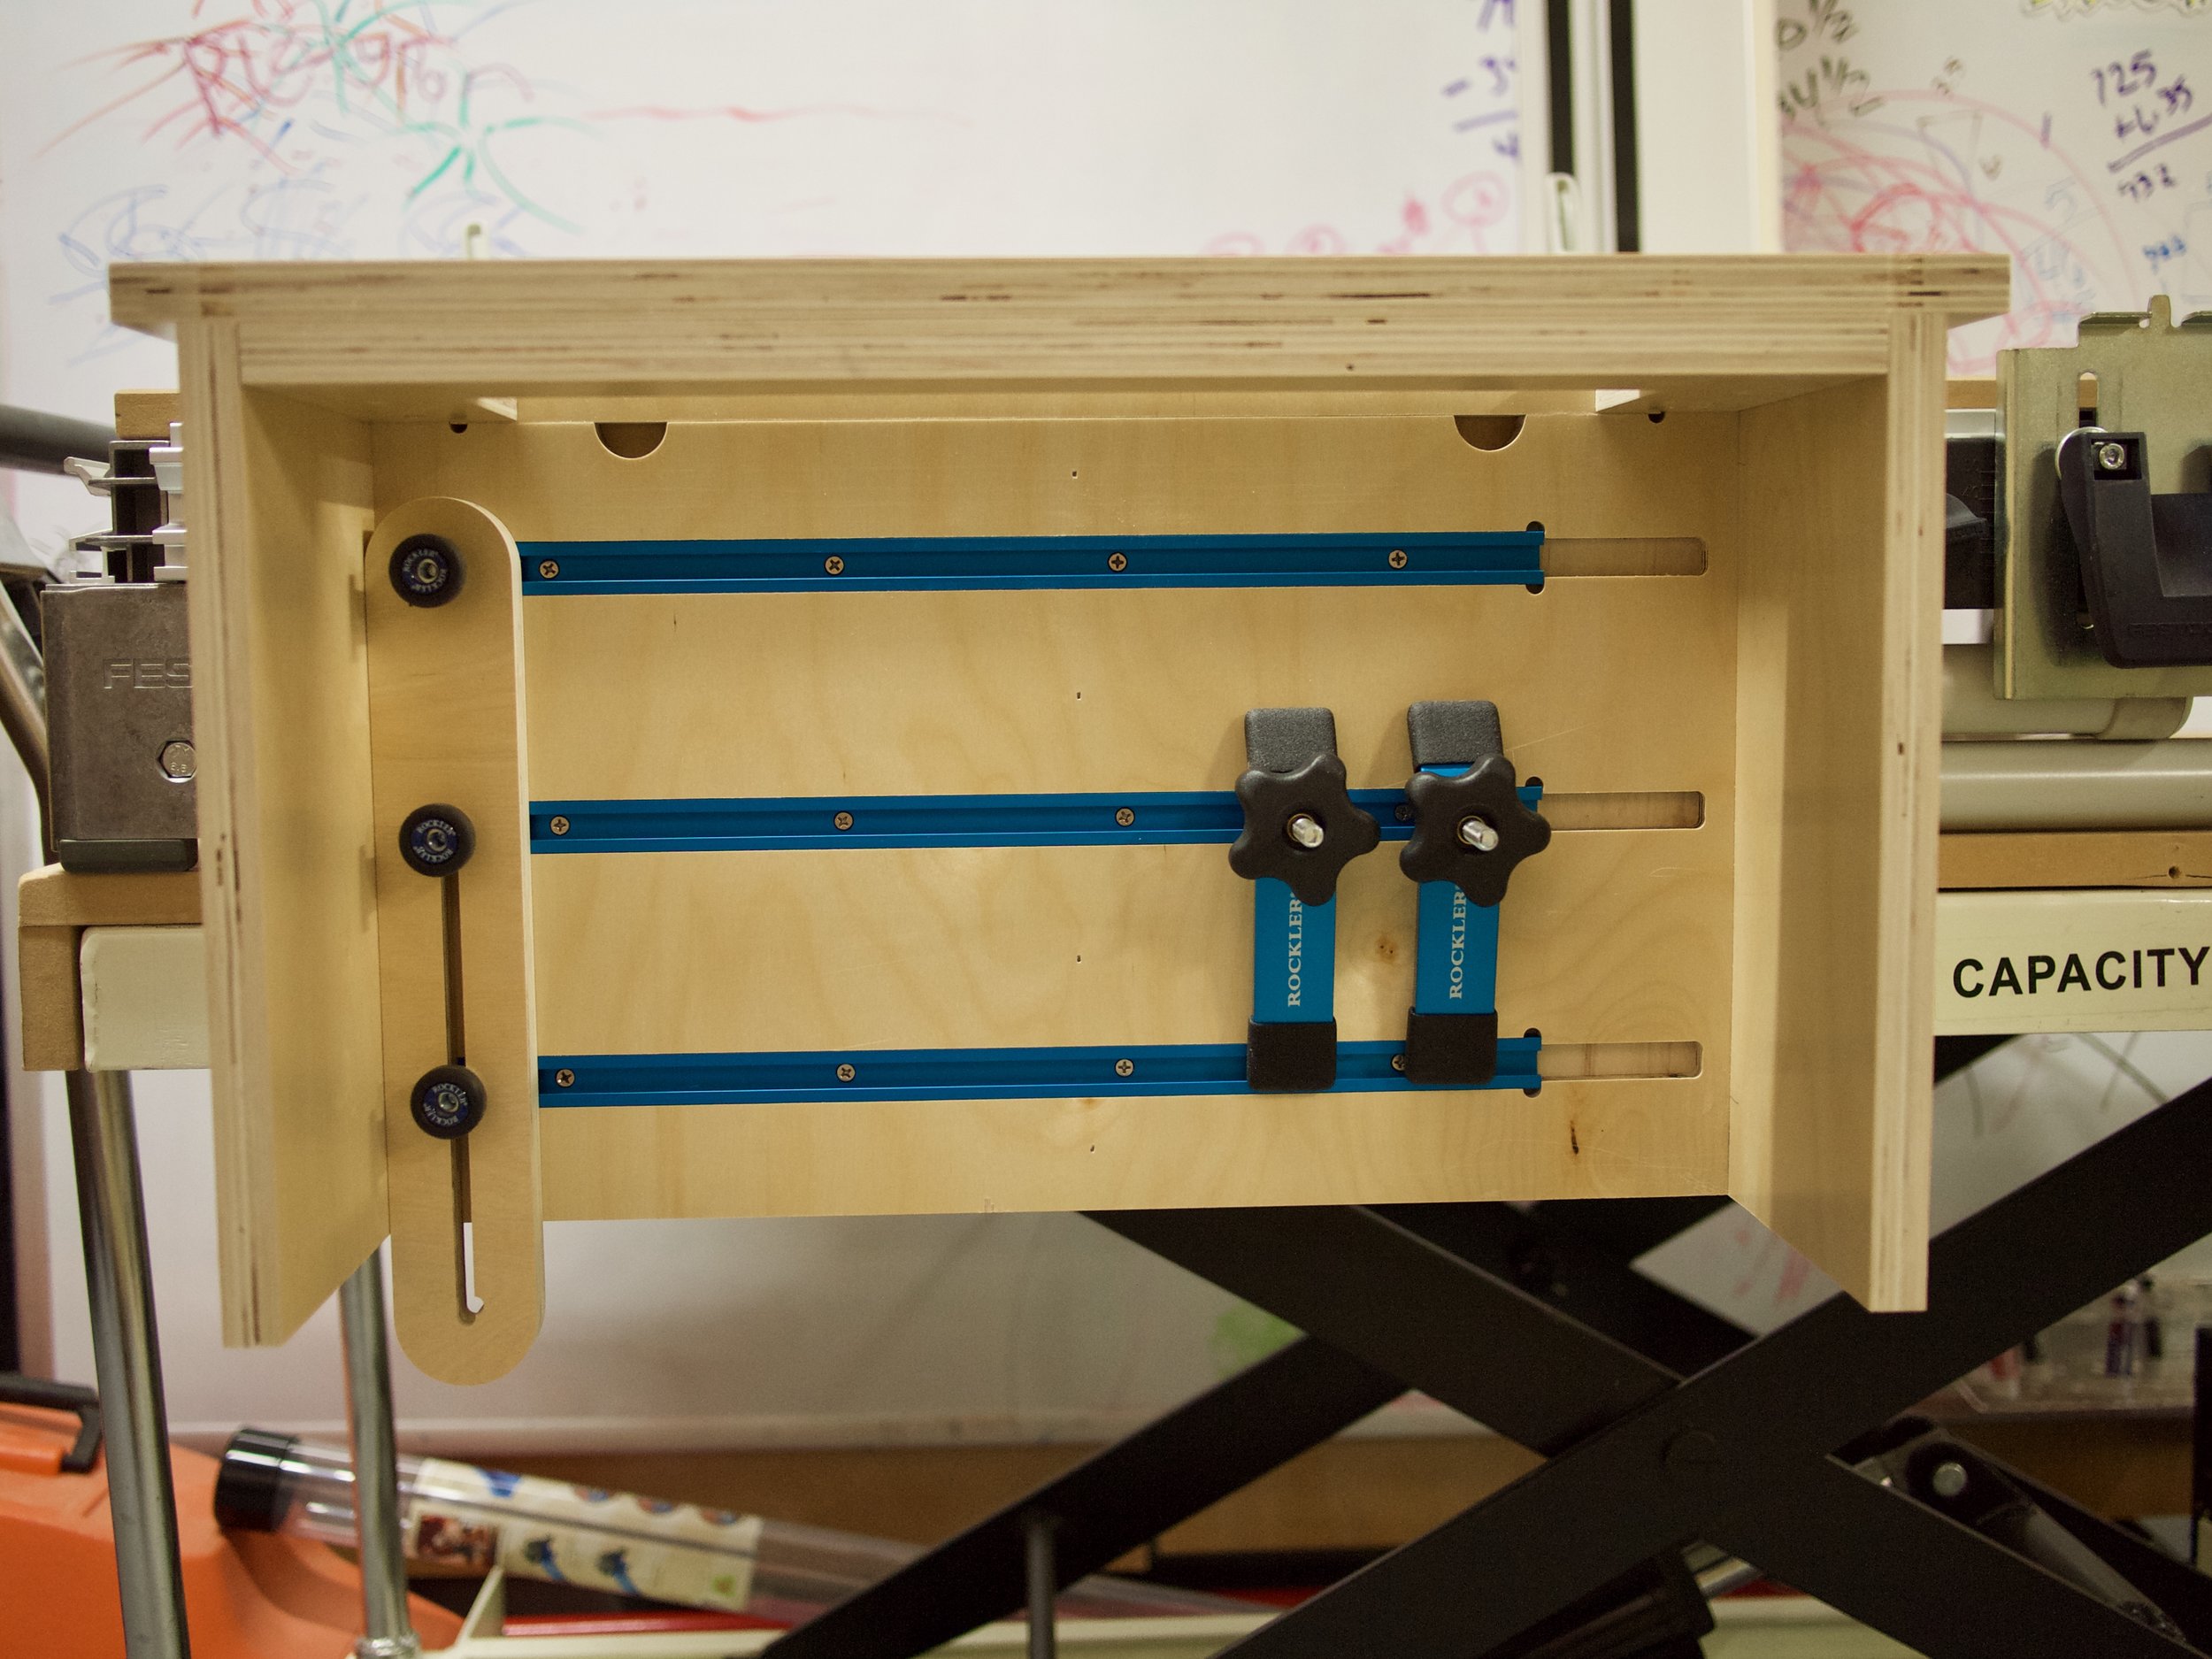
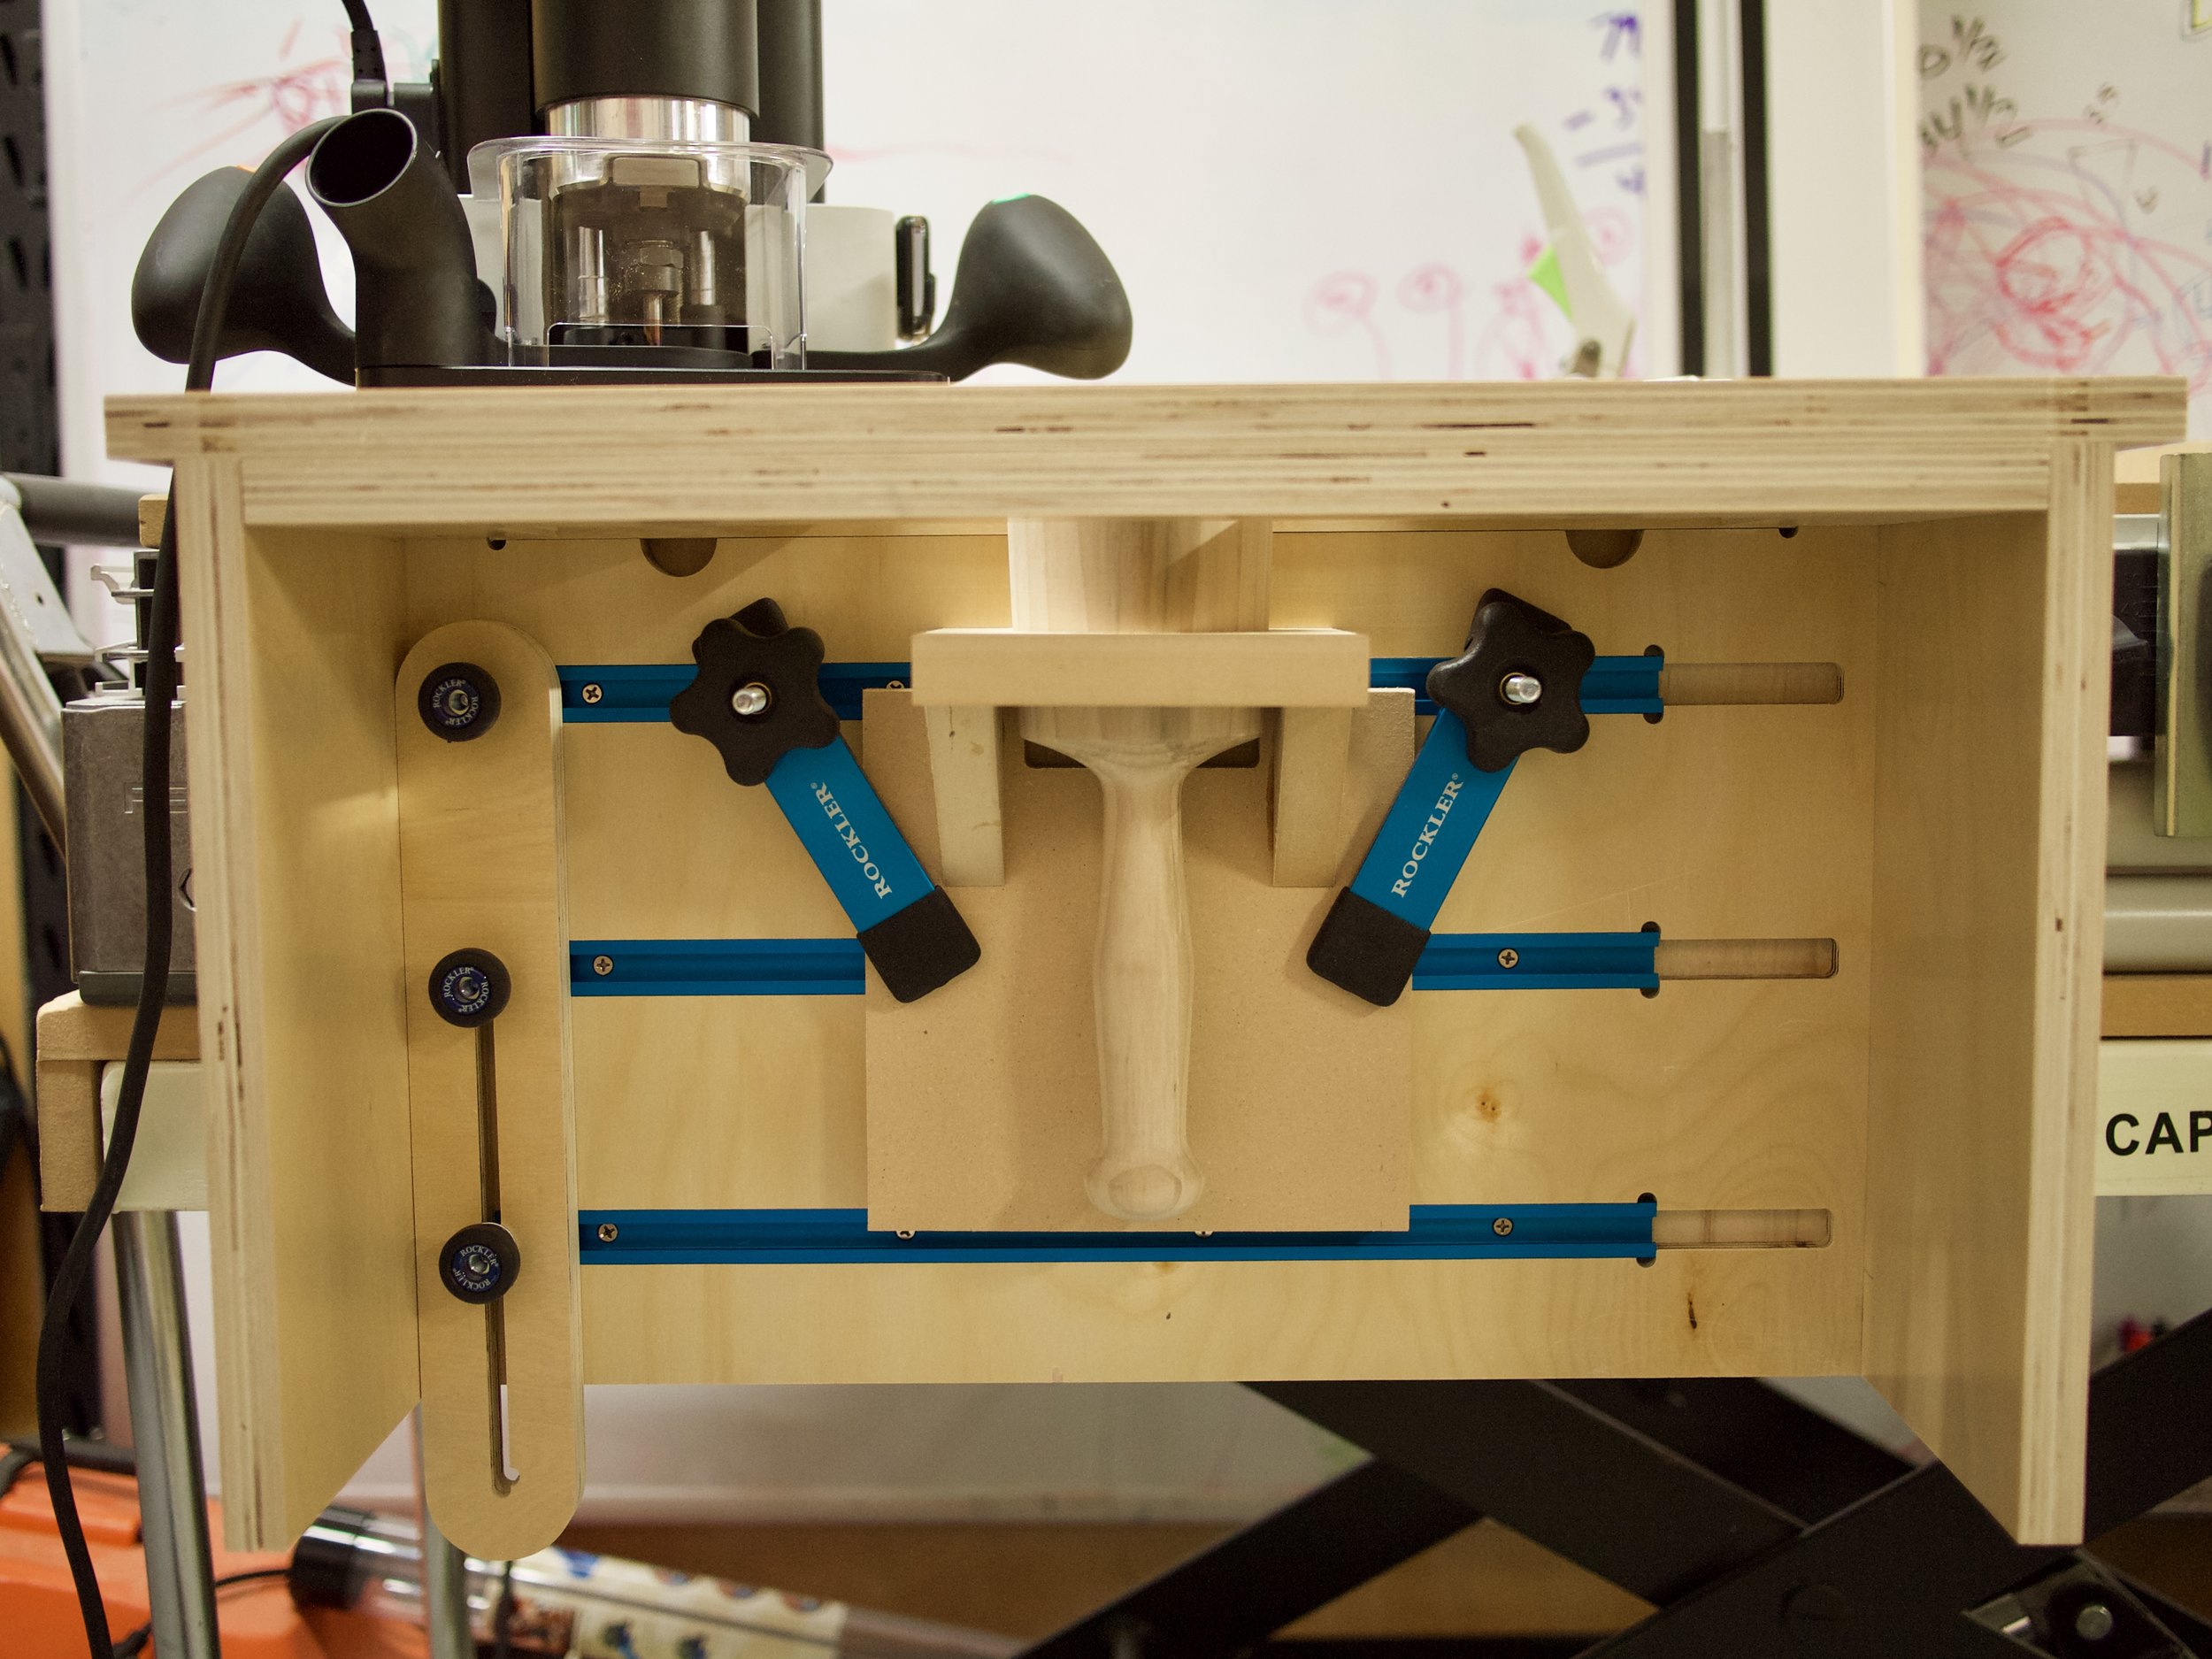
T-tracks and Support Stops
I was adding some height to the piece where the t-tracks were so I had room to add a third track PLUS the Rockler 48'' Universal T-Track with Hold-Down Clamps gave me exactly the length of track I needed to get 3 x 16" pieces!
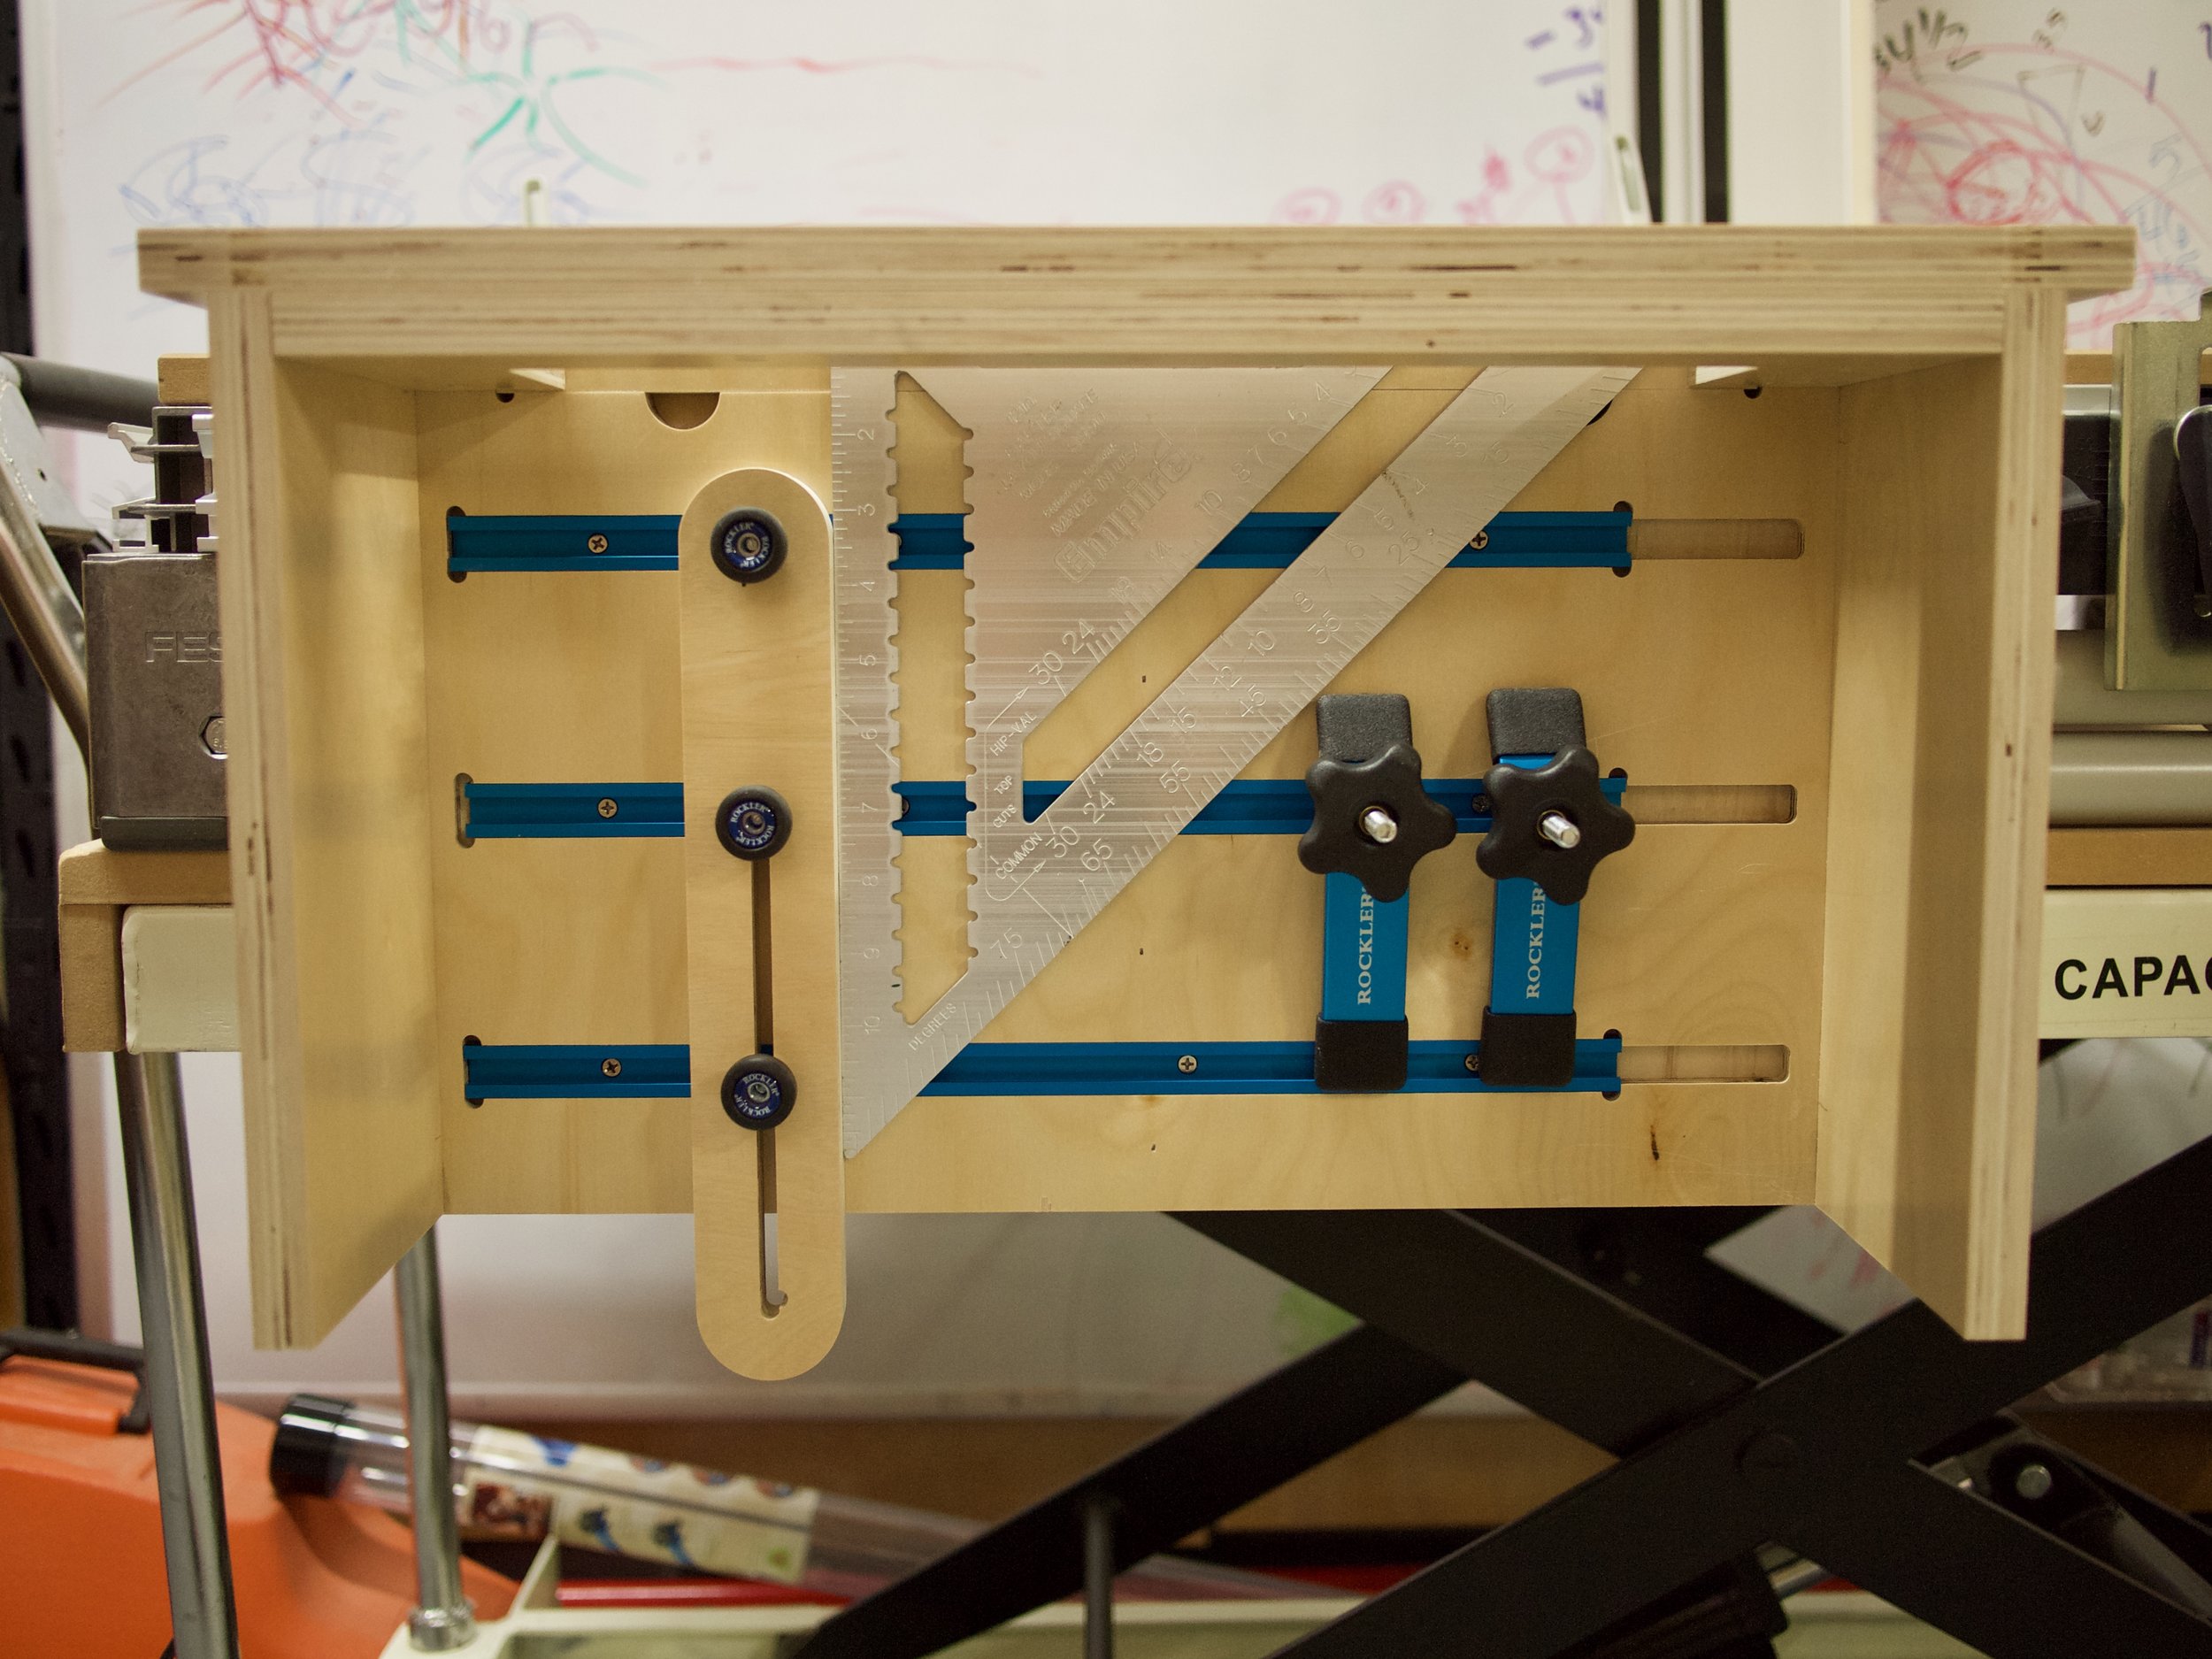
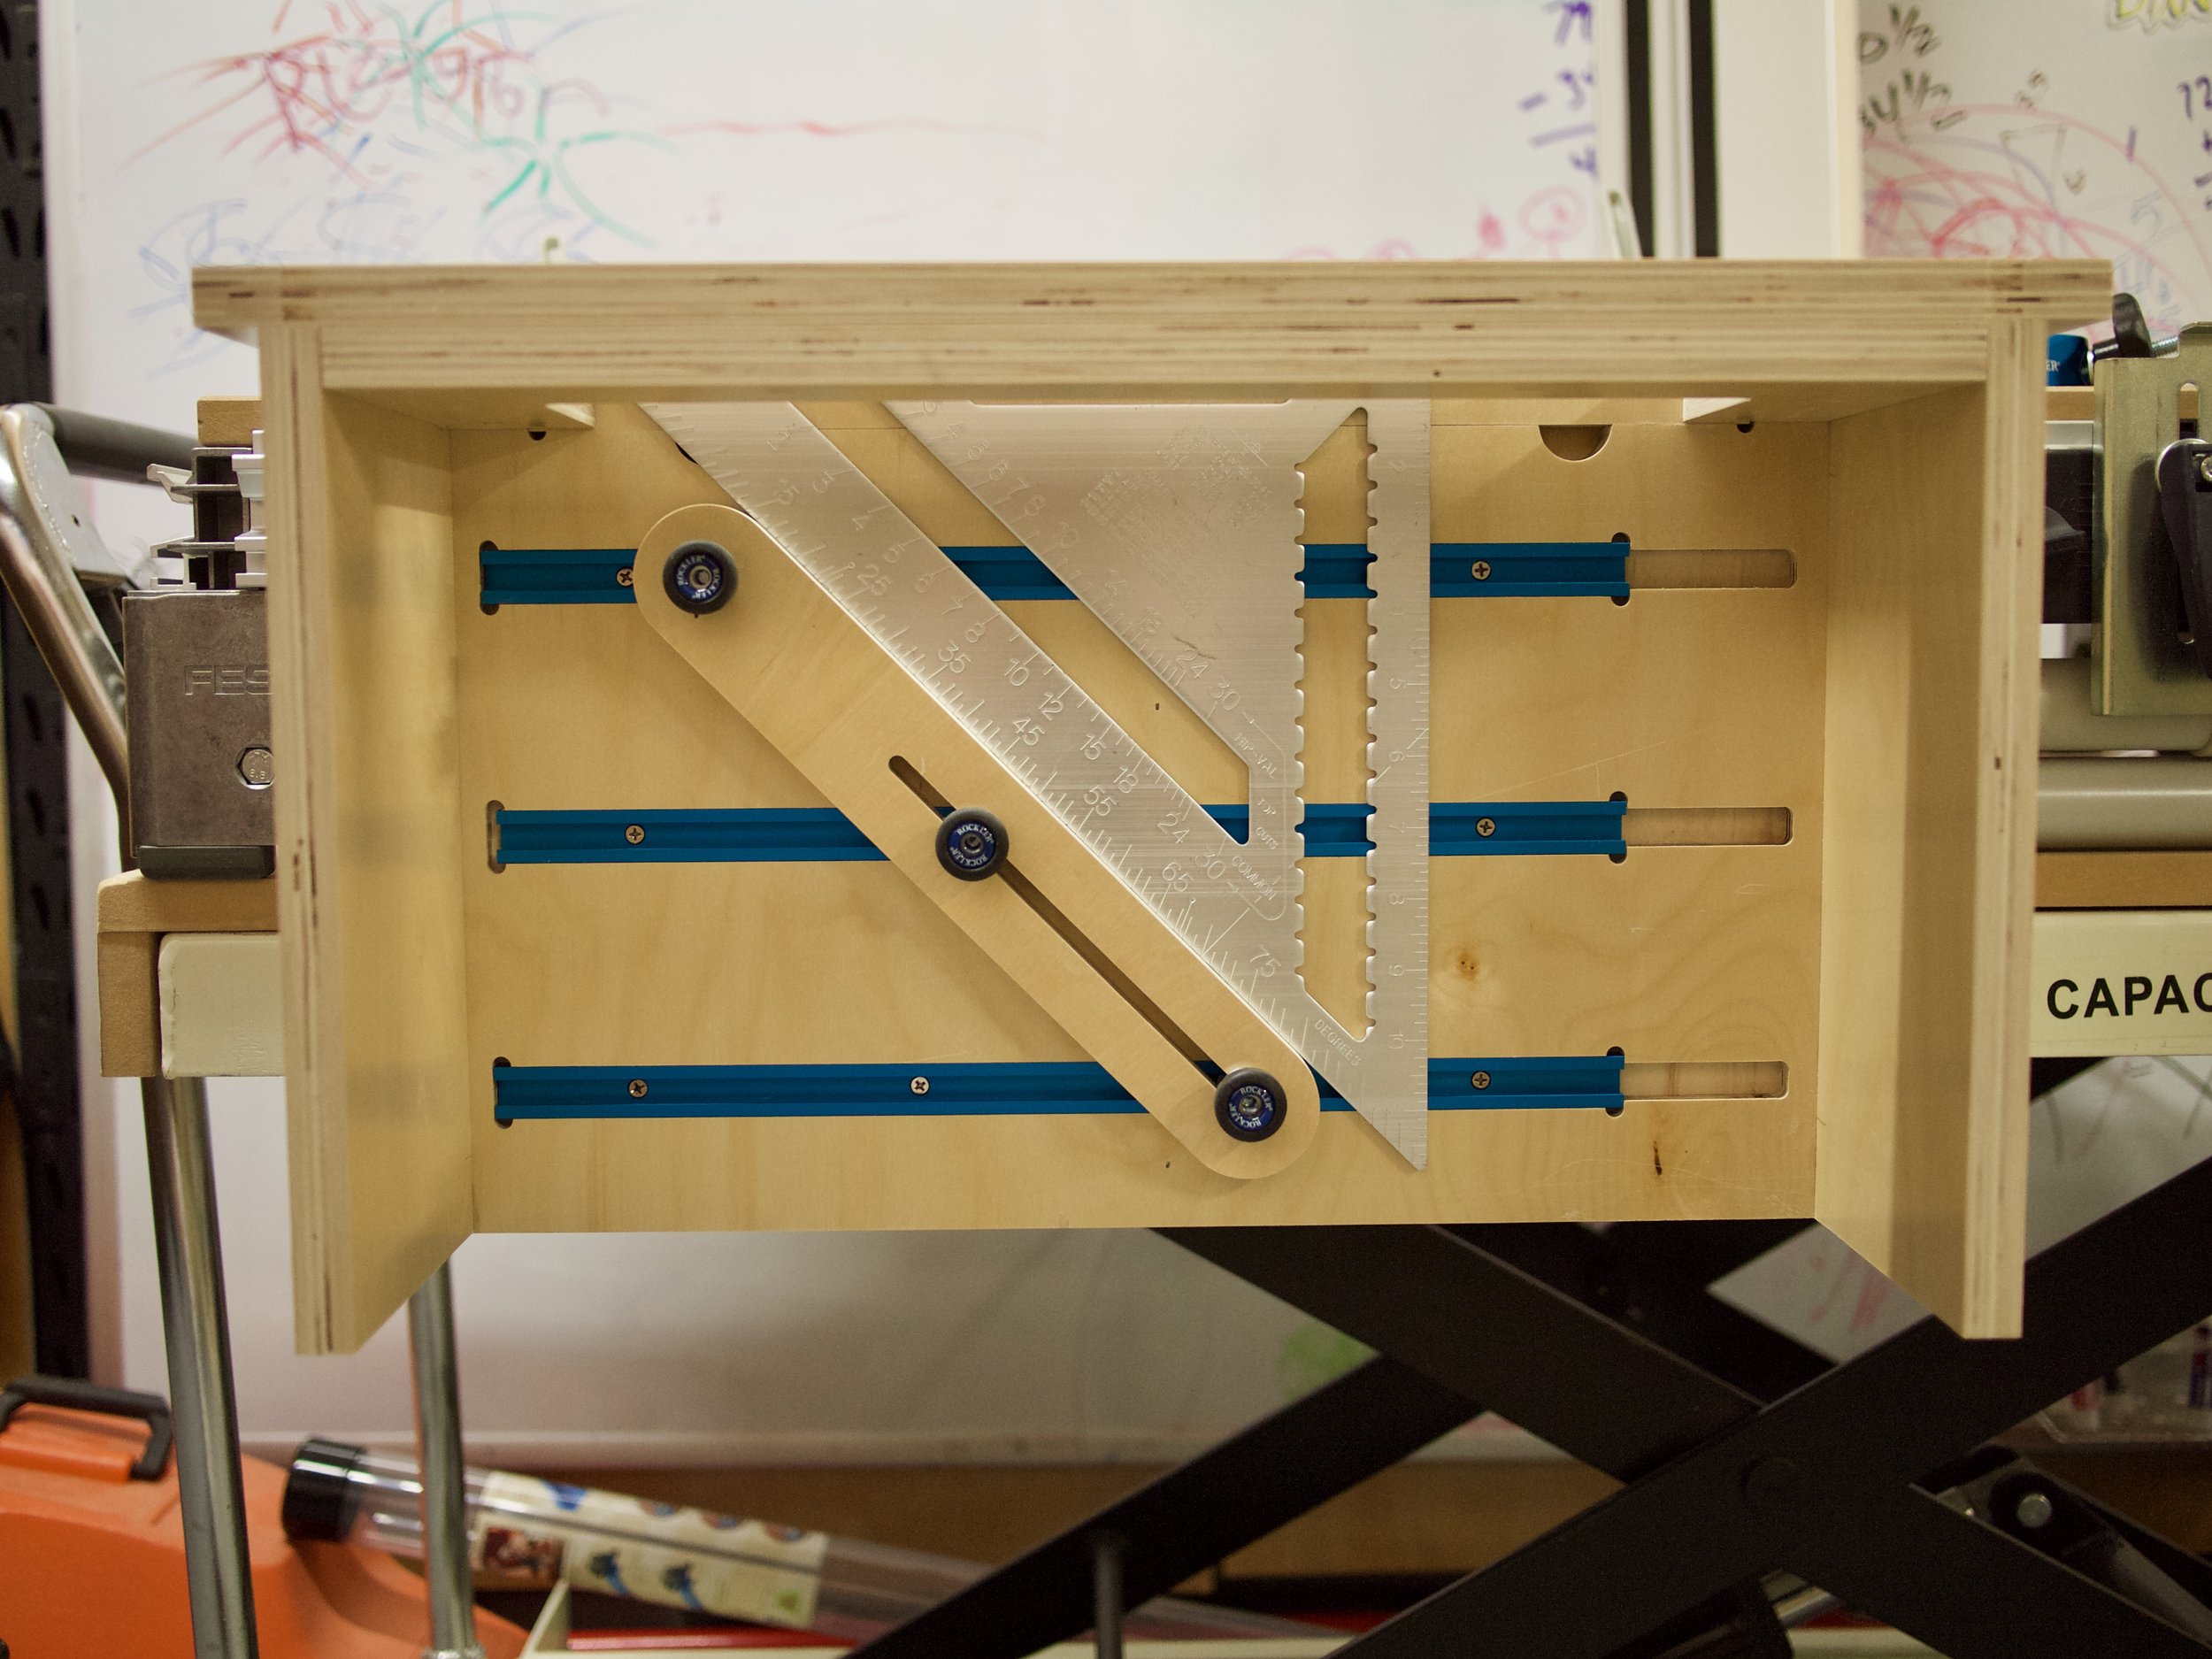
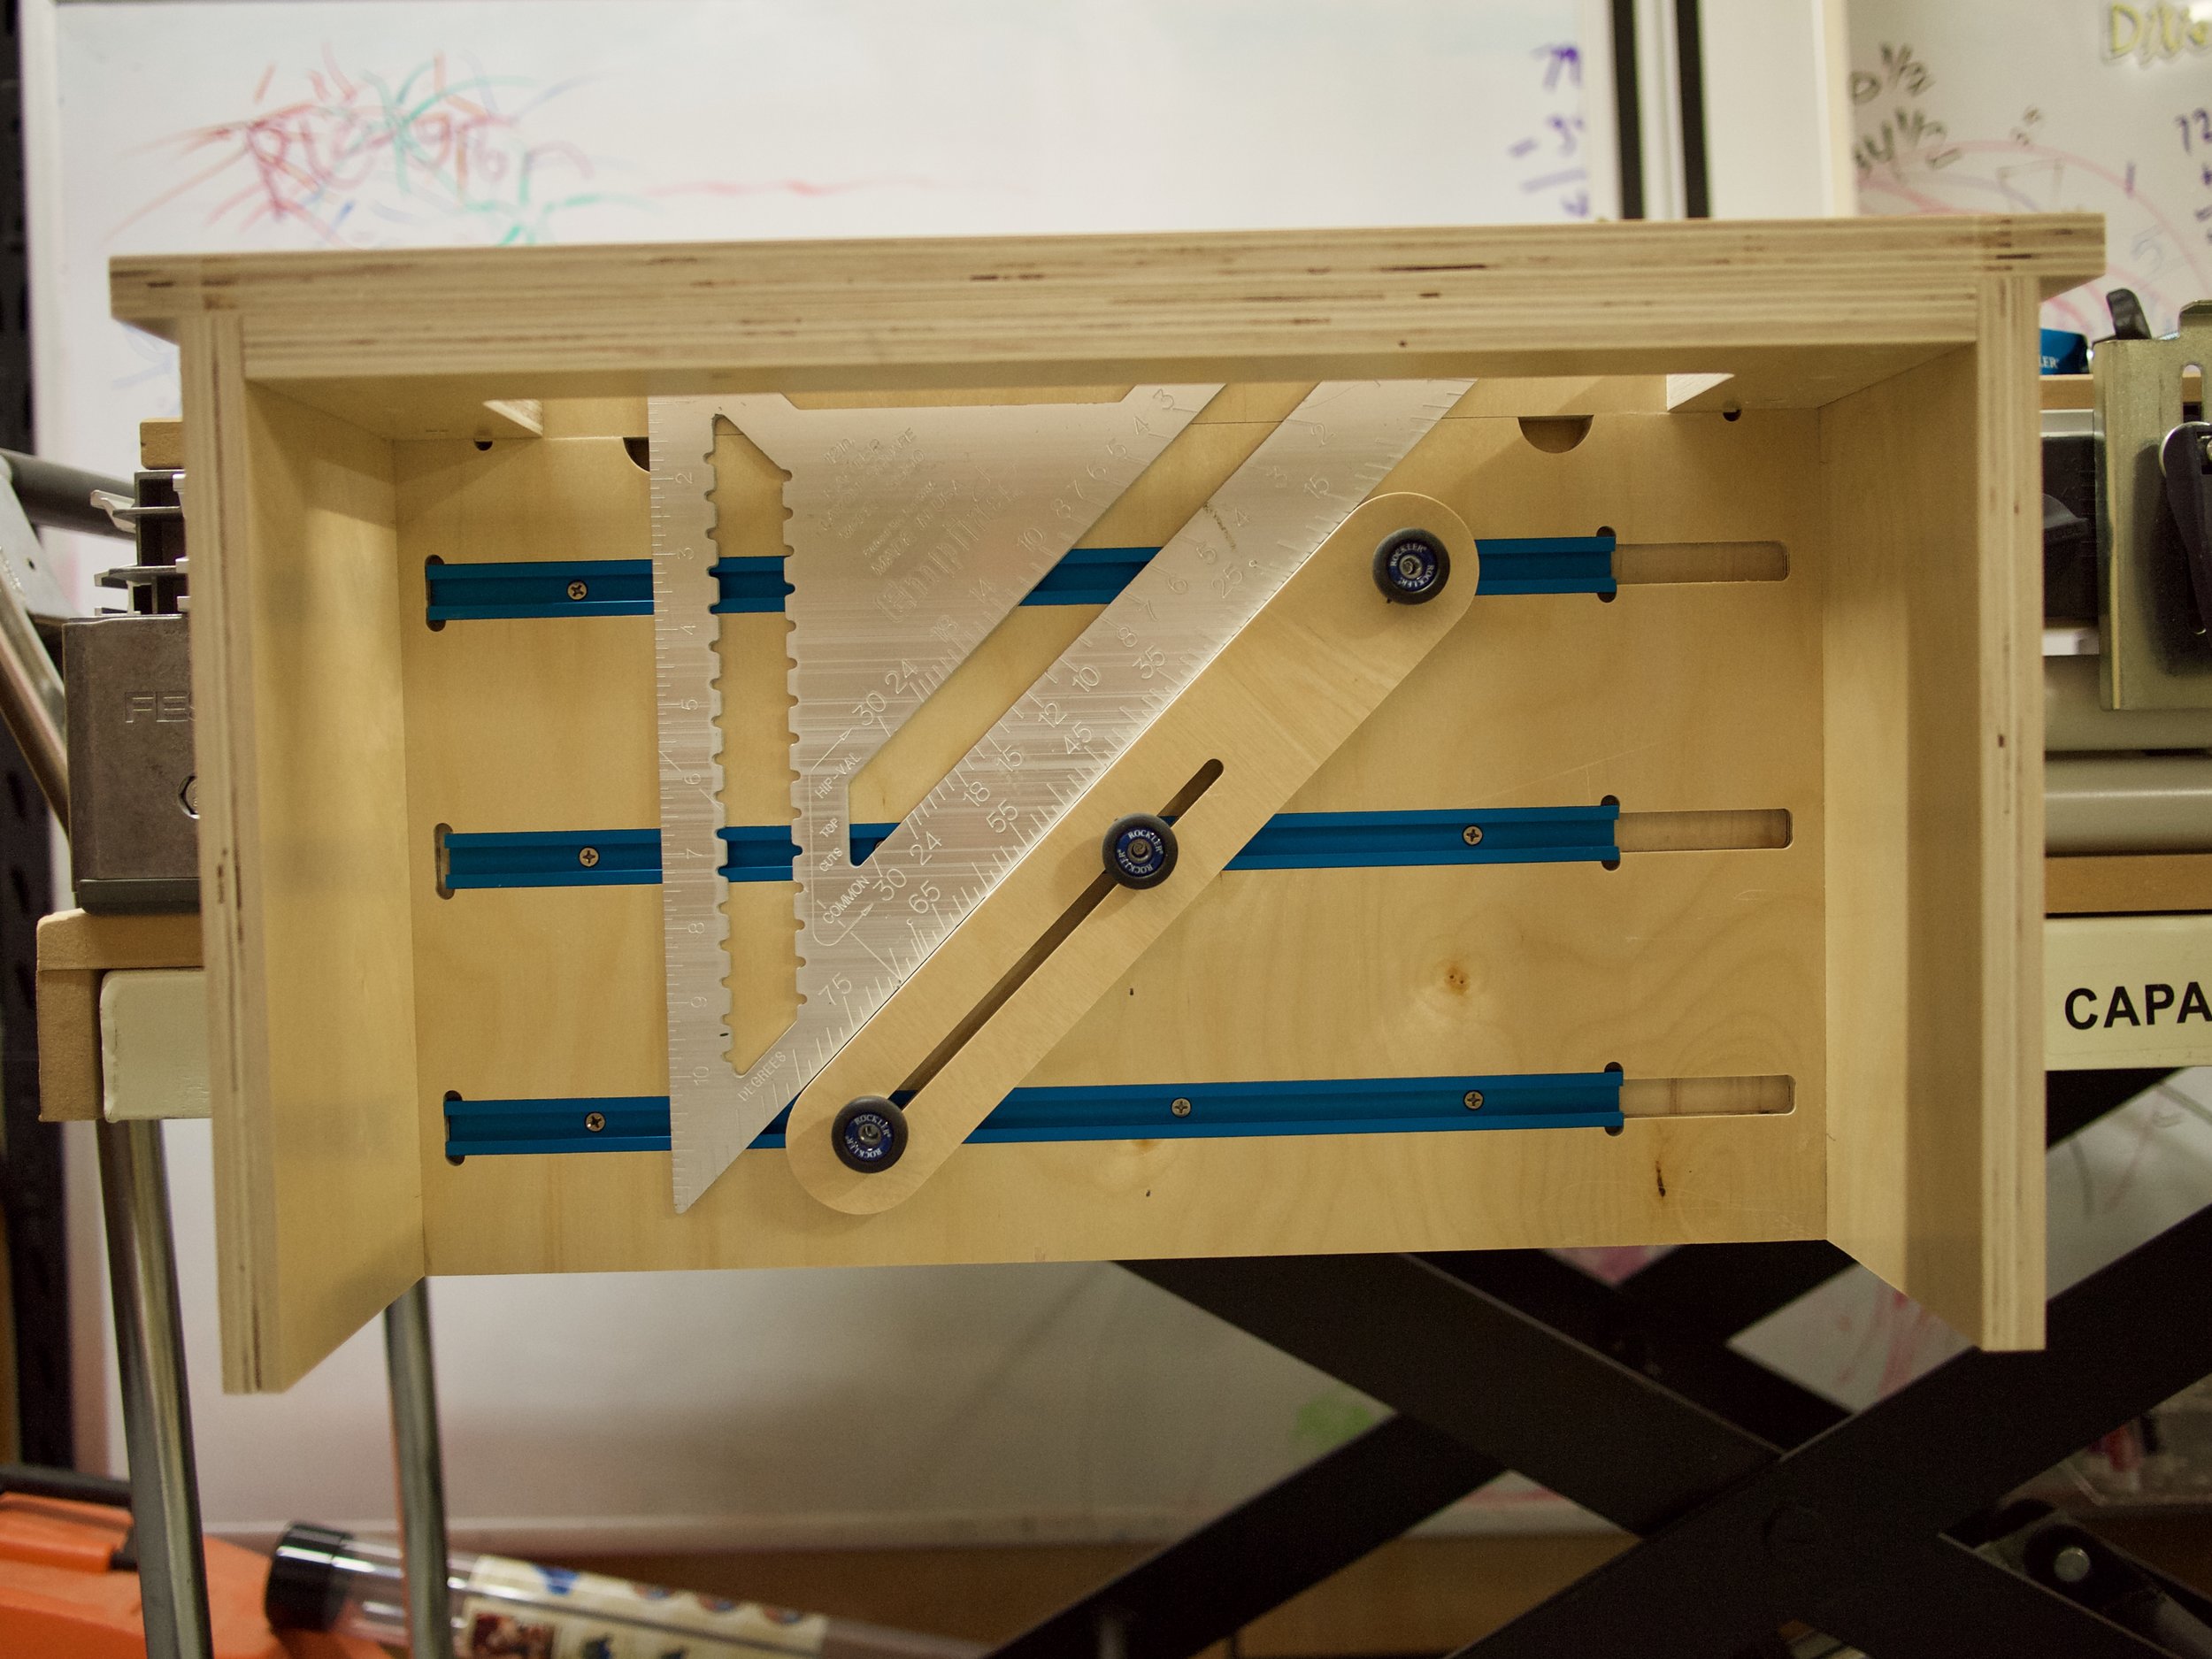
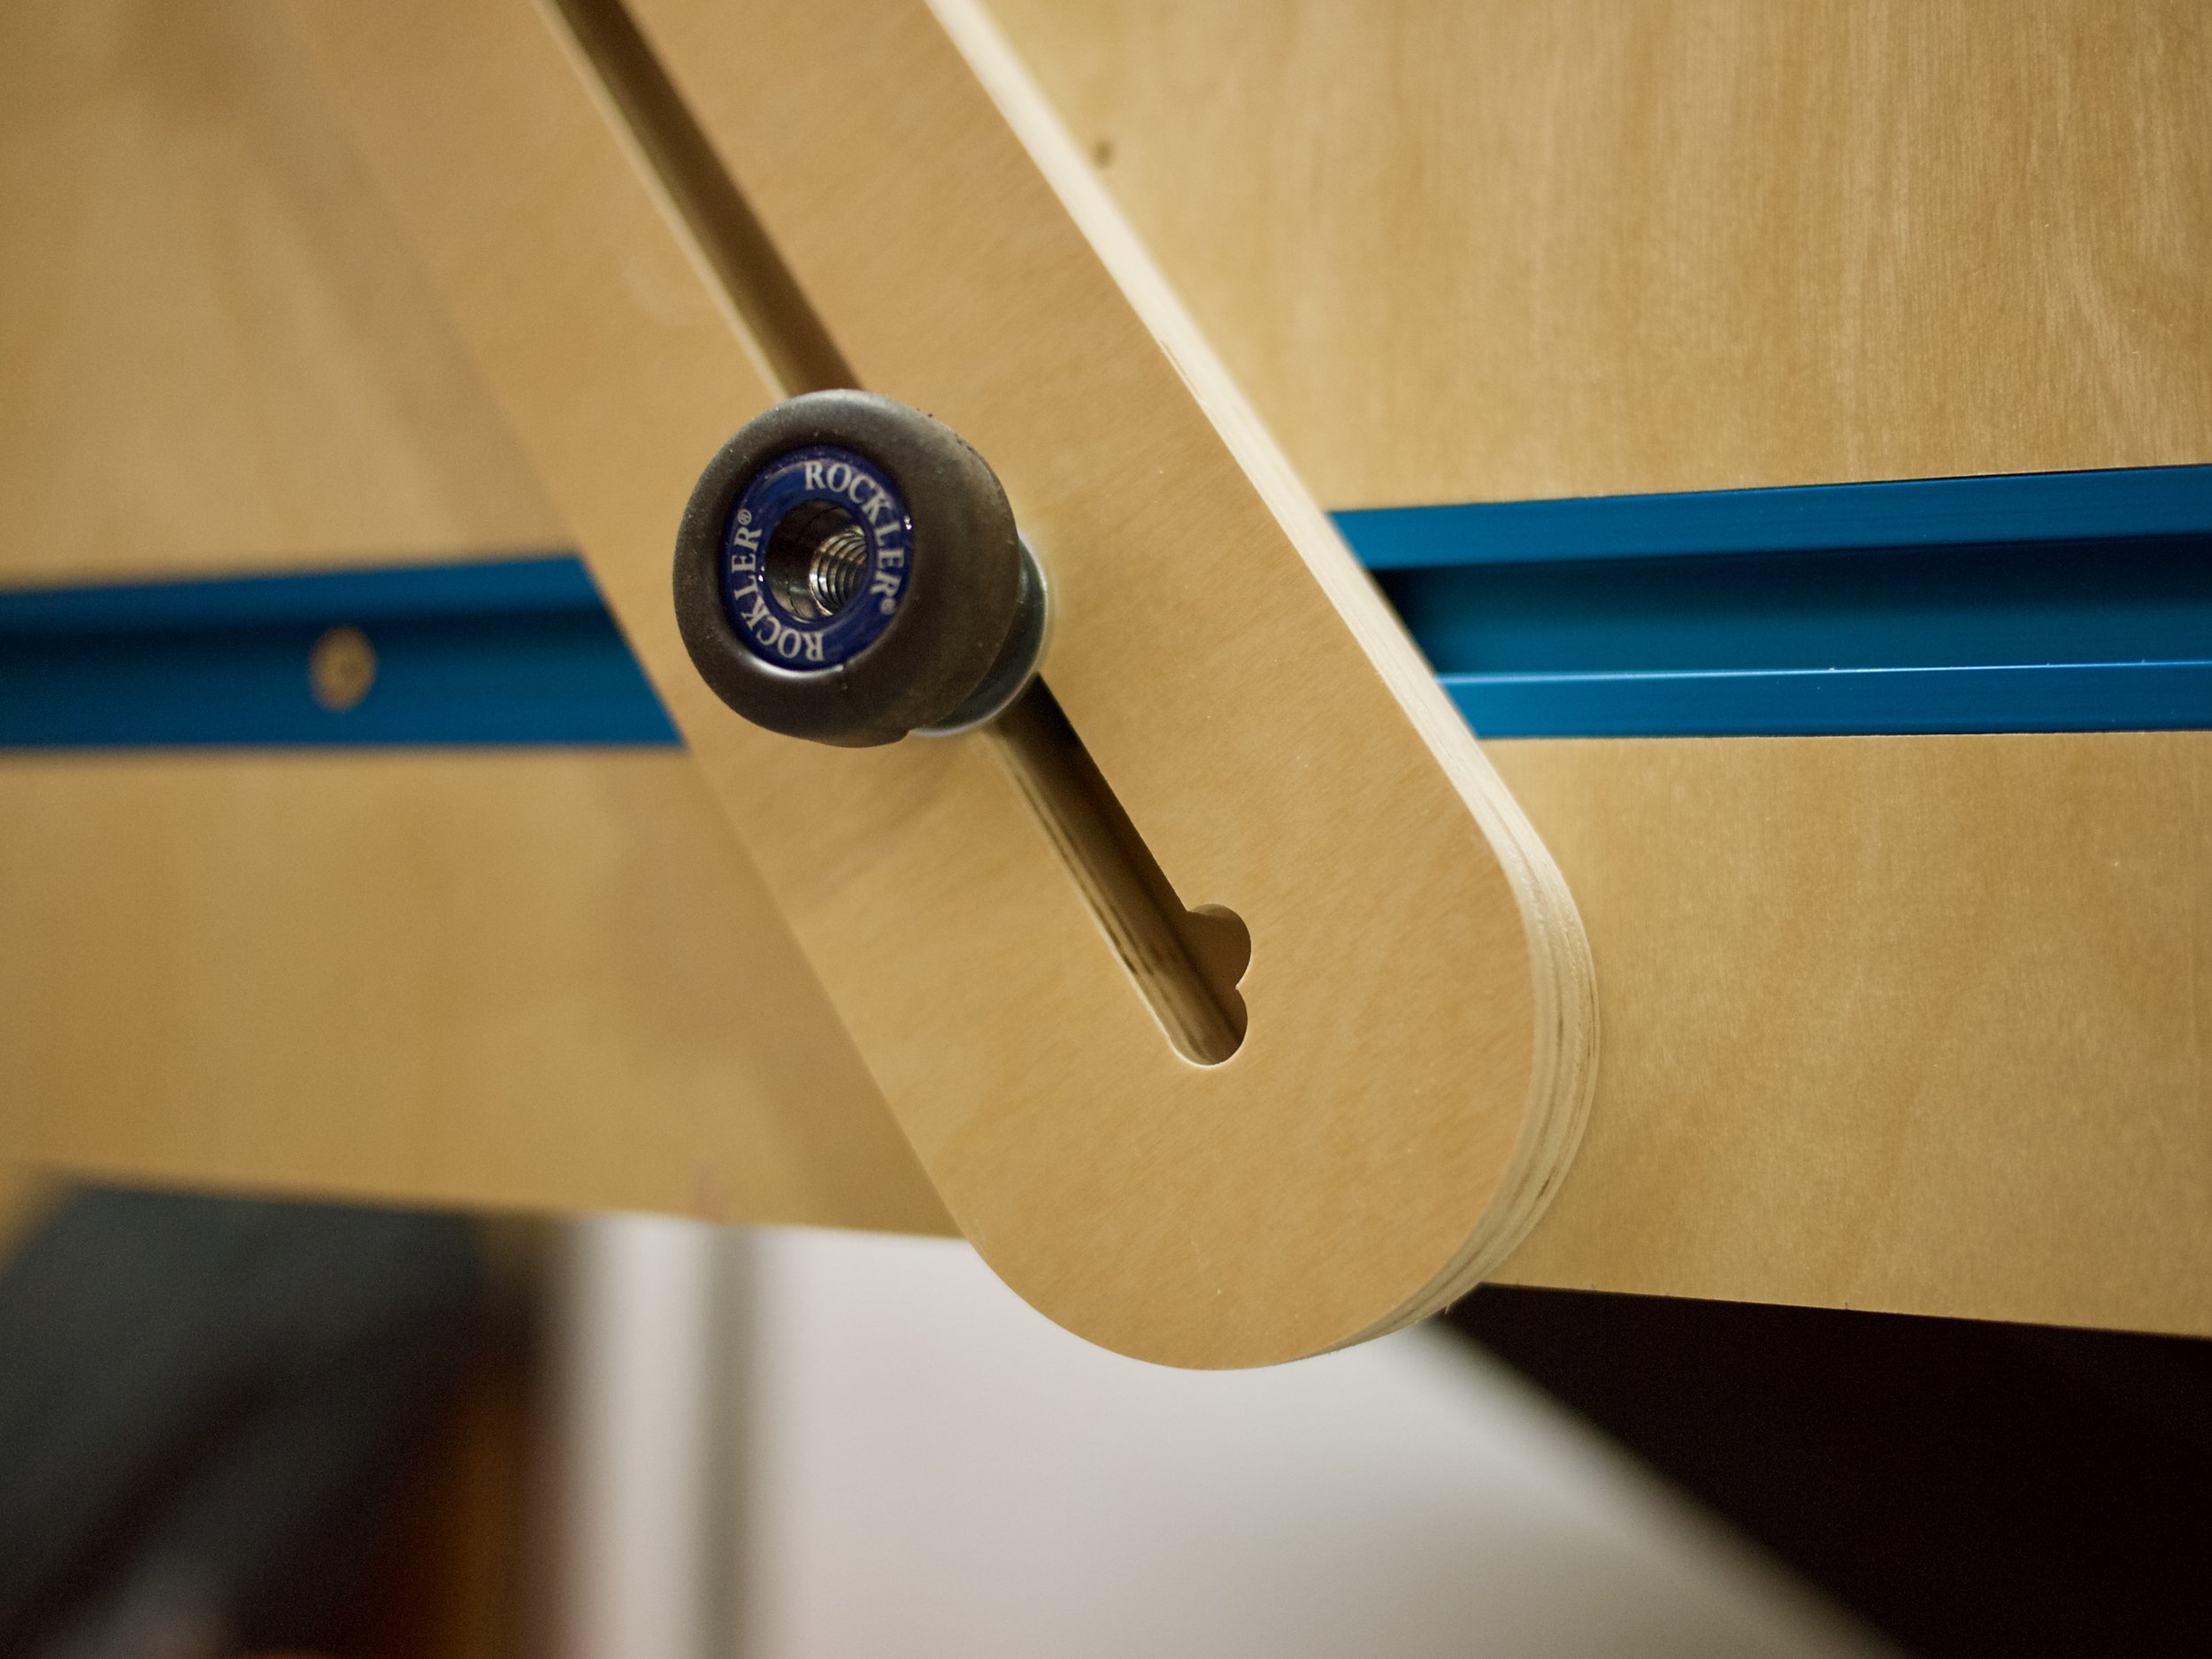
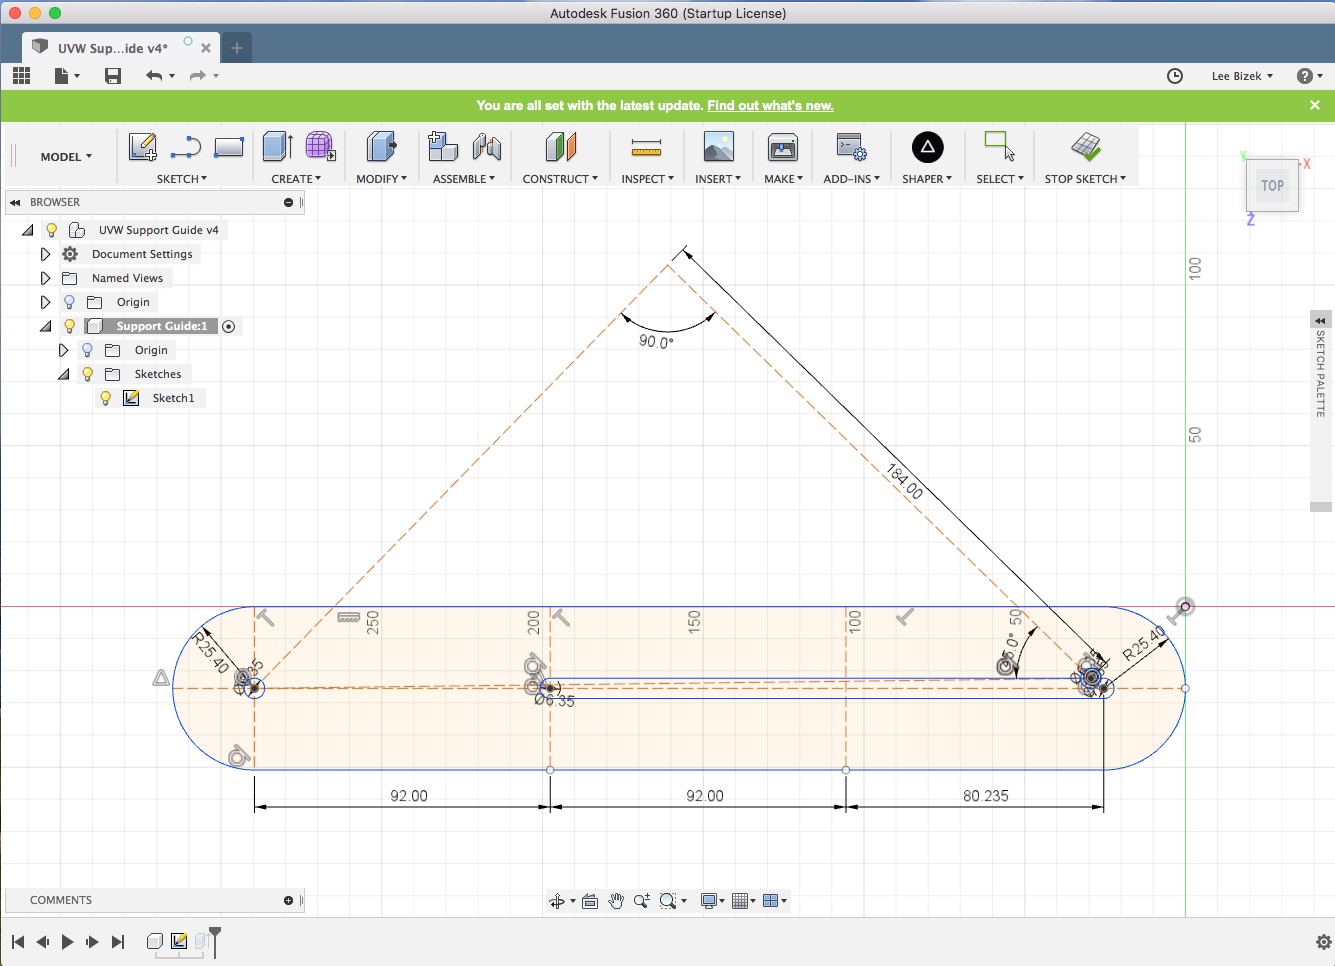
Again, I was looking at the first build and was considering adding a third hole for the dowel used in the original Shaper design but then I realized that because I was using a bit longer t-track I could simple use that for the vertical support. This came out better than I thought because it opened the door to using the support in not only multiple locations horizontally but at various angles as well. I did finally use Fusion360 to figure out where the knob would be on the third track at 45 degrees and put a notch in the support piece to easily reproduce that angle. I'm sure I'll make another support with multiple notches for commonly used angles in both directions.
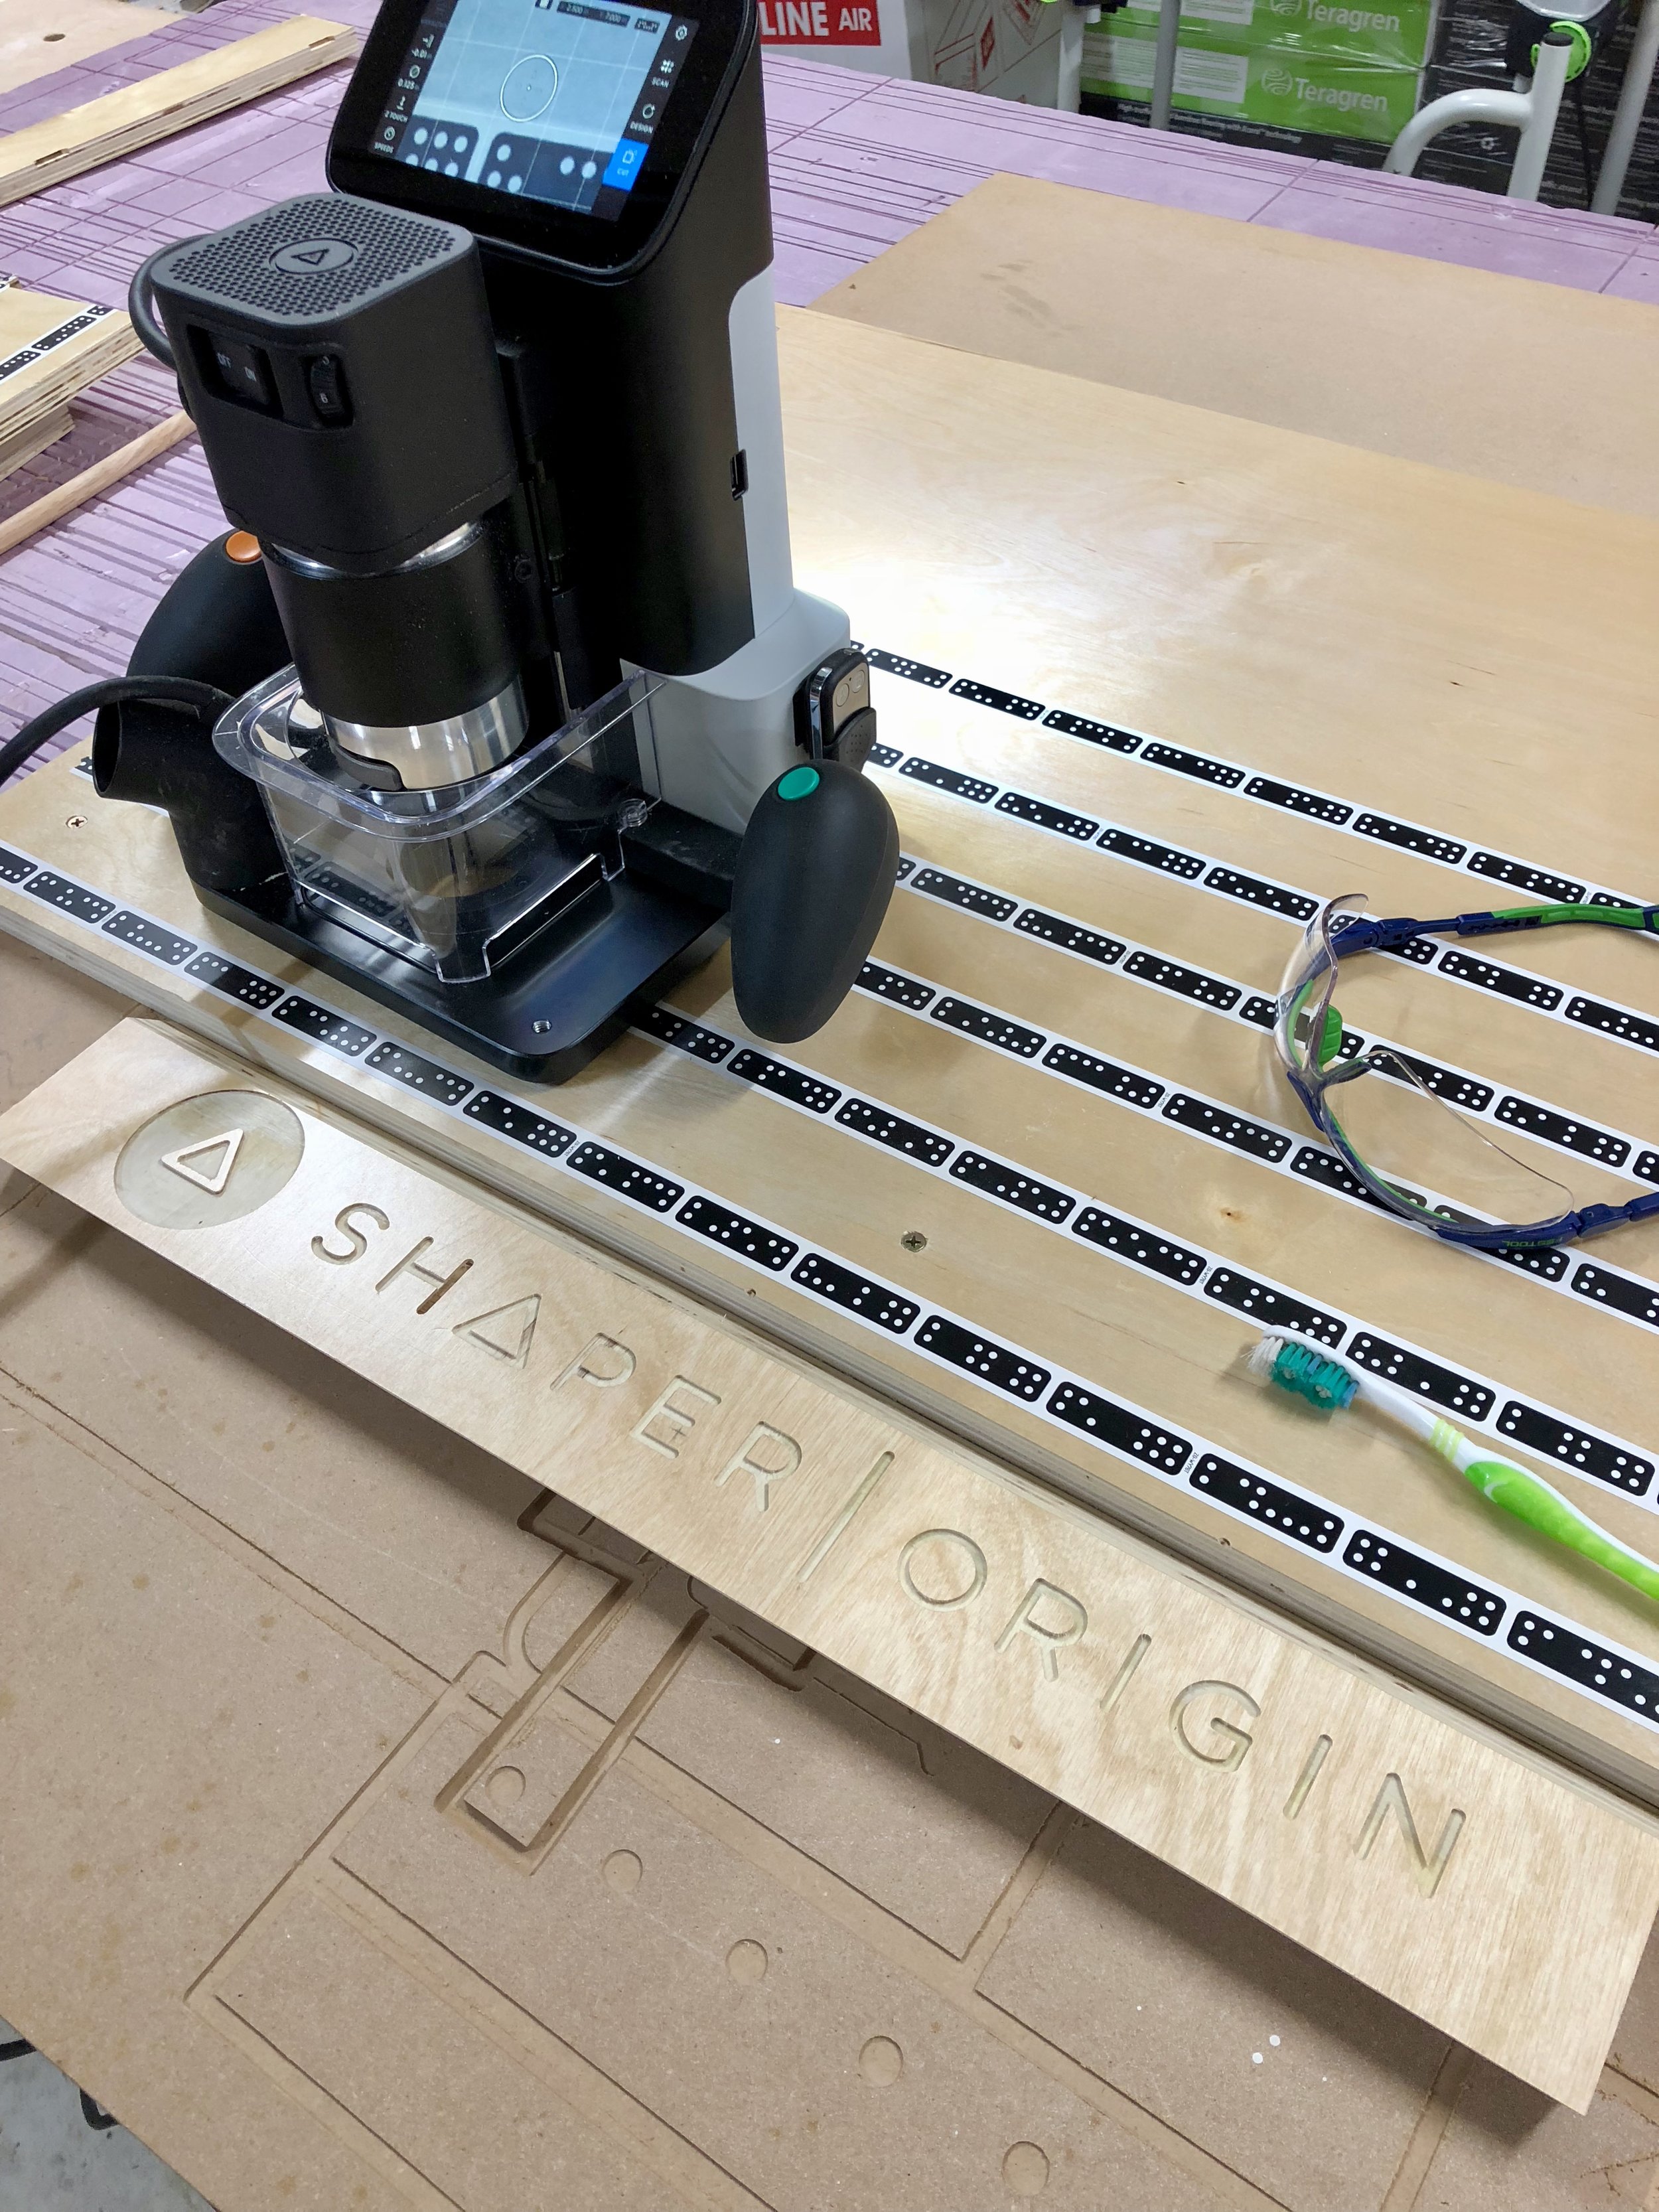
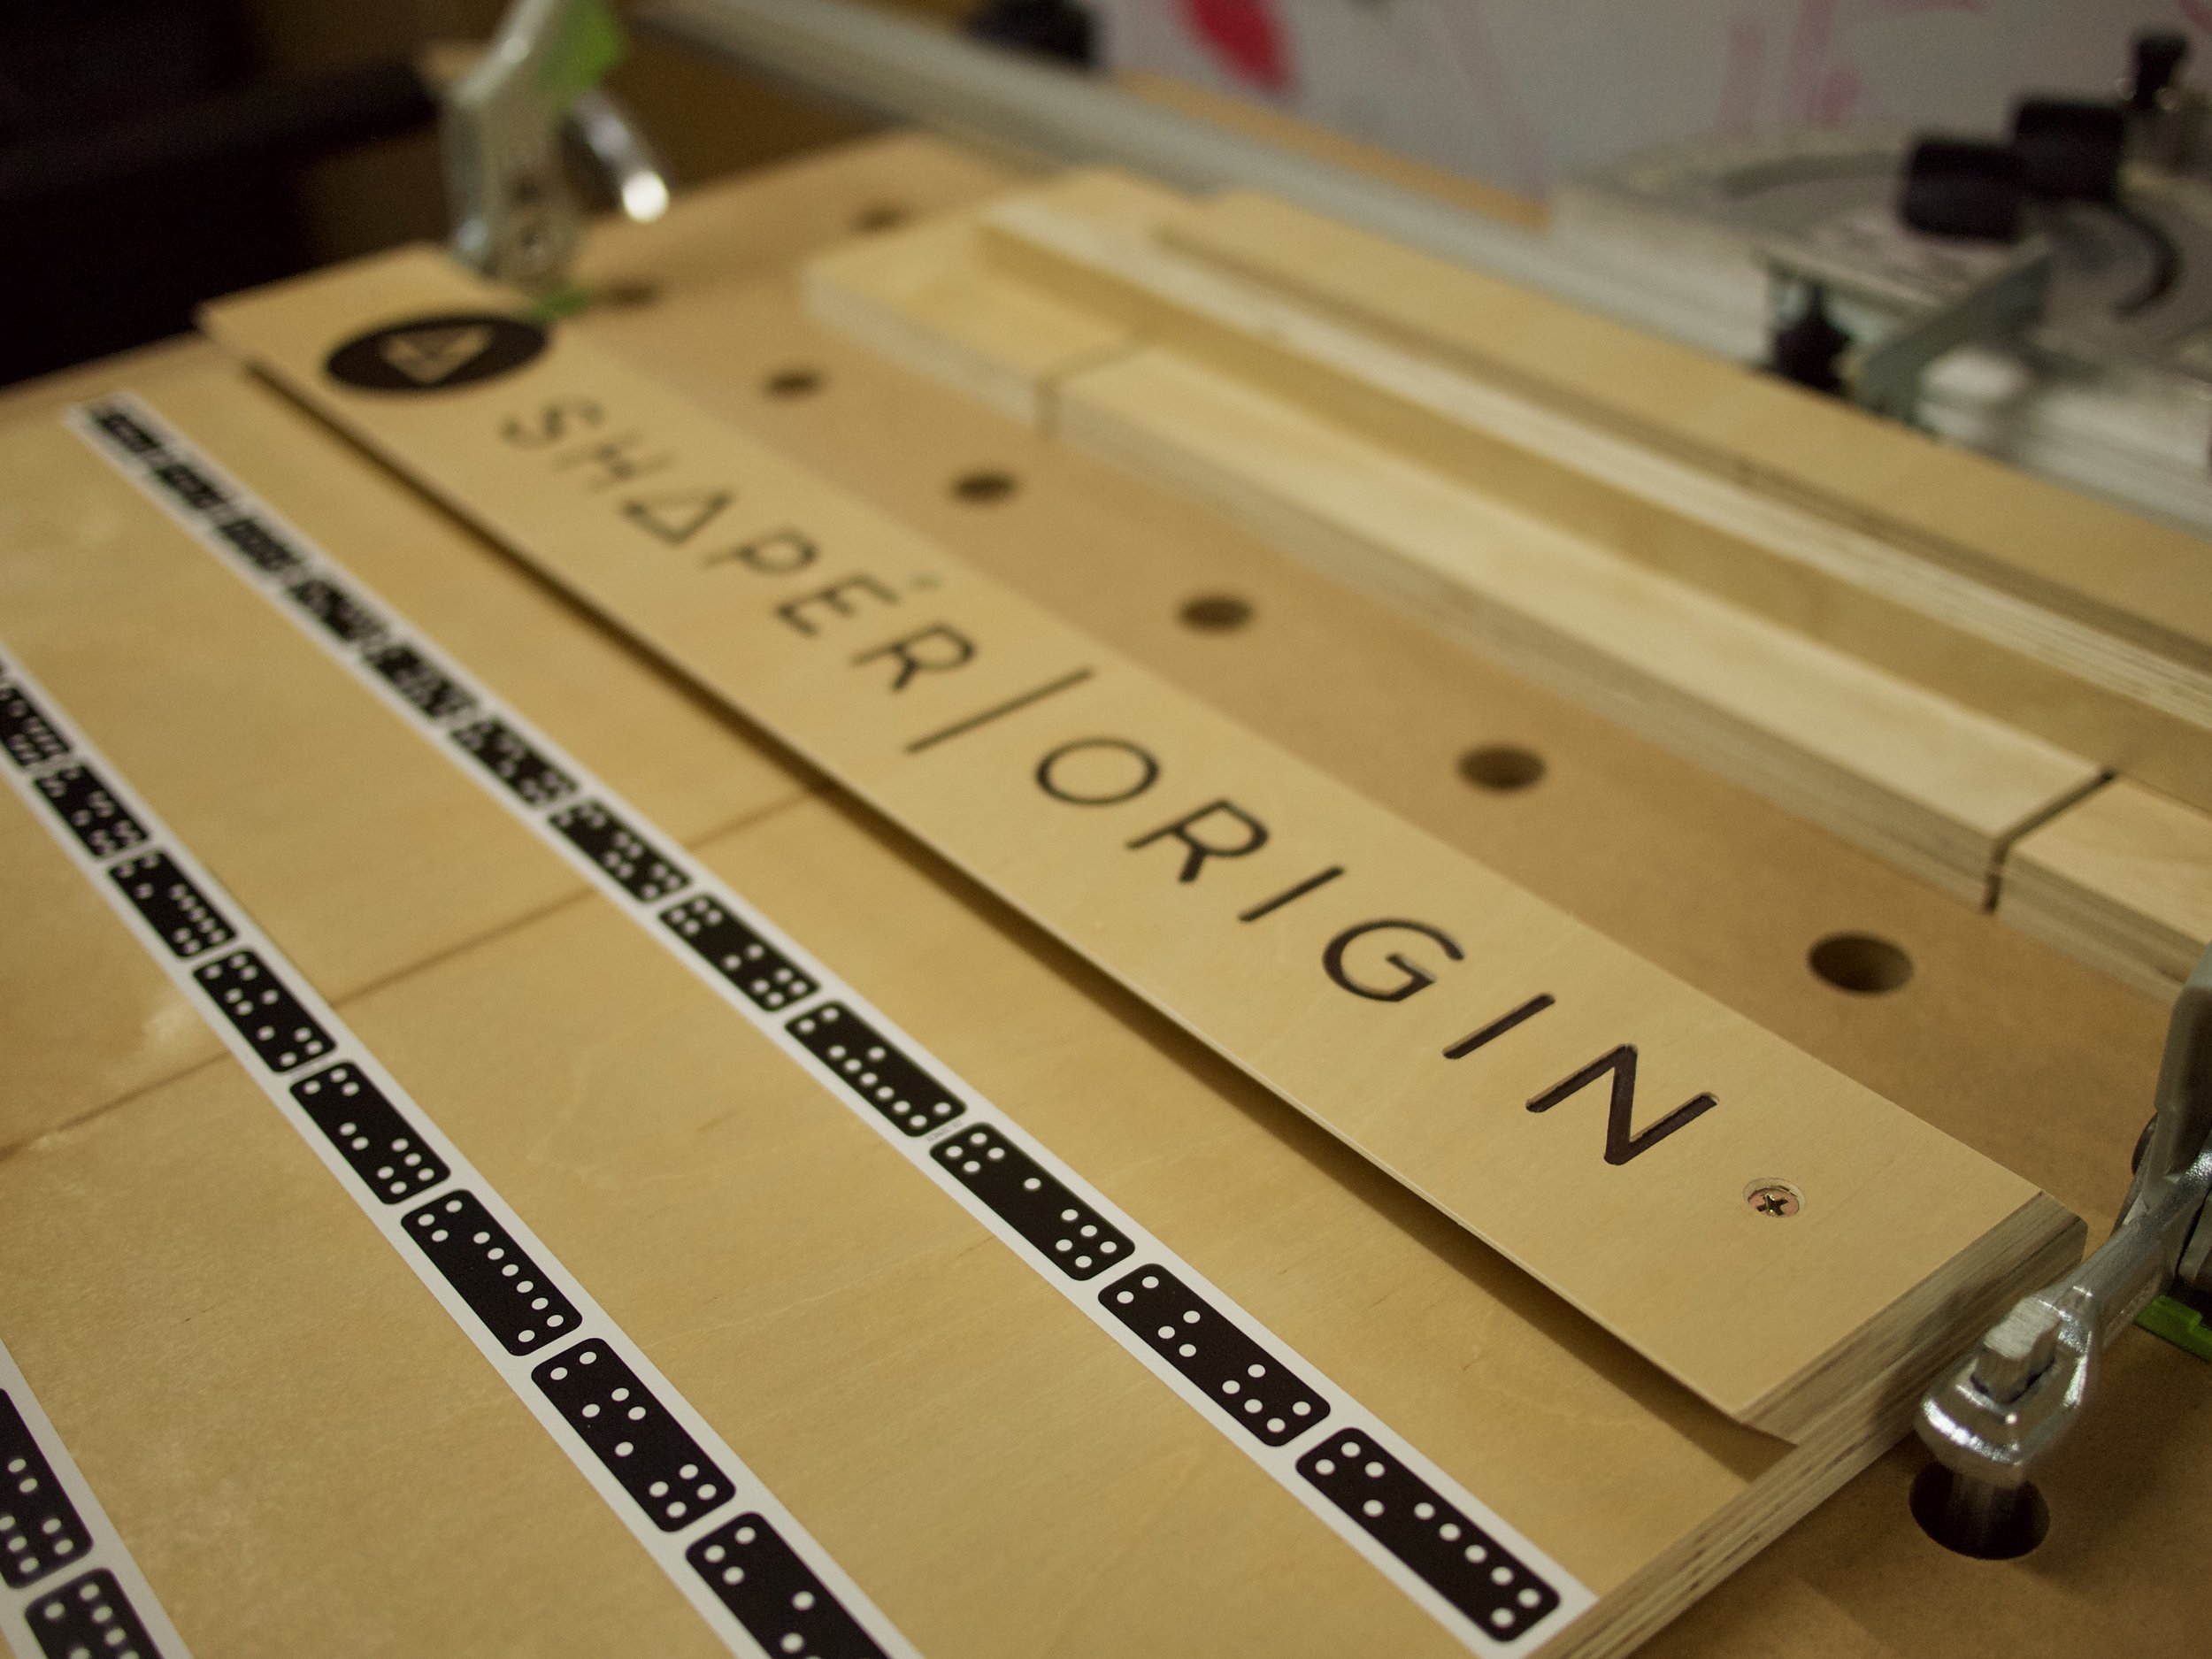
Final Touches
Of course, it wouldn't be the "Ultimate" Vertical Workstation without embellishing it with the Shaper Origin logos. :-) I used a Sharpie to color in the engraved logos.
Anyway, it was a great learning experience and I love how it all came together. It will be a great addition to the workshop.