The BEEZLEE Blog Innovation, Technology, Tools, Woodworking Lee Bizek 5/25/20 Innovation, Technology, Tools, Woodworking Lee Bizek 5/25/20 Let There Be Light! Read More Tools, Innovation Lee Bizek 2/24/18 Tools, Innovation Lee Bizek 2/24/18 My Shaper Origin is finally here!!! Read More Innovation, Design, Technology Lee Bizek 9/20/17 Innovation, Design, Technology Lee Bizek 9/20/17 Coolest E-Bike I've ever seen! Read More
Innovation, Technology, Tools, Woodworking Lee Bizek 5/25/20 Innovation, Technology, Tools, Woodworking Lee Bizek 5/25/20 Let There Be Light! Read More
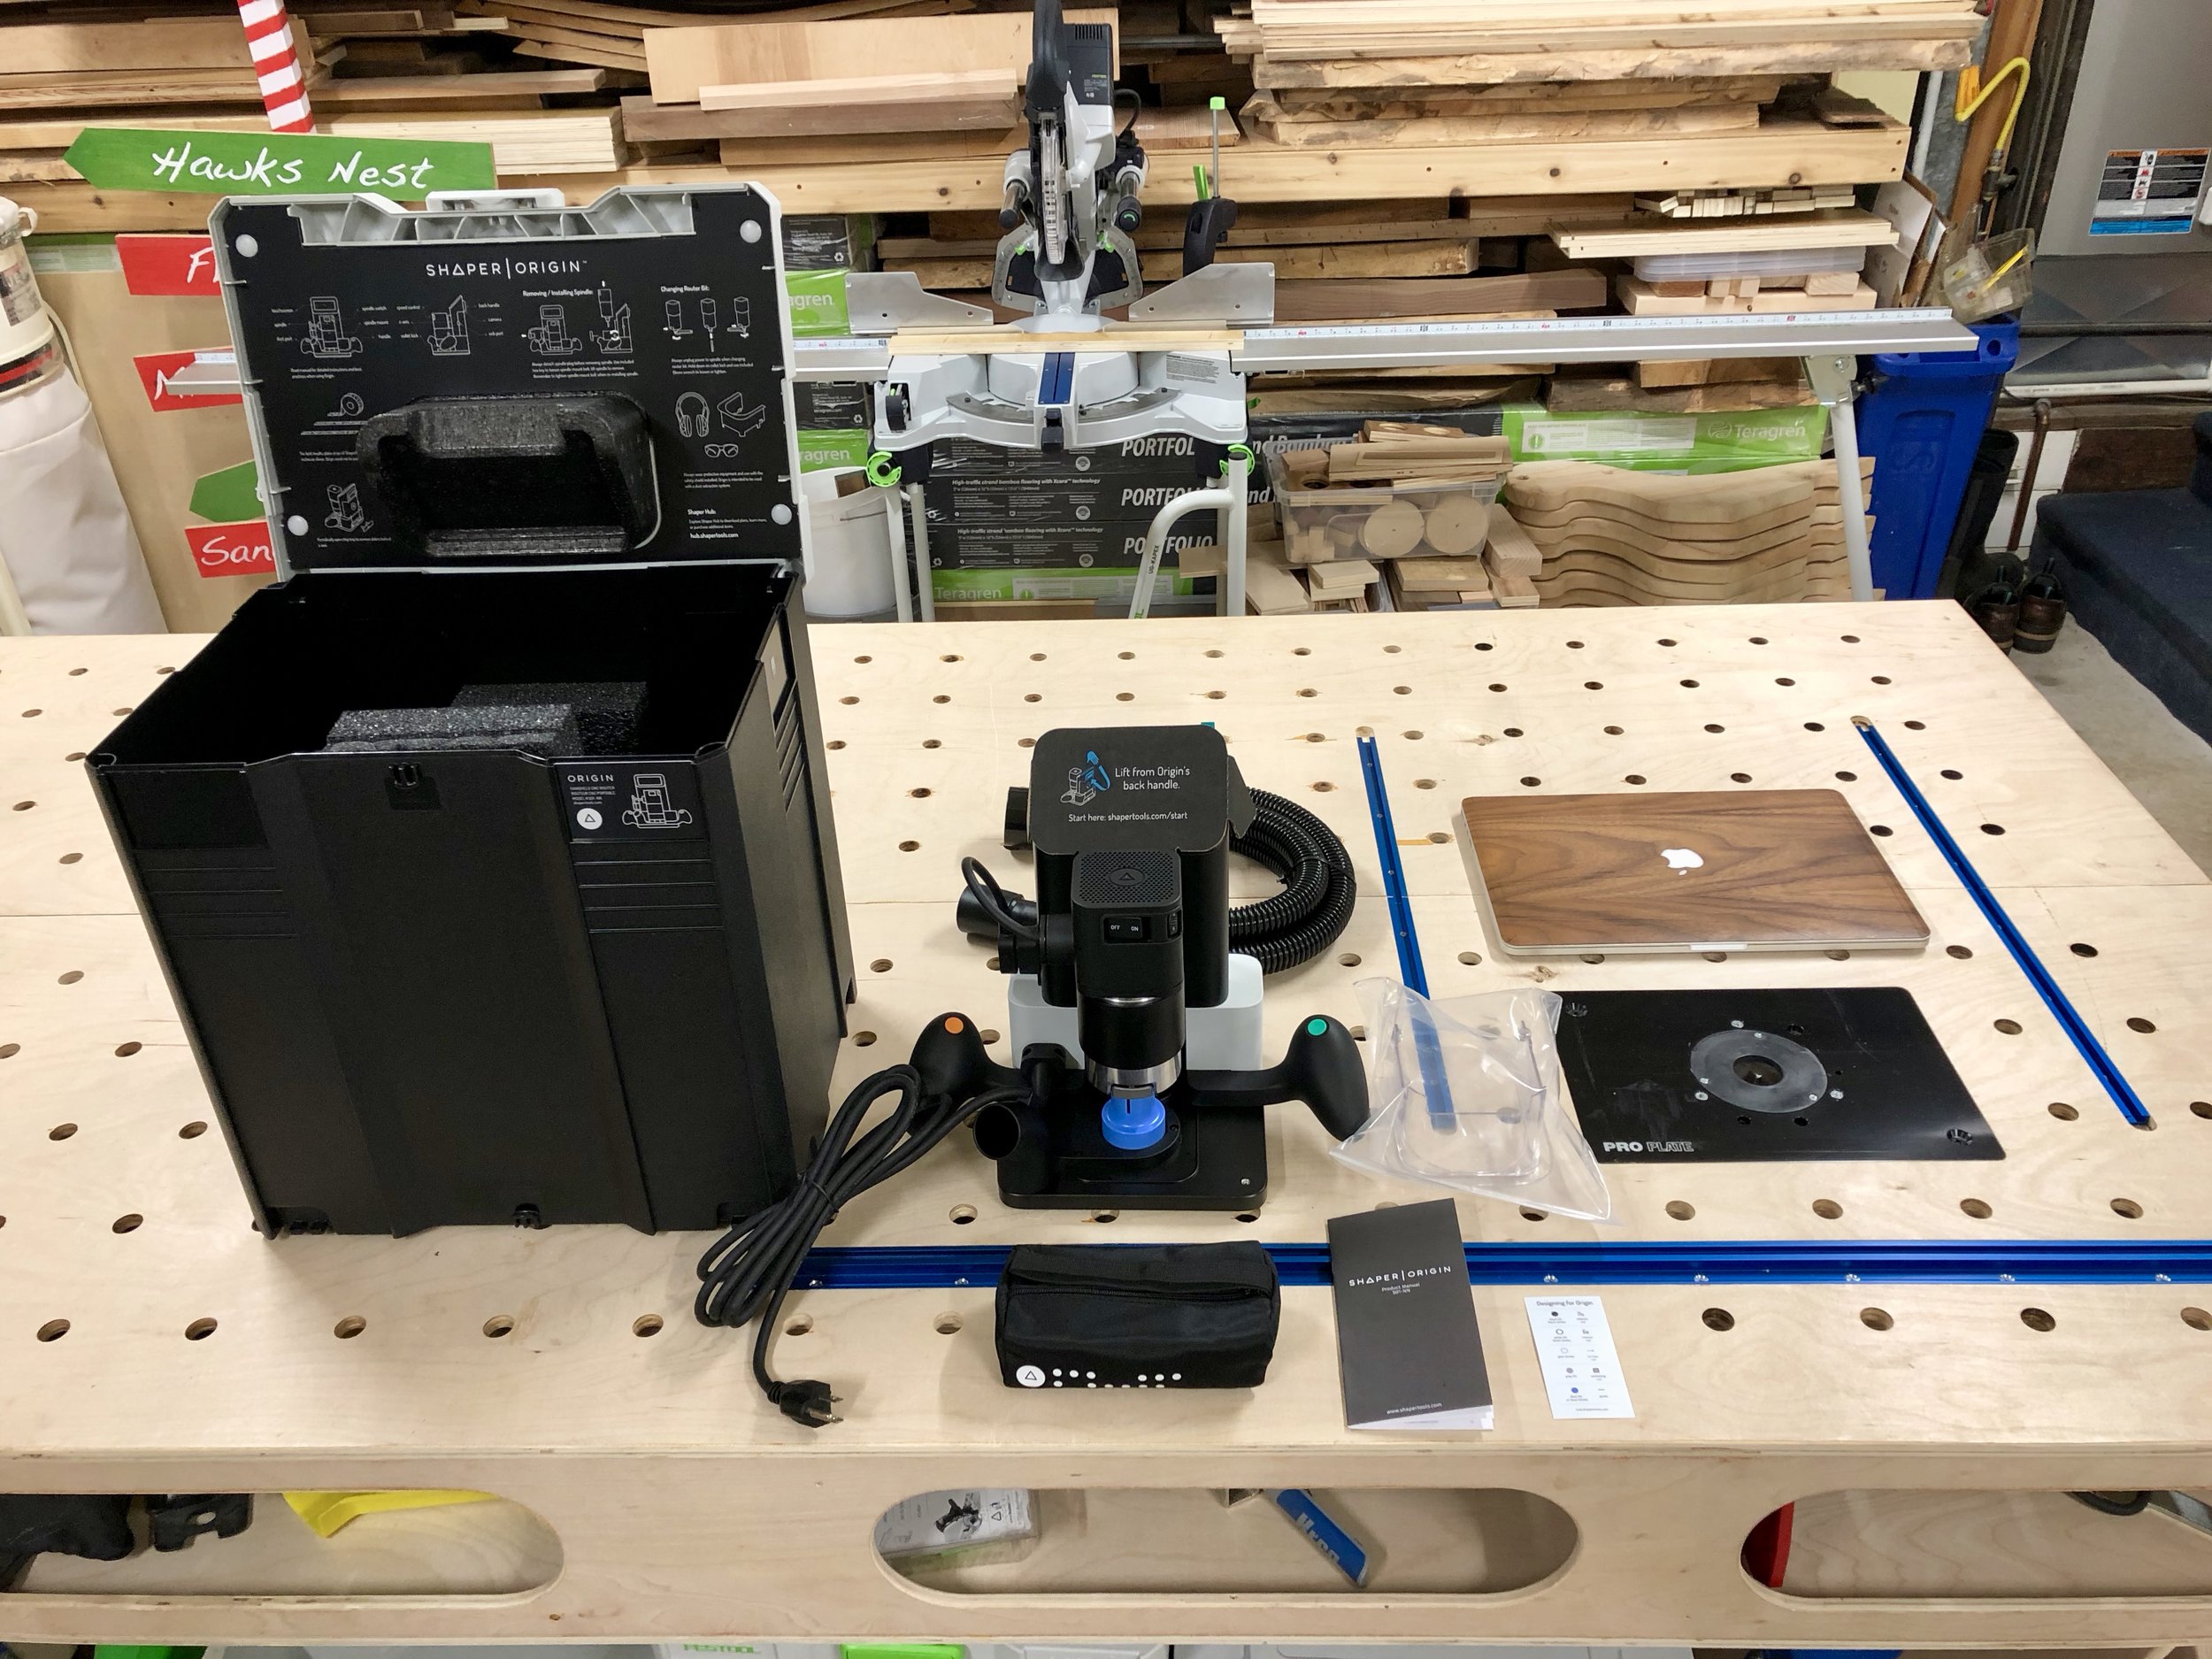
Tools, Innovation Lee Bizek 2/24/18 Tools, Innovation Lee Bizek 2/24/18 My Shaper Origin is finally here!!! Read More
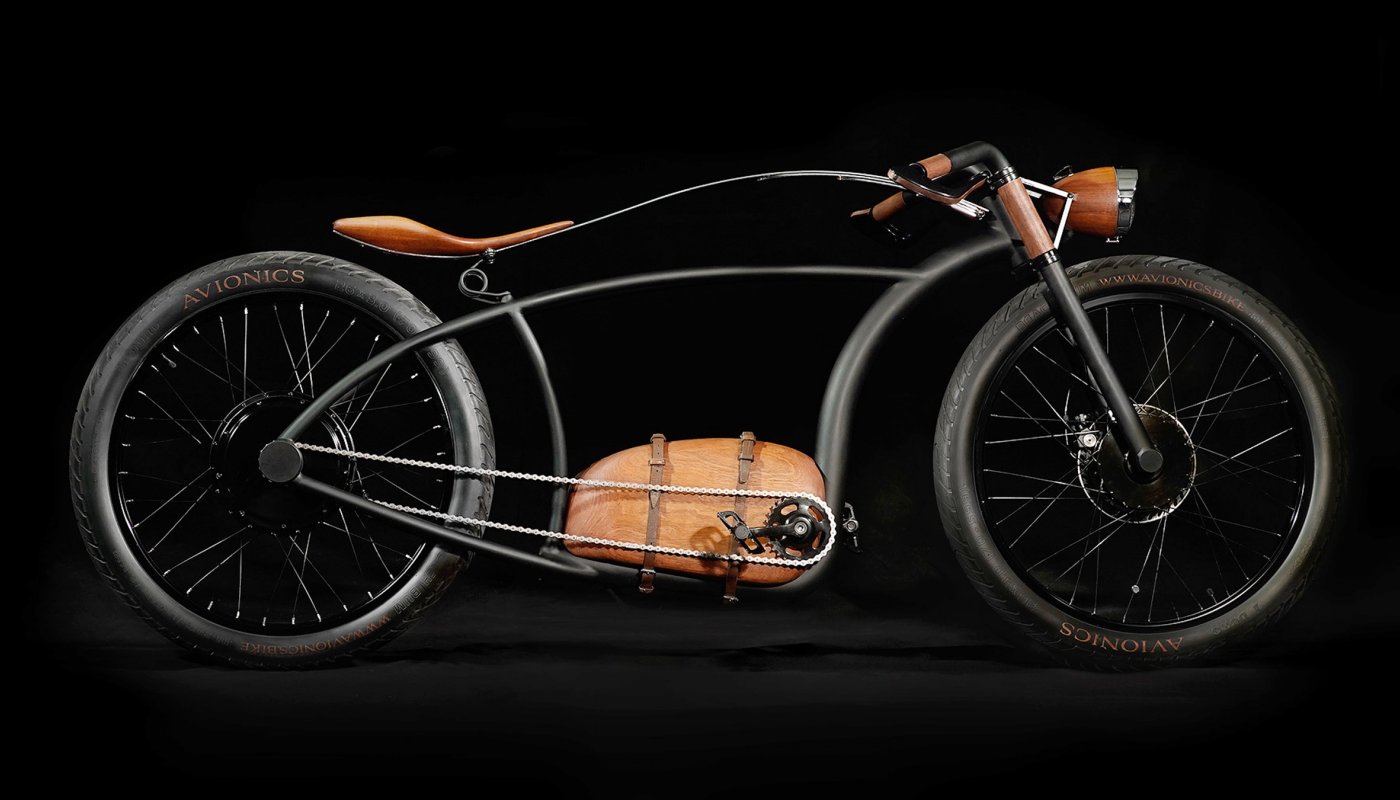
Innovation, Design, Technology Lee Bizek 9/20/17 Innovation, Design, Technology Lee Bizek 9/20/17 Coolest E-Bike I've ever seen! Read More