I know it’s been a while since my last post but time flies when you’re having fun (or working on a lot of different projects).
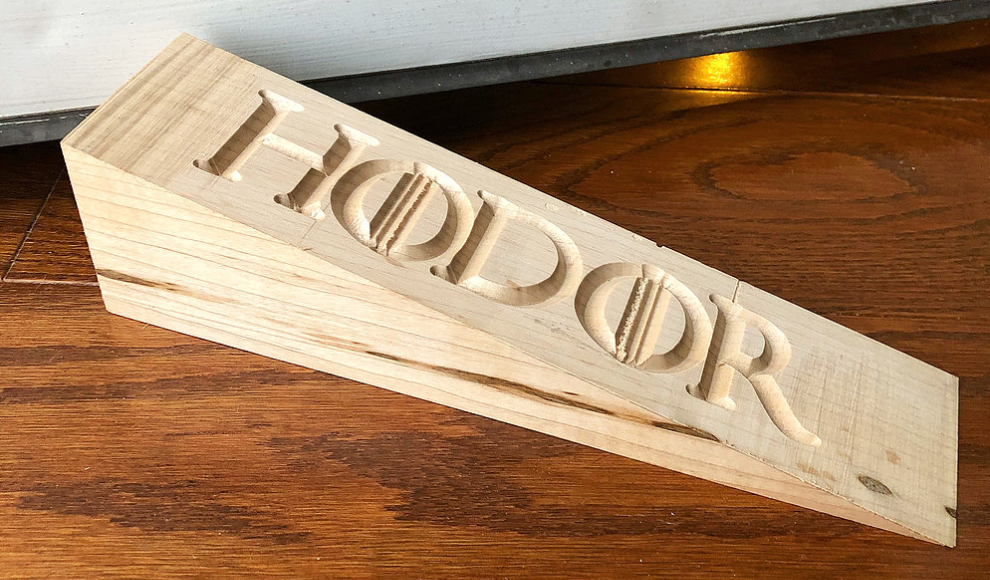
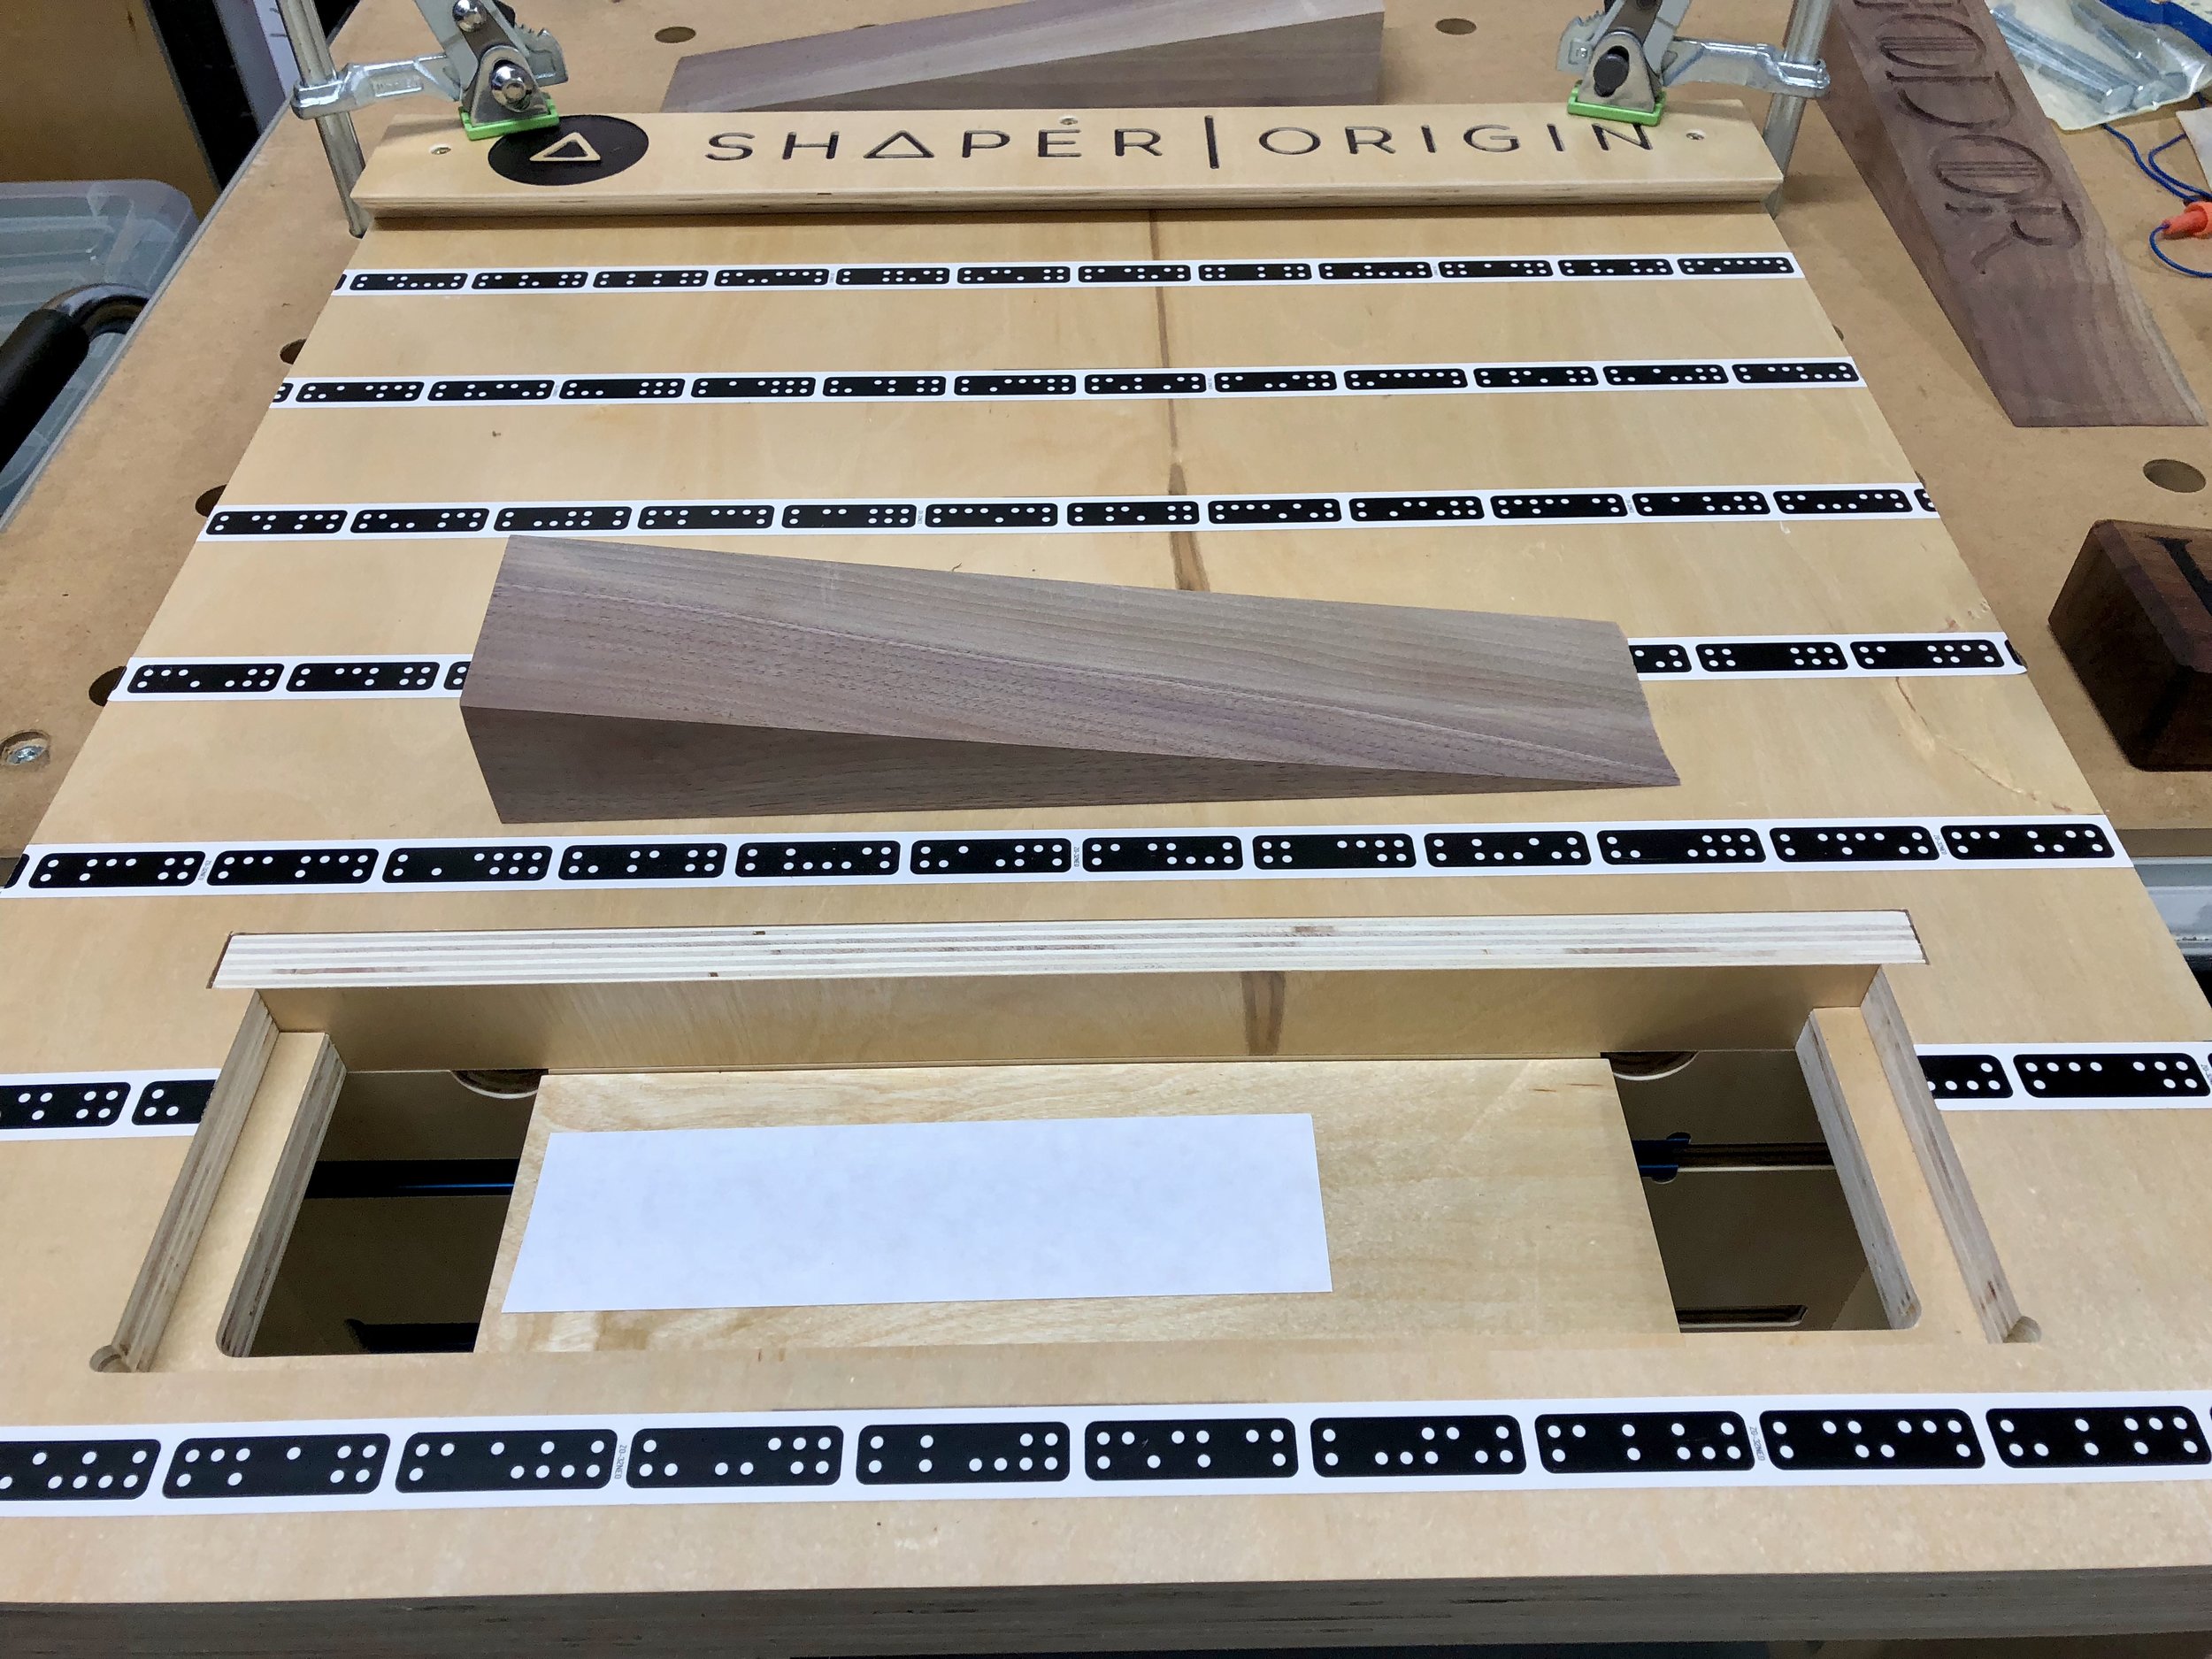
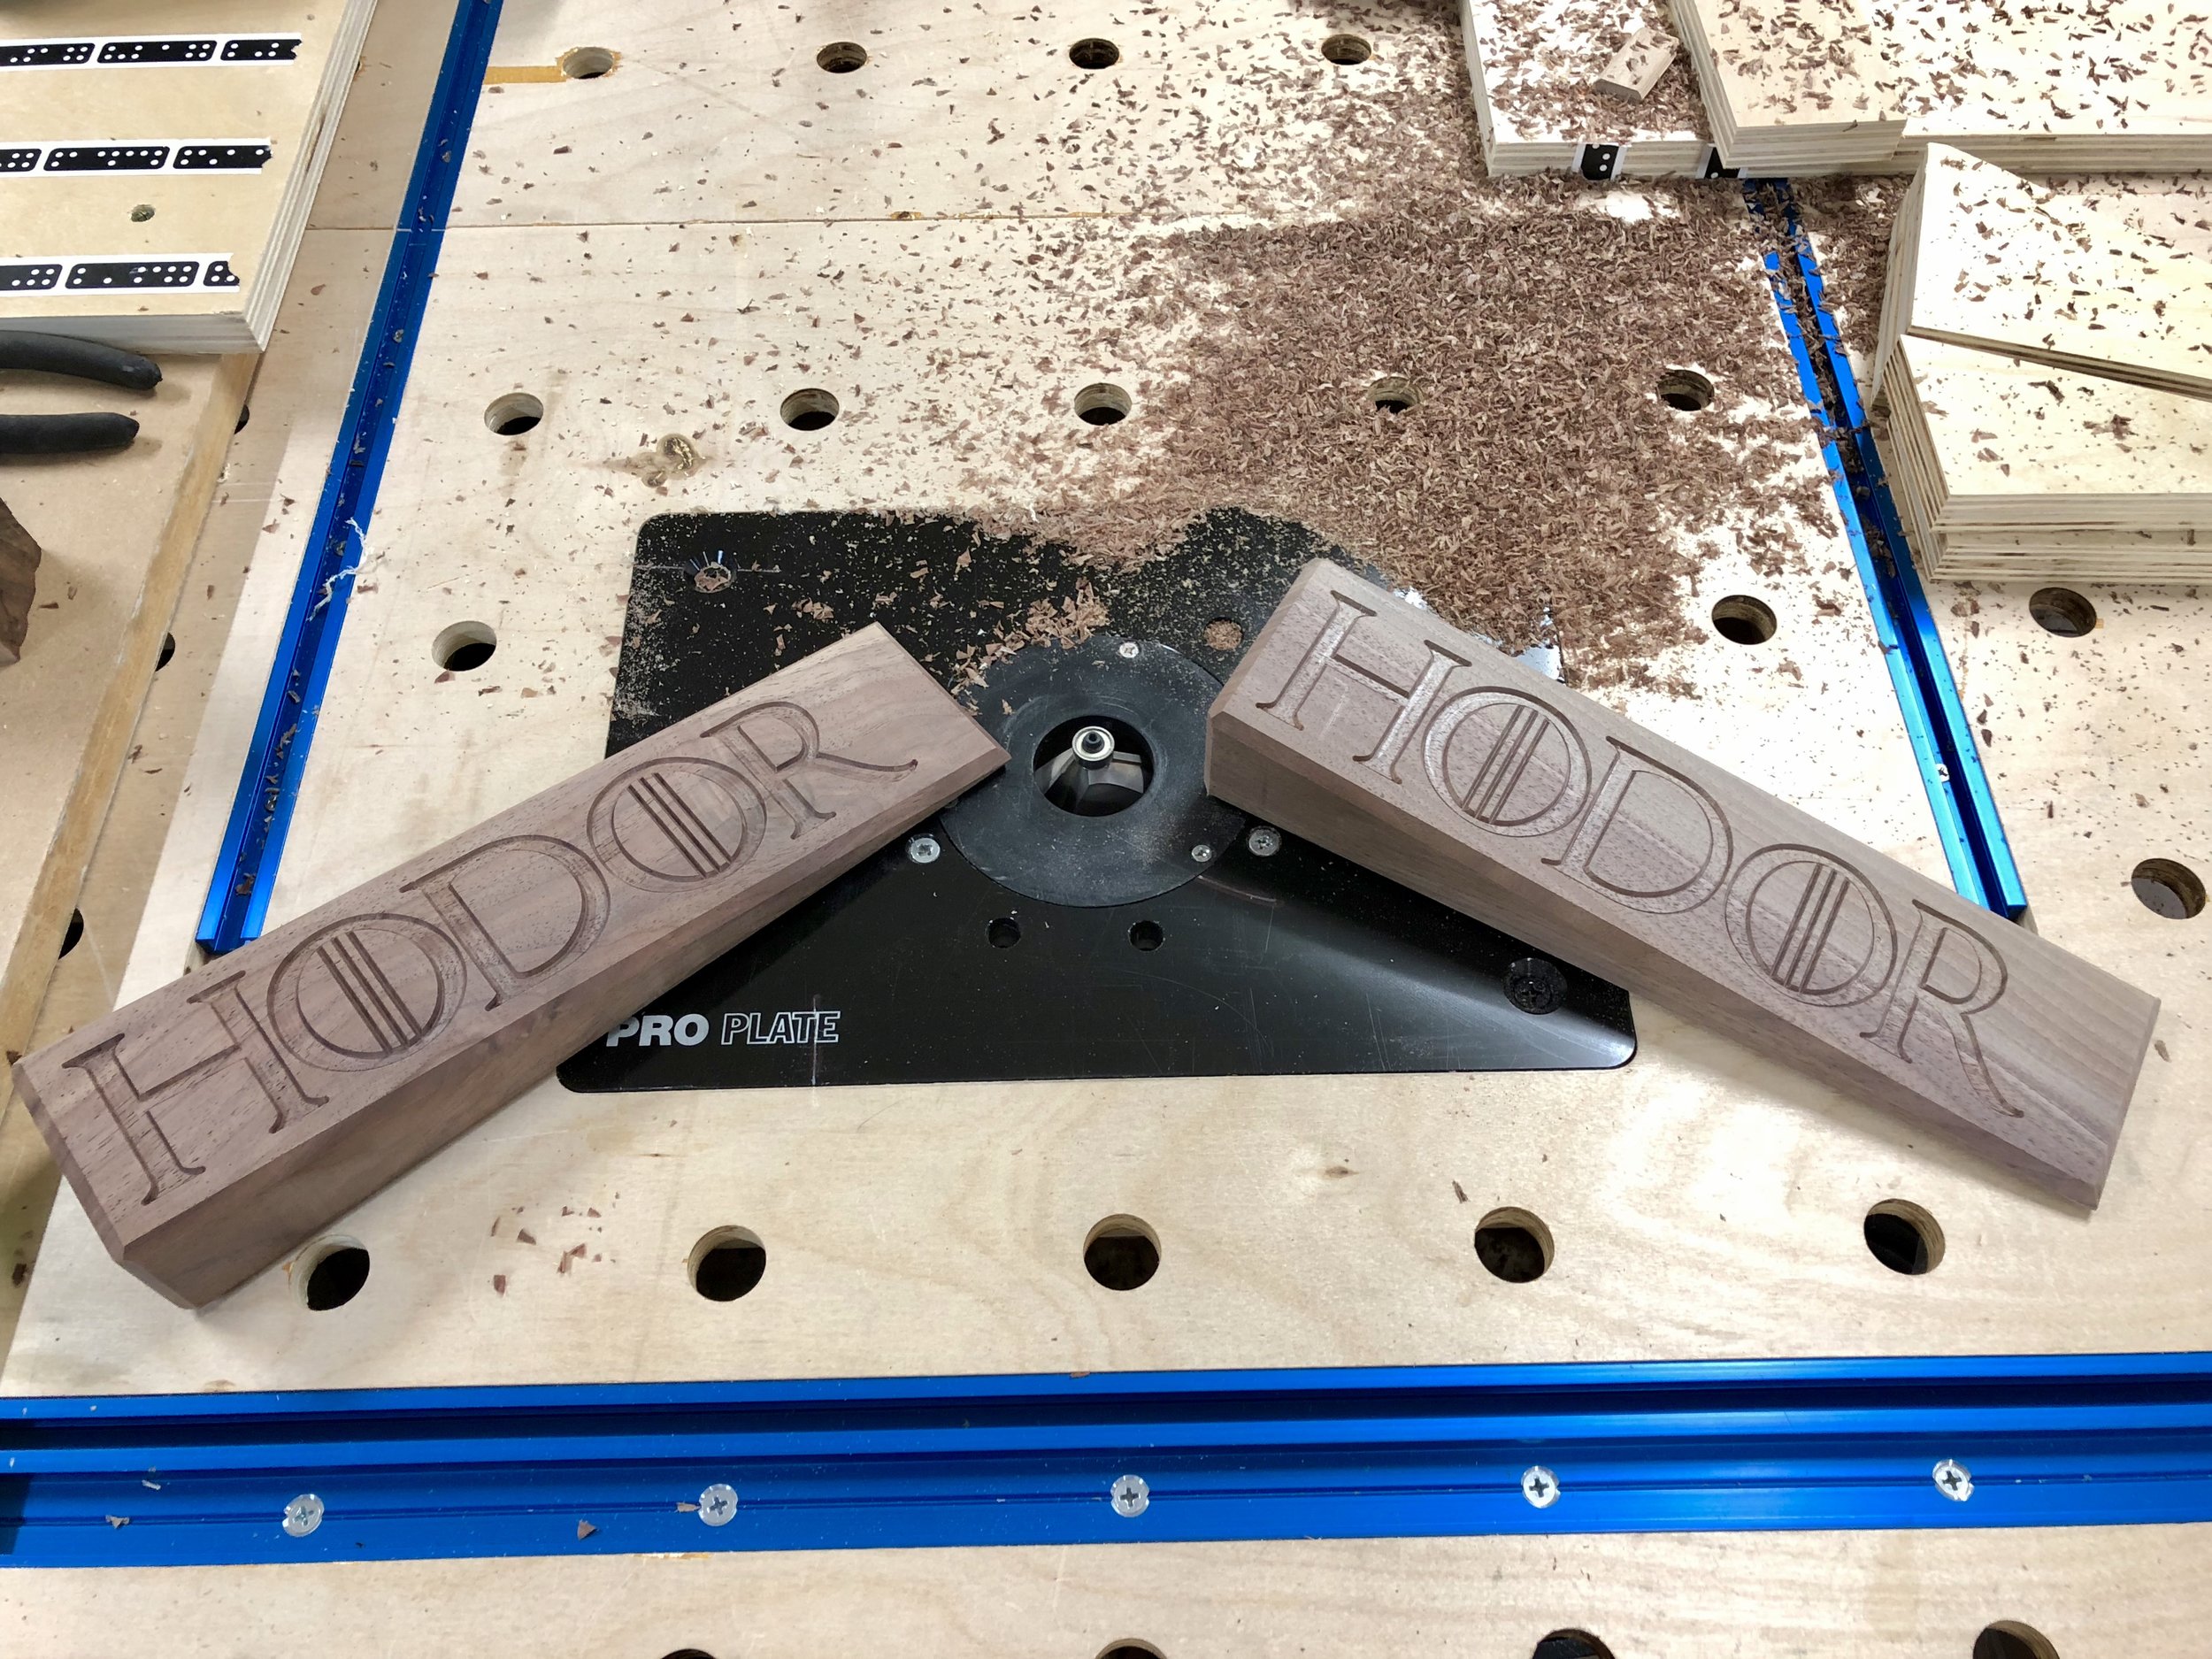
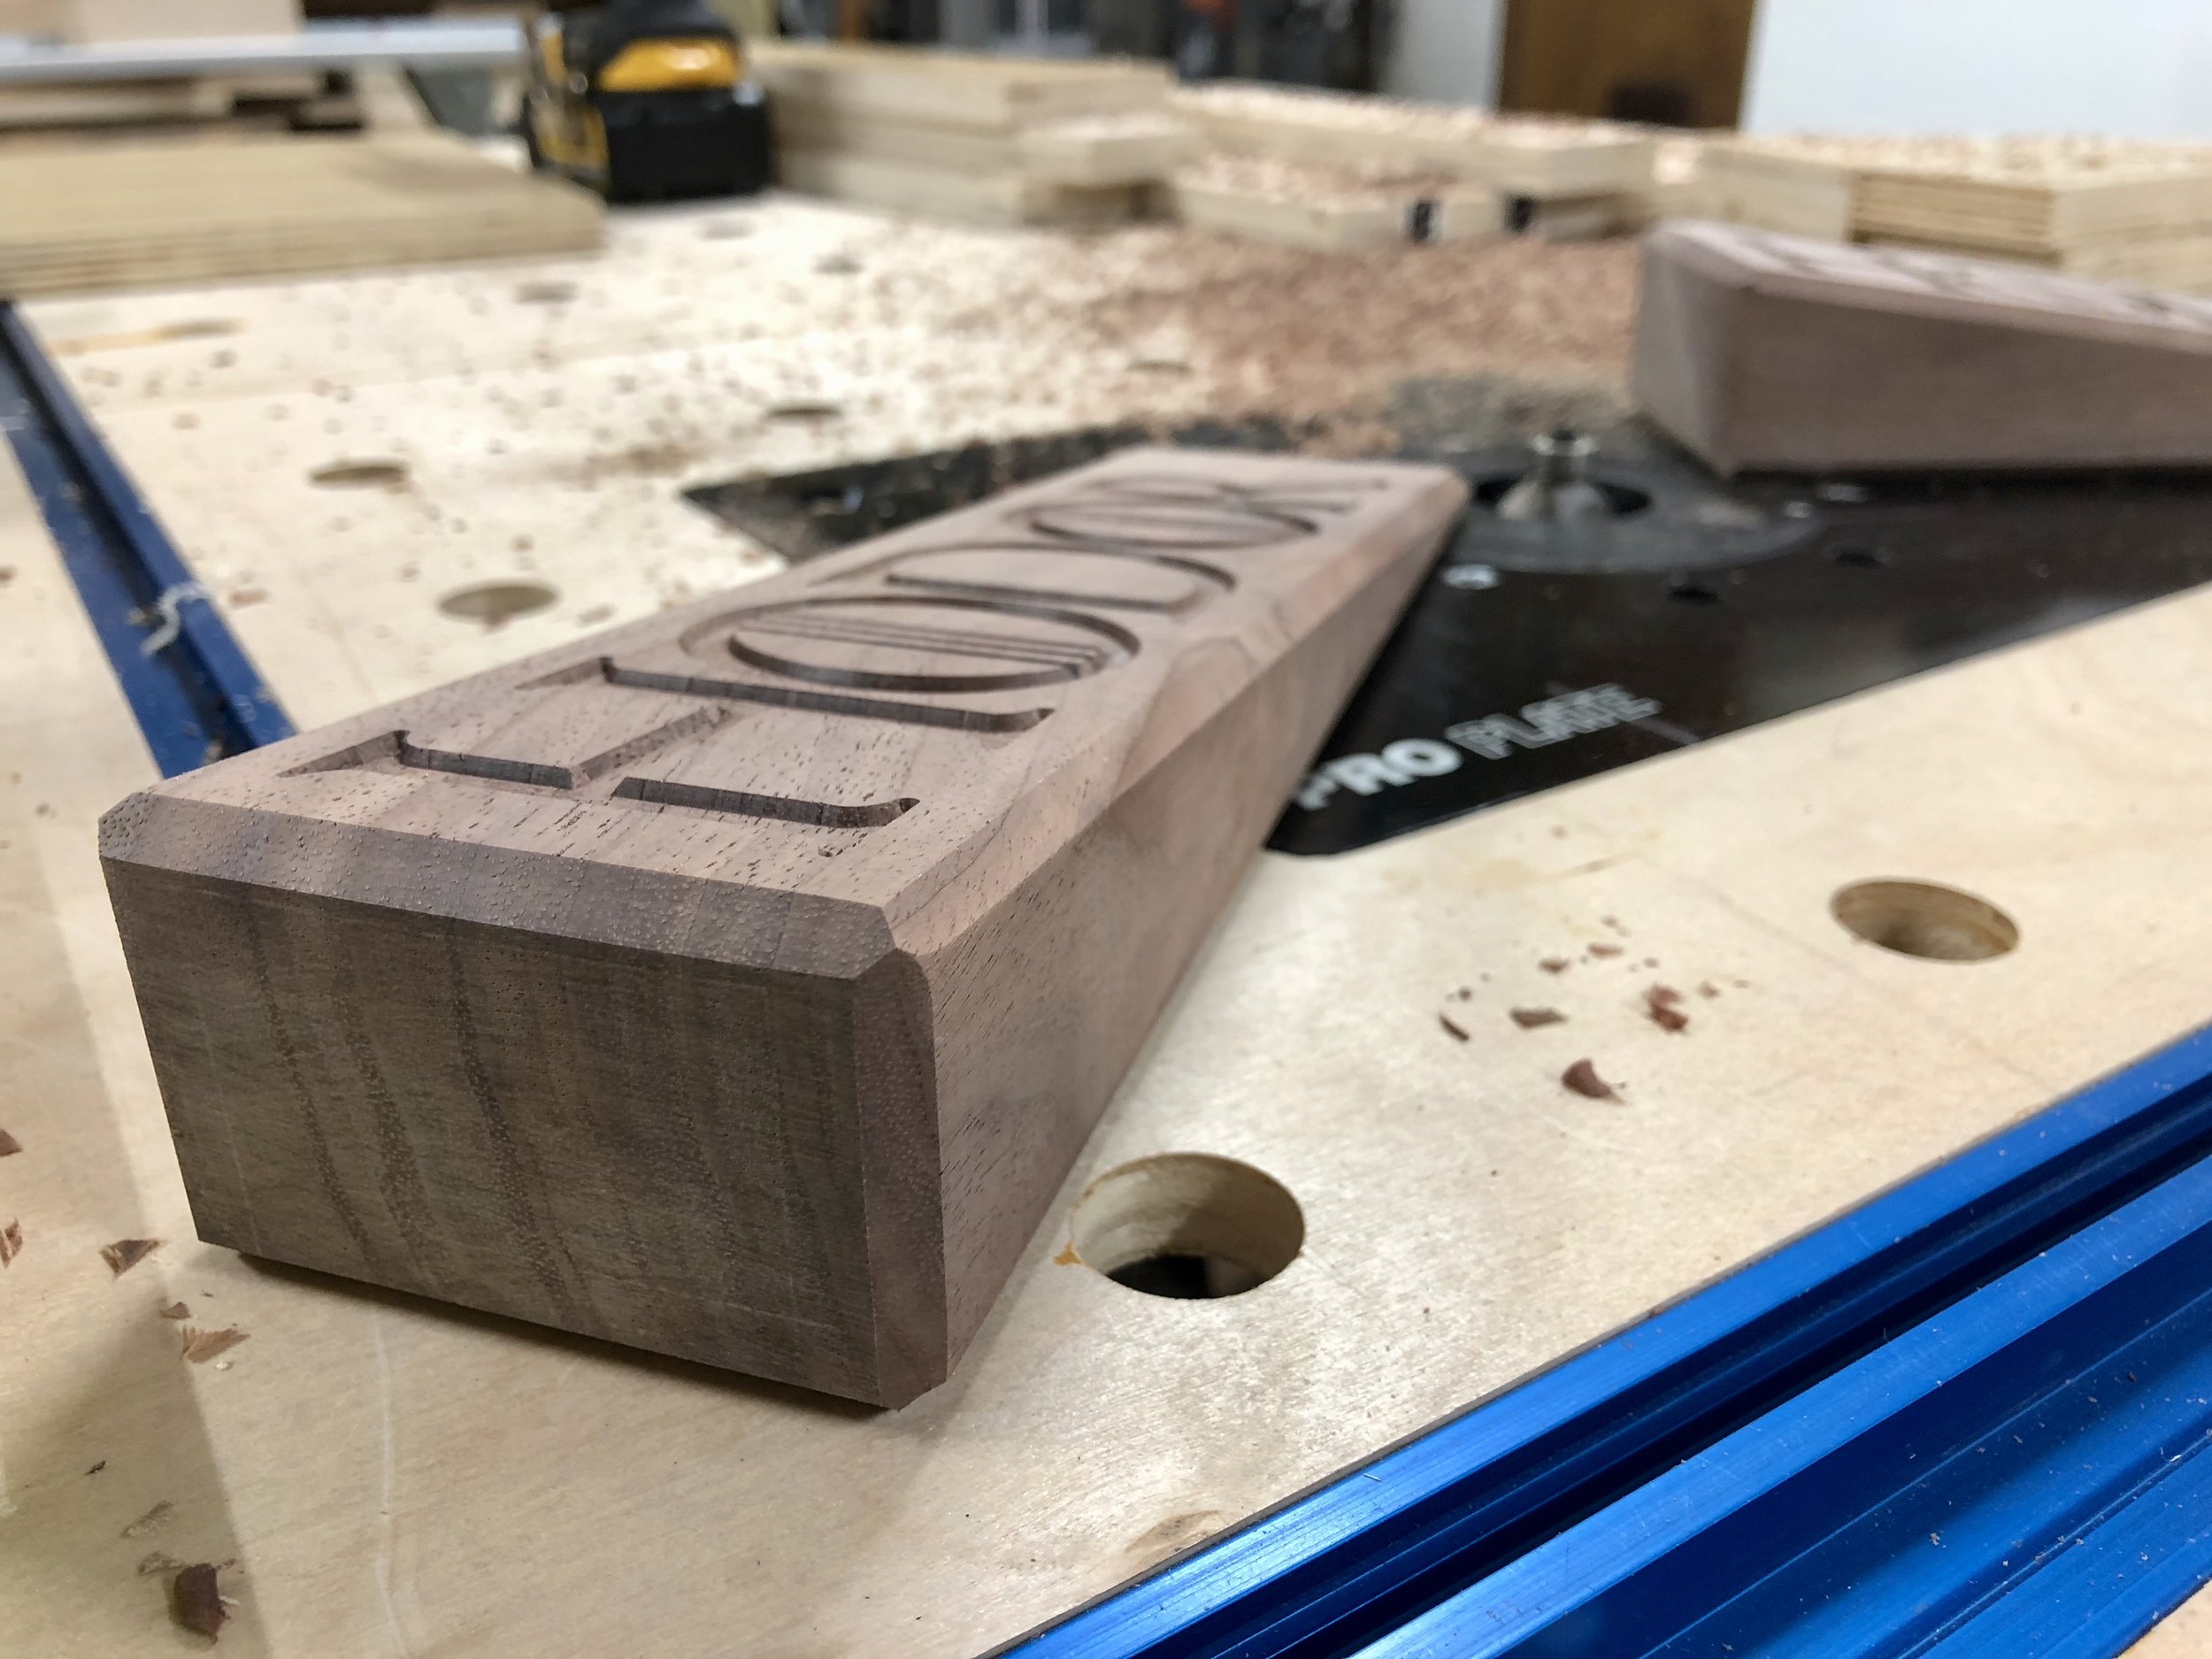
Anyway, I’ve been thinking about making some Xmas presents and I was inspired by something I saw from “Mike the Maker” on Instagram. My friends and I are into the Game of Thrones show and I thought it was pretty clever to make a doorstop with the word “HODOR” engraved on it. I could absolutely use the Shaper Origin to do the engraving but I was trying to figure out how to engrave something on a wedge shaped piece of wood.
Since the width would fit in the opening of the “Ultimate” Vertical Workstation (UVW) I made I just needed to figure out a way to hold it so the surface of the wedge was level with the top surface of the UVW.
My first attempt was using the vertical support to set the angle and then a block of wood to support the wedge. It didn’t work very well because it was difficult to clamp the thick block, which is when the Horizontal Support was born!
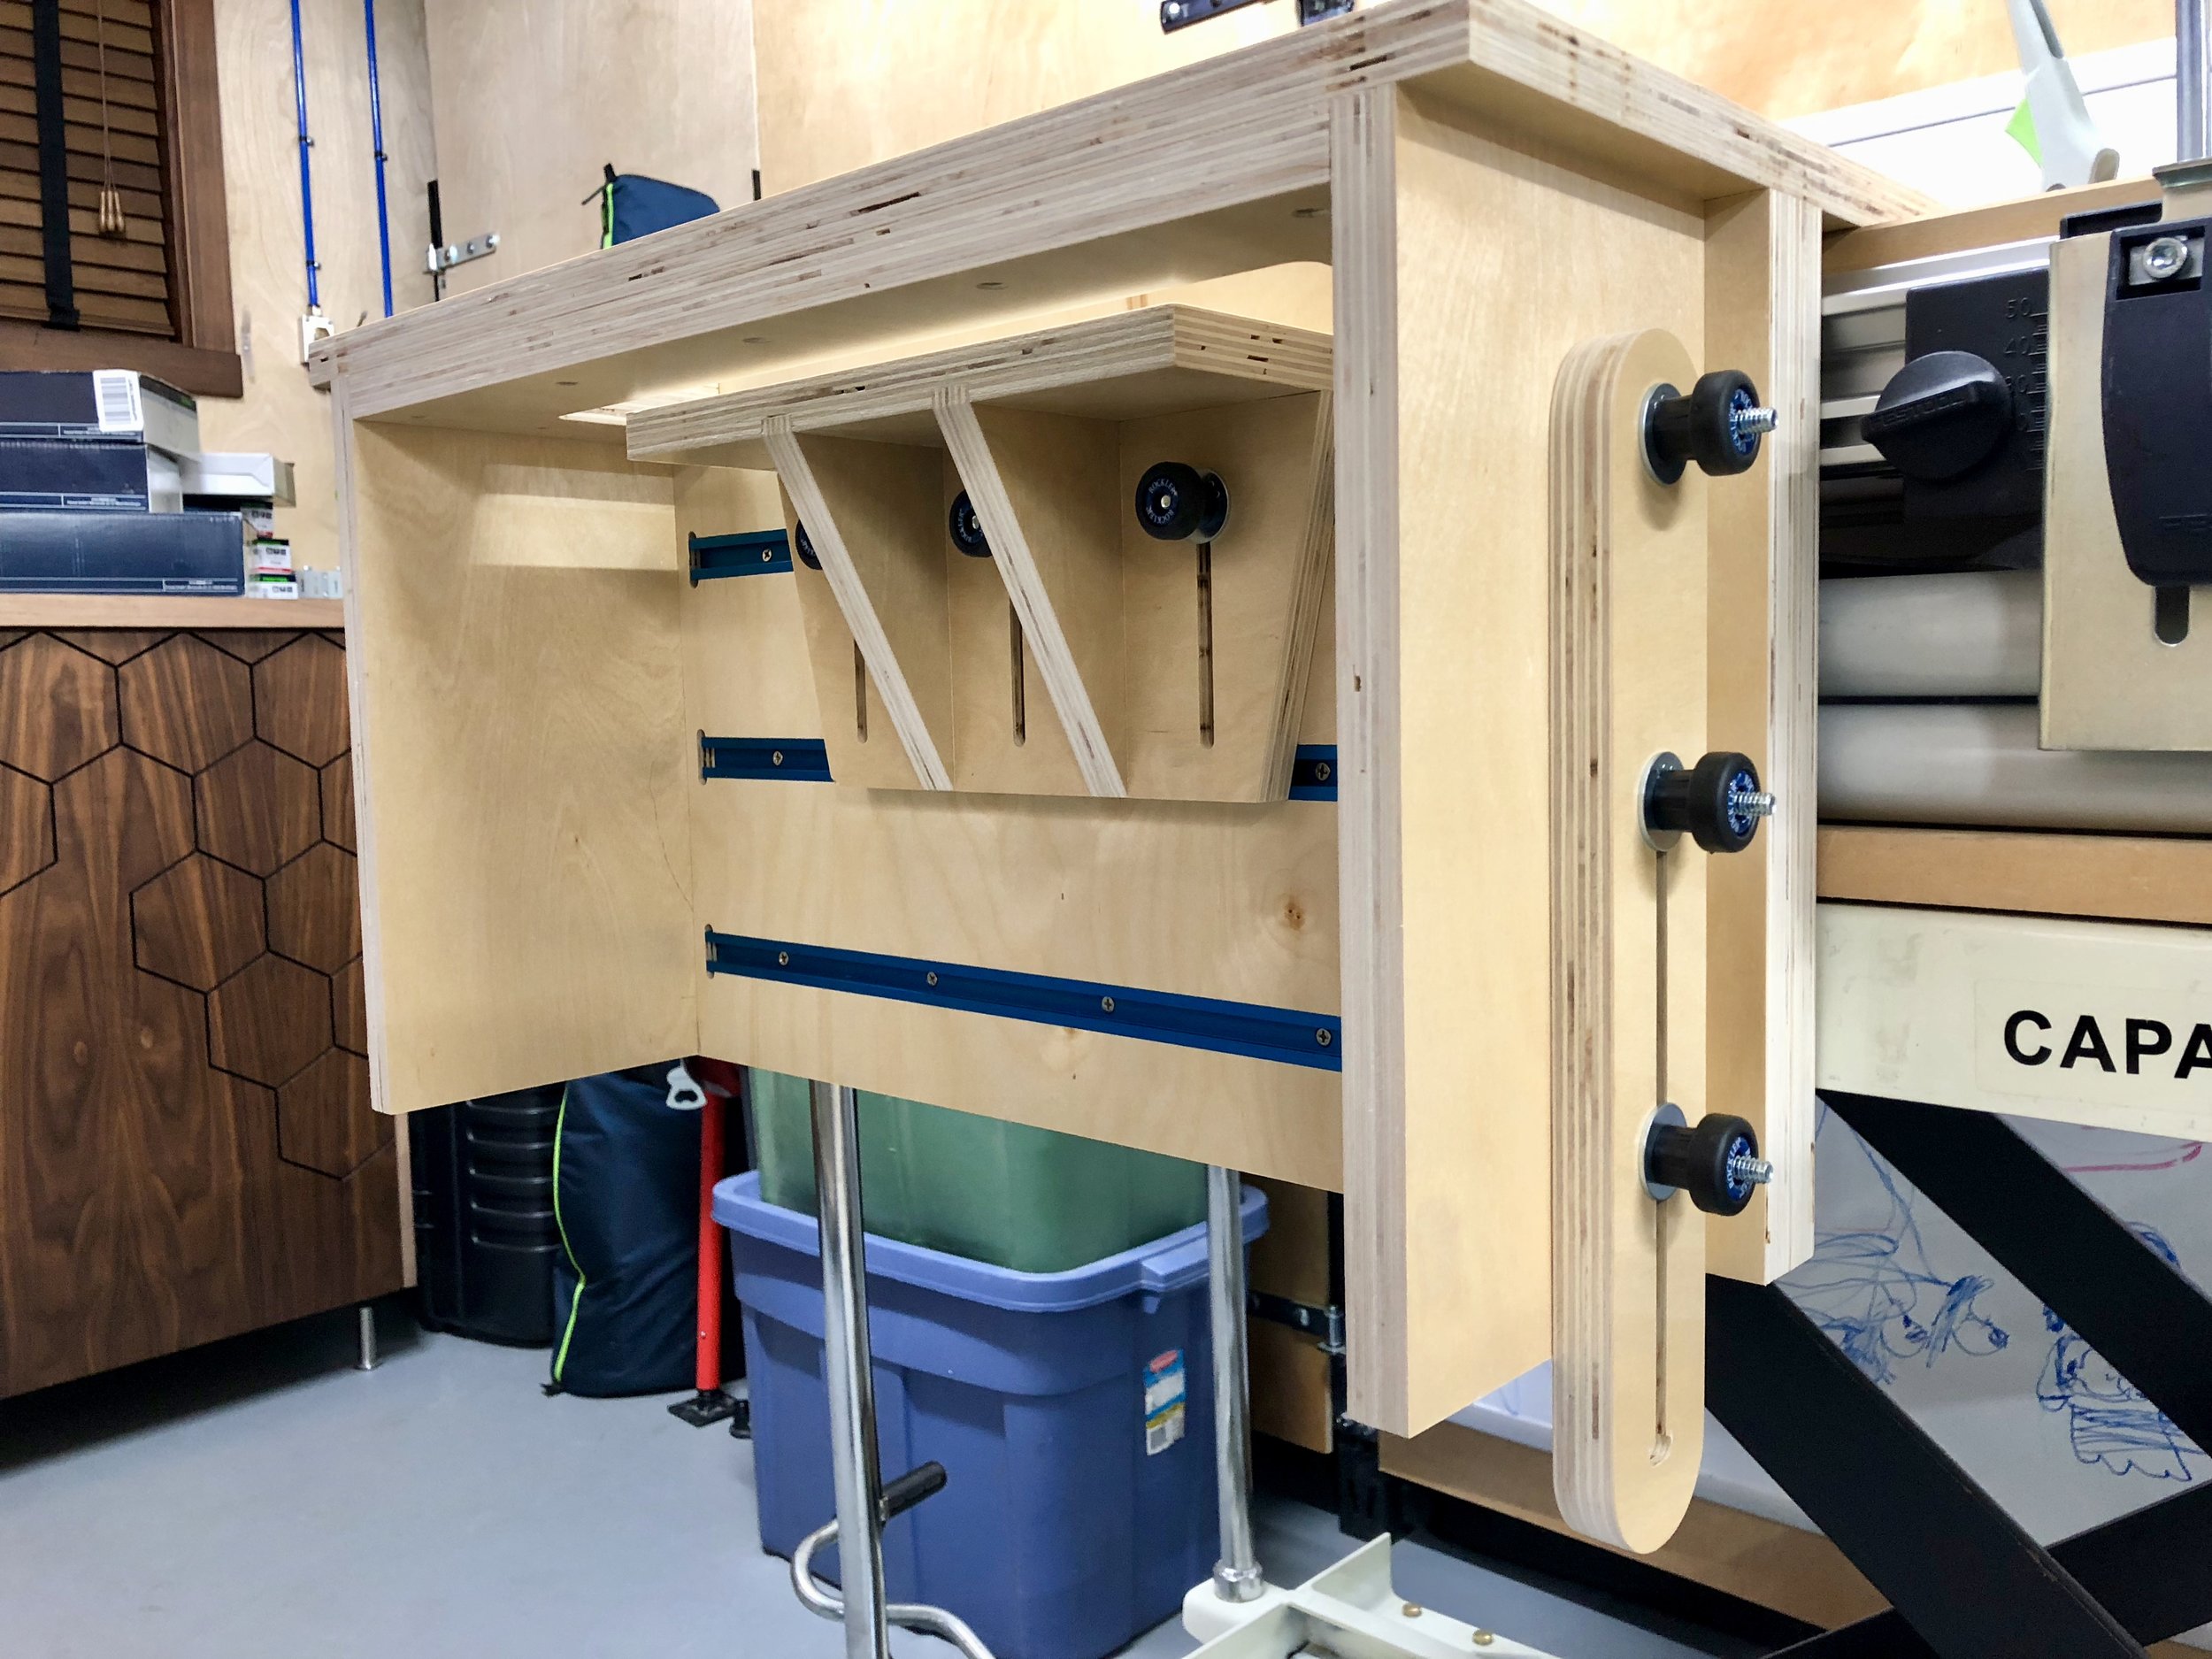
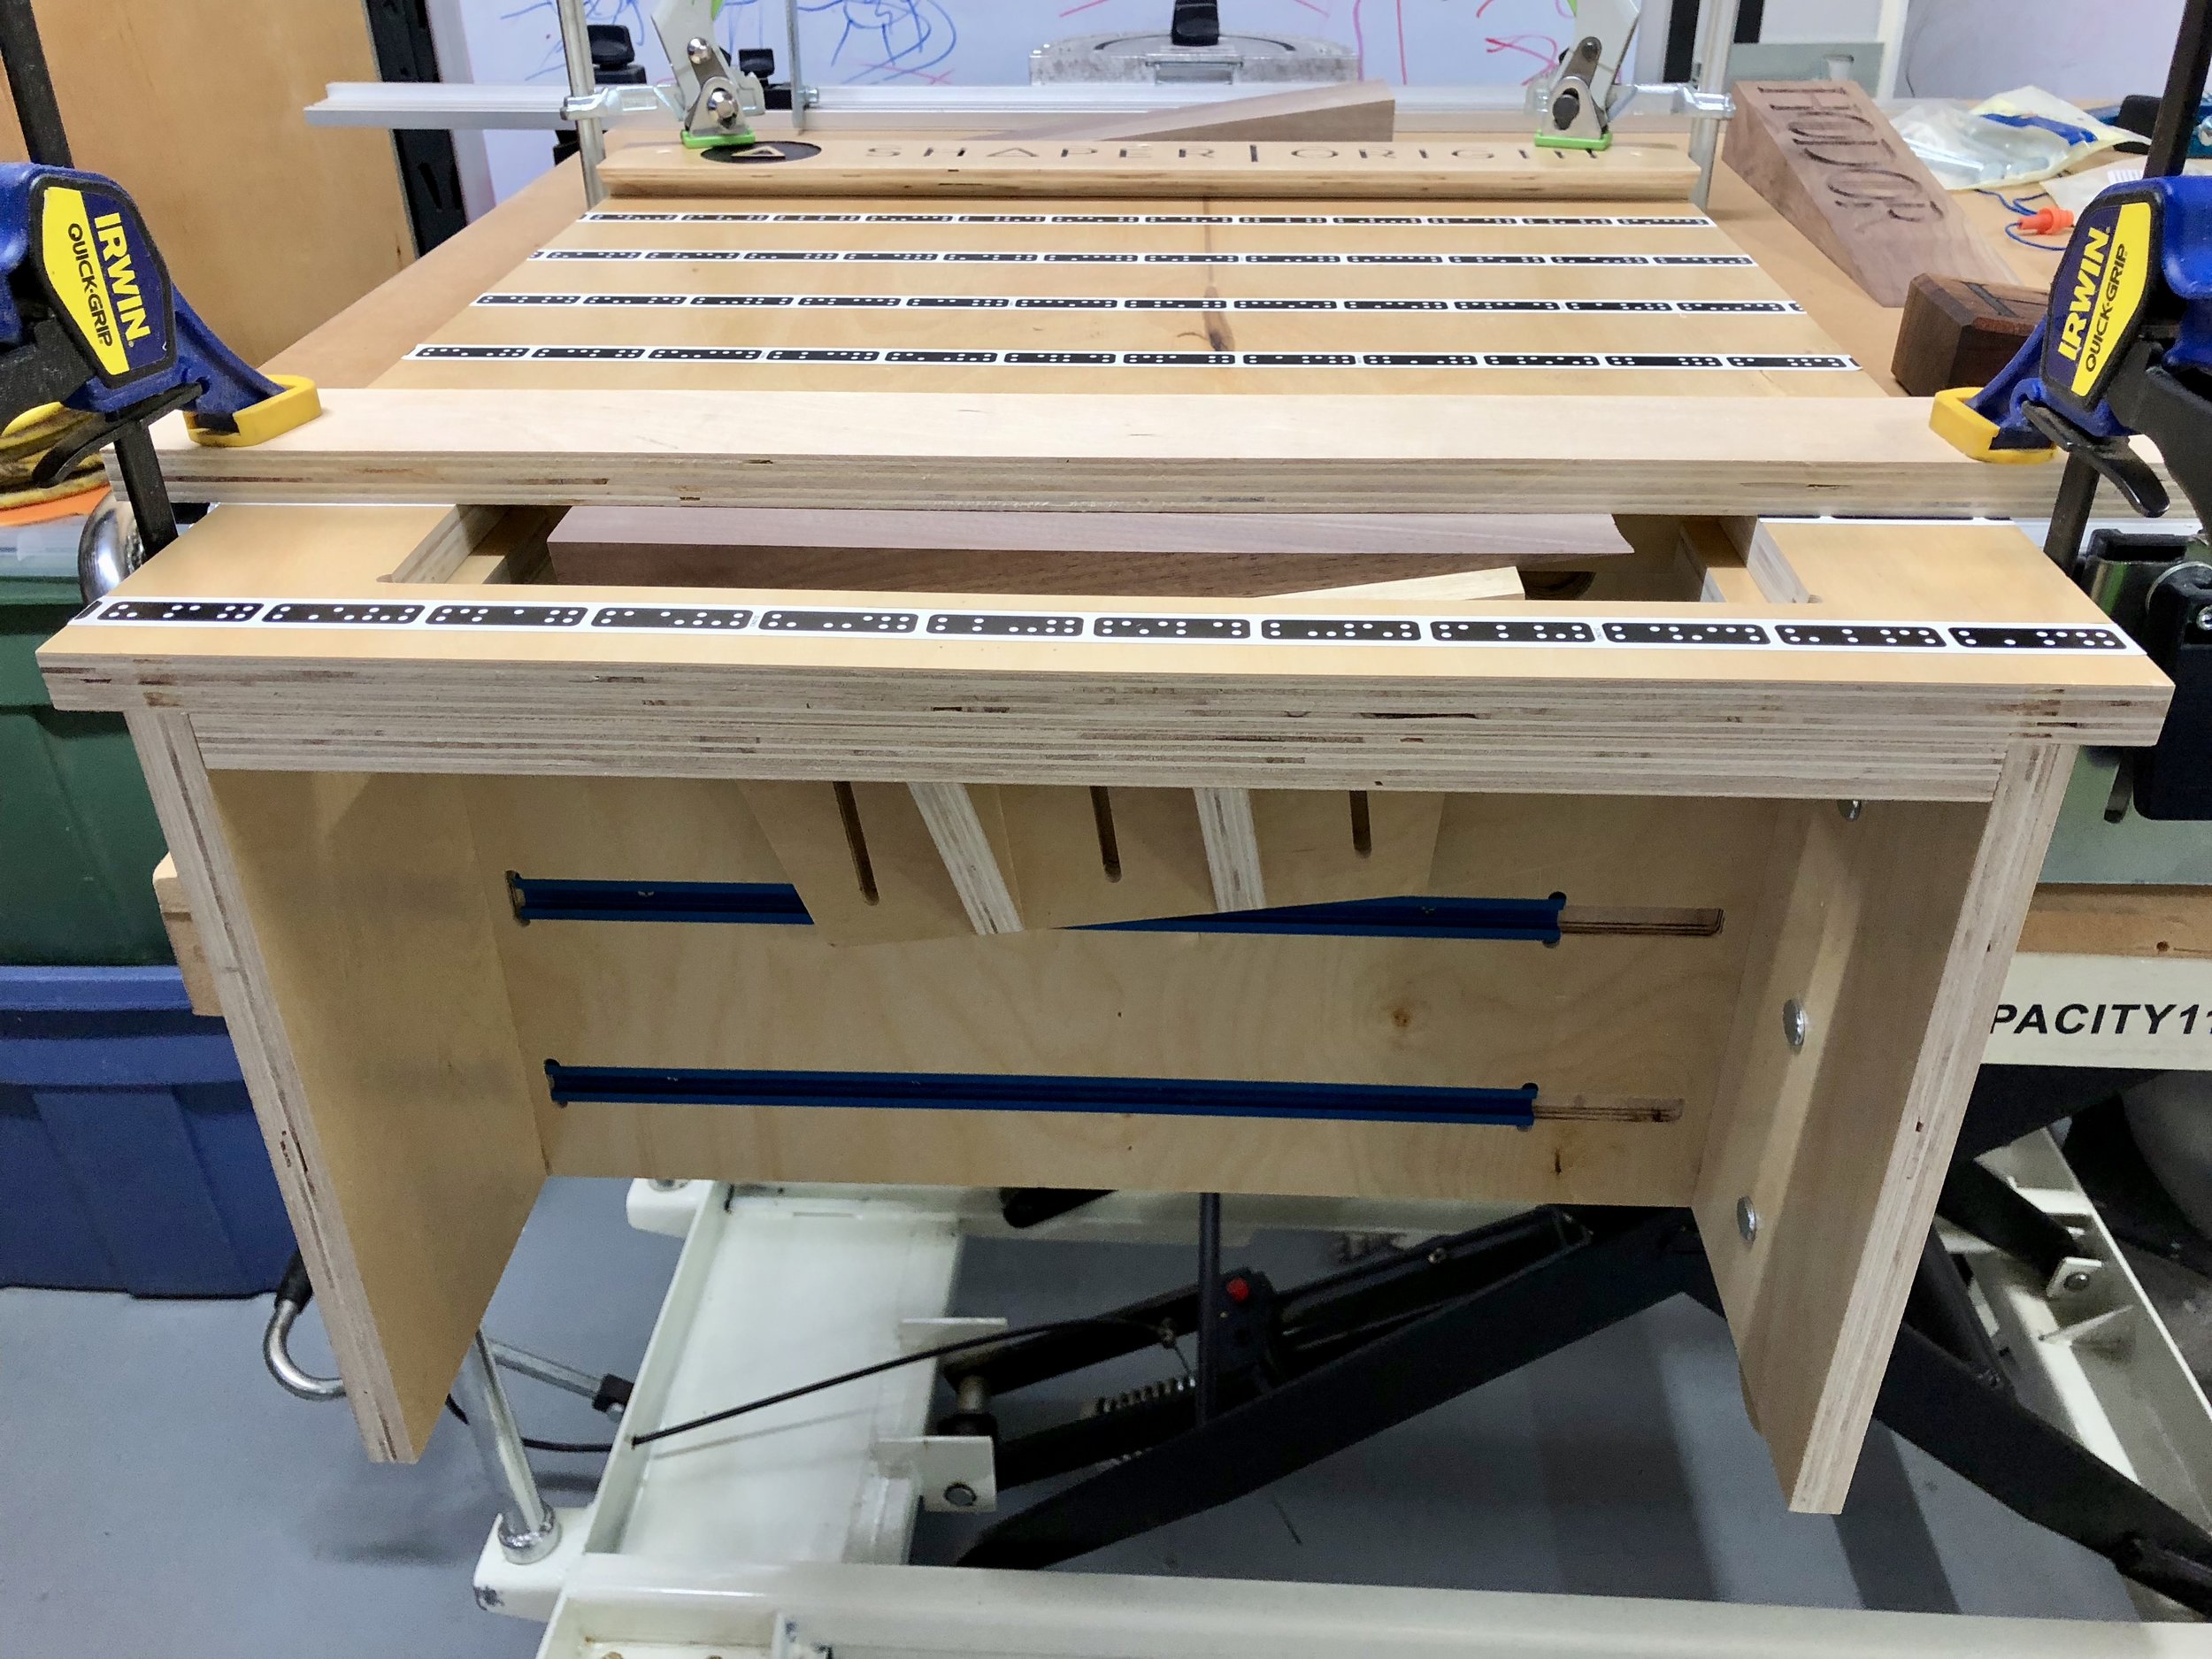
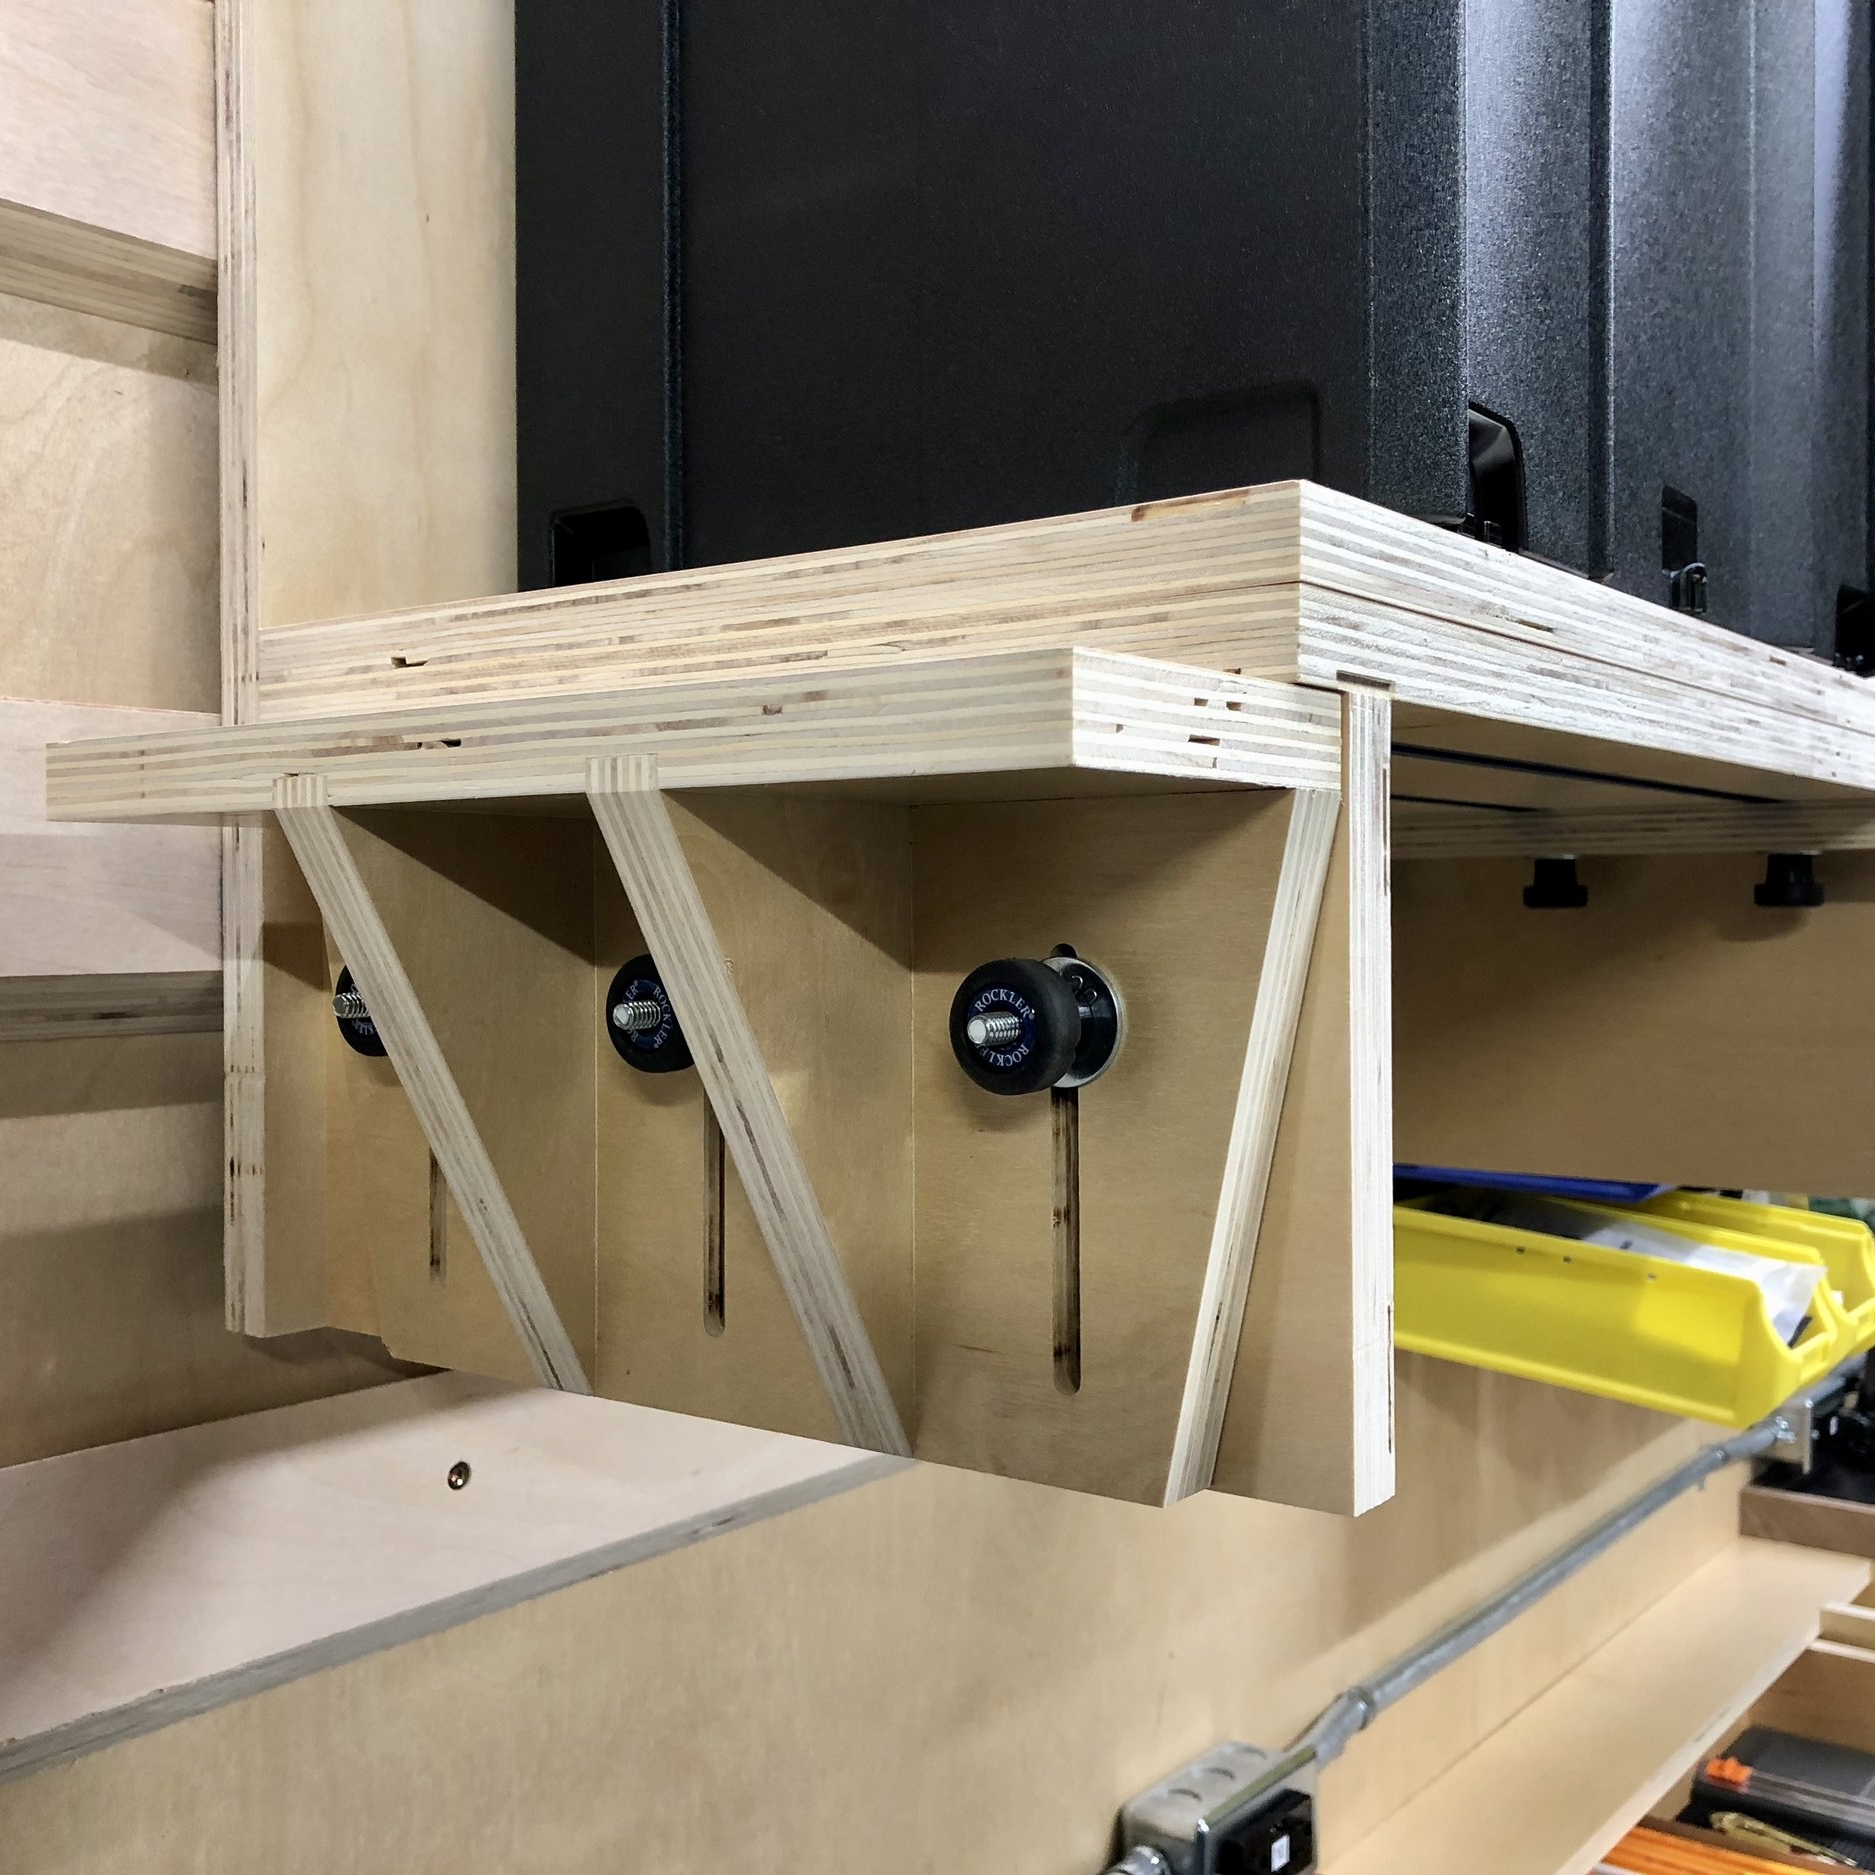
I built a three versions before settling on this one. v1 had parallel sides which limited the angles side to side that I could use it at. v2 had angled sides but was tall and wide. This stuck out a bit too far when mounting it on the side when not in use (you’ll see later) and the slots for the clamping knobs were not distributed at the same width as t-tracks are vertically. I’ll also show you why this is important in a minute. So here is v3…
Here is the SVG that I used…

Click on image for full .svg file
Cutting and Assembly Steps
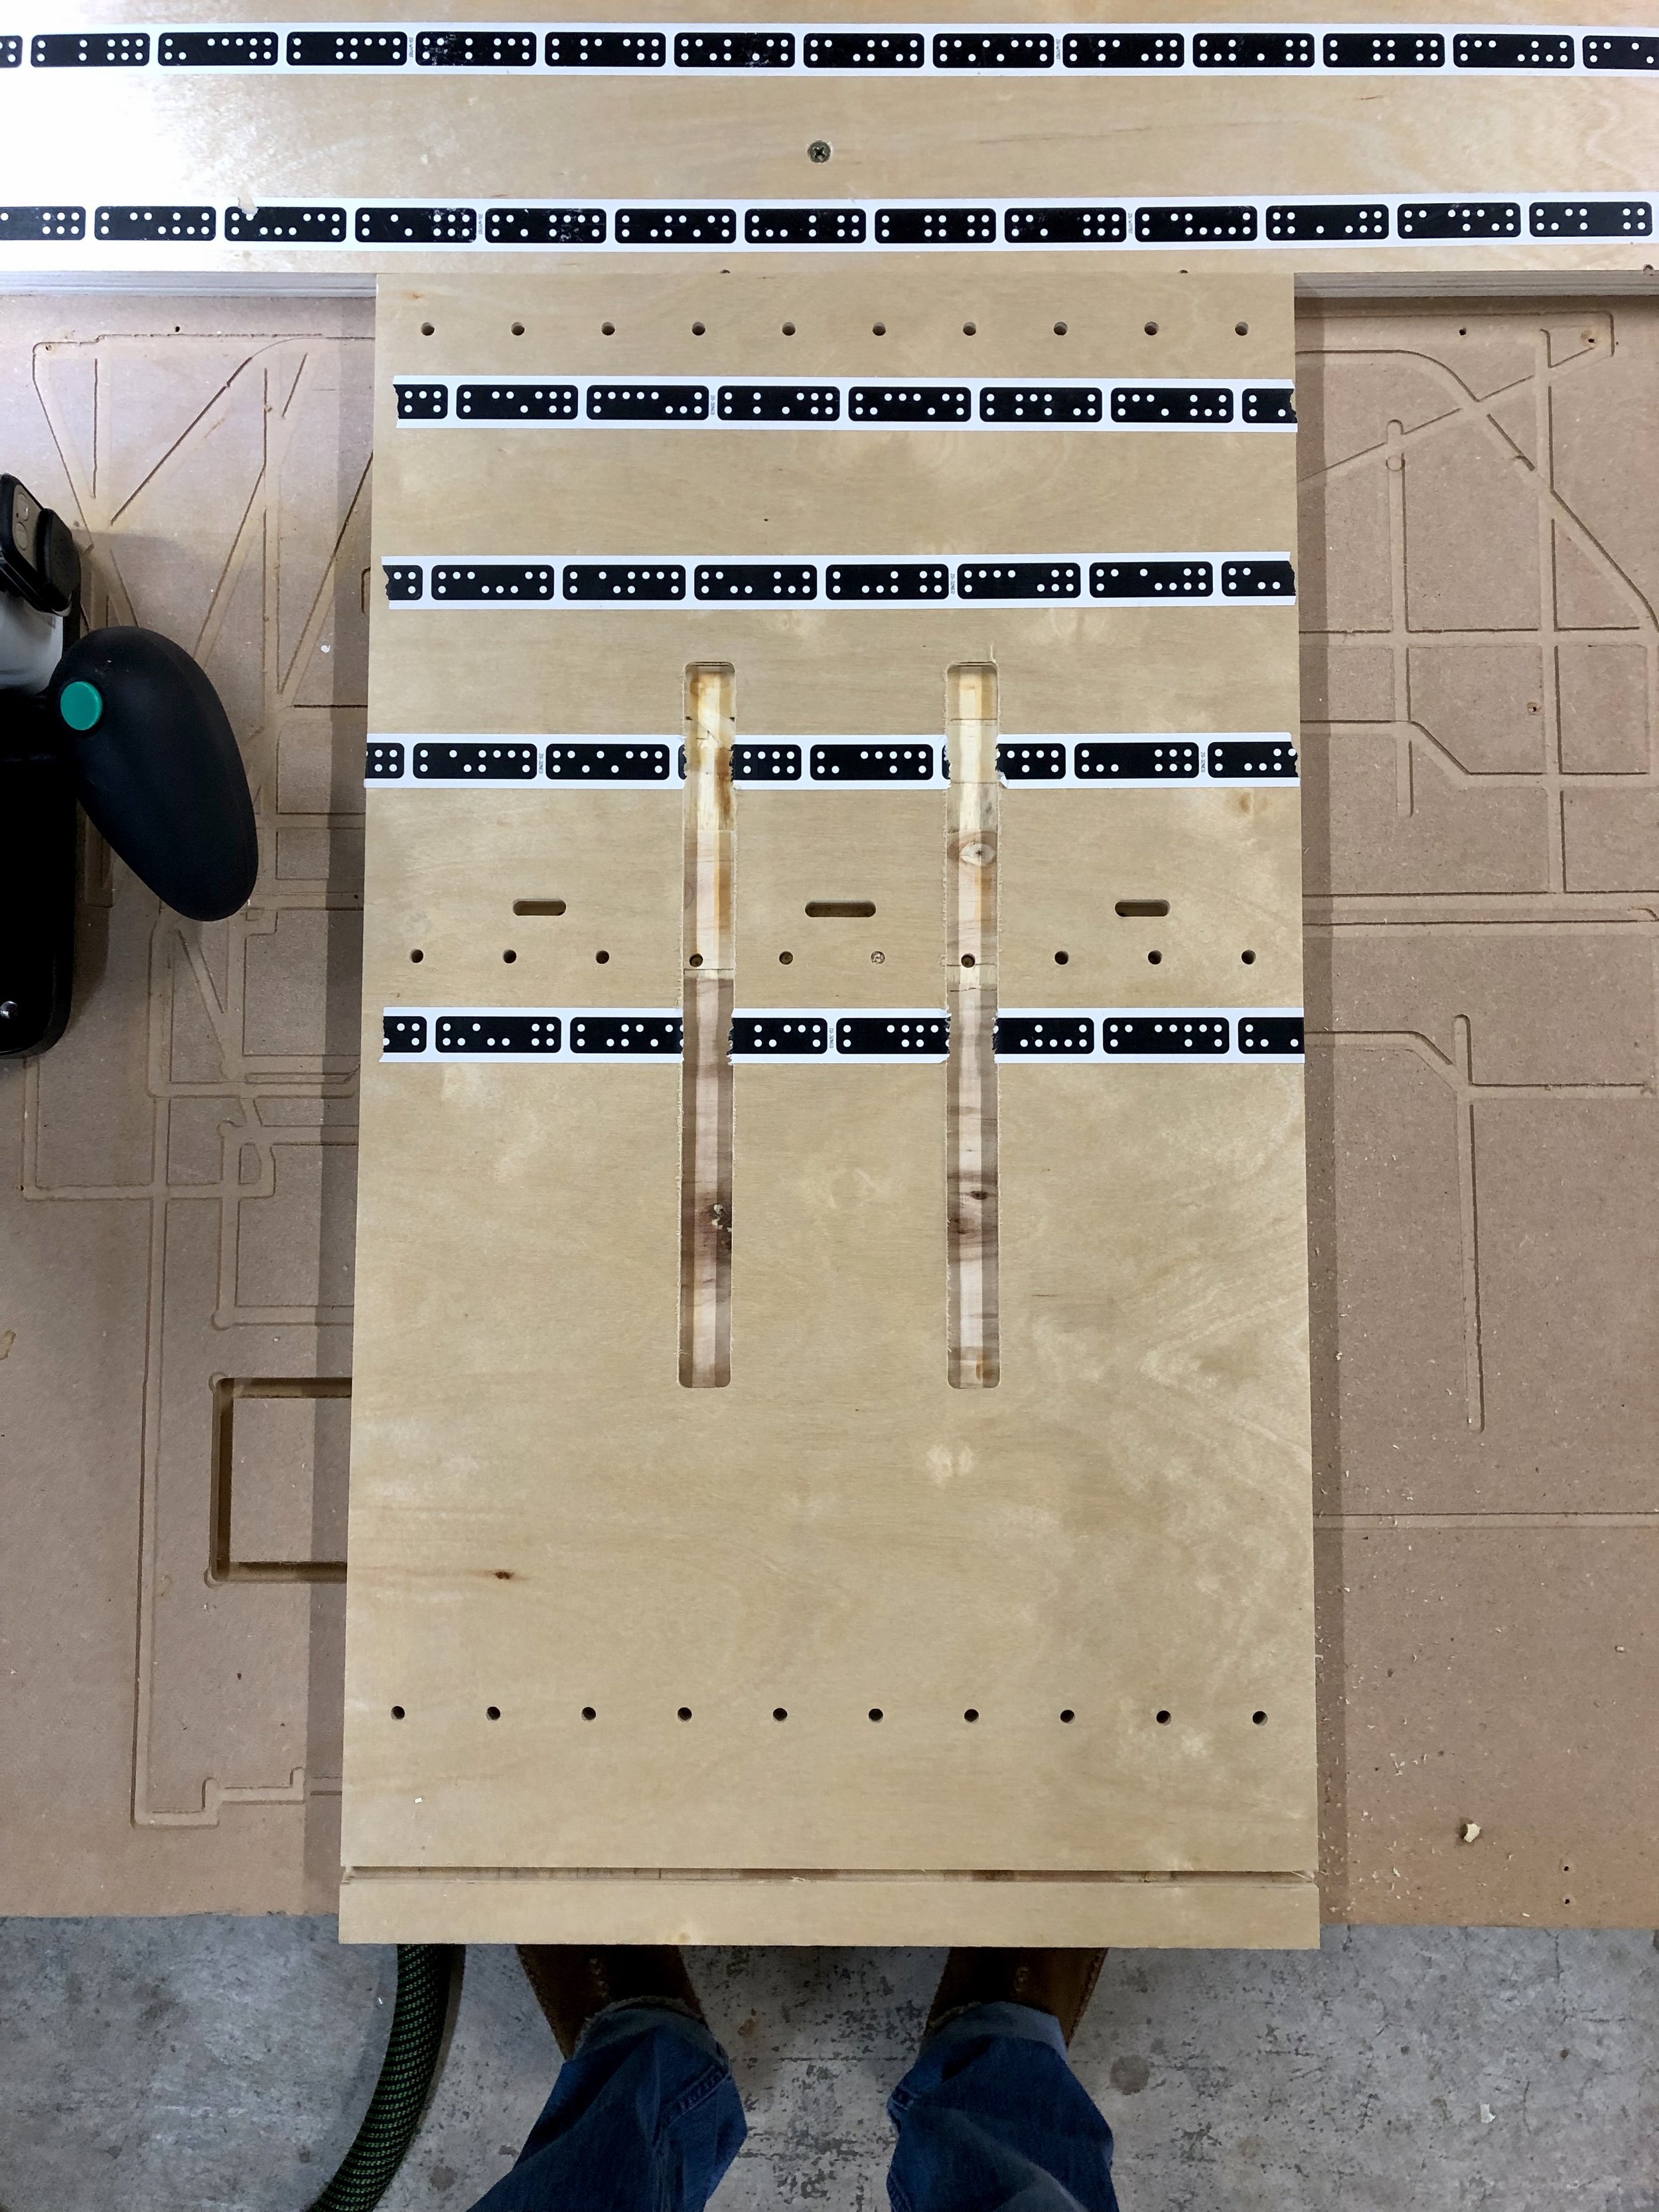
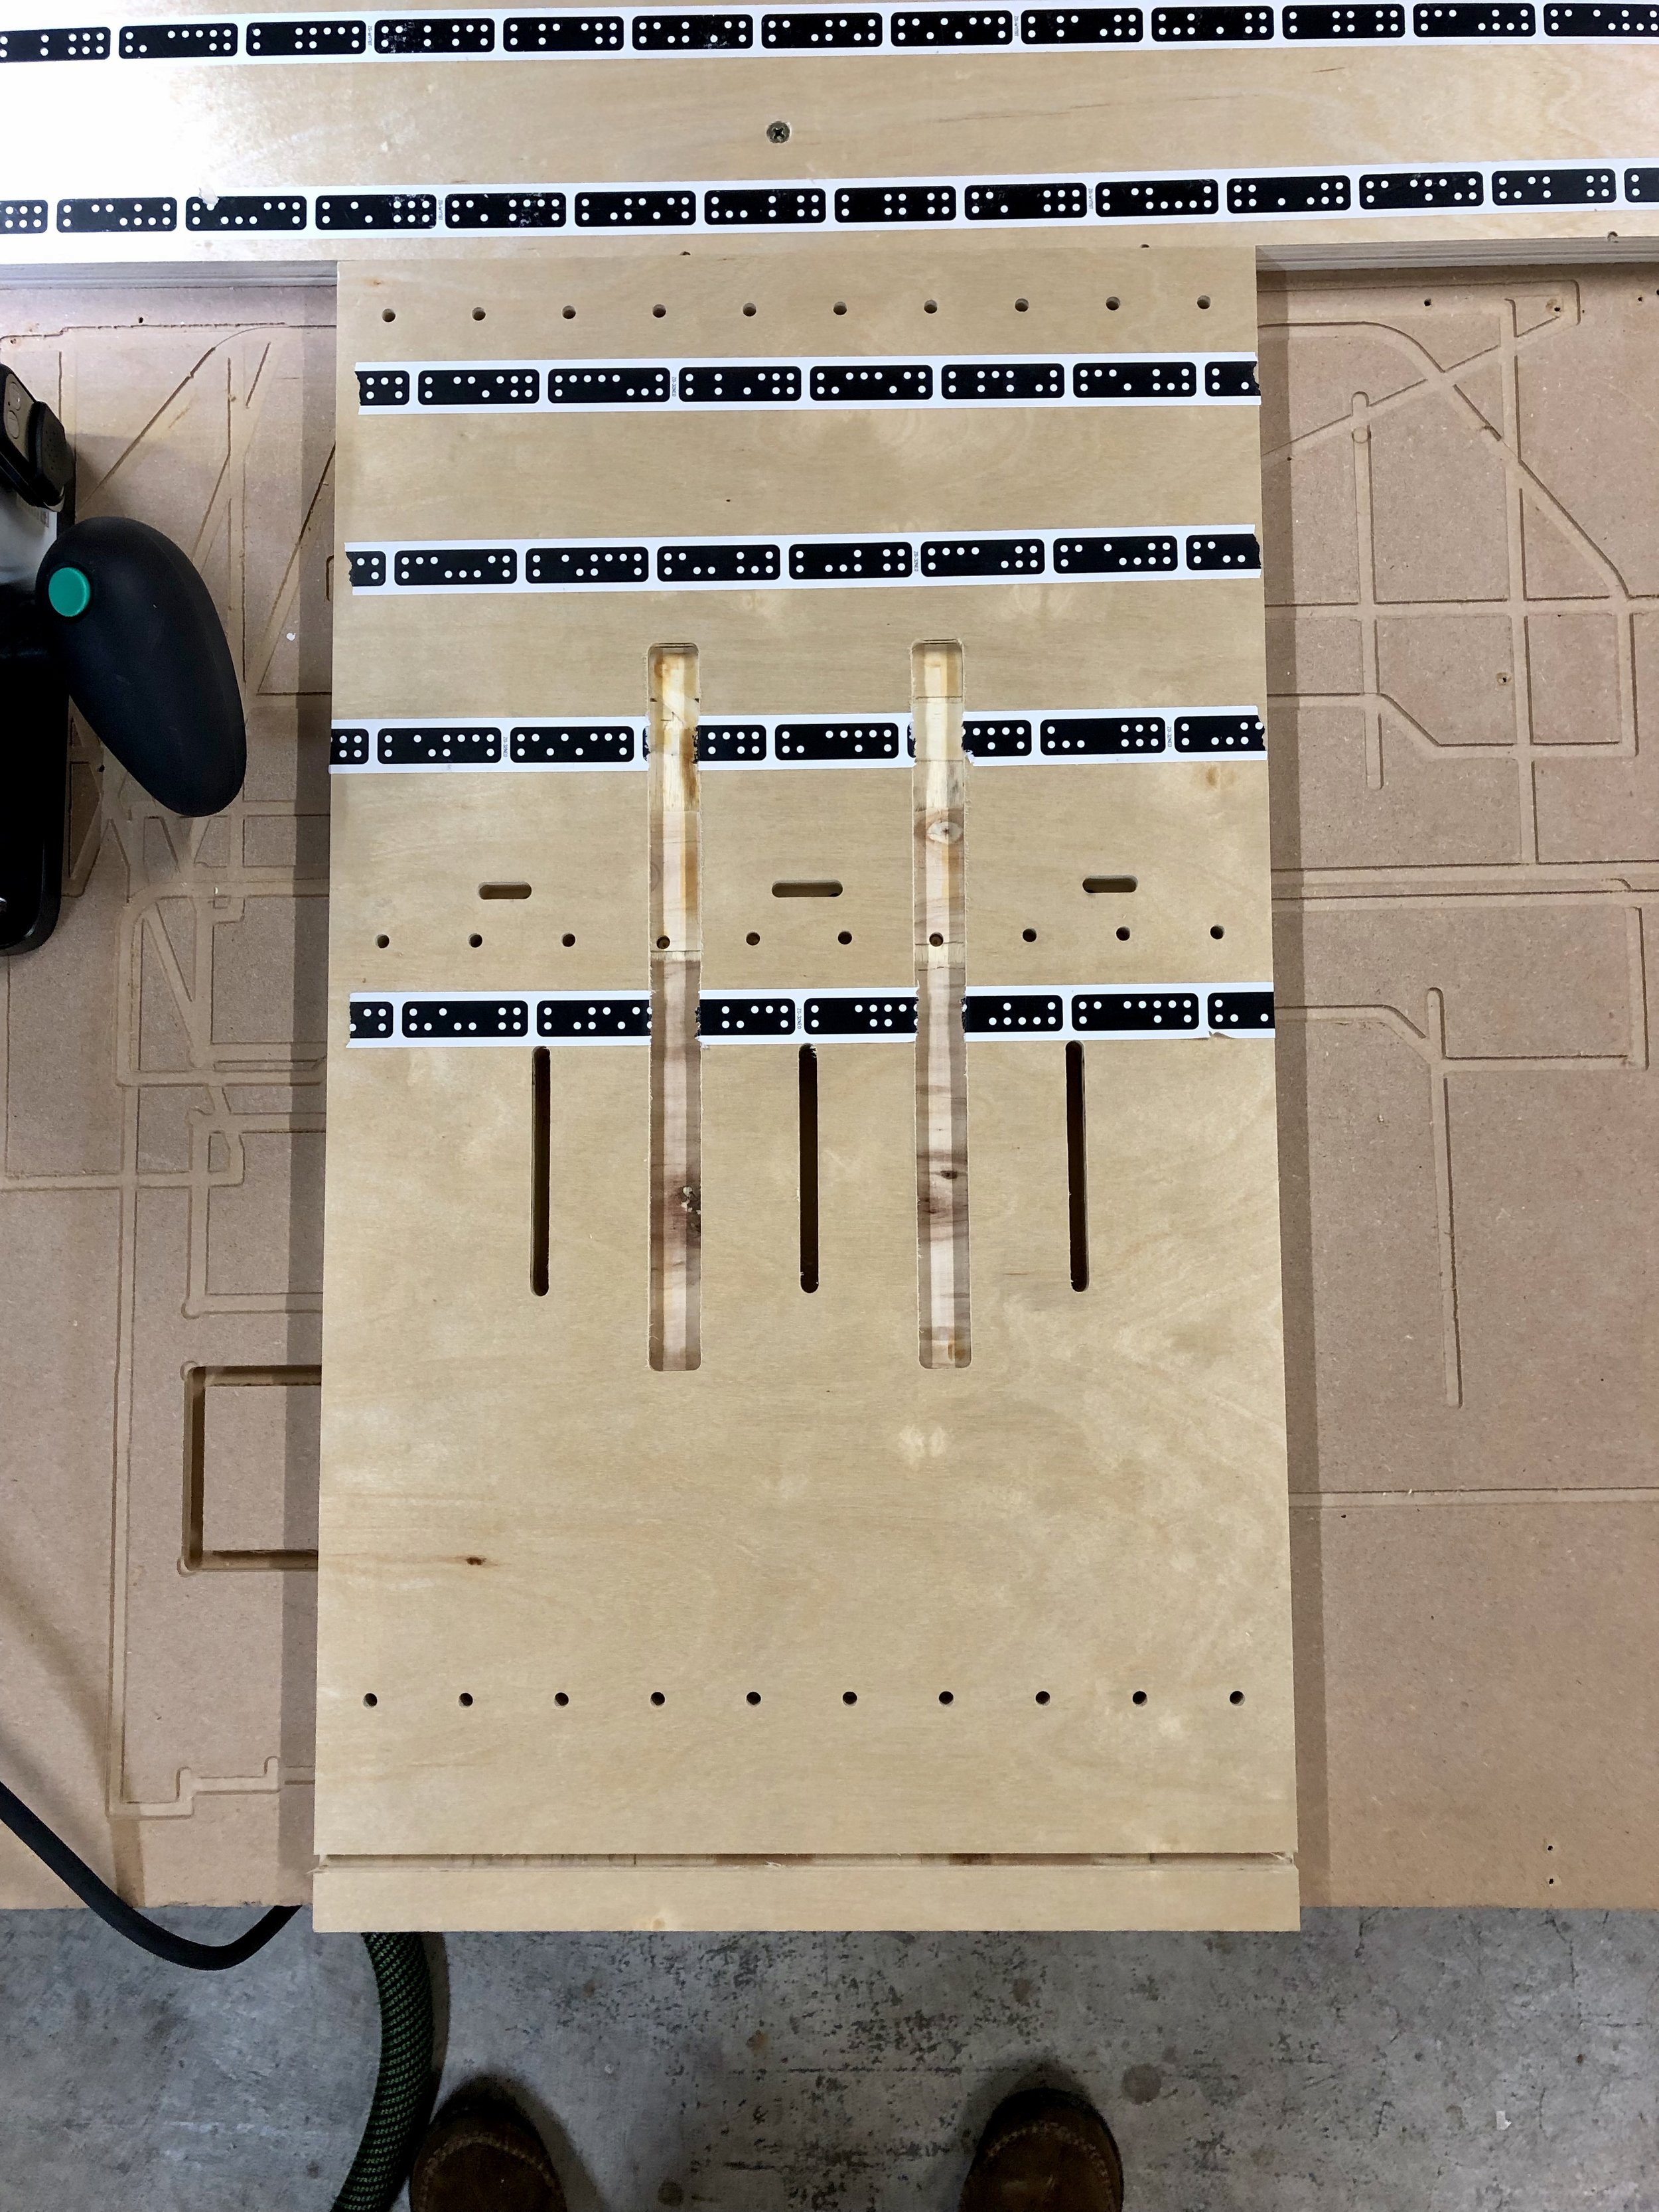
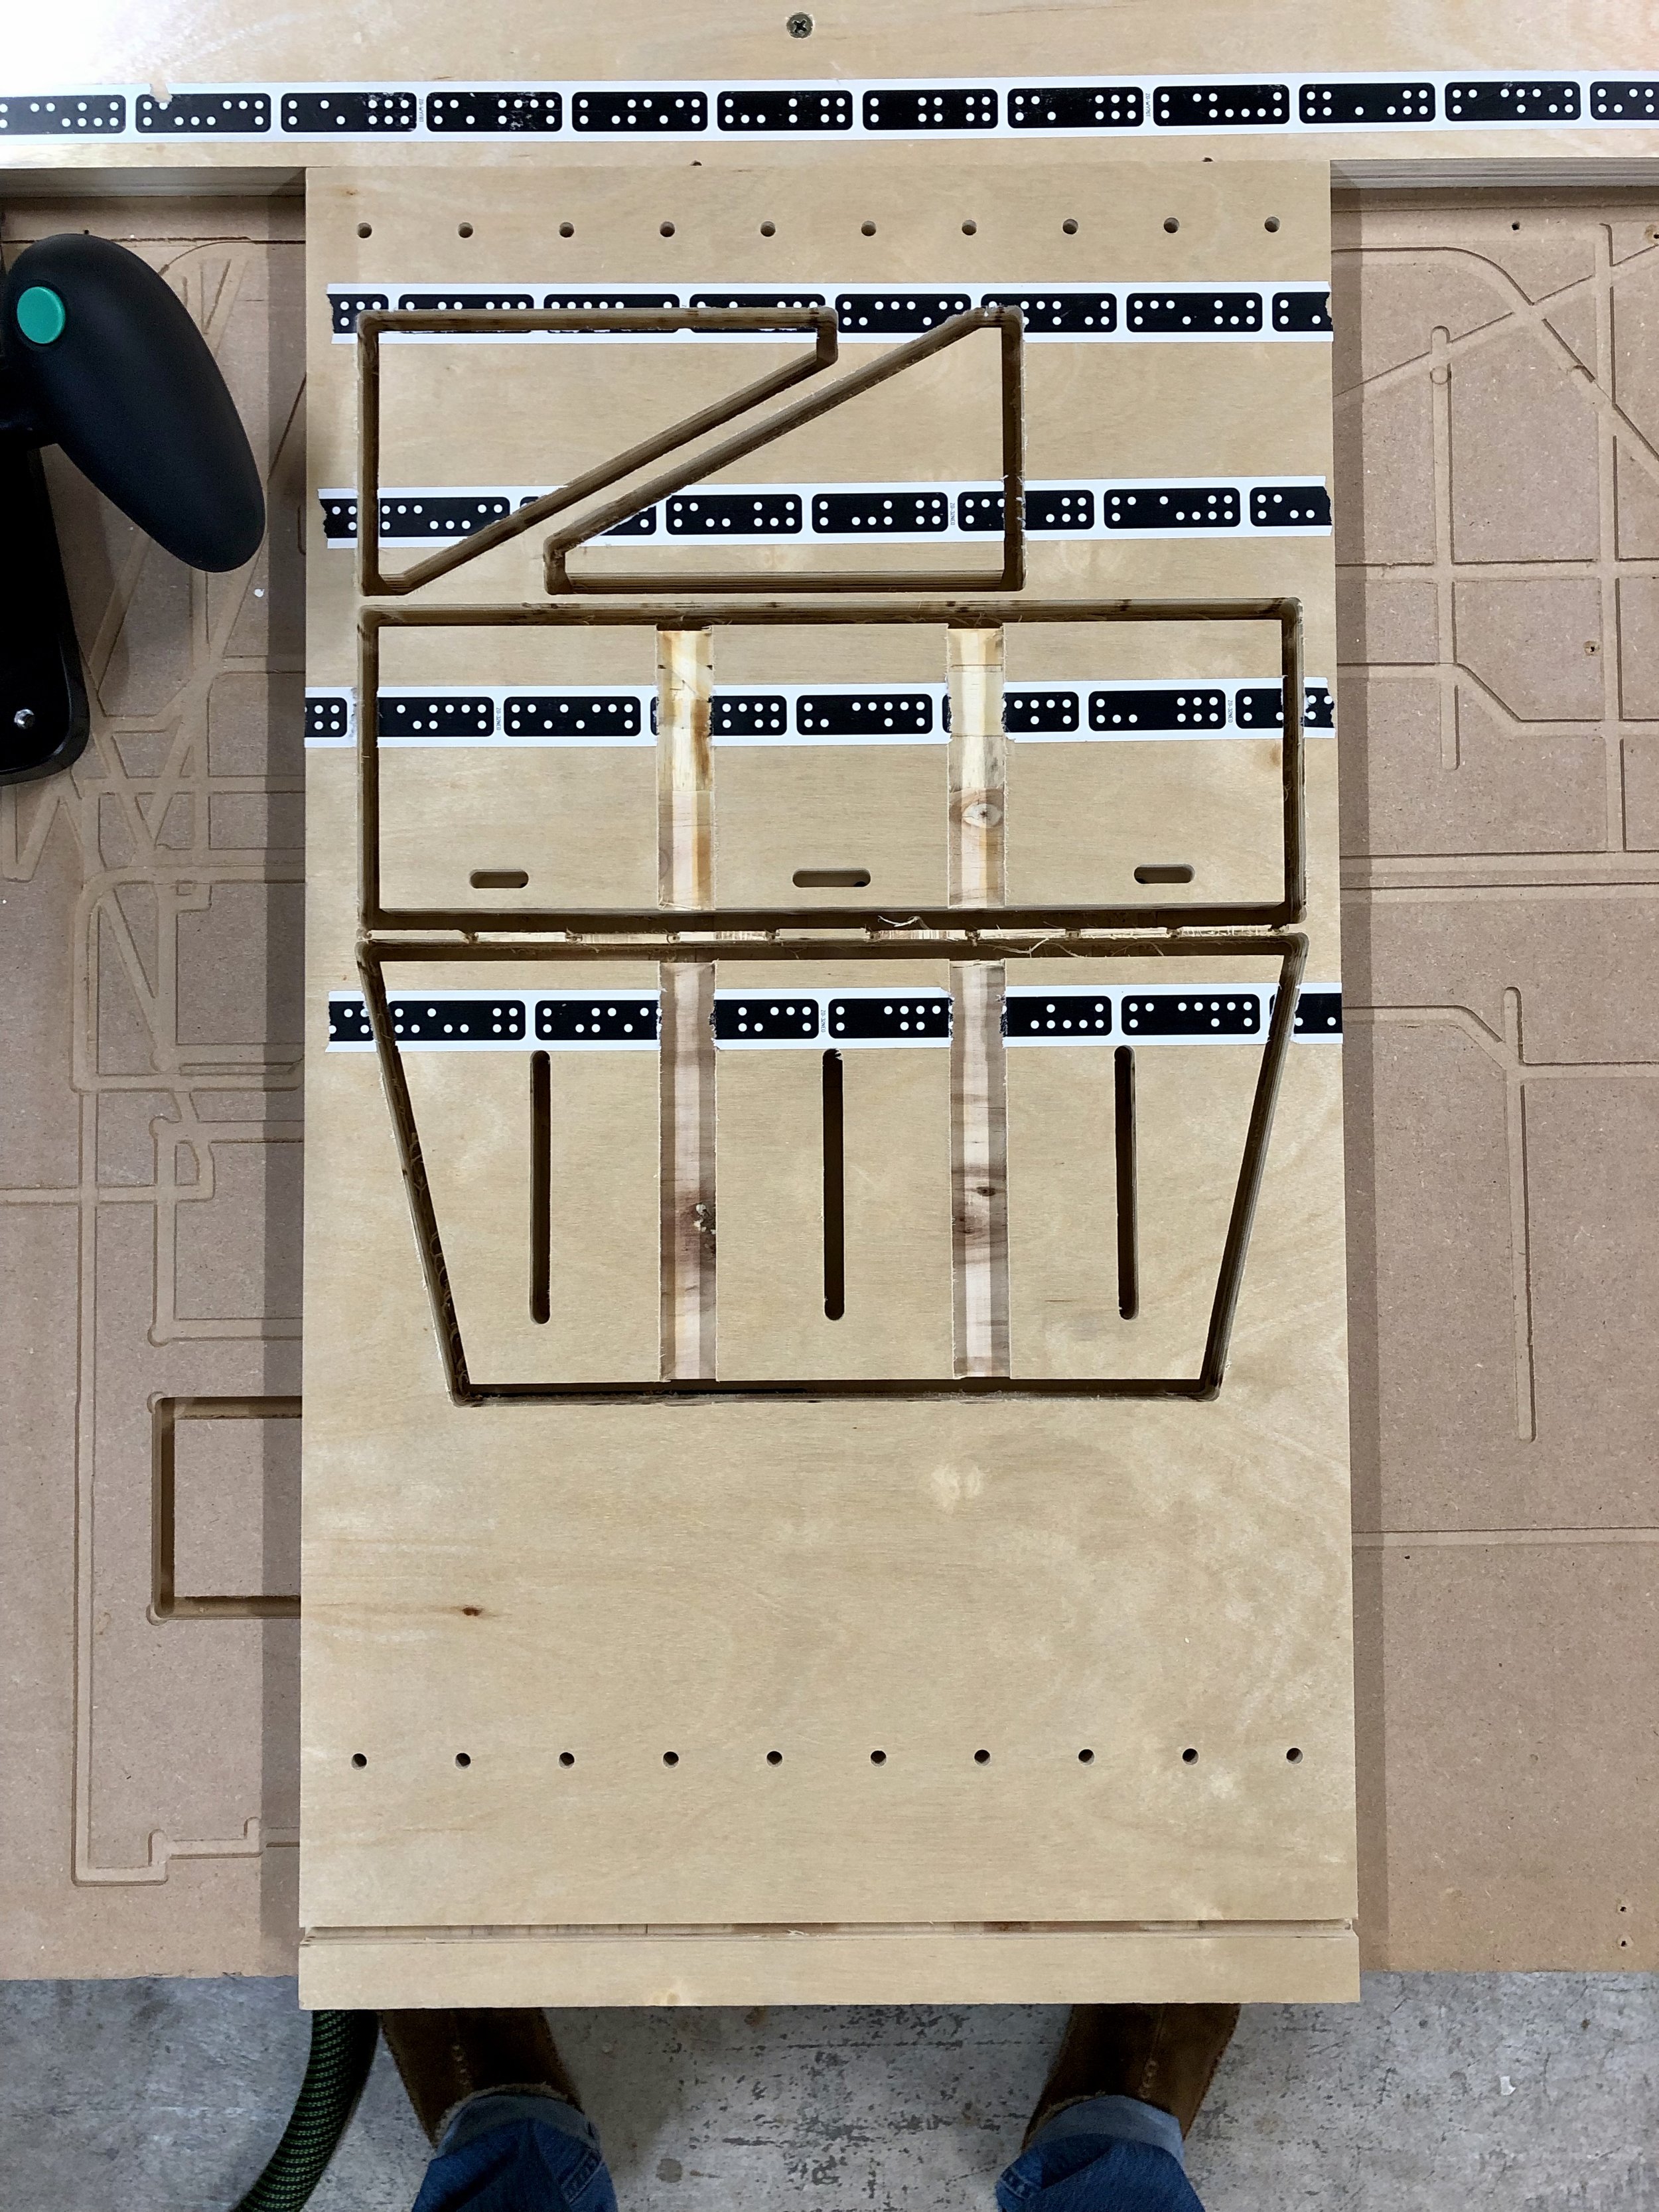
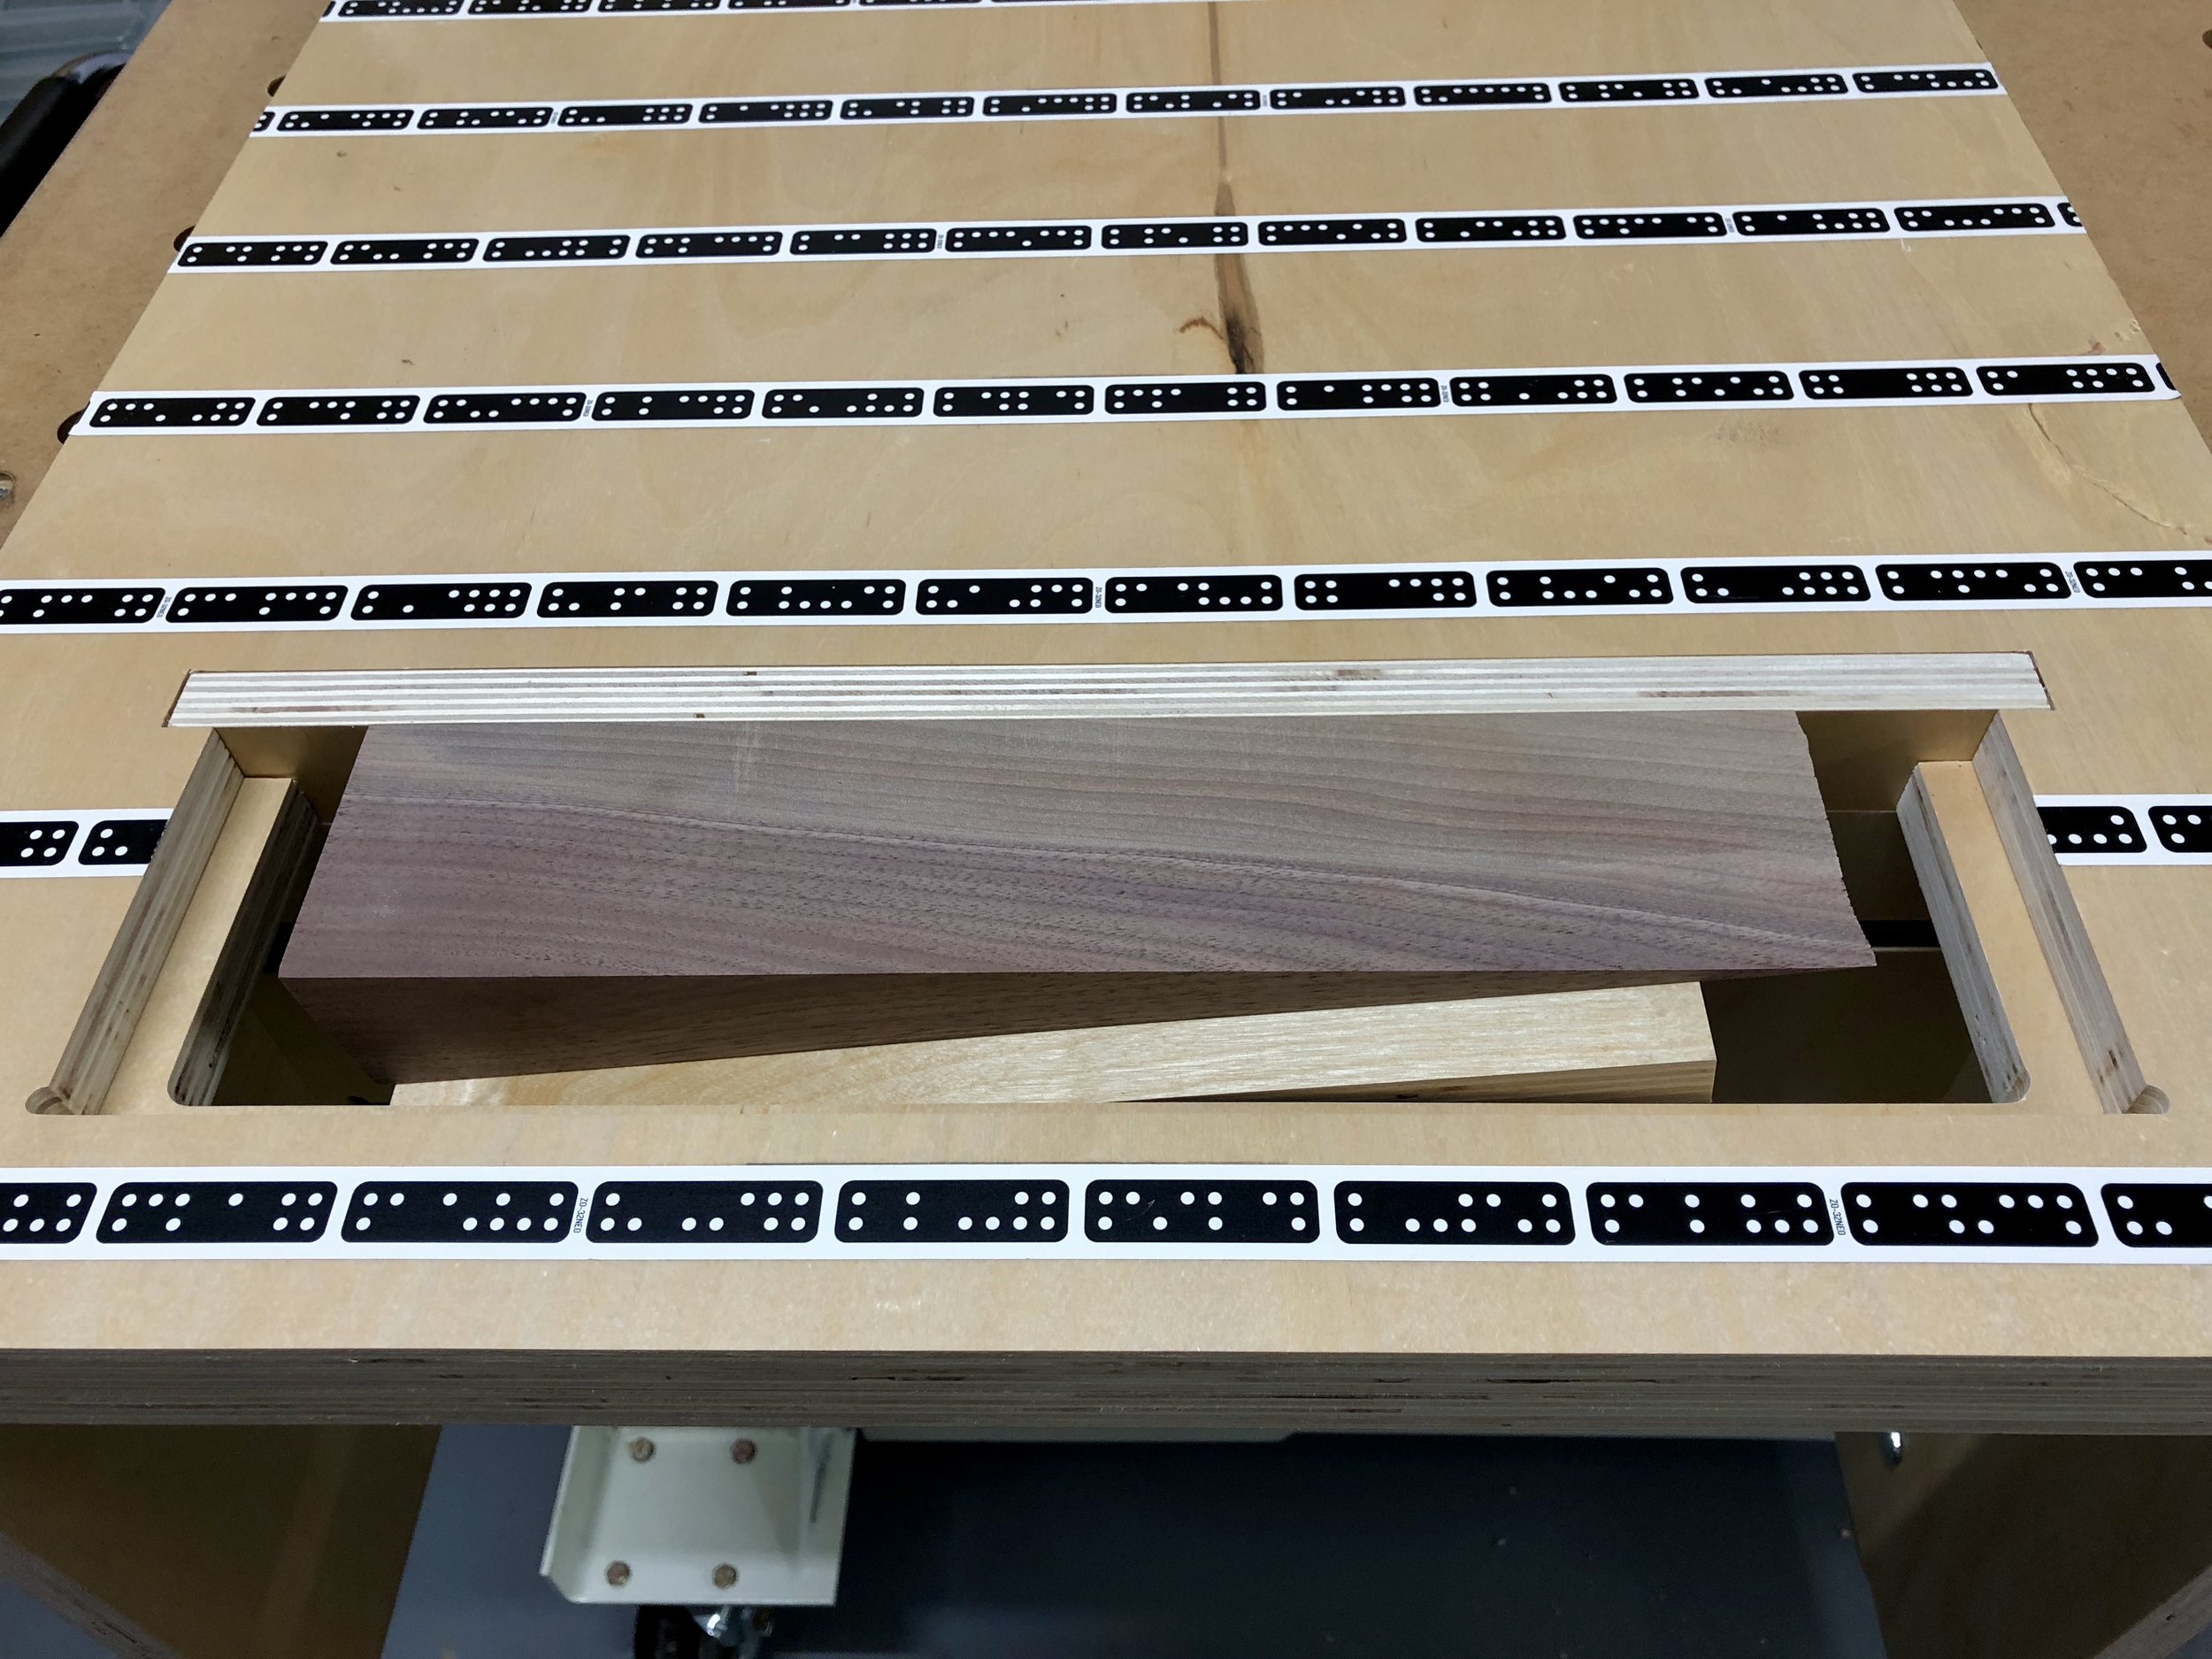
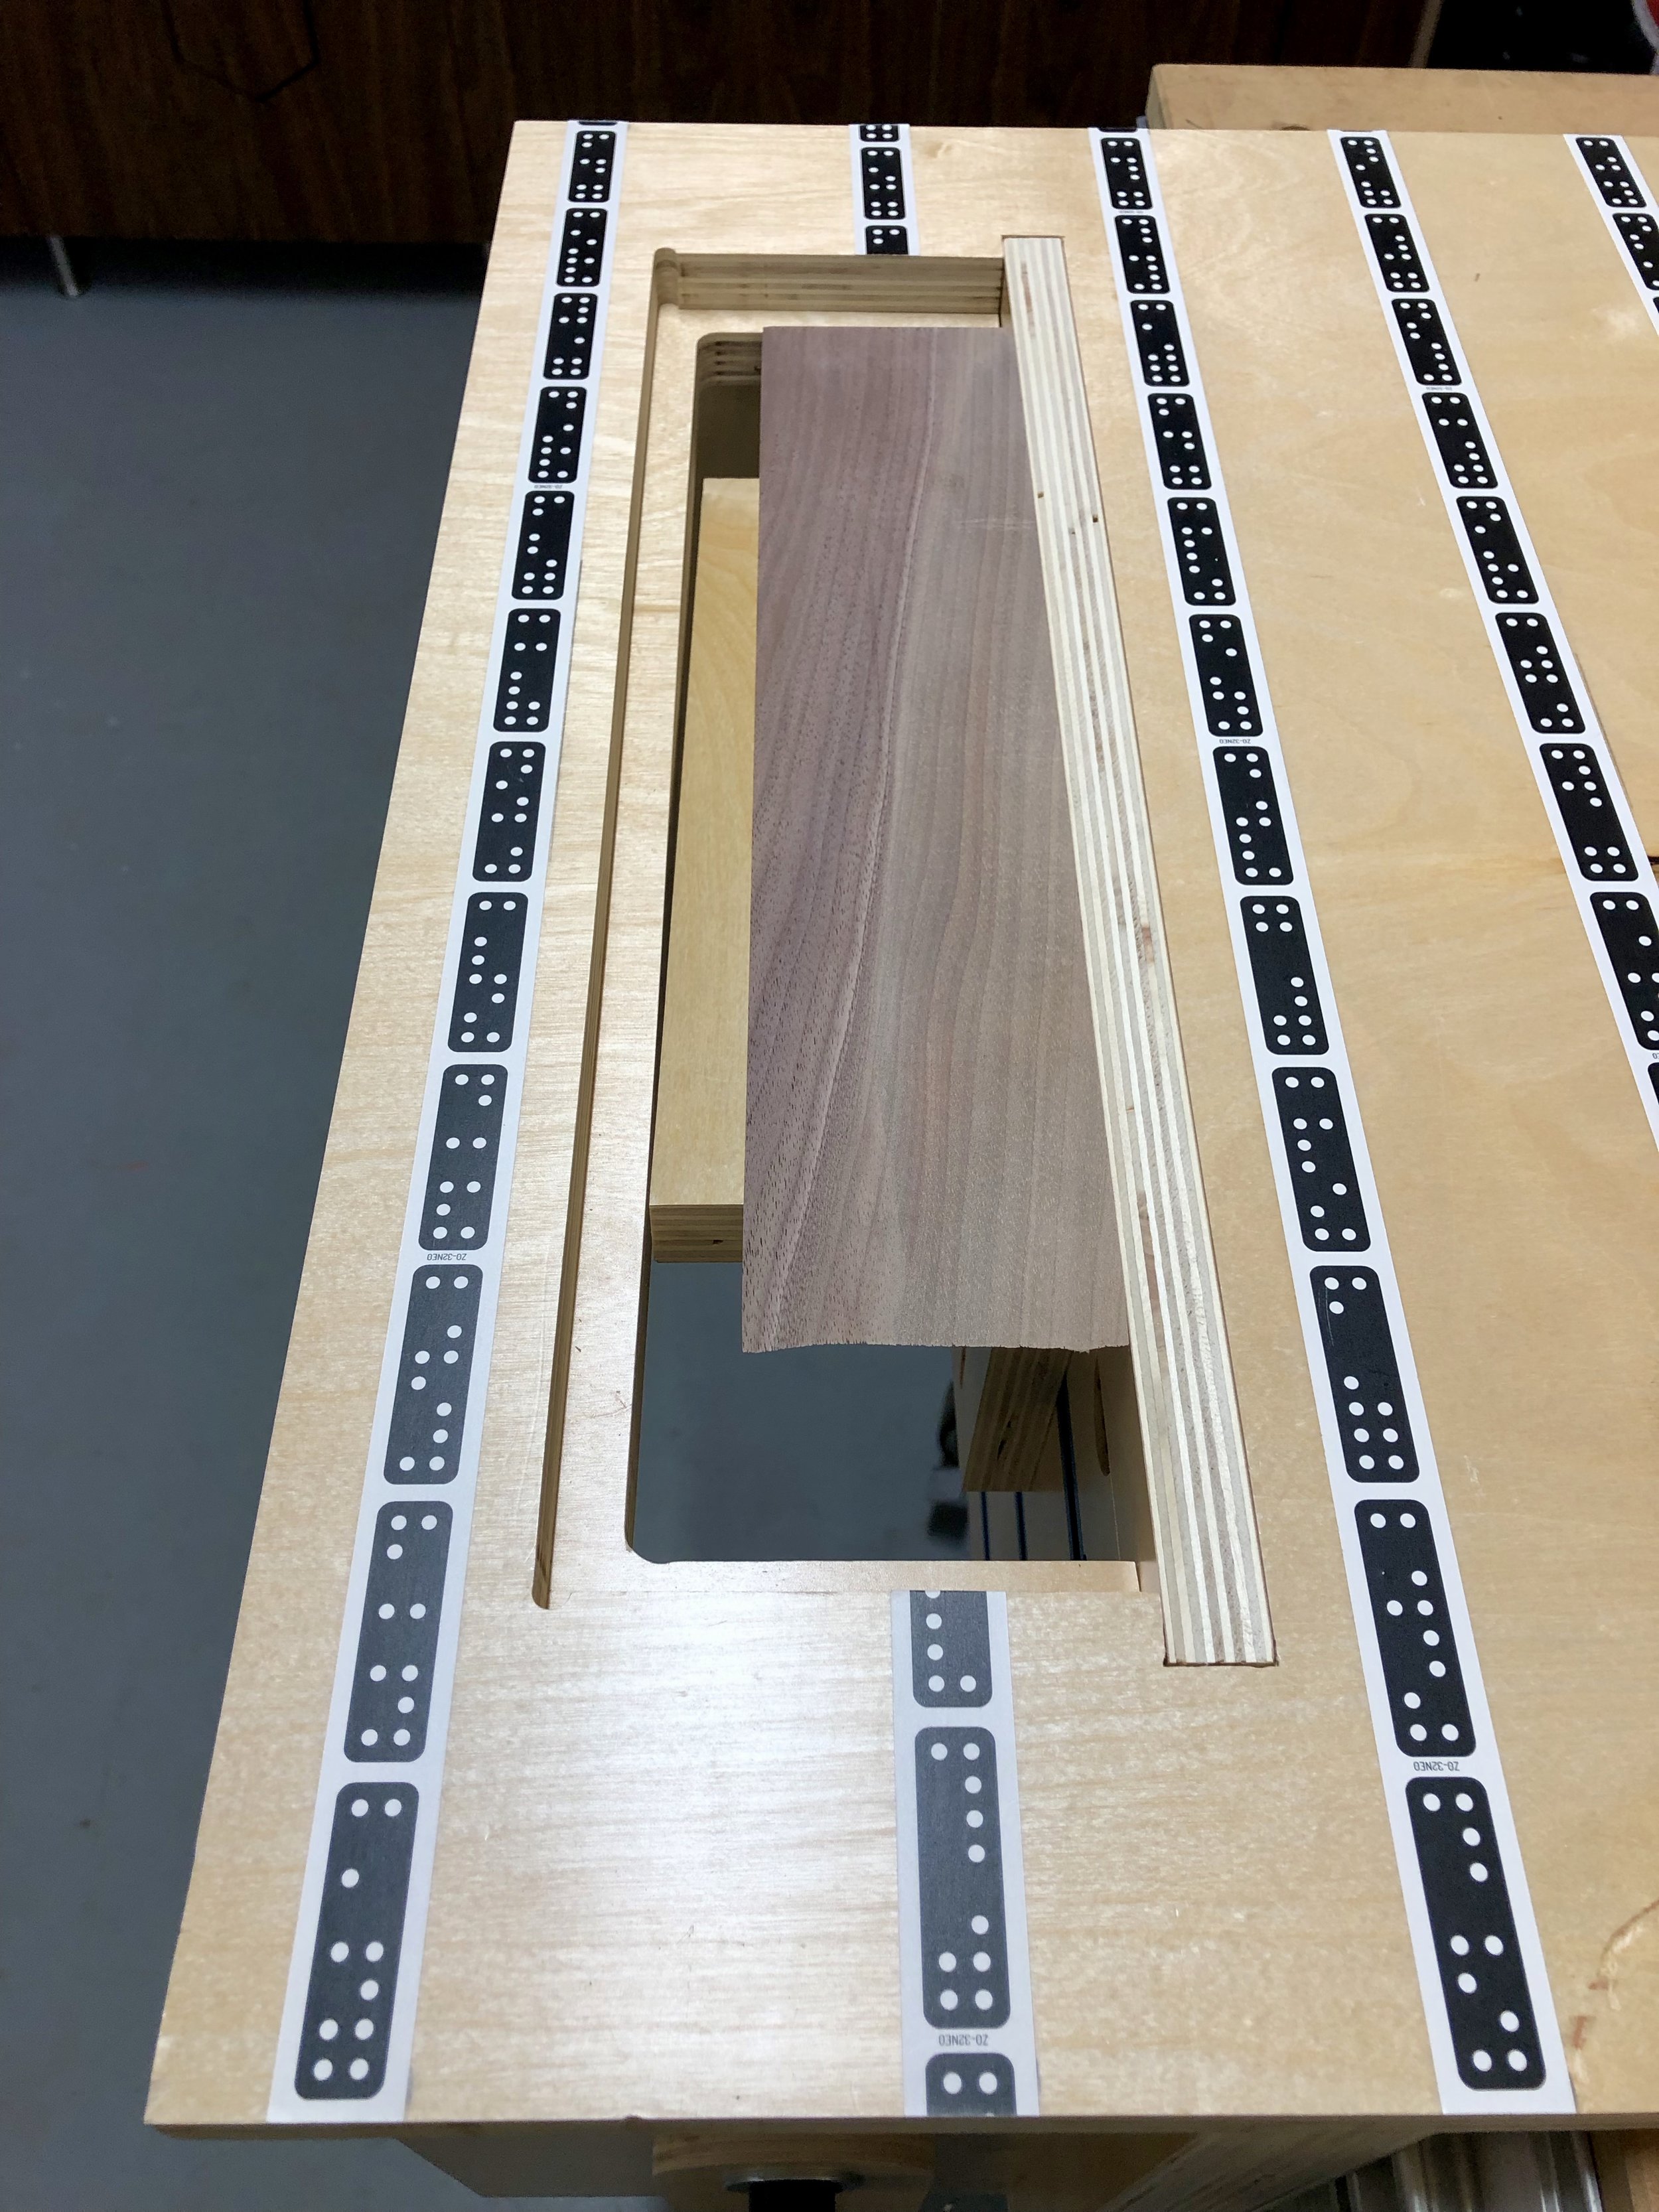
1. Cut the mortises for the Dominos in the top using the Shaper Origin. Because the top is quite small it was difficult to cut them out with the DF500 after the top was cut out so I researched the exact size of the holes made at the various settings and added tight mortises on the outsides and a medium mortise for the middle. (Use a 1/8” bit, Inside Cut, 2 passes at 7mm and 15mm deep, 0” offset) [please excuse the holes in the scrap piece of plywood I used shown in the pictures]
2. Cut out the pockets for the supports. These are 18mm wide but check the thickness of your material and adjust with offset accordingly (Use 1/4” bit, 1/4” deep, Pocket Cut then Inside Cut at 0” offset)
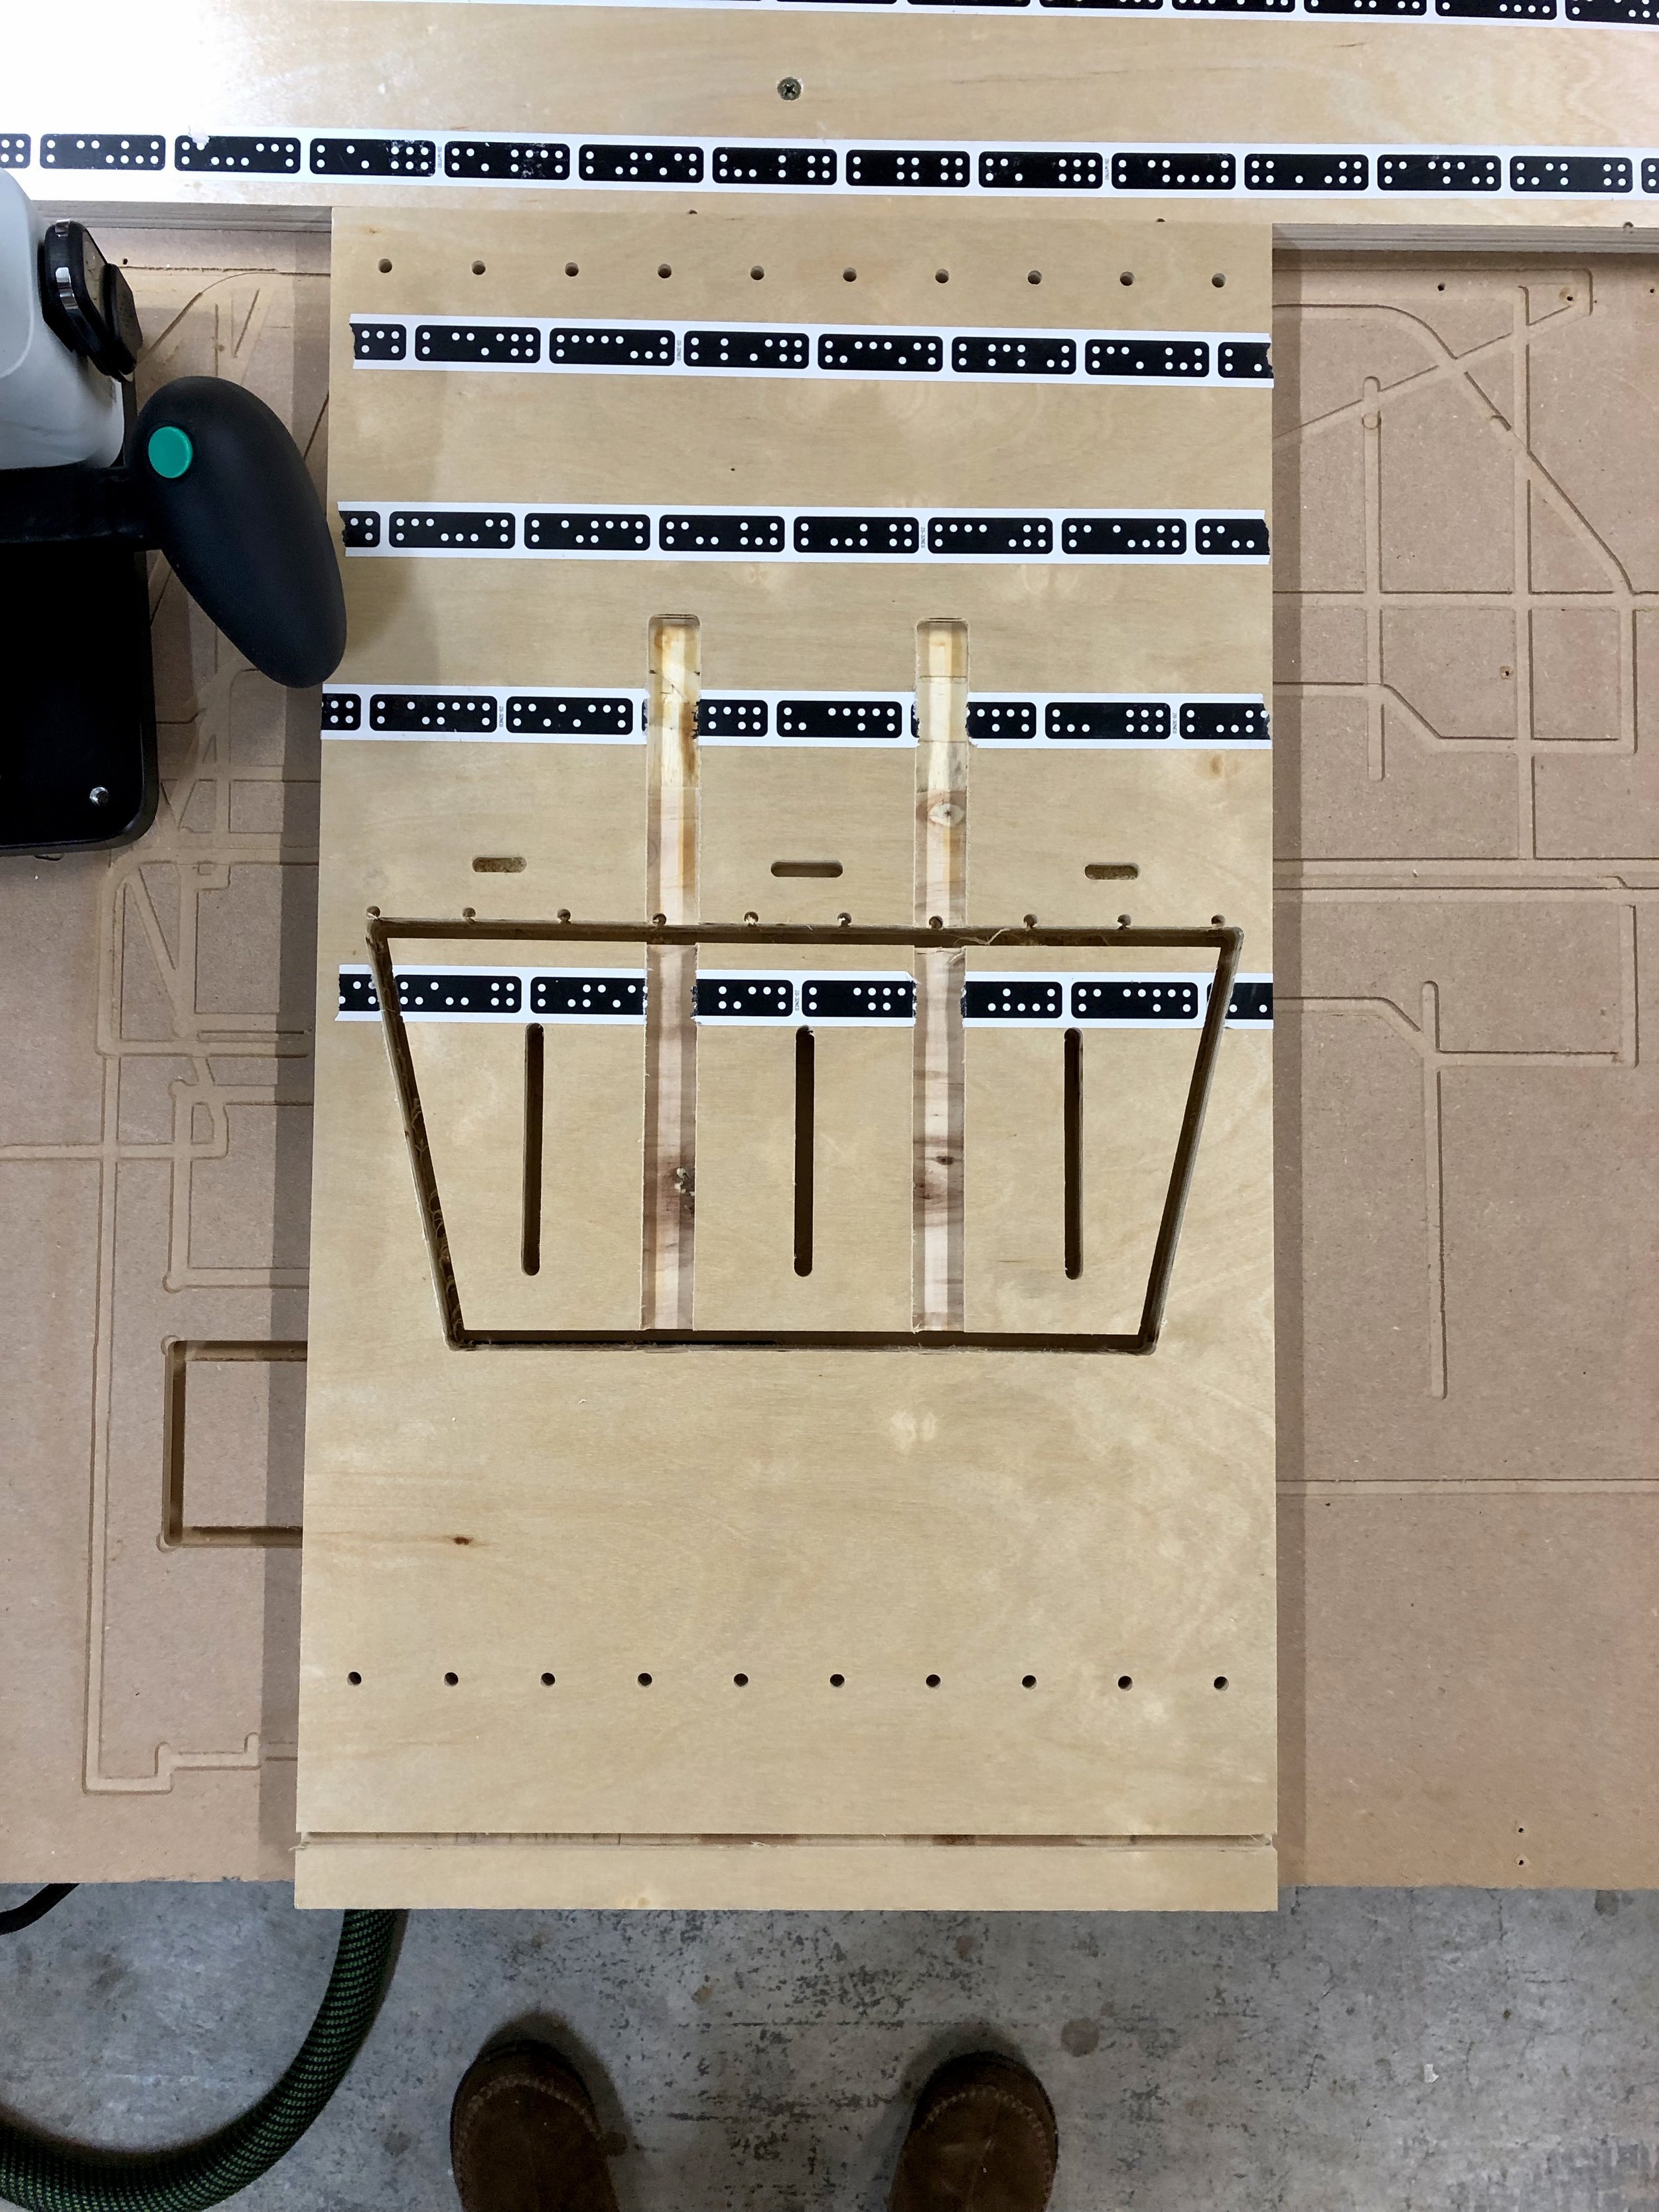
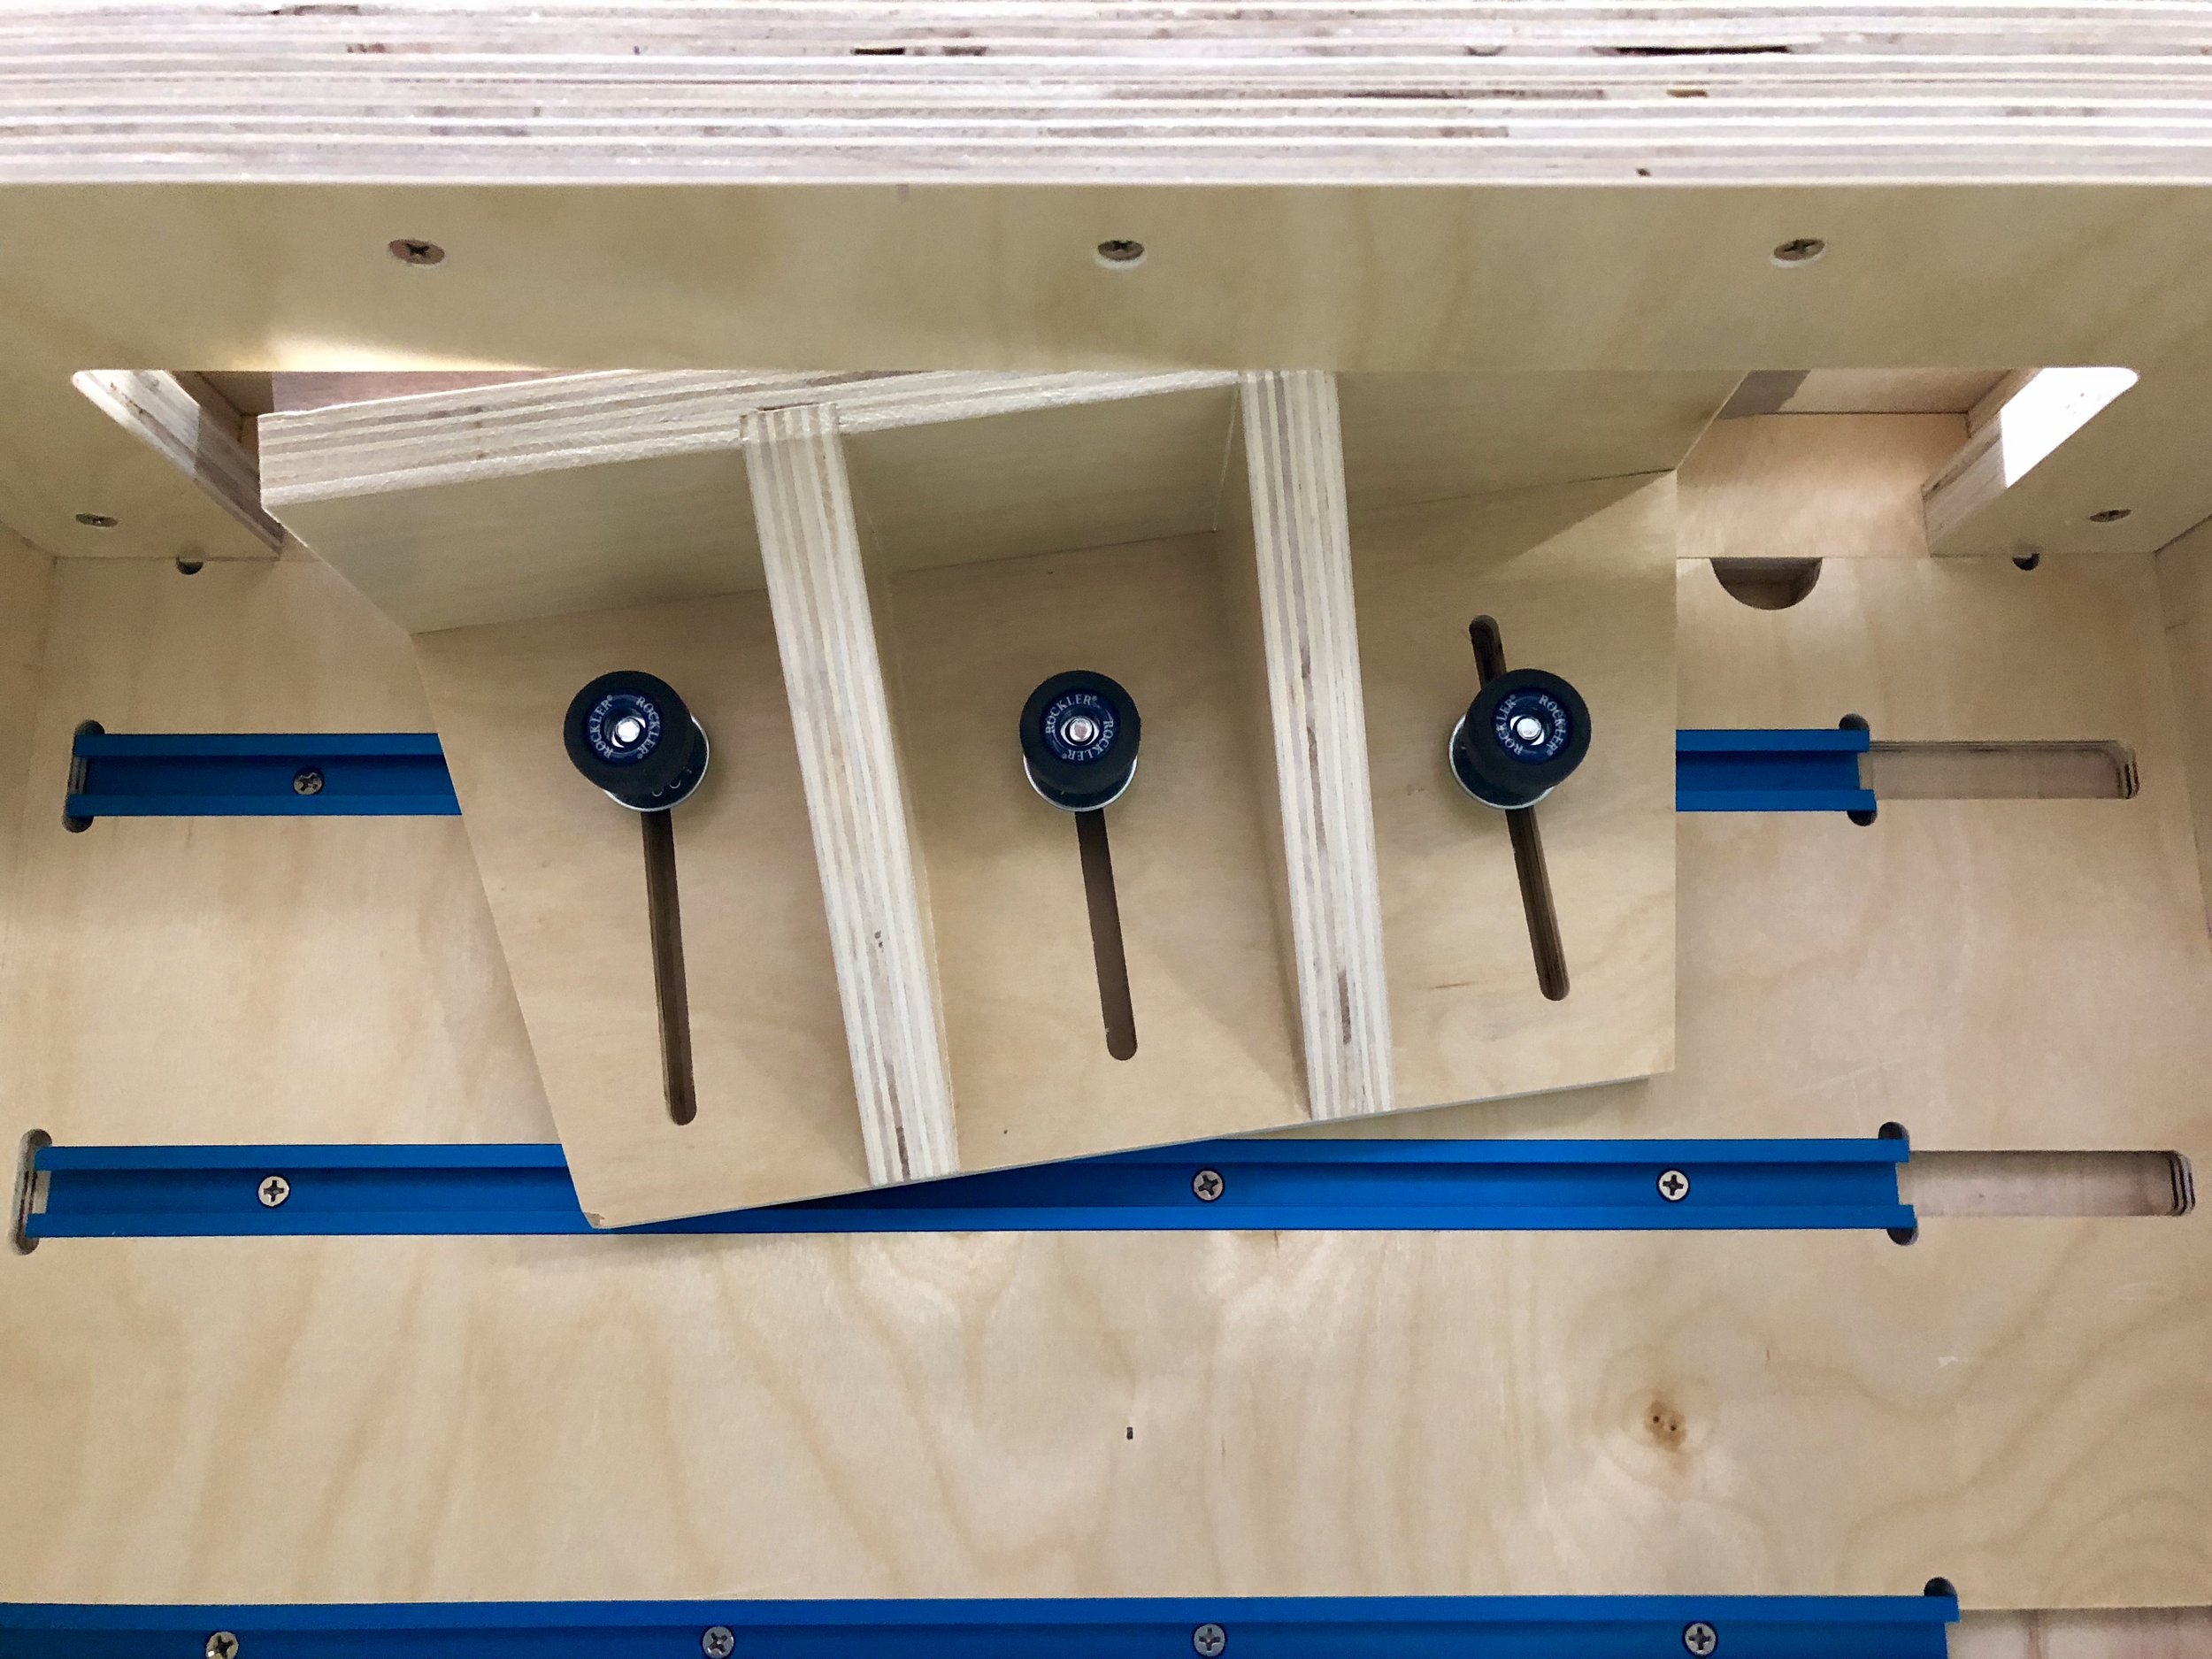
3. Cut the slots for clamping knobs. (Use 1/4” bit, Outside Cut, 0” offset, 3 passes [1/4”, 1/2”, 3/4” deep])
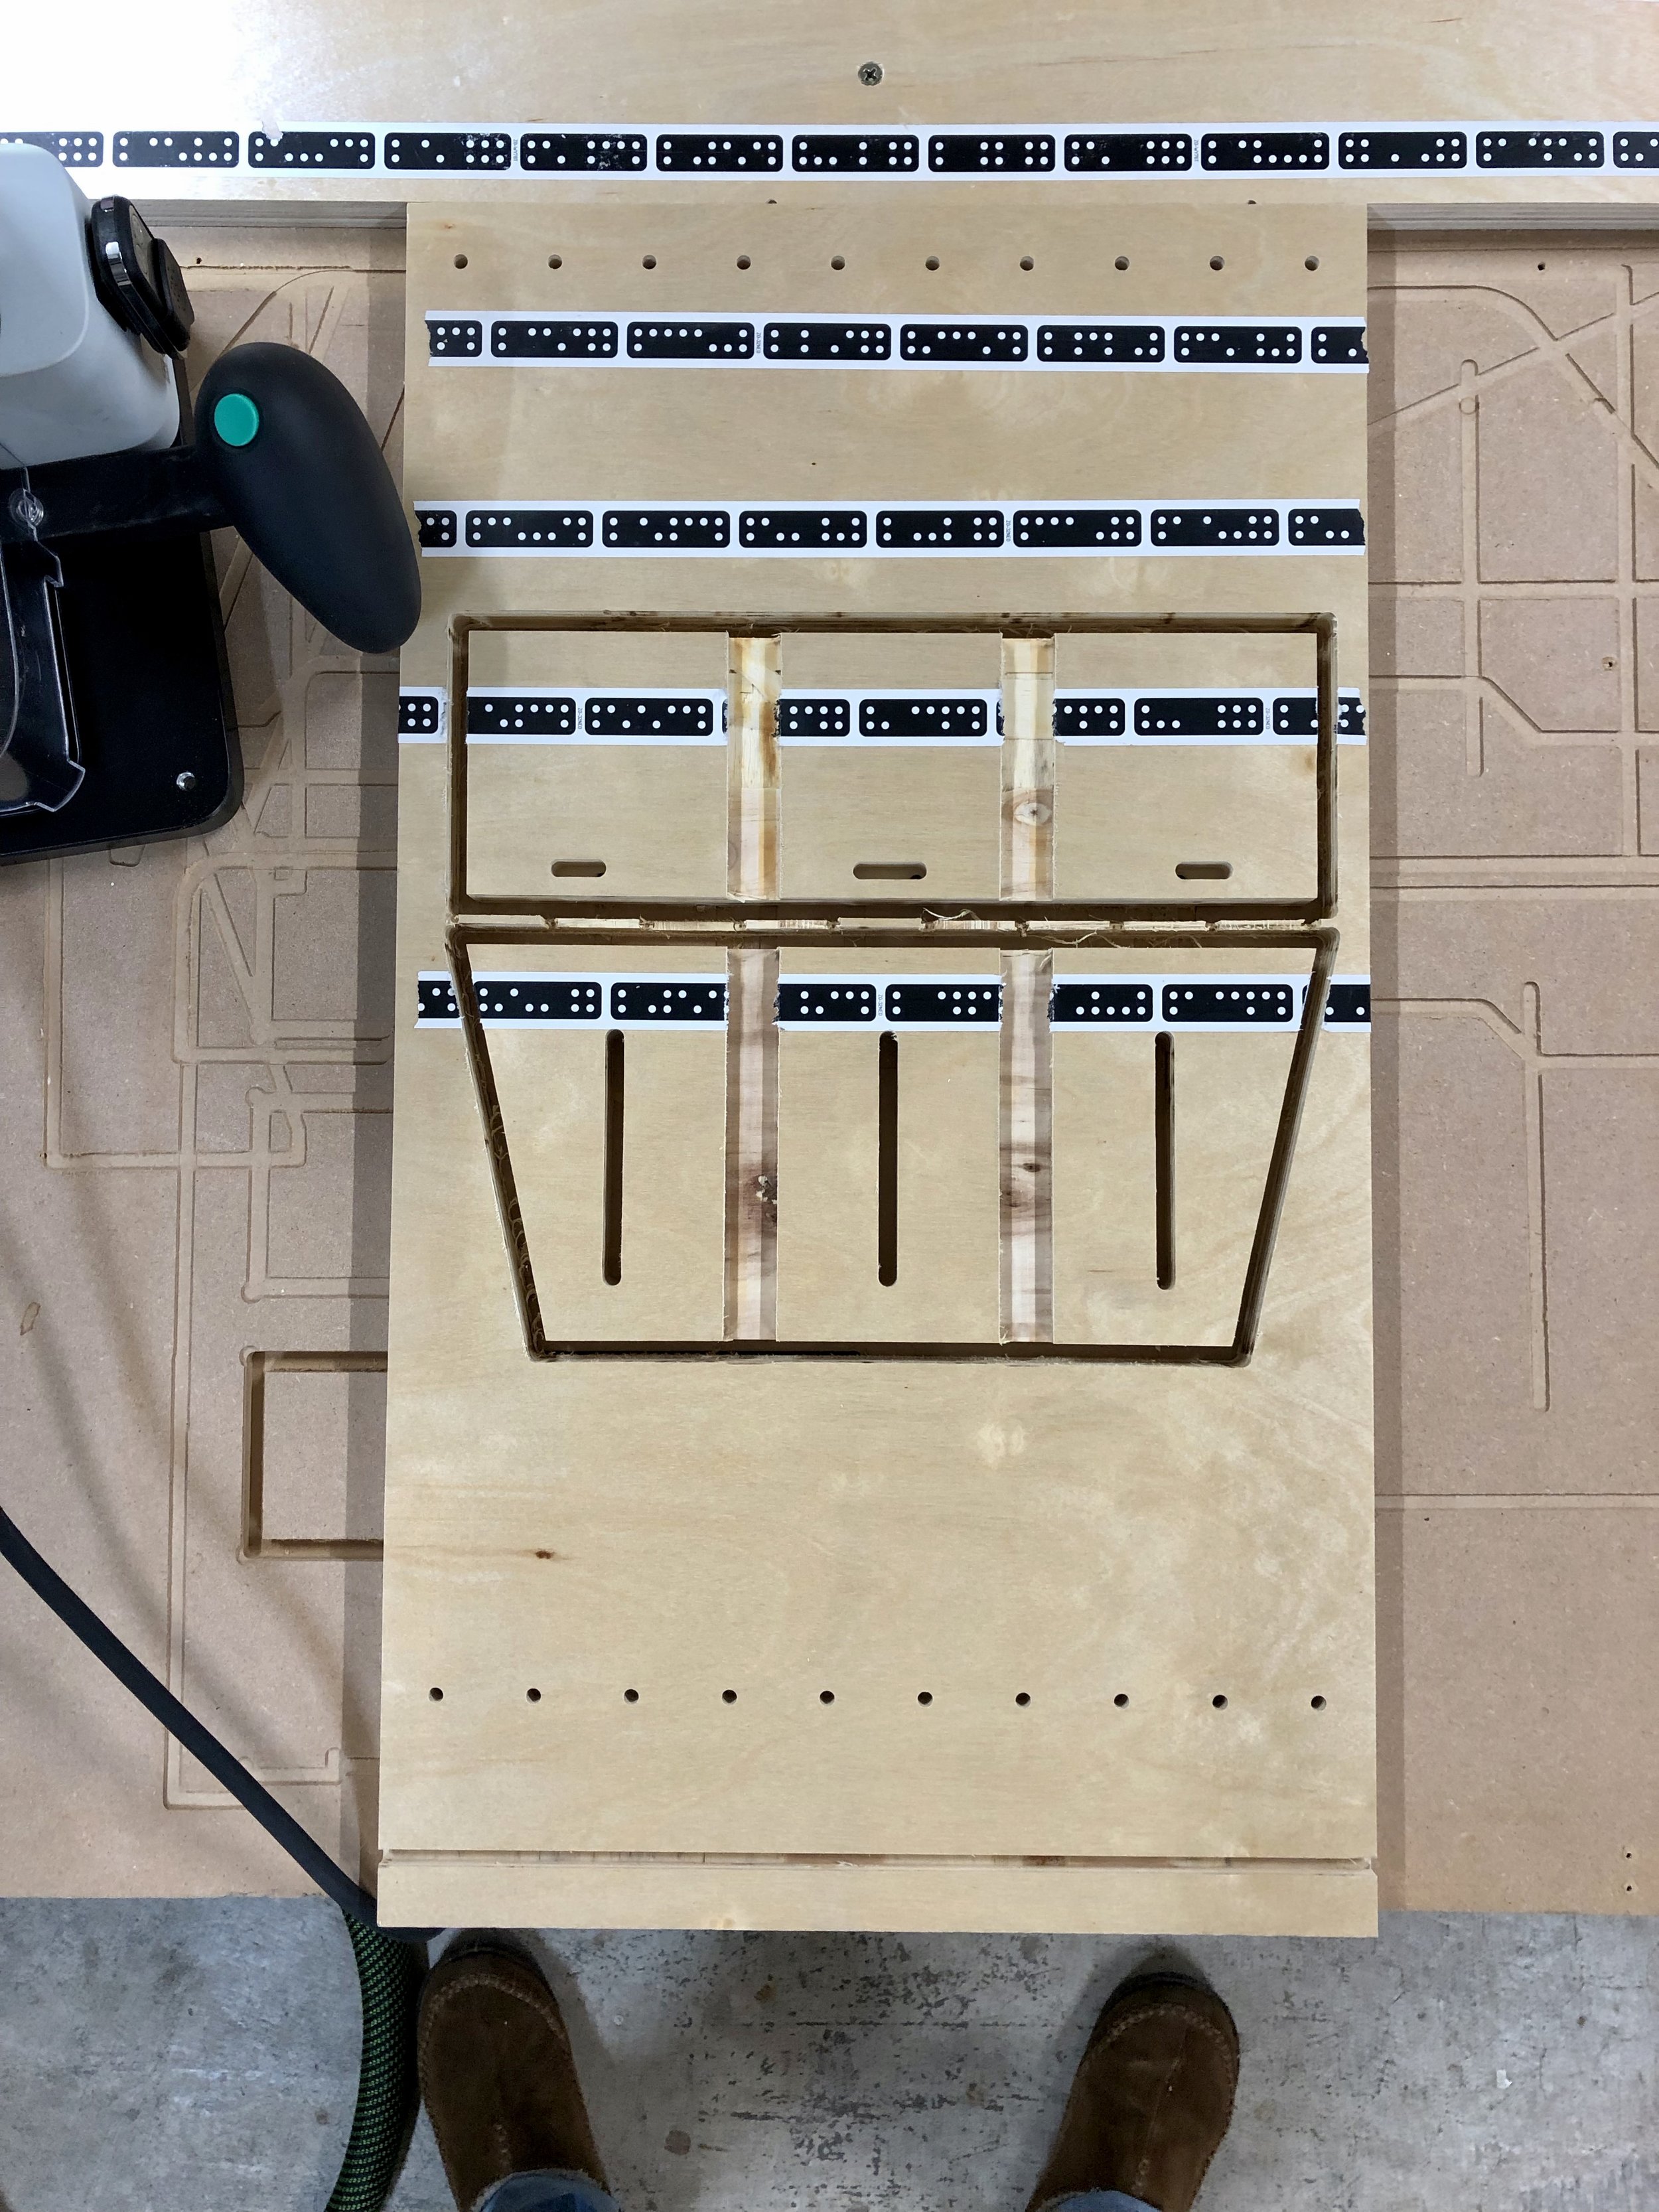
4. Cut out the bottom. I start with cutting out lower pieces to full depth because it doesn’t destroy the marker tape higher on the work surface. Those people that have used the Origin will know what I’m talking about. :-)
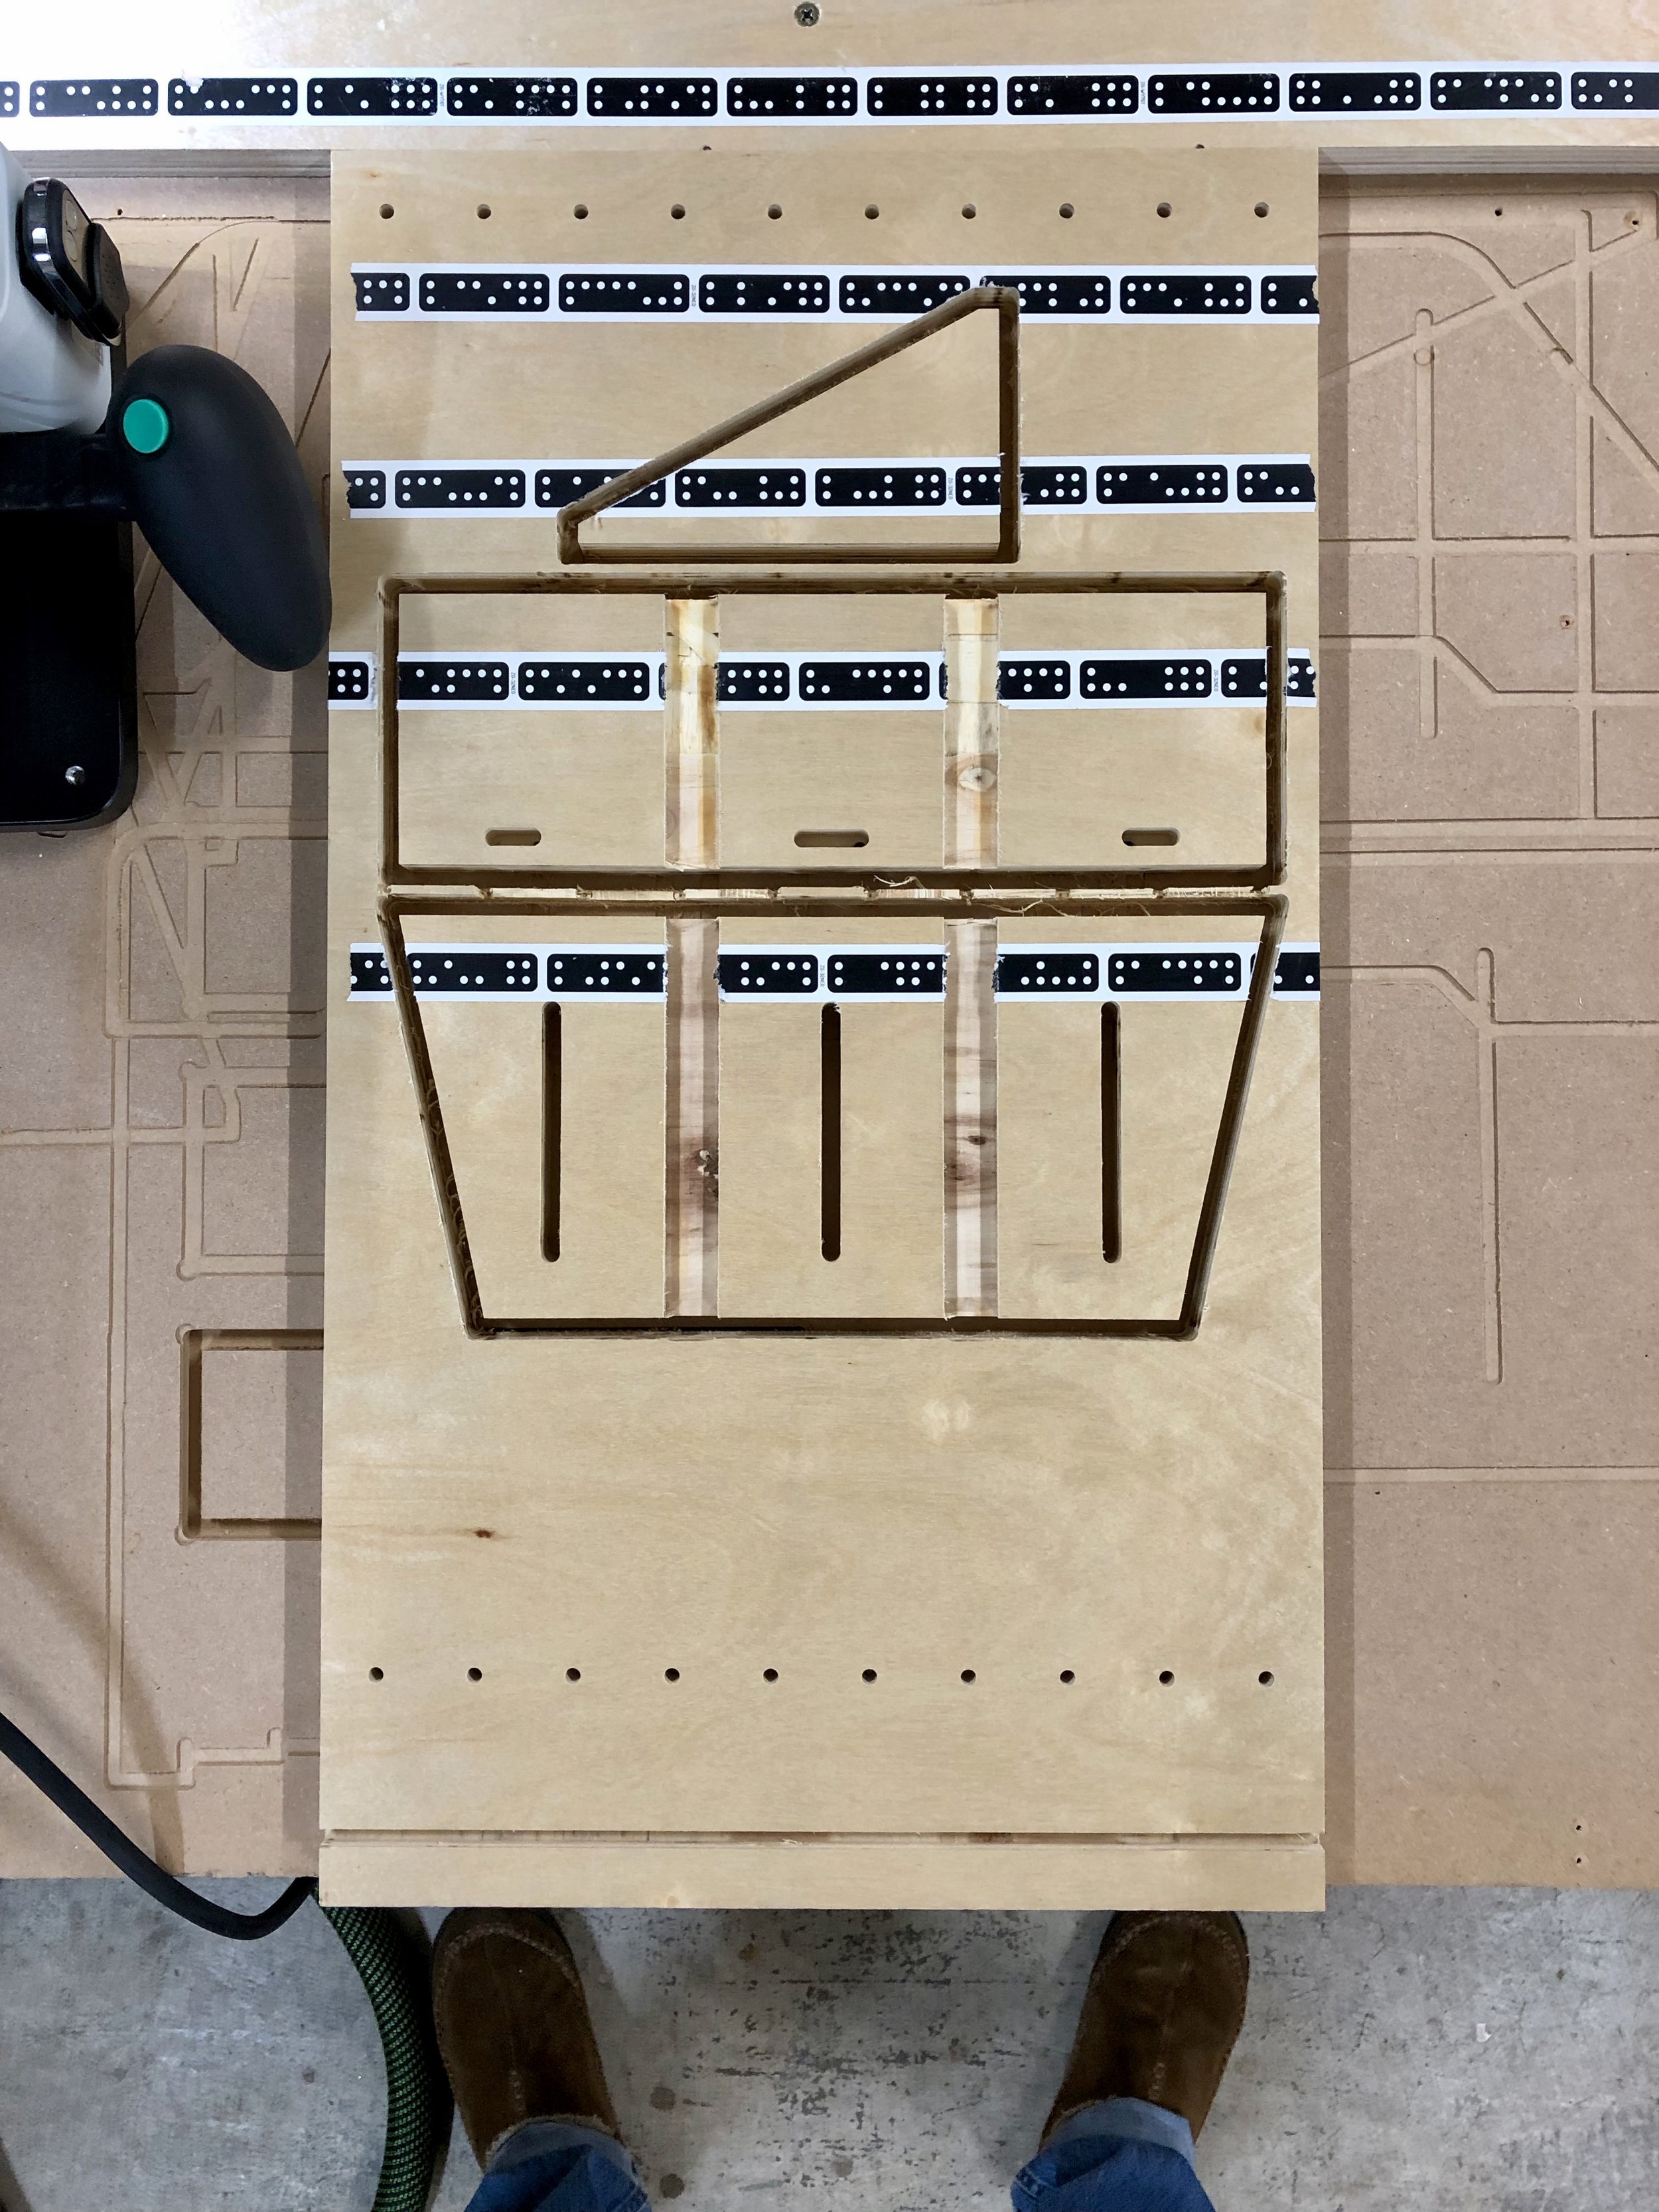
5. Cut out top
6. Cut out supports
7. Use the Festool Domino DF500 to mortise the three dominos in the bottom piece. Use the indexing pins to measure the side mortises. Make a mark at the center (150mm from either side) for the center mortise. Feel free to use tight or medium mortises for alignment
8. Glue mortises and channels for supports, assemble and then clamp to right angles to ensure that the top surface will be flush with the top of the UVW when tightened to the t-tracks.
9. OPTIONAL - If you’ve already built the UVW then you’ll need to drill holes in the side to mount the Horizontal Support when not in use. (I have also updated the .svg file on the UVW to include this mounting holes.)
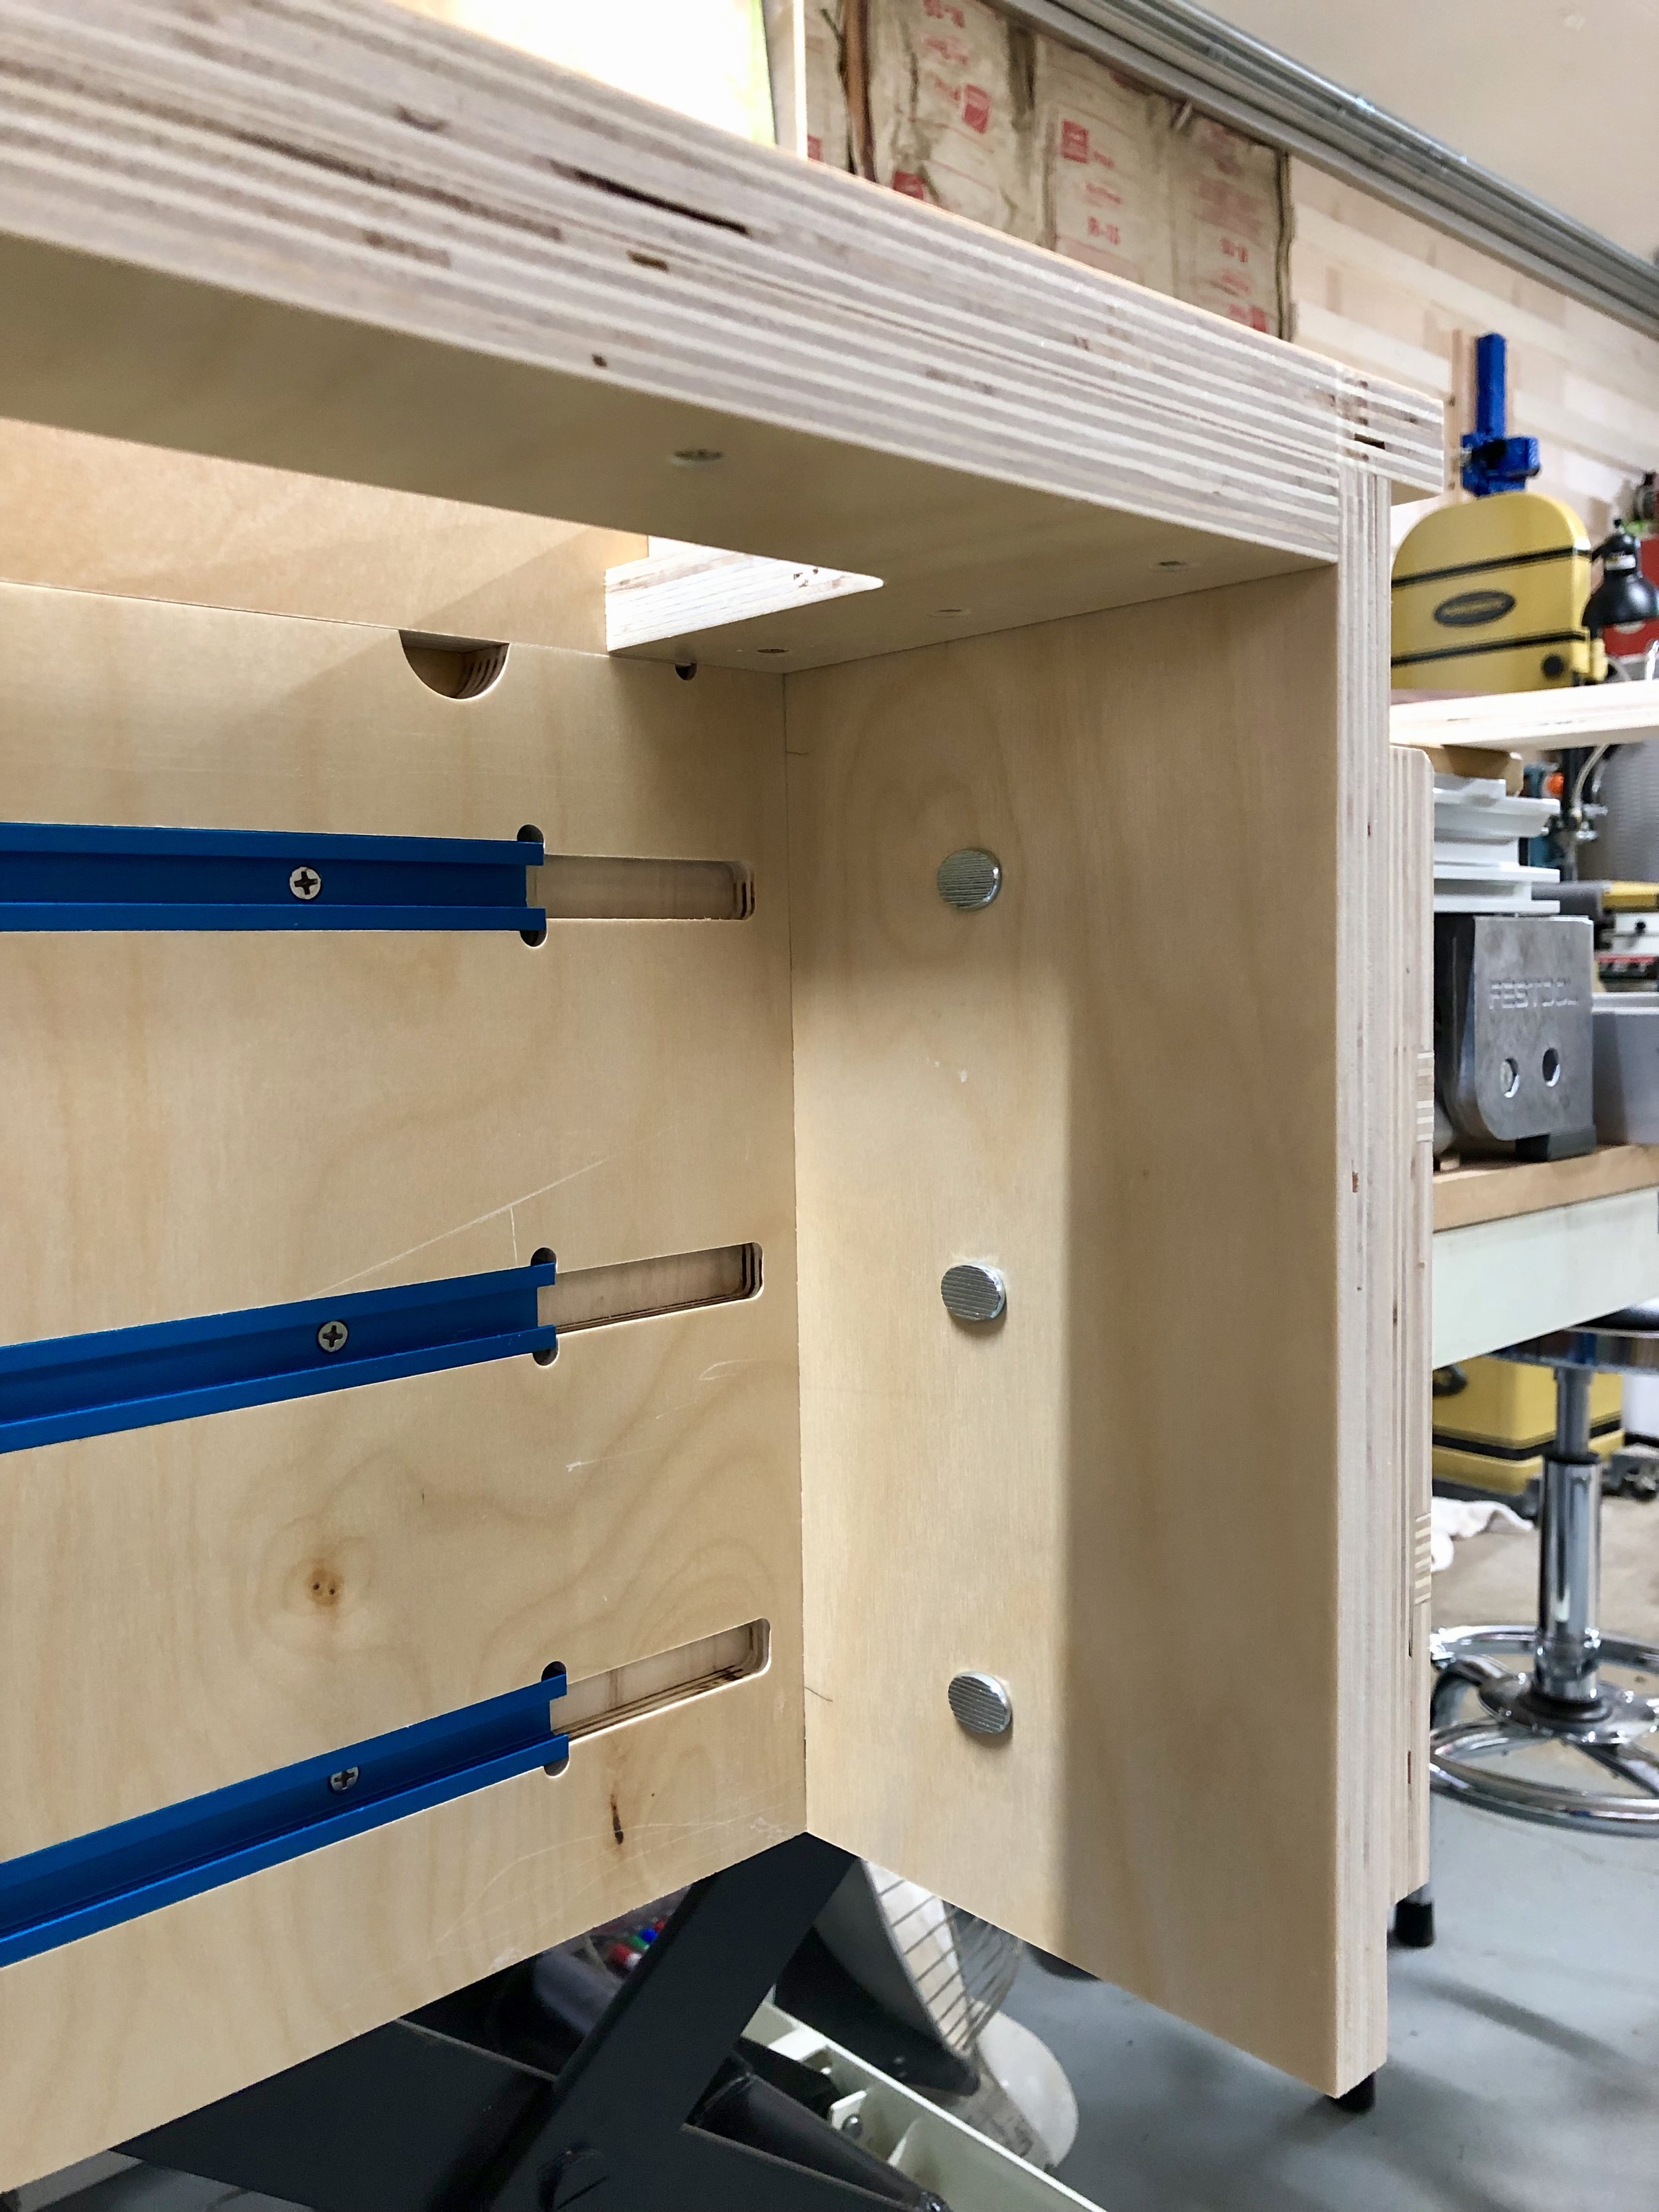

This is also a place for an extra set of t-bolts so both the vertical and horizontal supports can be used at the same time if needed.
Using the Horizontal Support (HS)
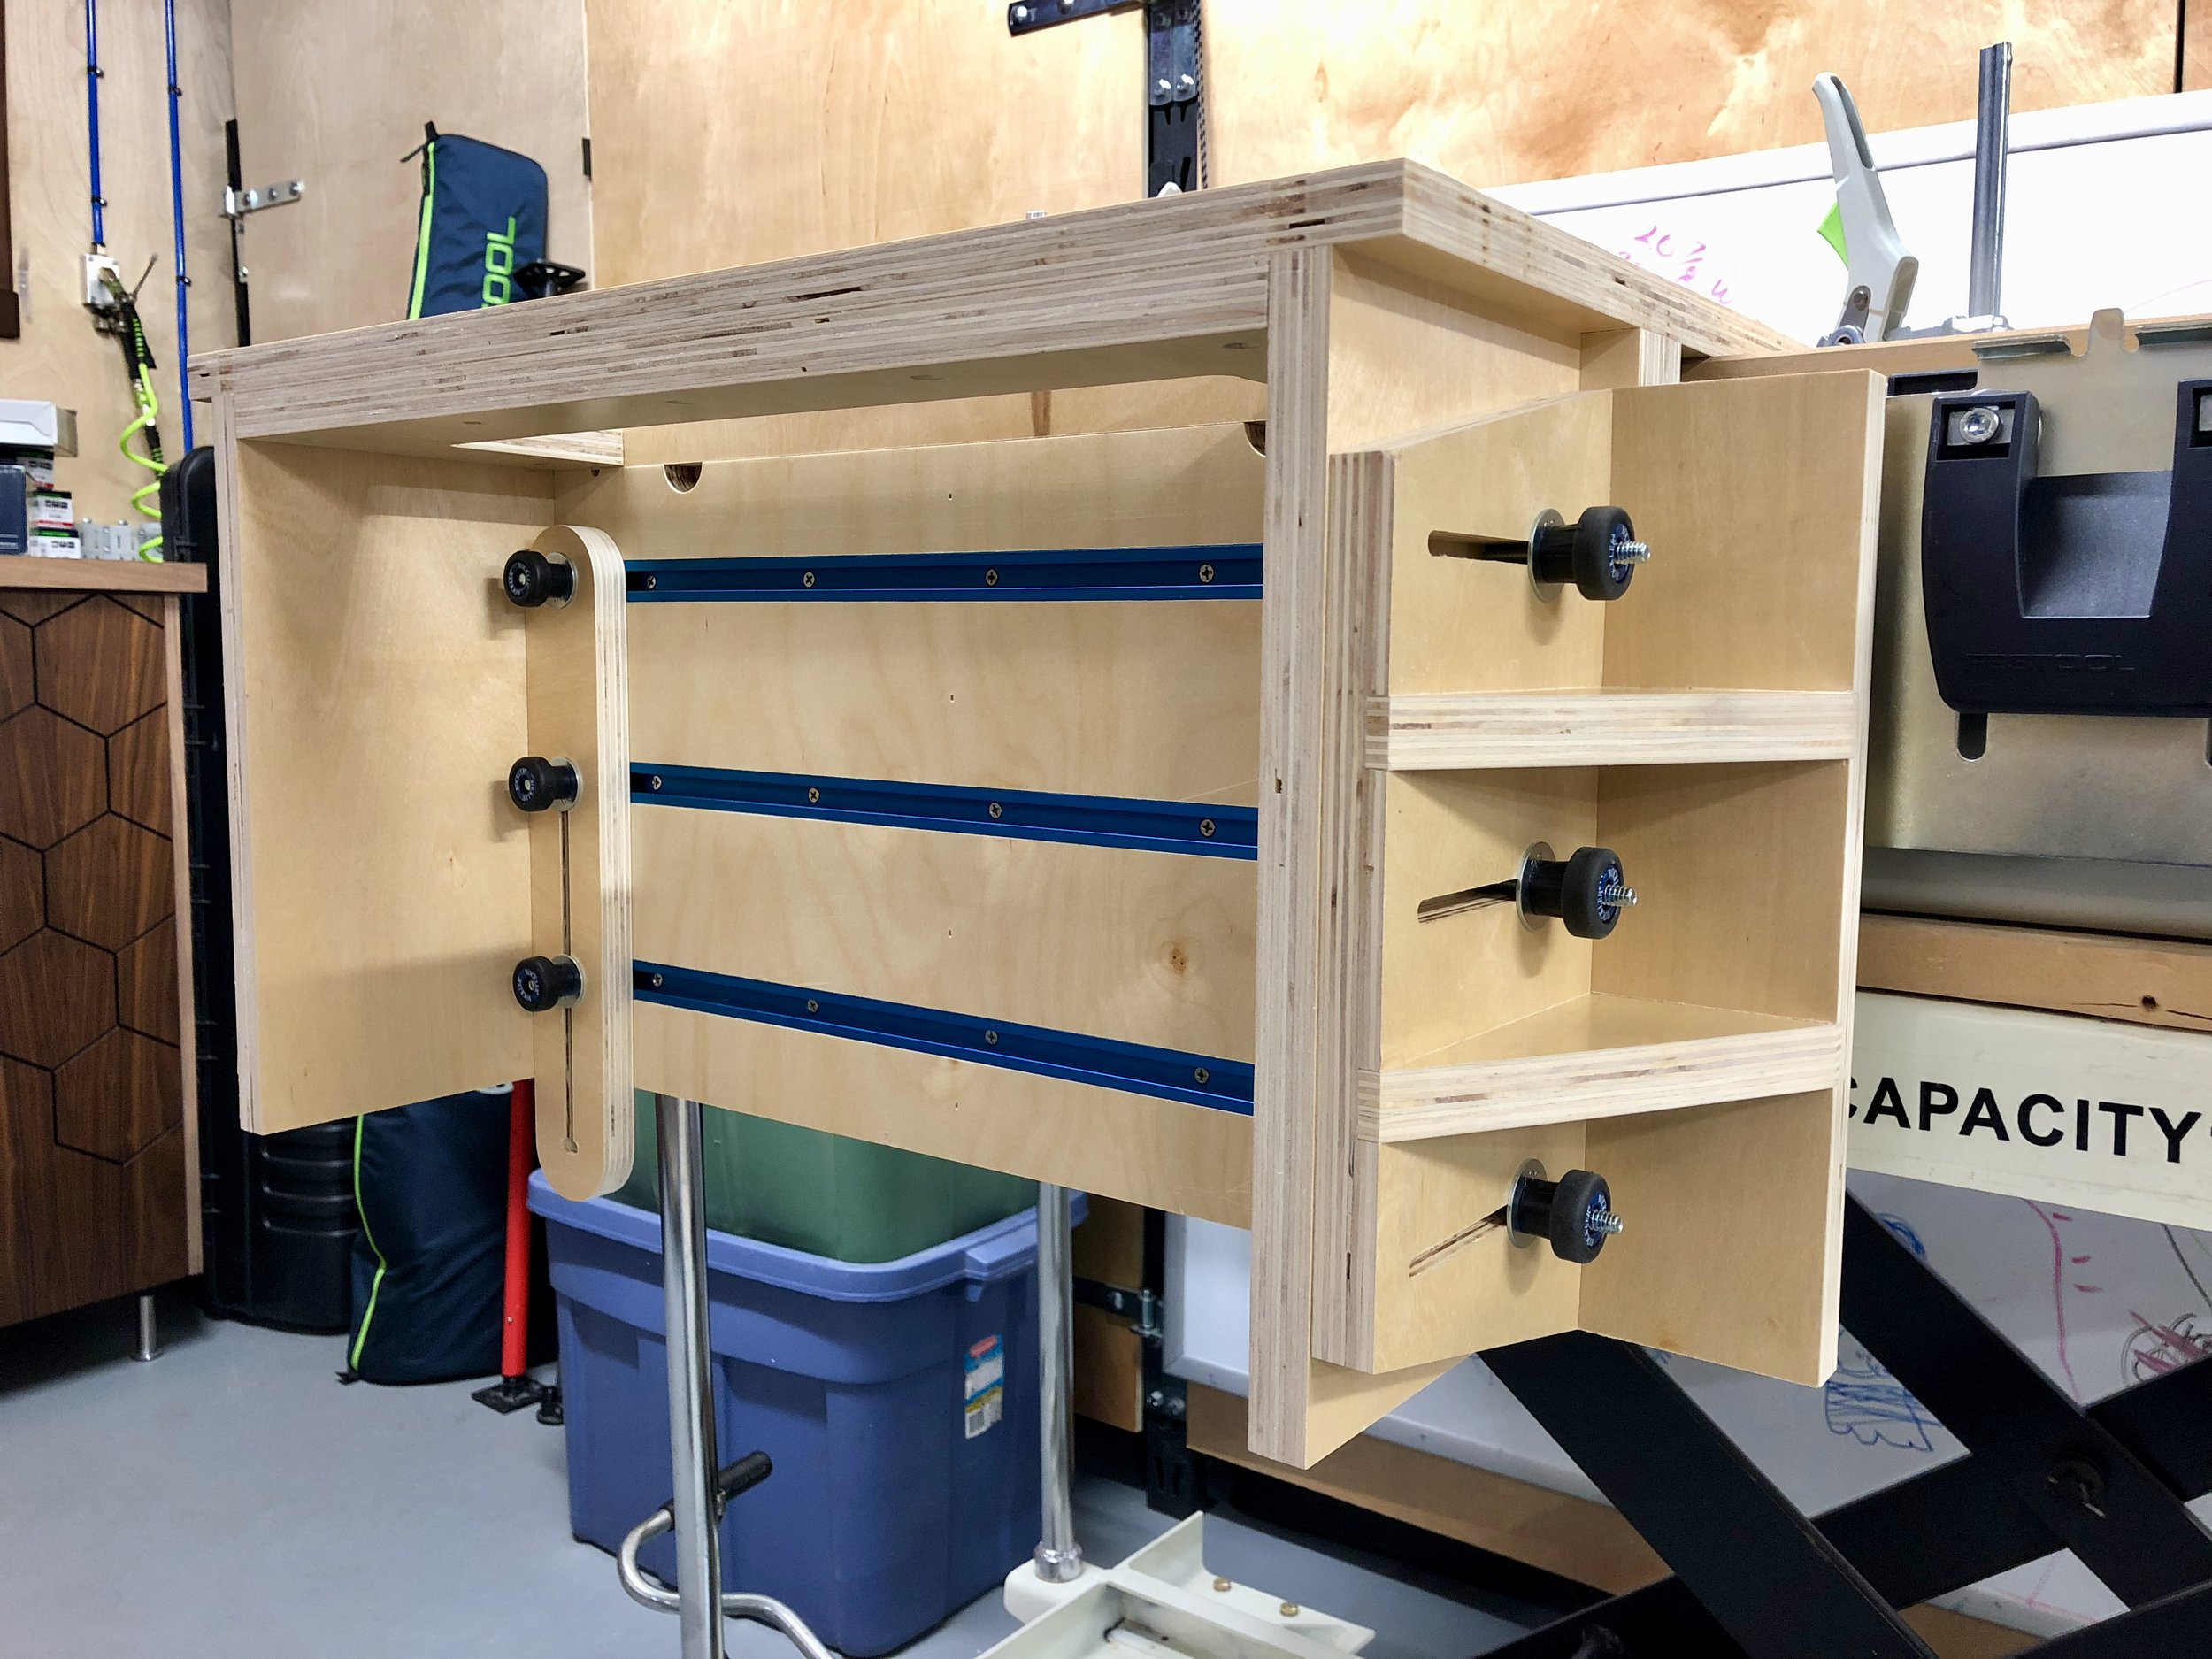
Hold the HS below the T-track, position the t-bolts above the slots, slide the HS over the bolts and add the washers and clamping knobs.
Mount the work piece to the HS with double-sided tape.
Clamp a flat board on to the top of the UVW
Push the work piece up to the underside of the flat board
Tighten the clamping knobs and remove the flat board from the top of the UVW
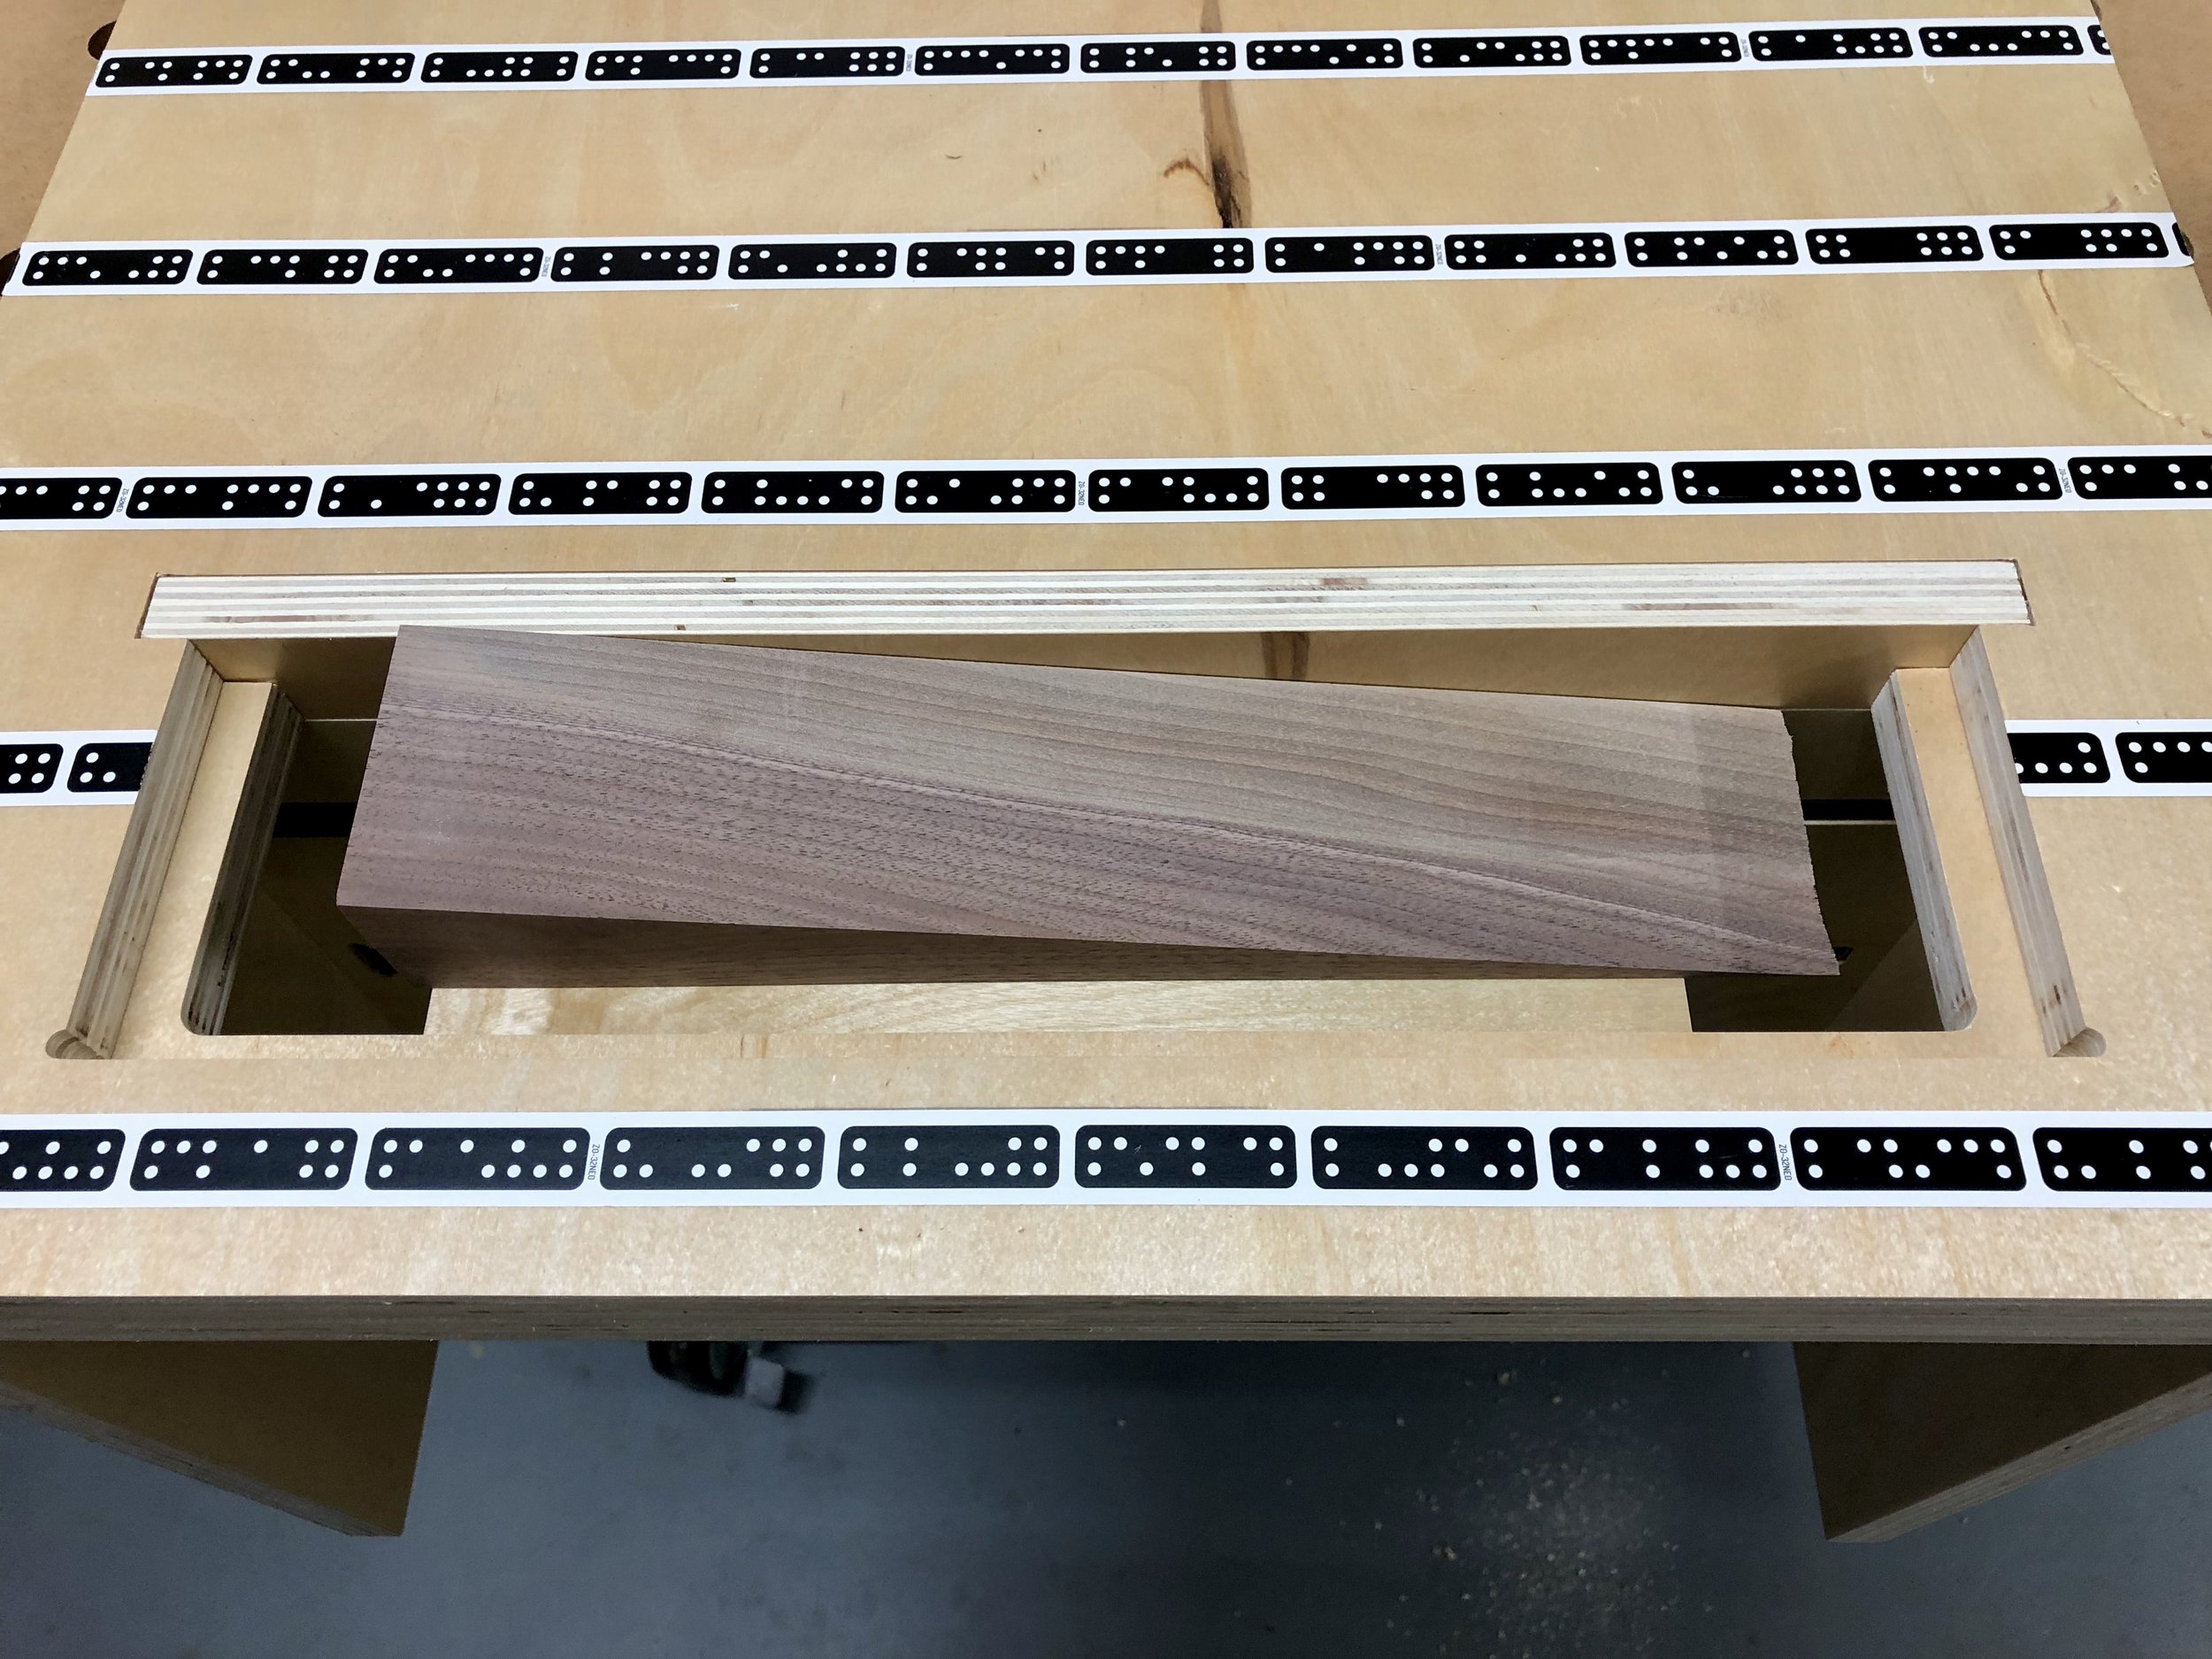
Now the work piece is level with the UVW top. You should be able to set the Z-axis on either the surface of the UVW or the work piece.
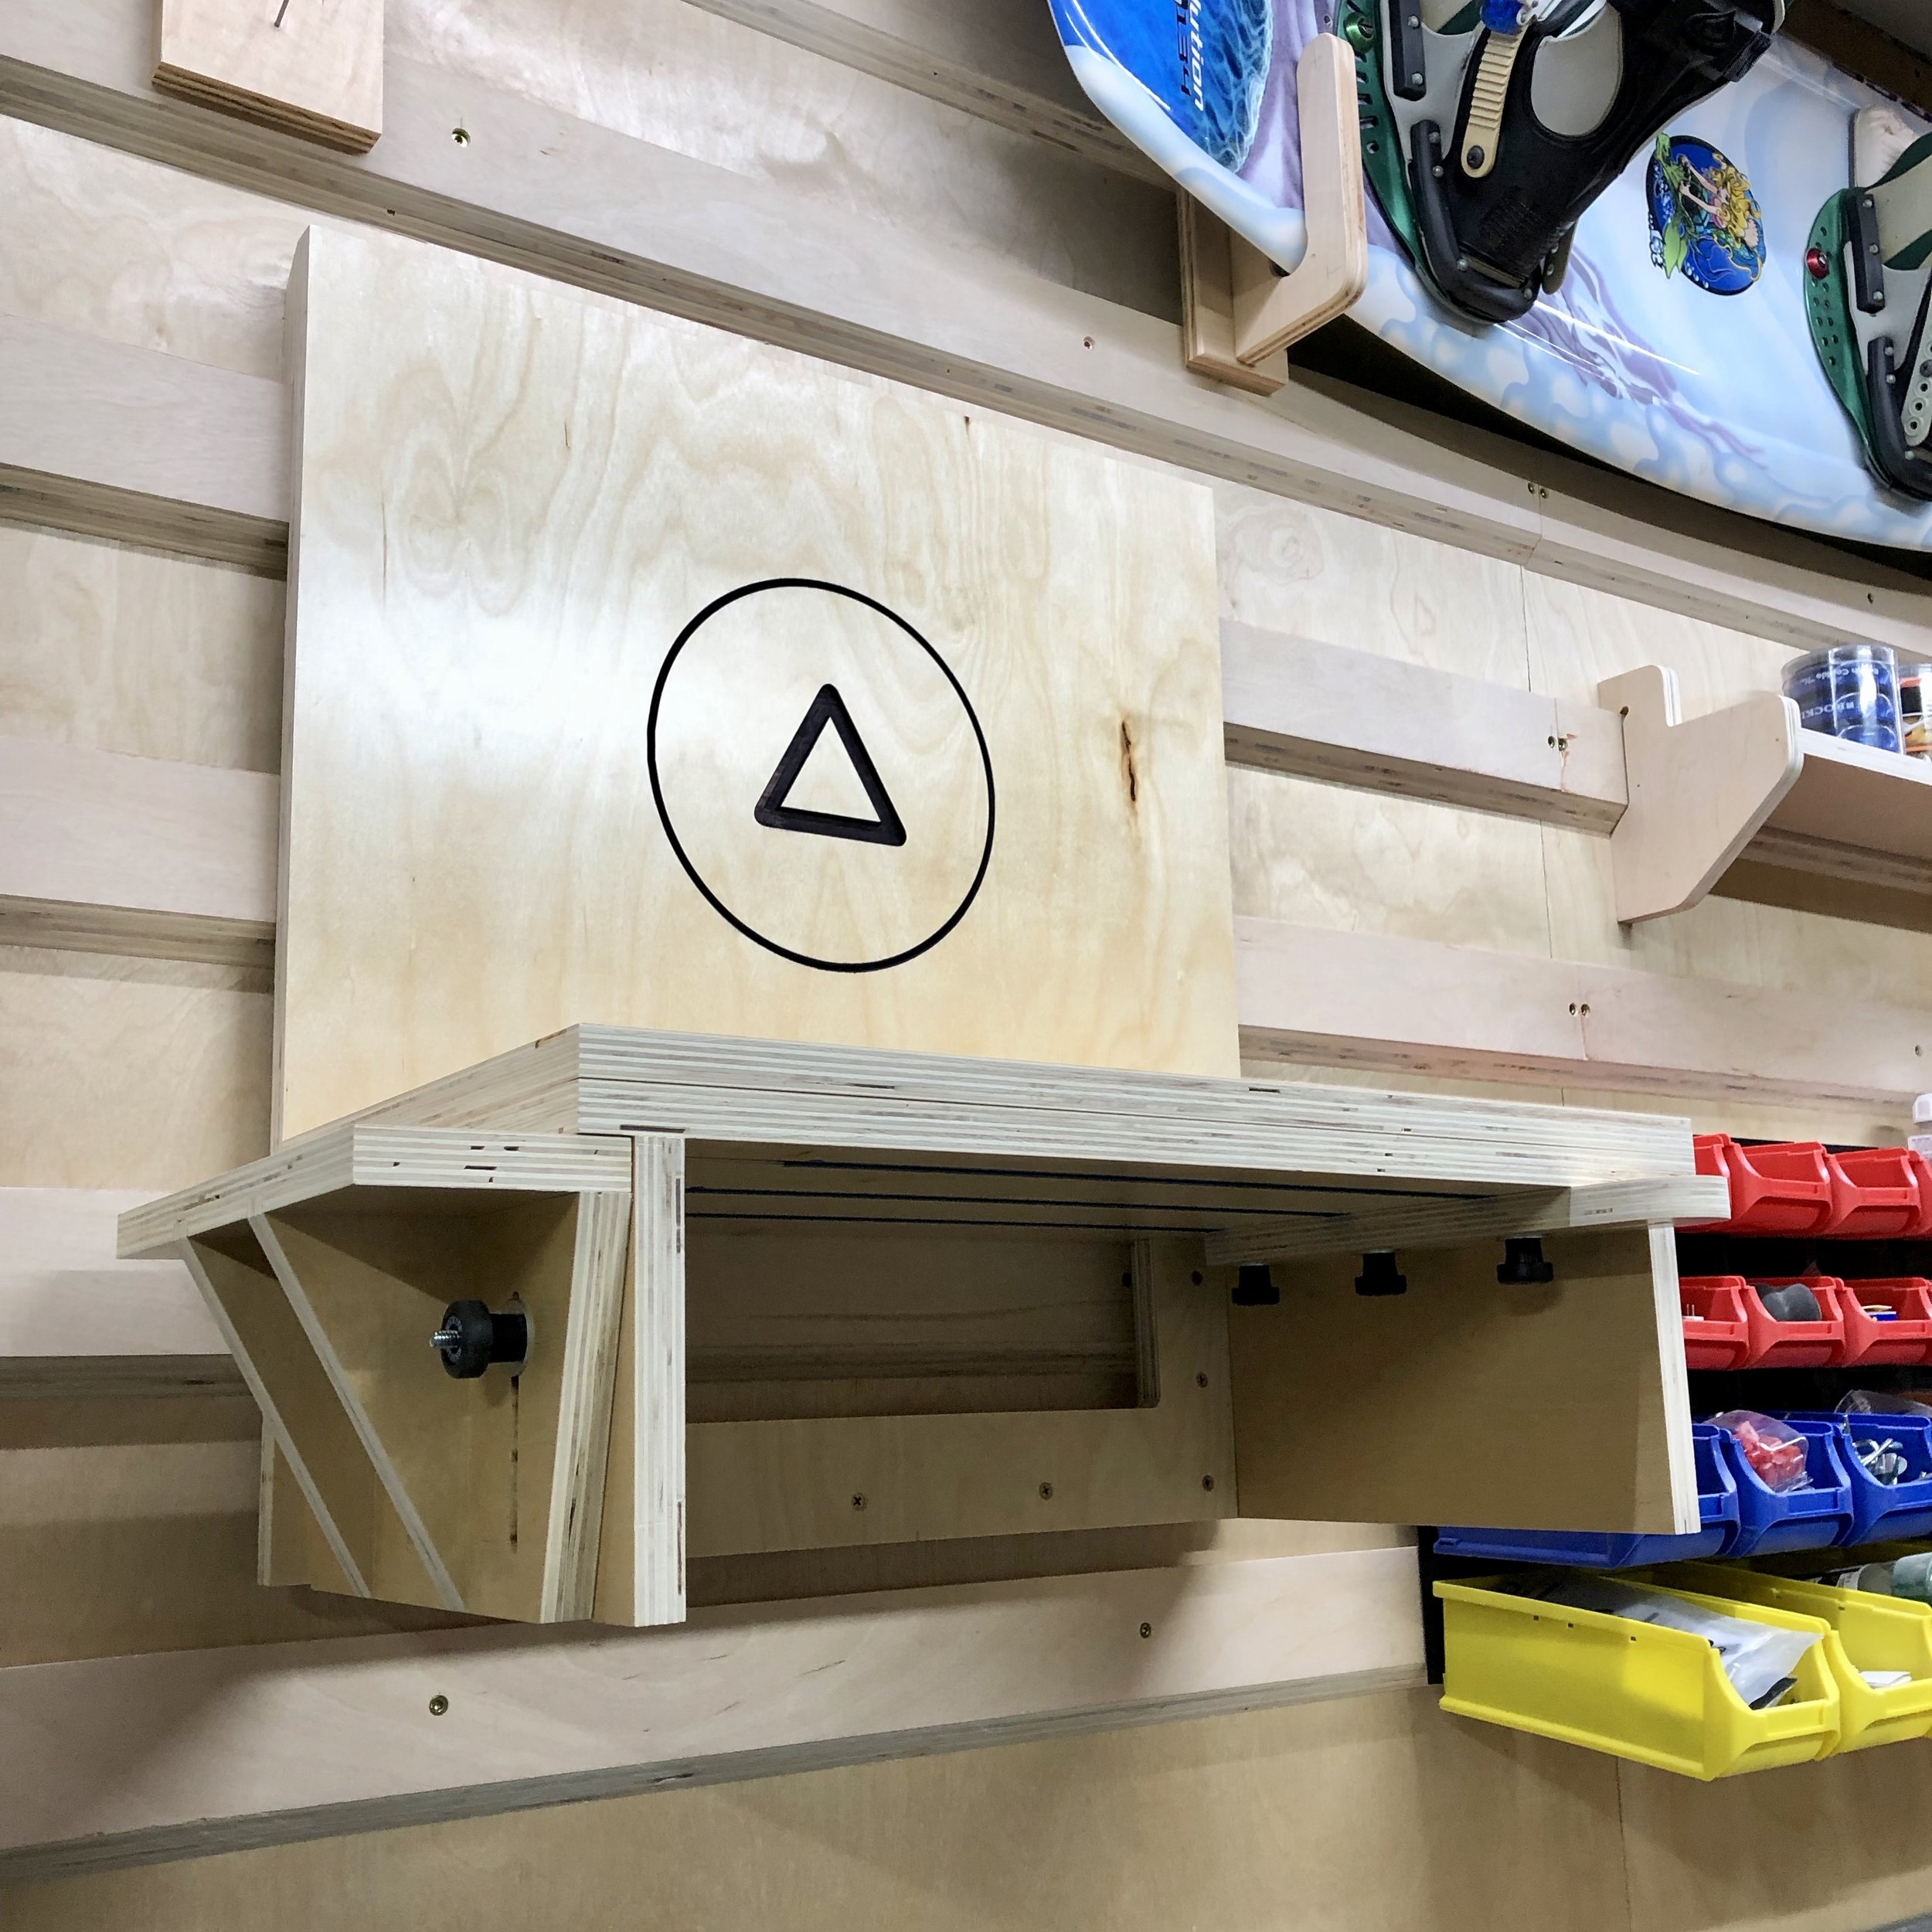
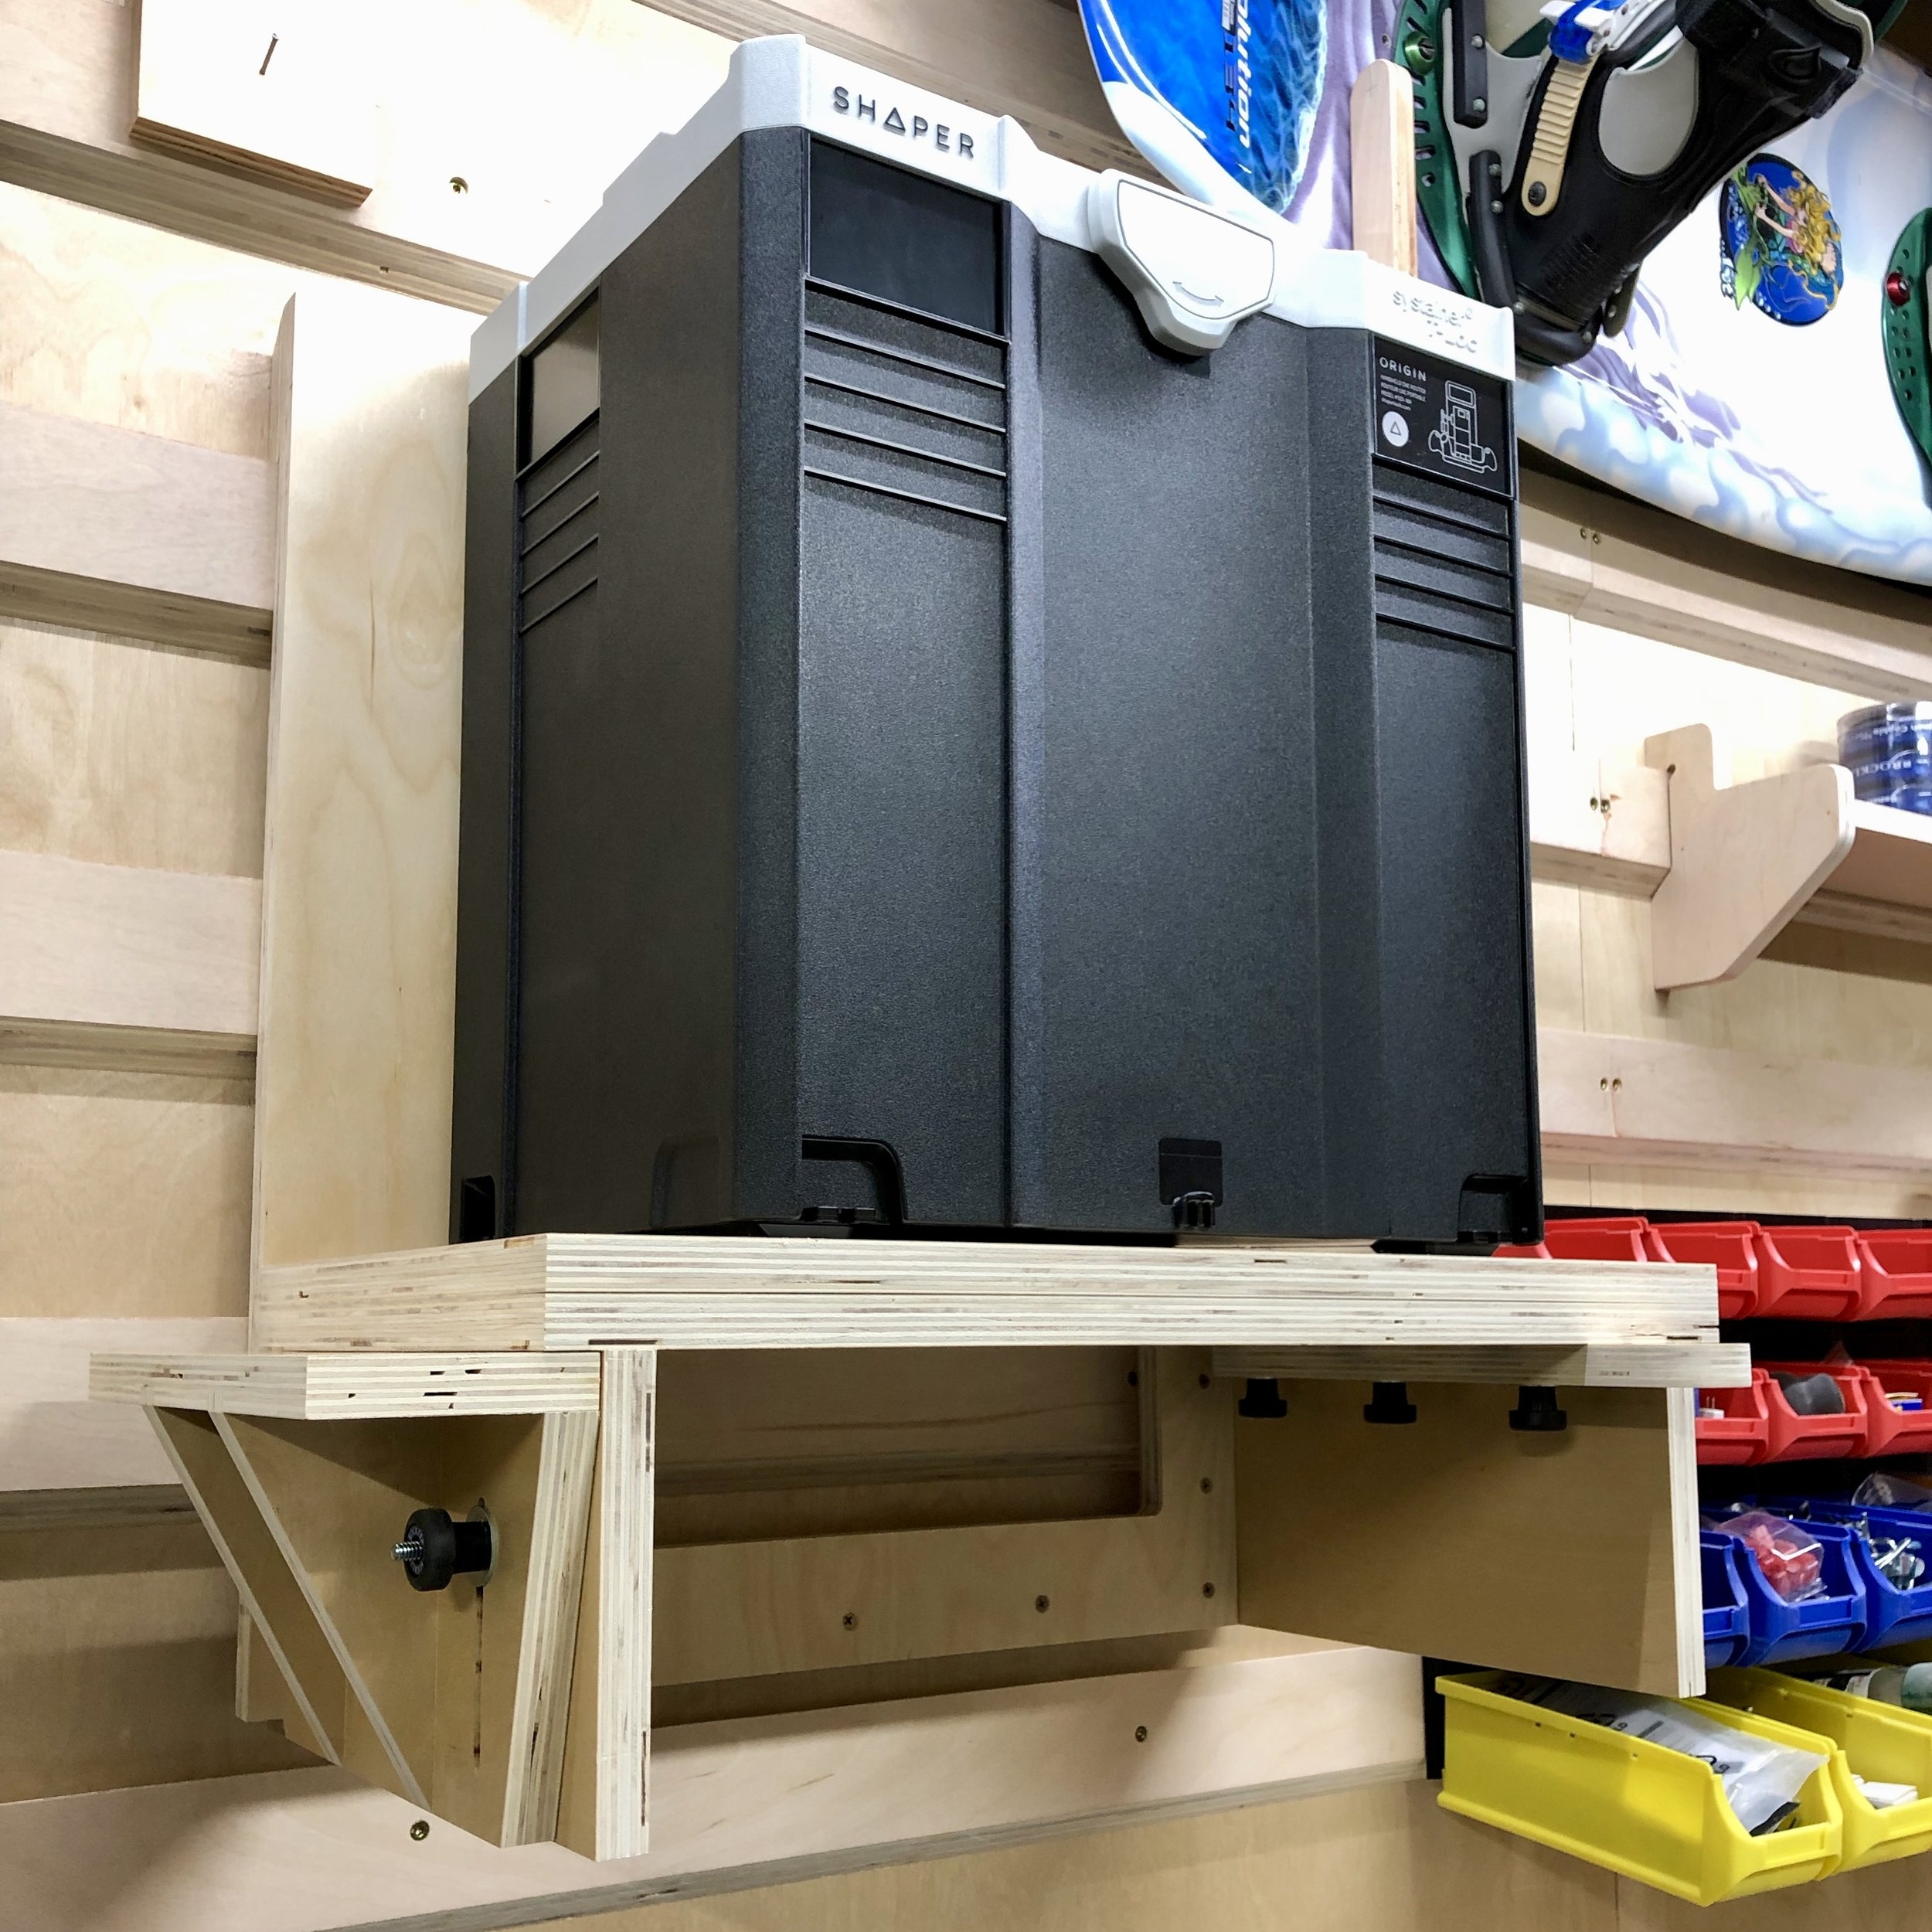
When you’re finished using the HS it stows away nicely on the side and remains there when hanging the UVW back on the french cleat wall.
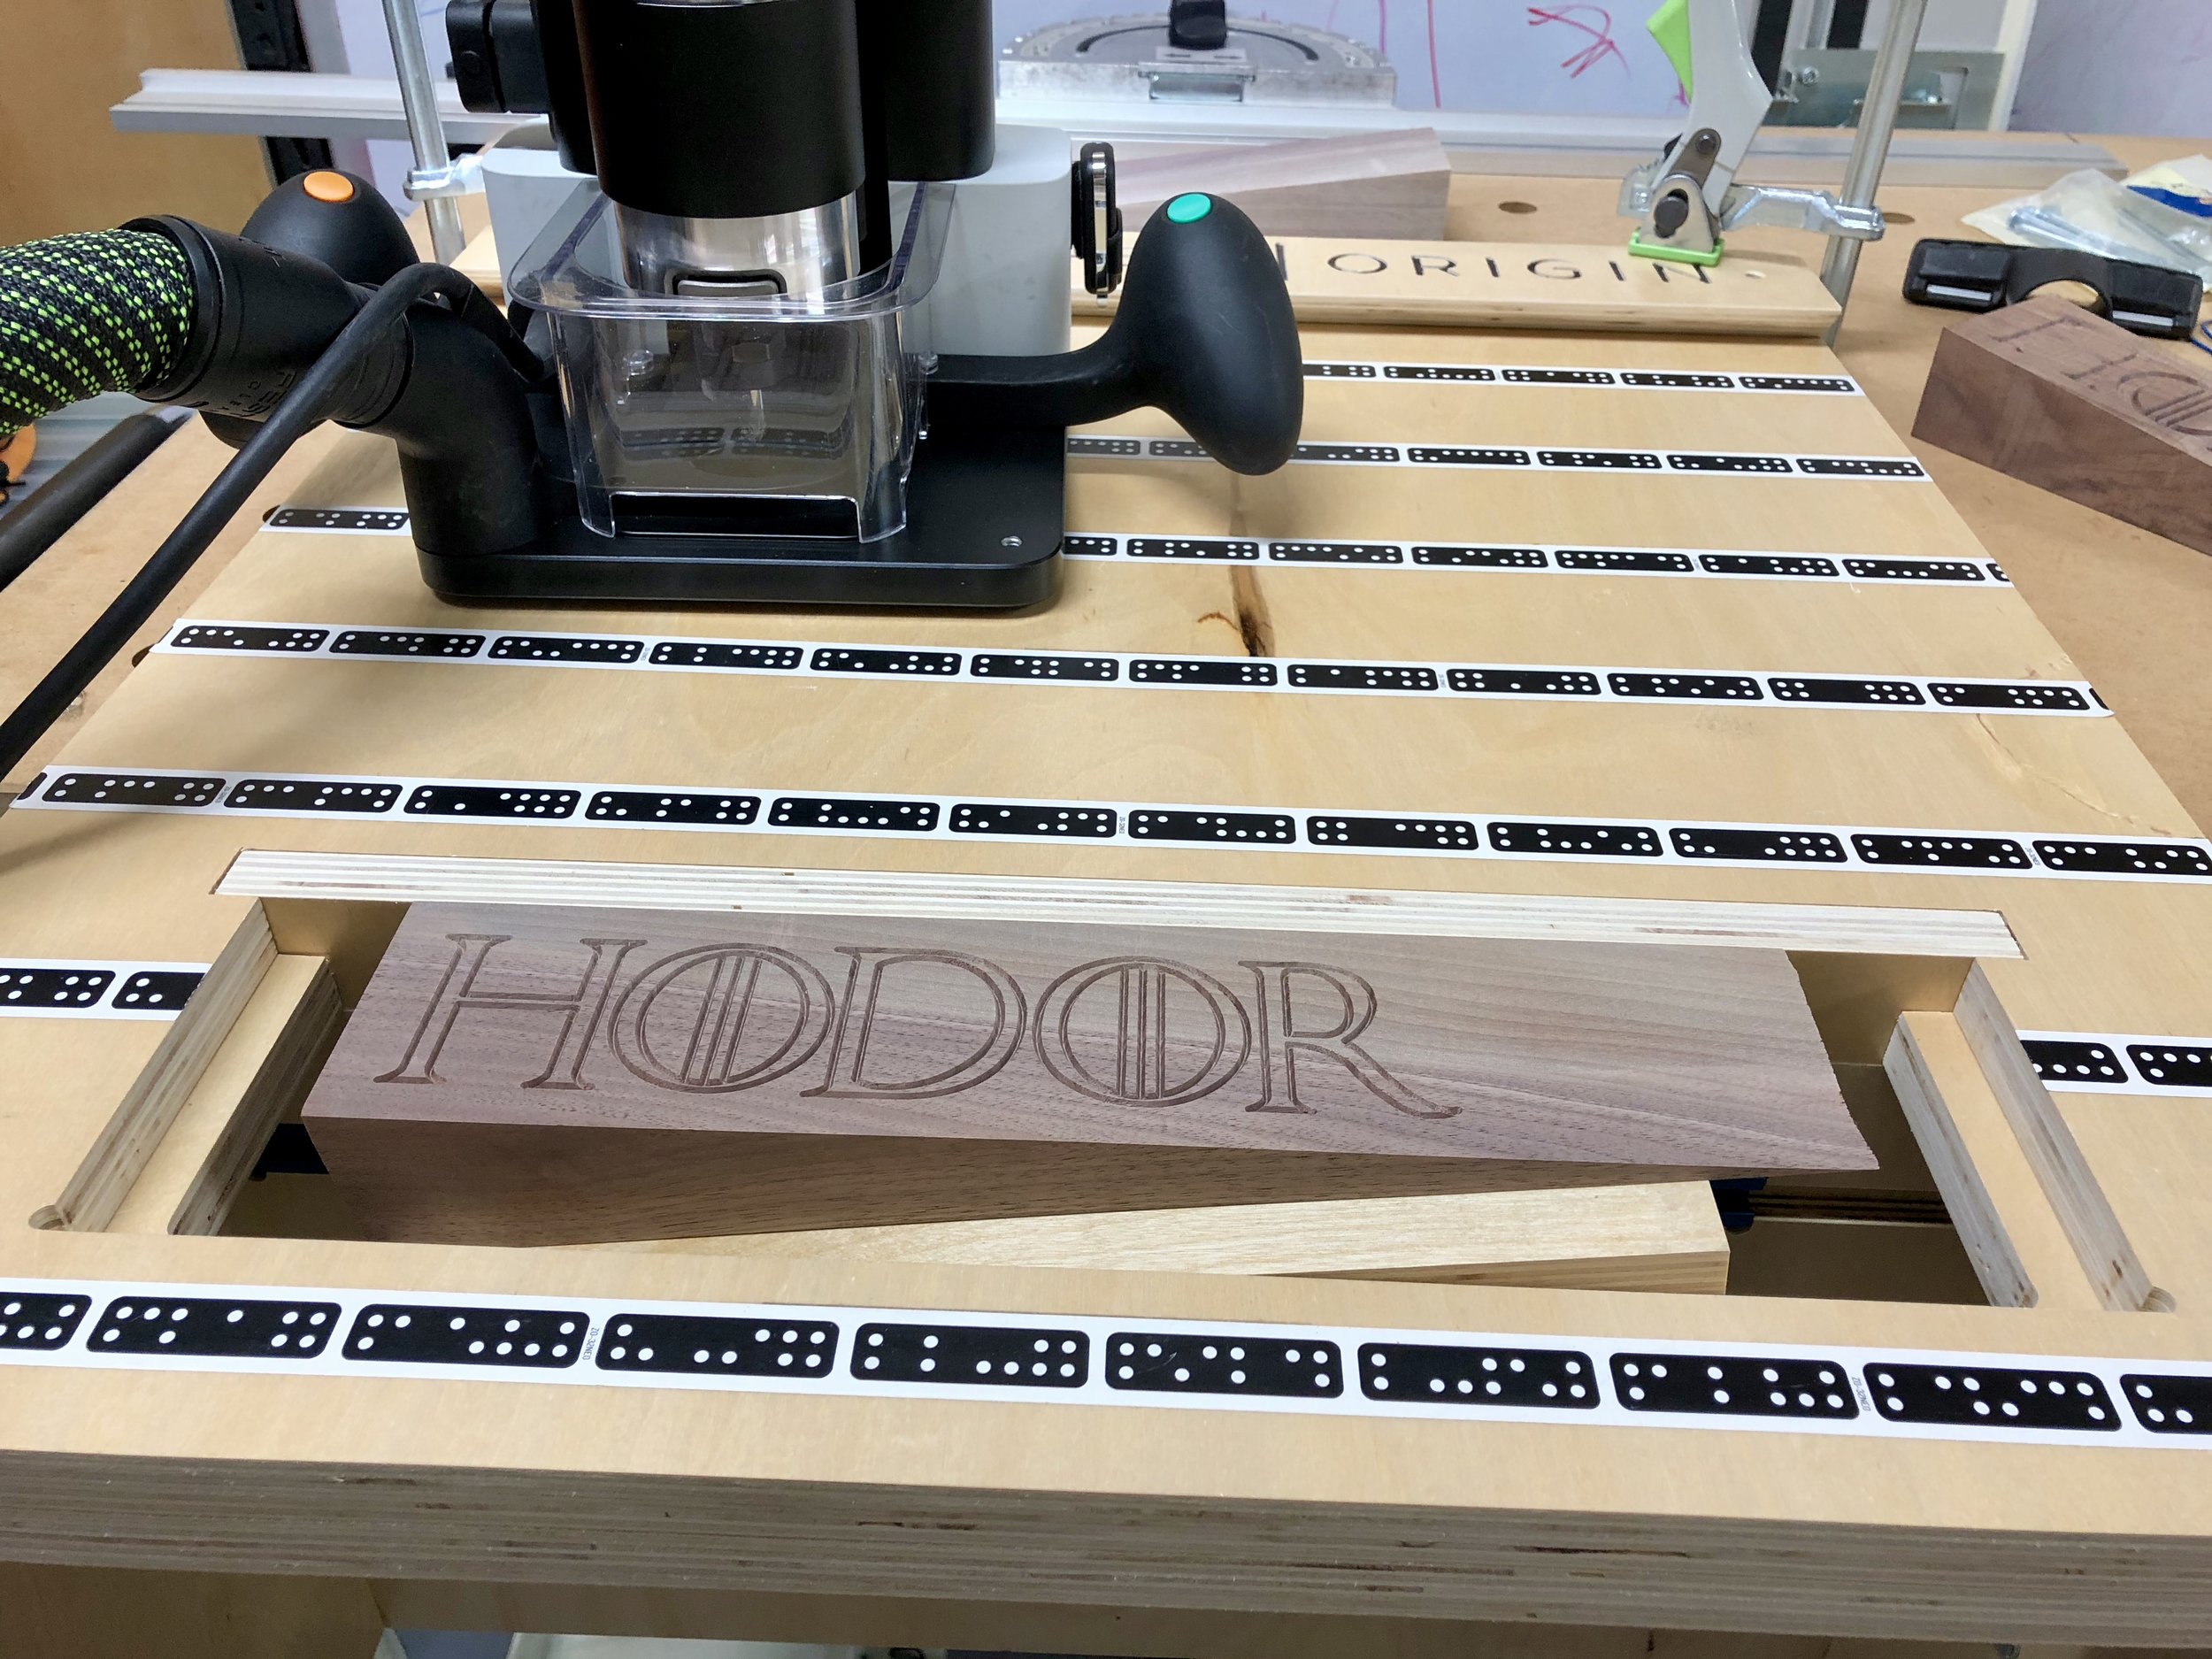
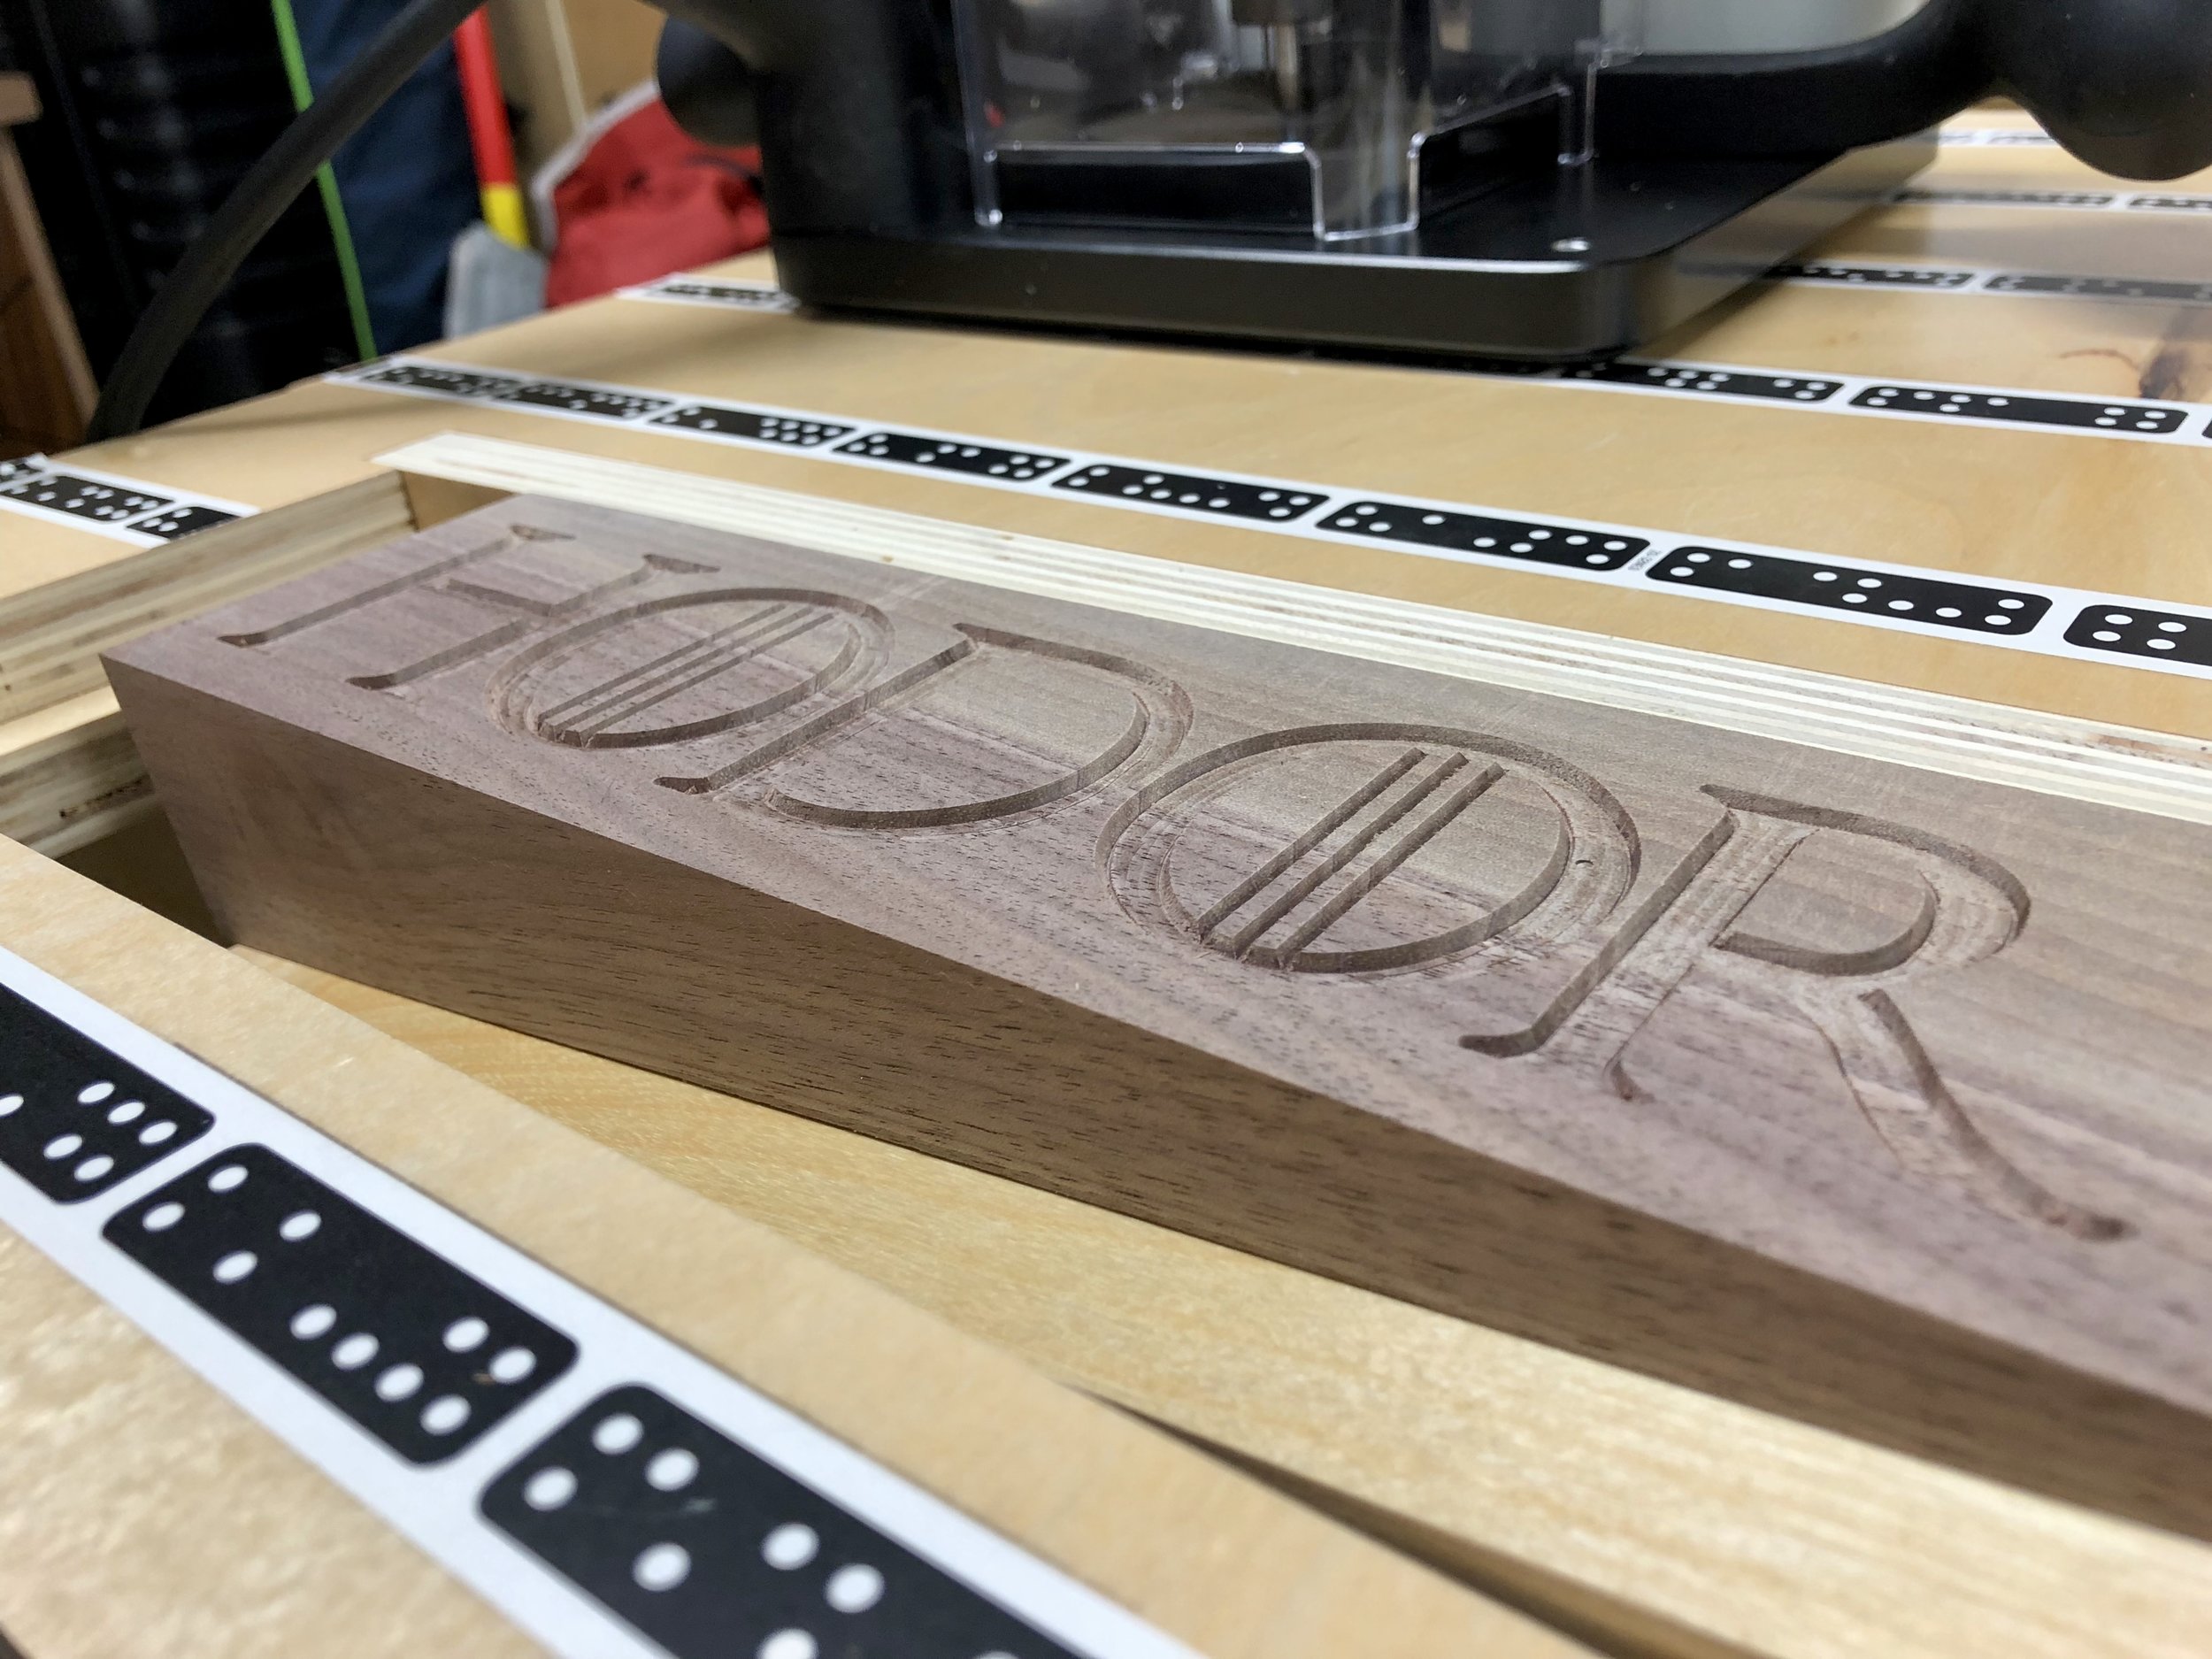
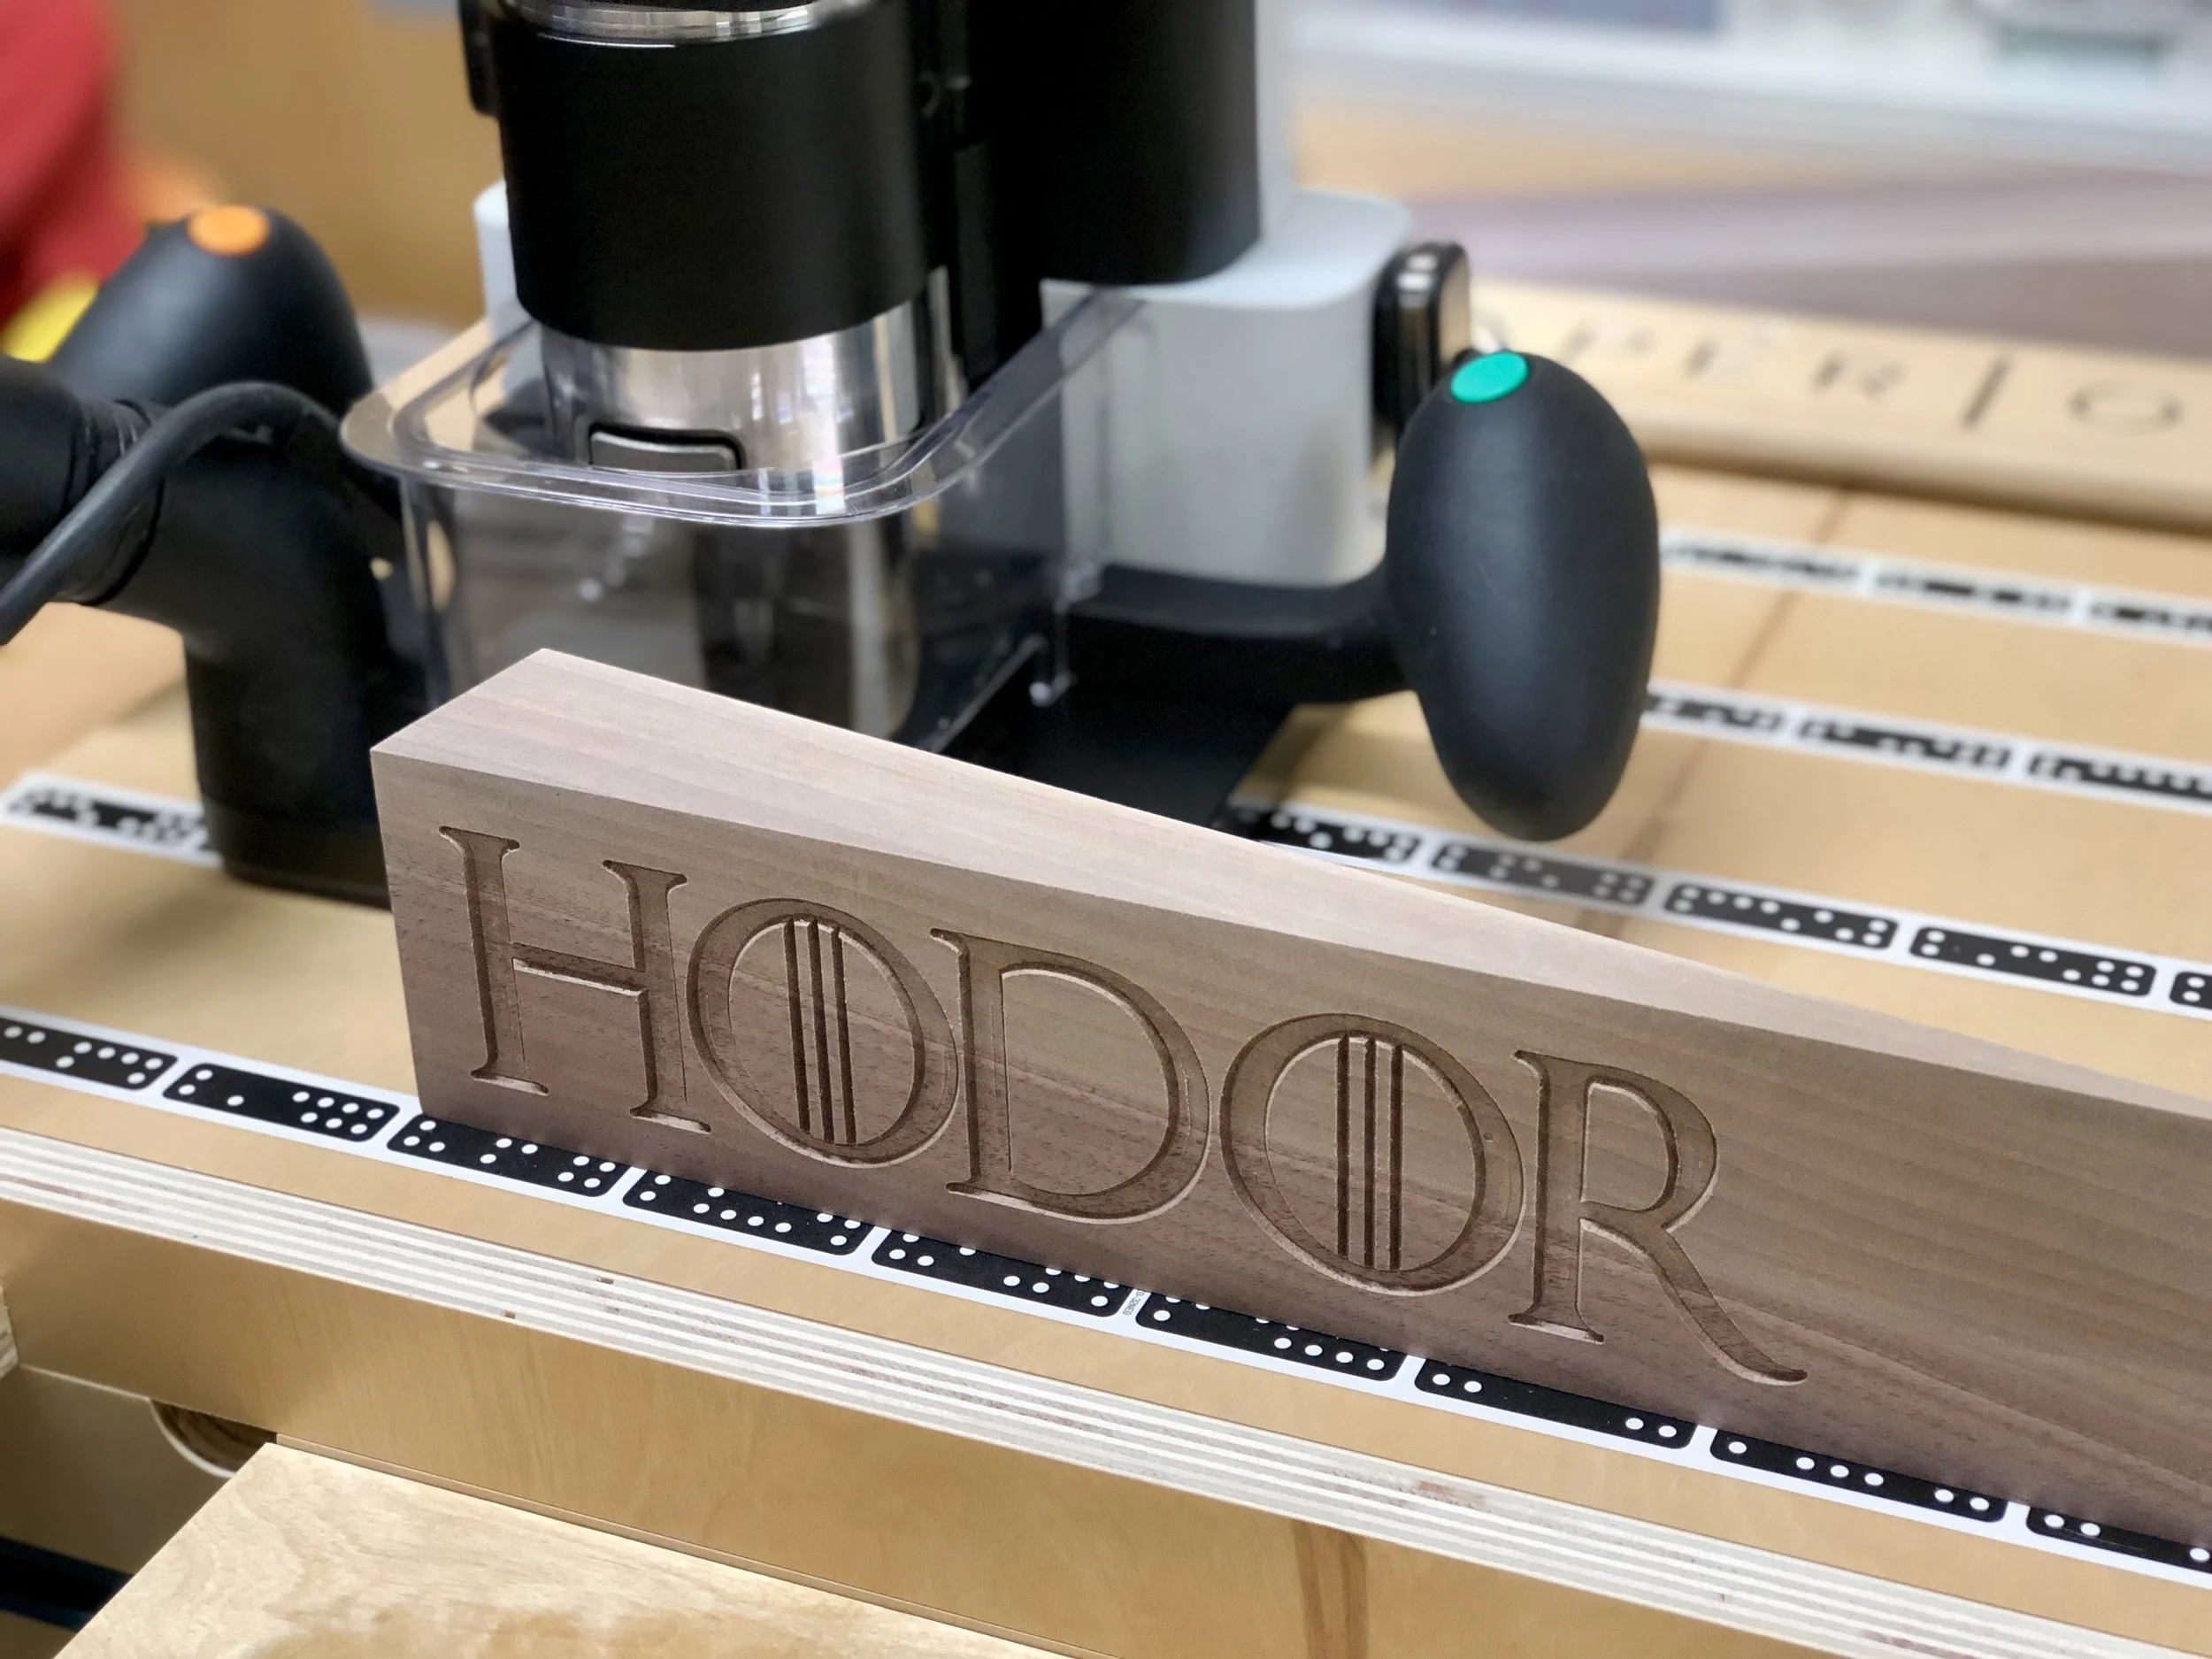
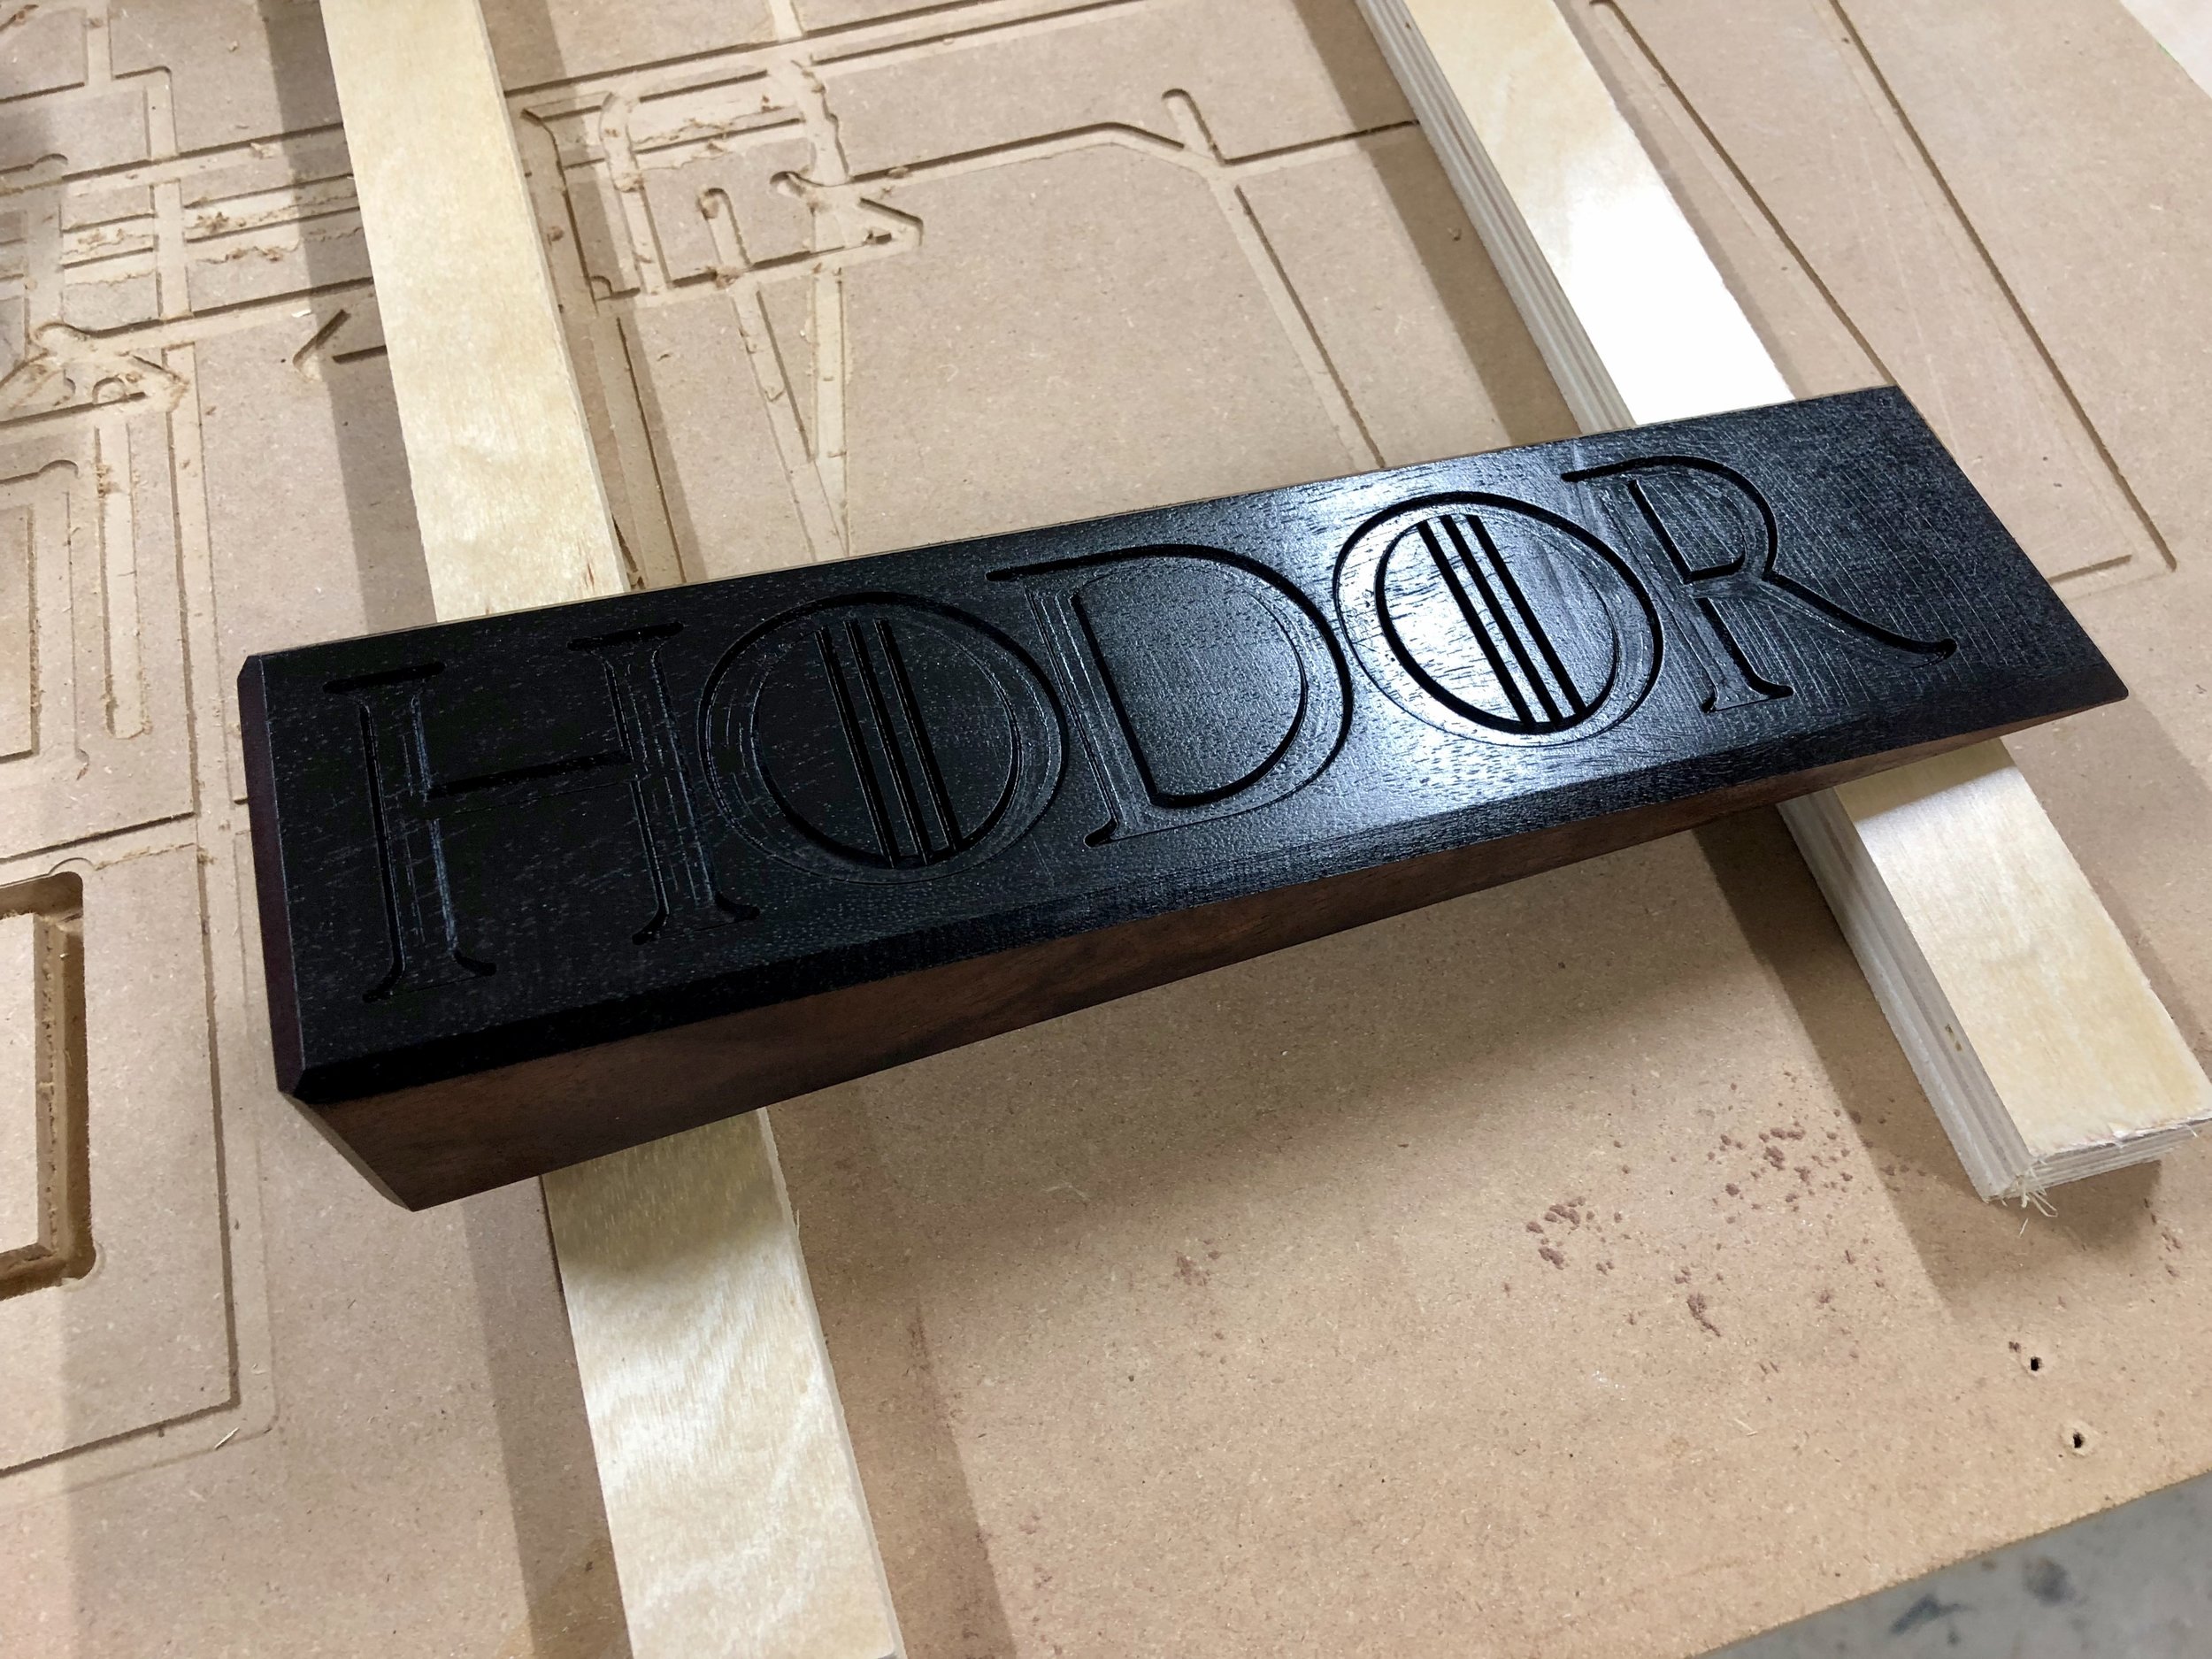
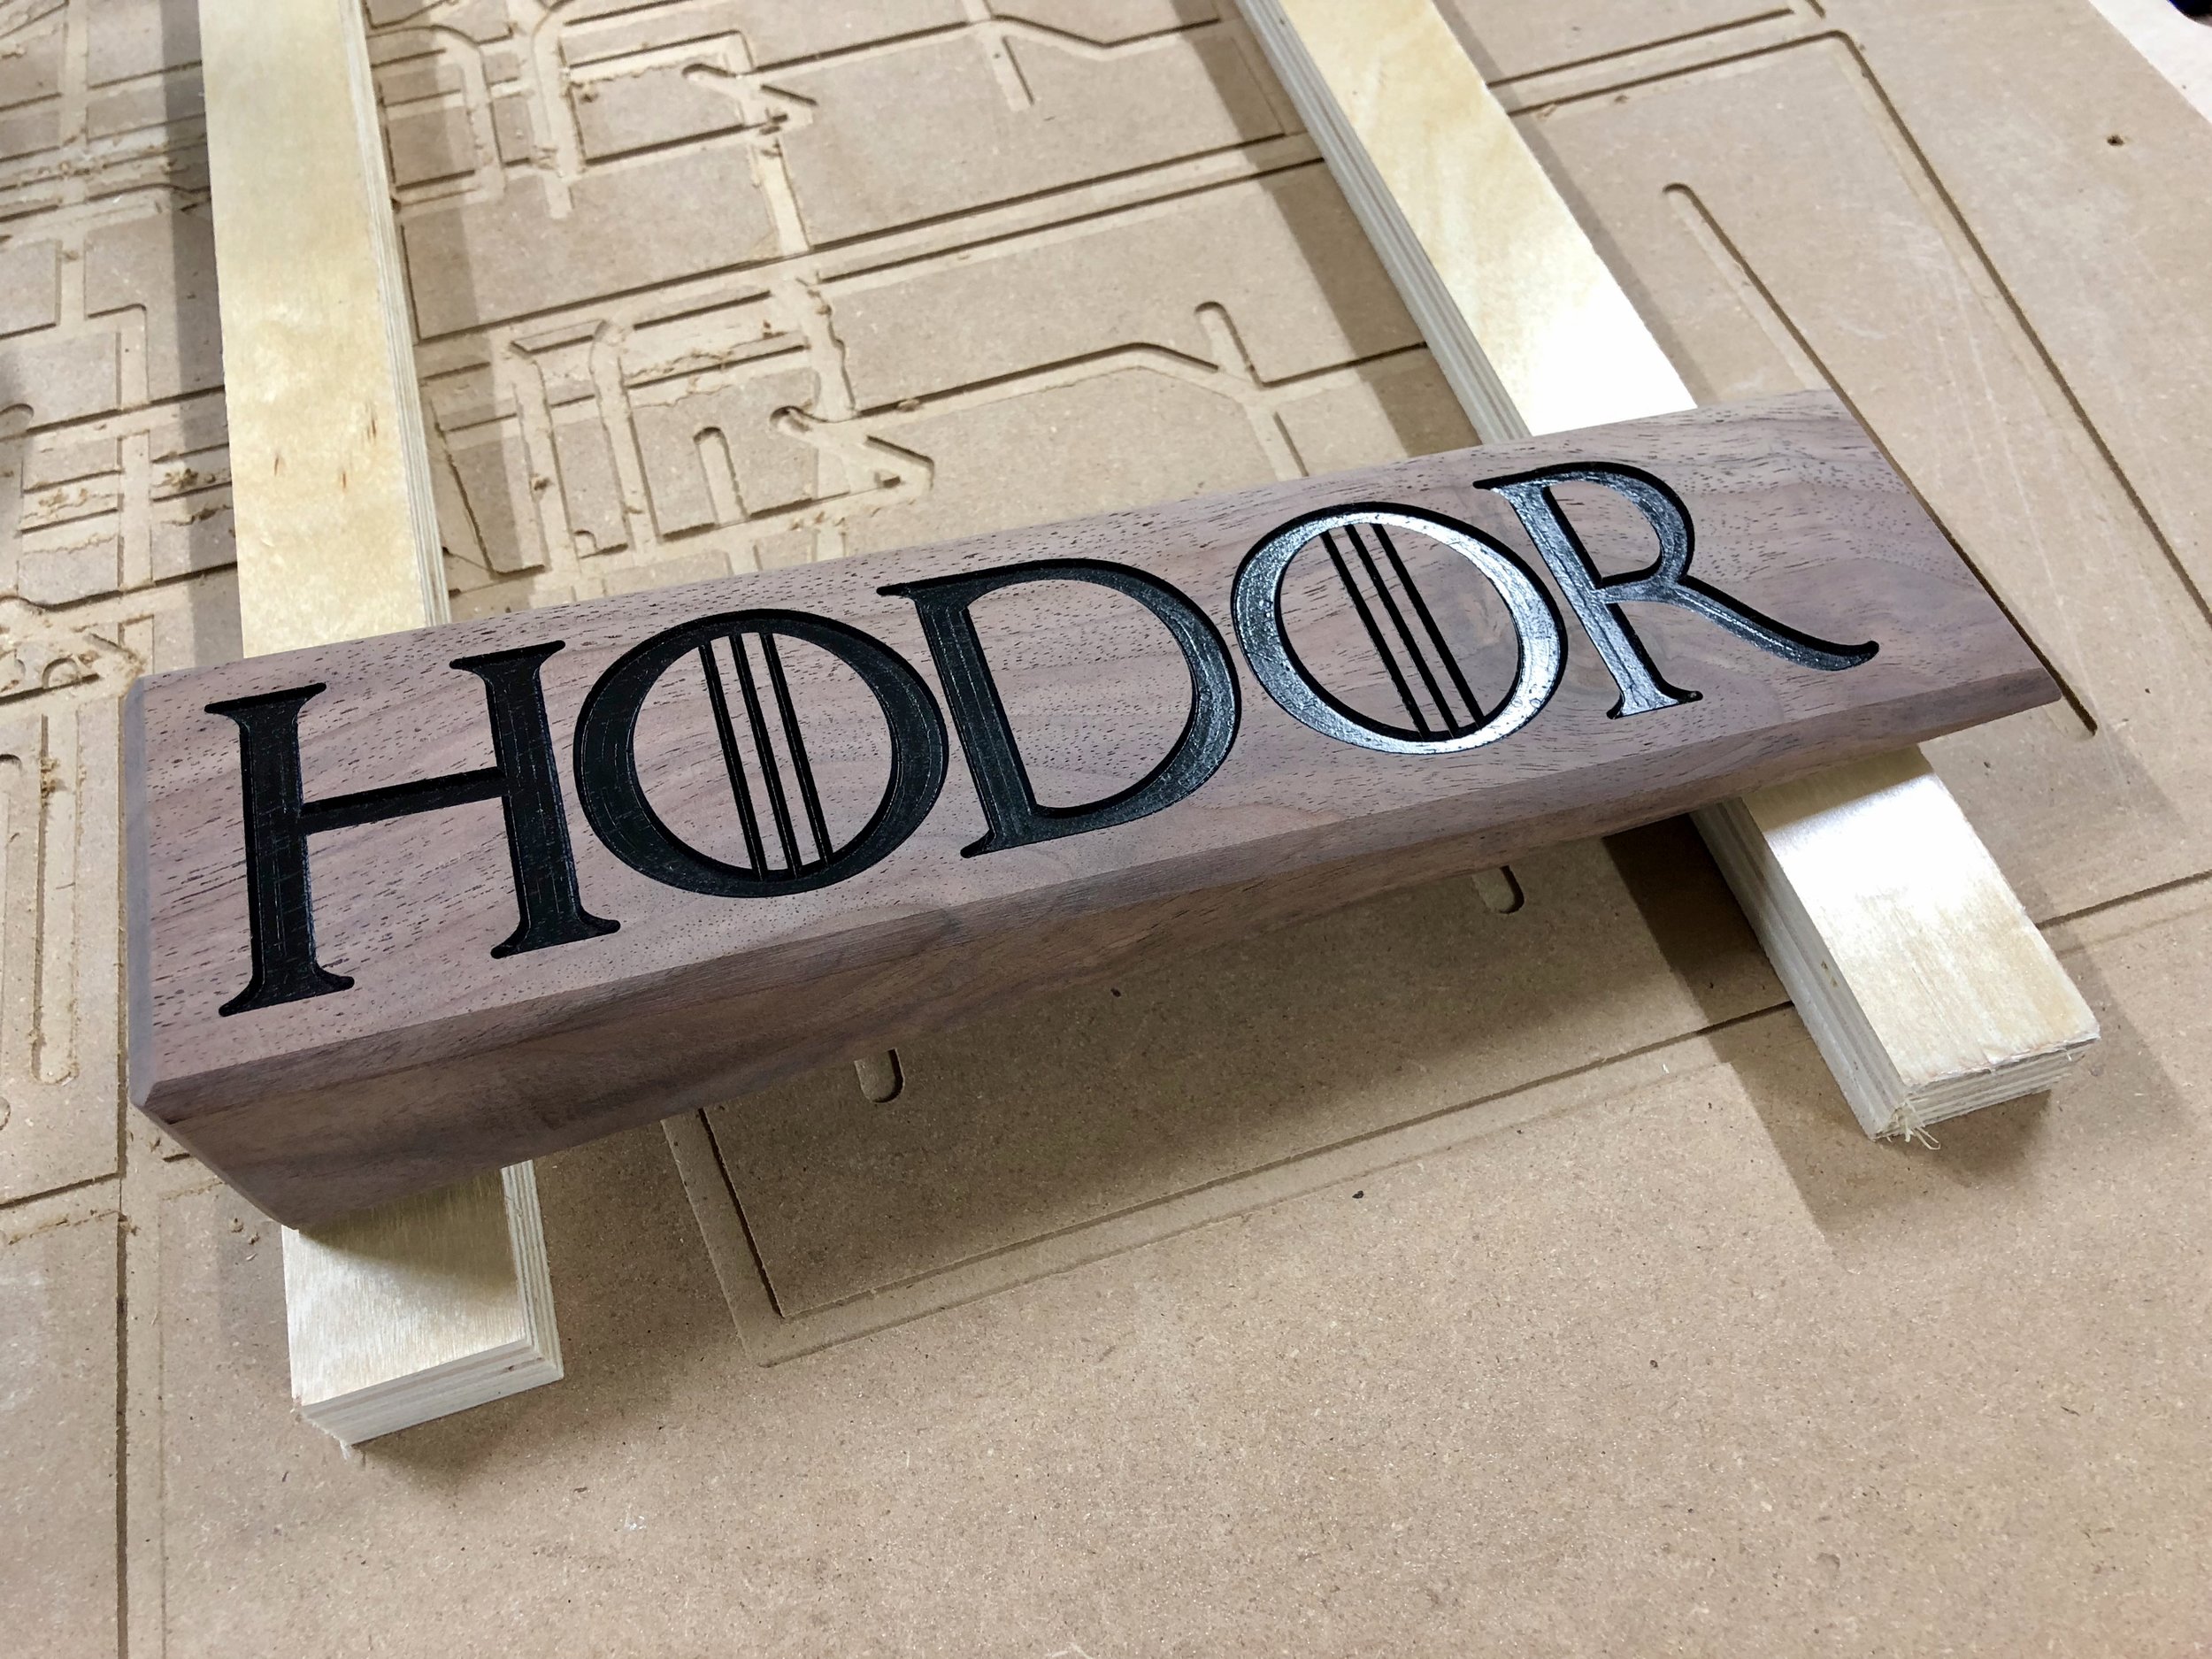
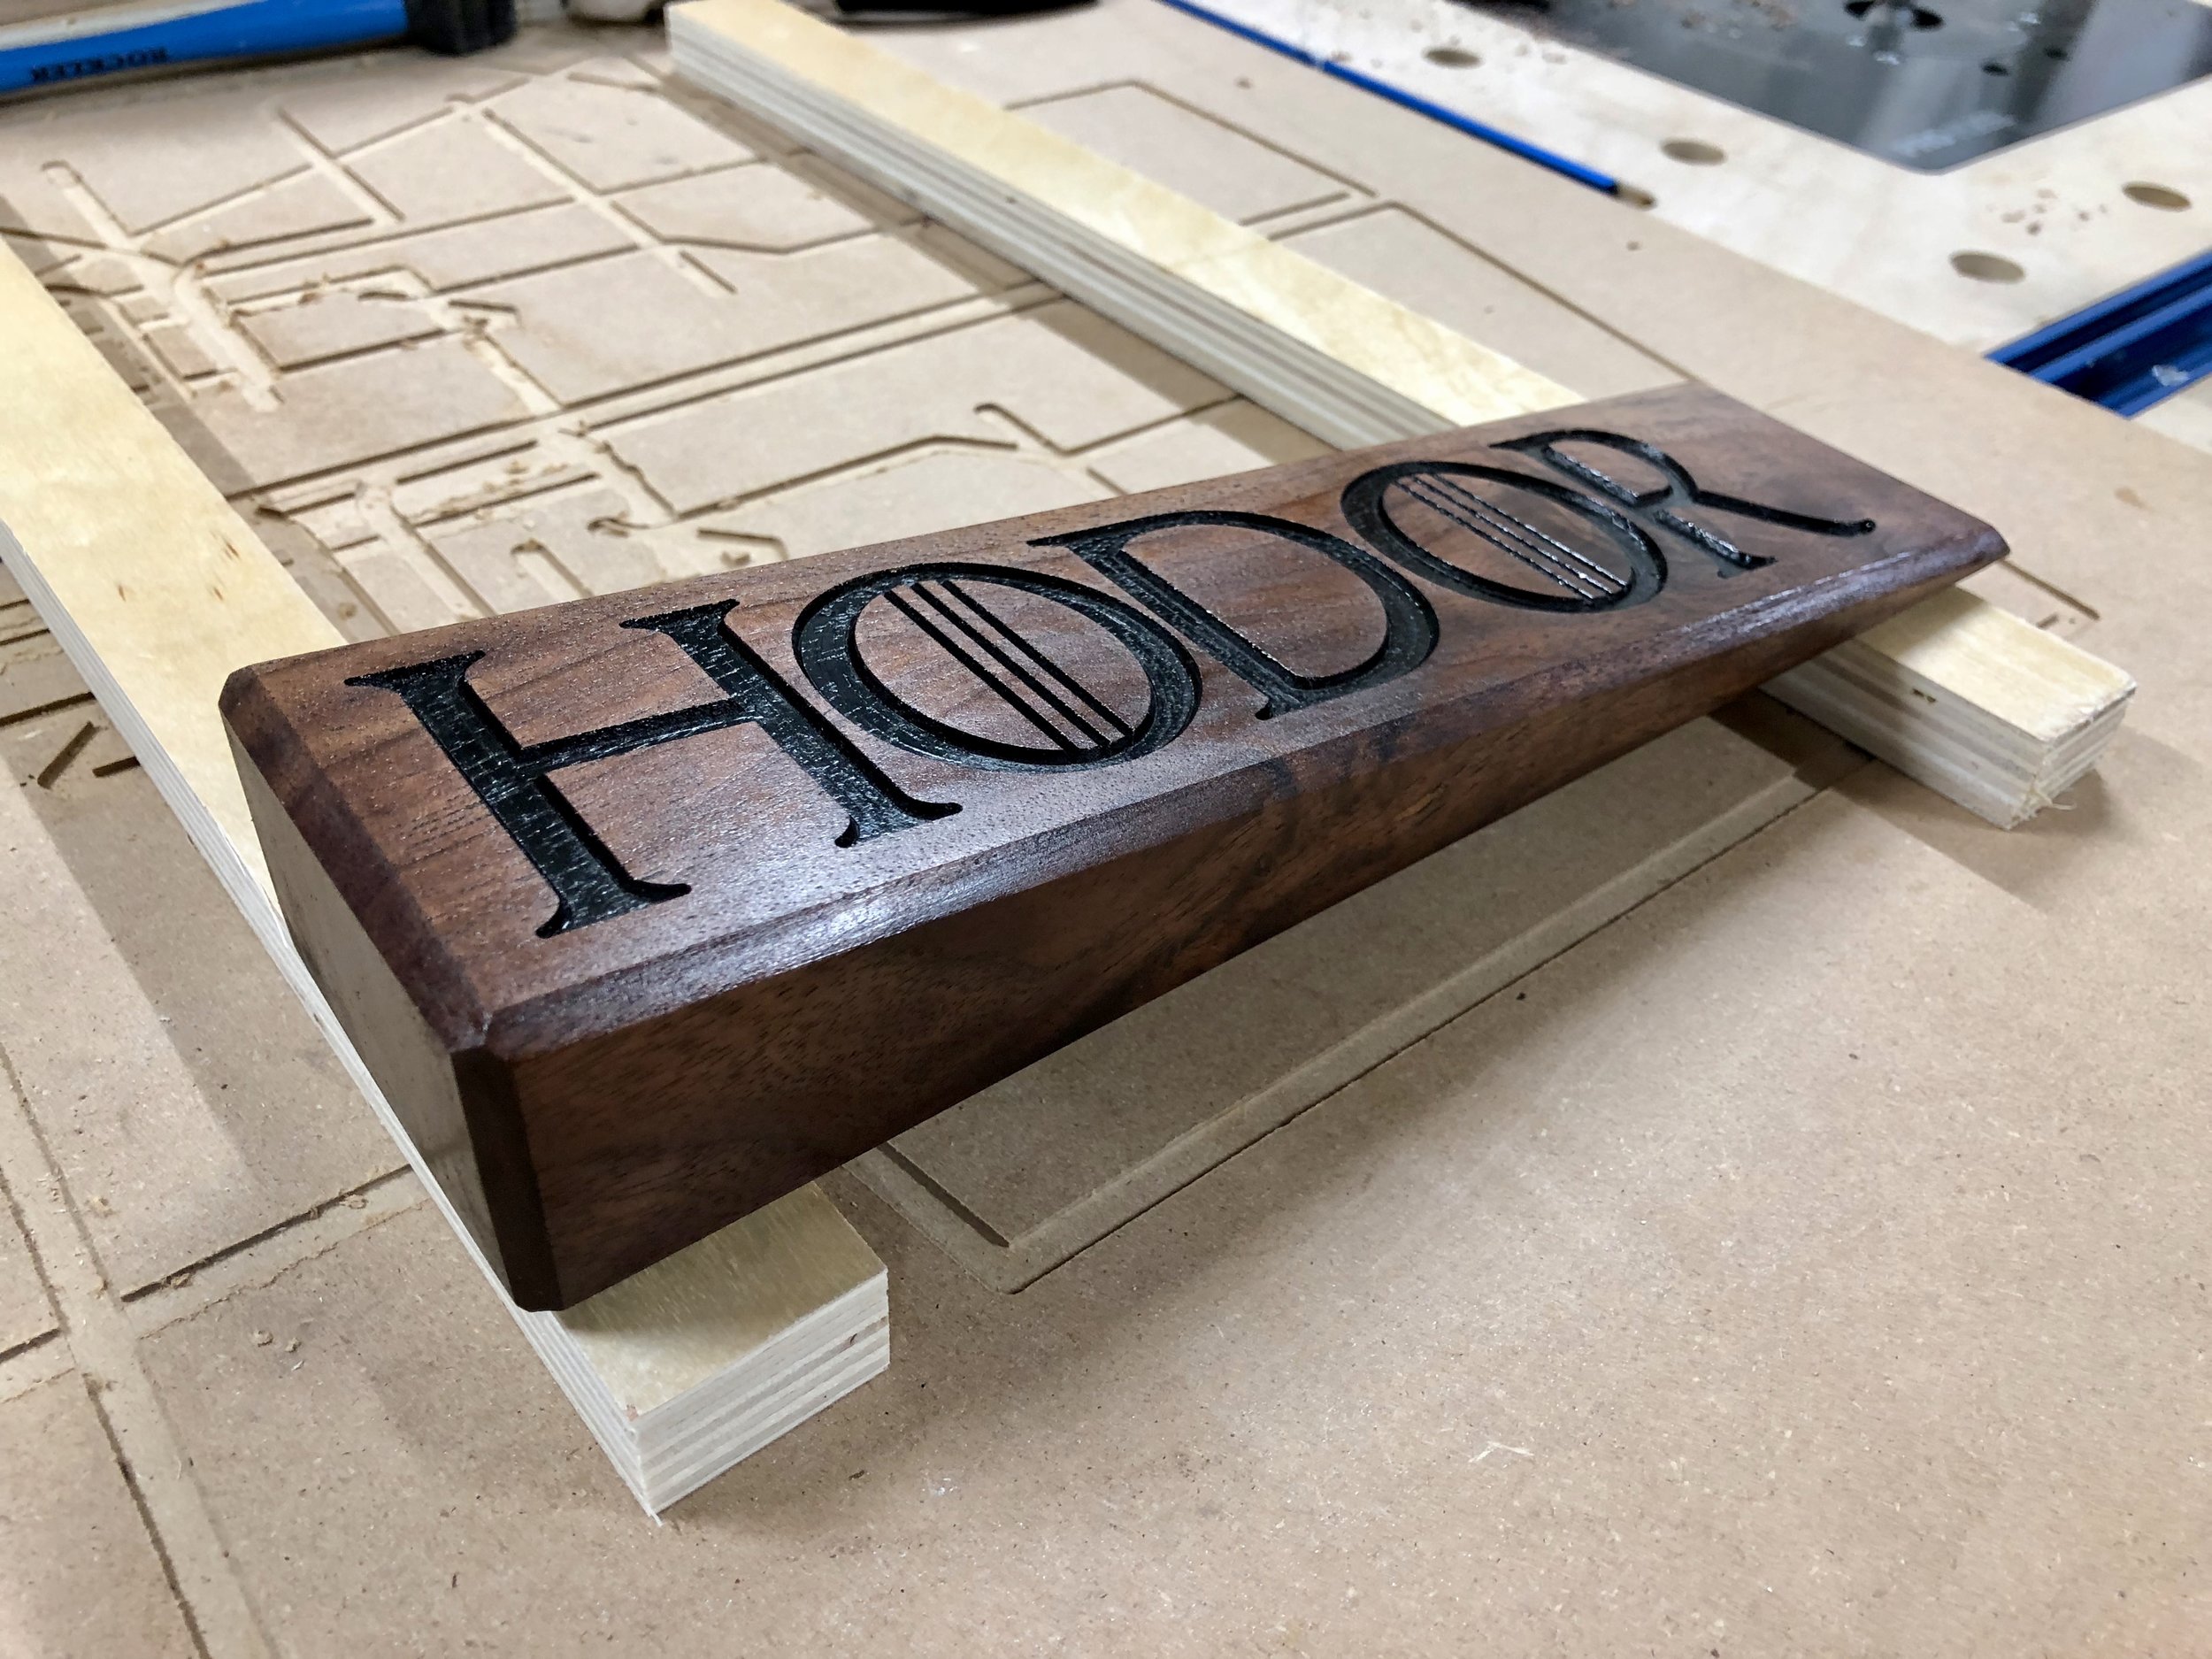
Here are some pics of the HODOR doorstop being completed…
Other Uses
Using different thickness of material
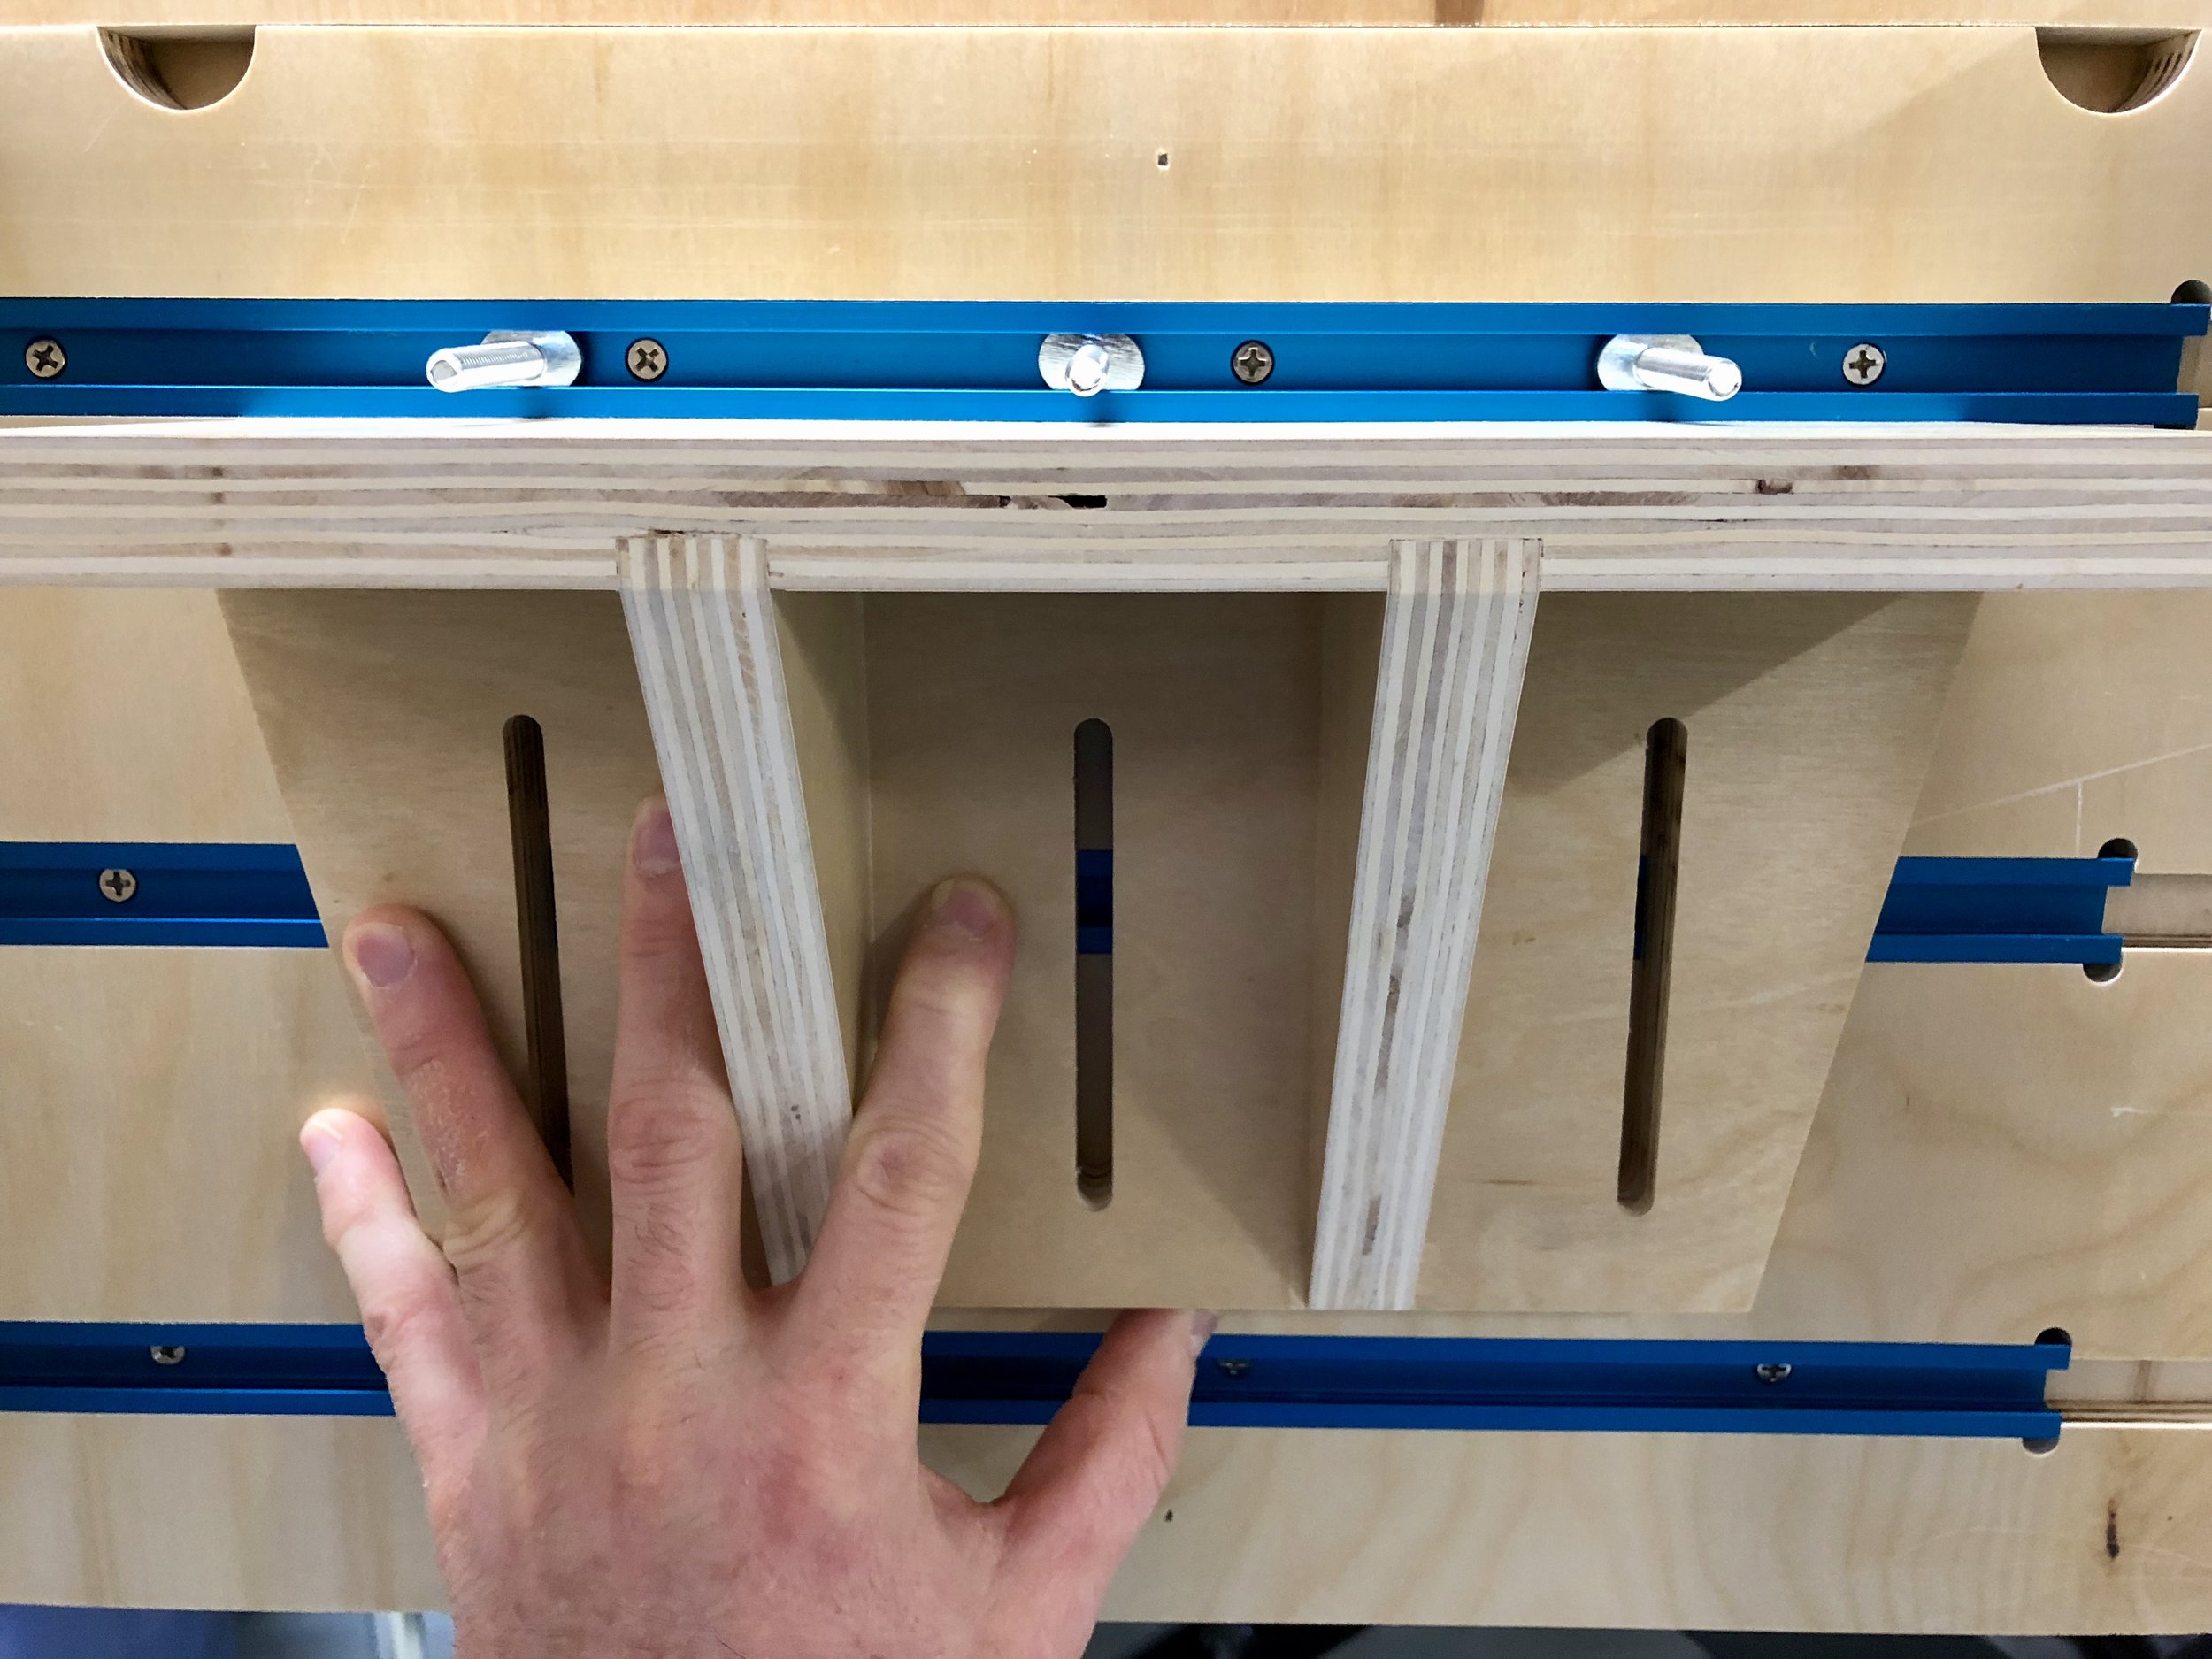
I’ve always found it difficult to get another board with Shaper Tape on it at the same plane as the work piece when using different thickness of materials (even 3/4” plywood has slightly different thicknesses based on the type and source of the material). The HS supports ANY thickness of material that fits within the opening (121mm H x 406mm W, with optional Support for Filler Pieces removed). Simply adjust the height so the two surfaces are level and you’re golden. You can even mount a sacrificial piece of MDF on top of the HS before mounting the work piece so you don’t have to cut into the HS.
Use it as a Vertical Support
I have set the width of the slots to match the distance between the t-tracks so you can mount the HS vertically. This gives you a much larger support as well as something that you can clamp to.
I’m sure all of you can figure out even more uses. Post in the Comments if you do.
Anyway, I hope this is helpful for making your next project or Xmas gift.
Cheers!
Lee